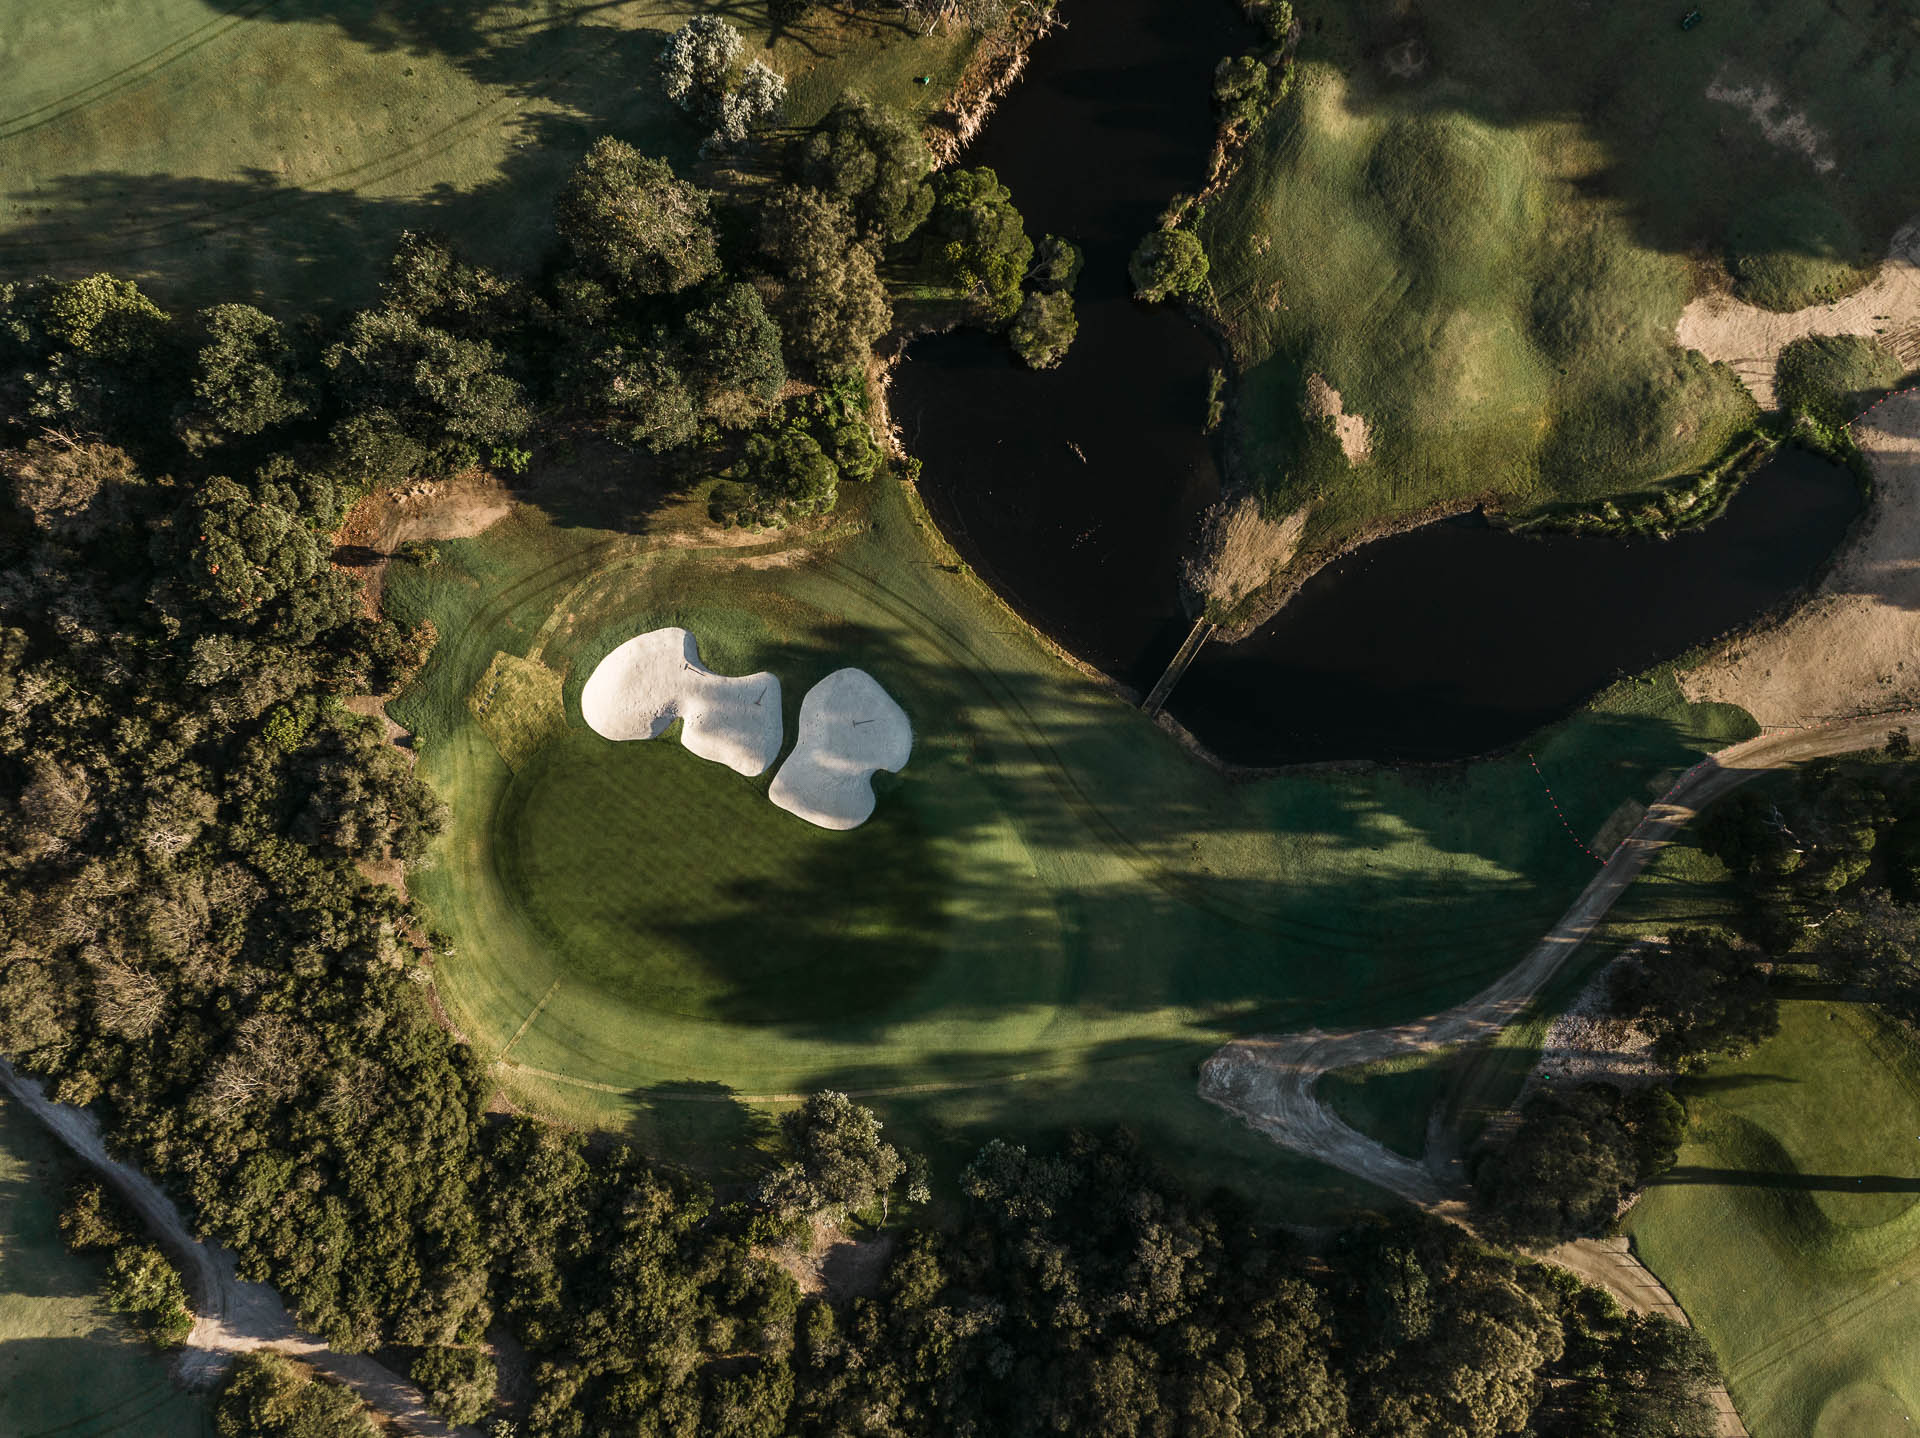
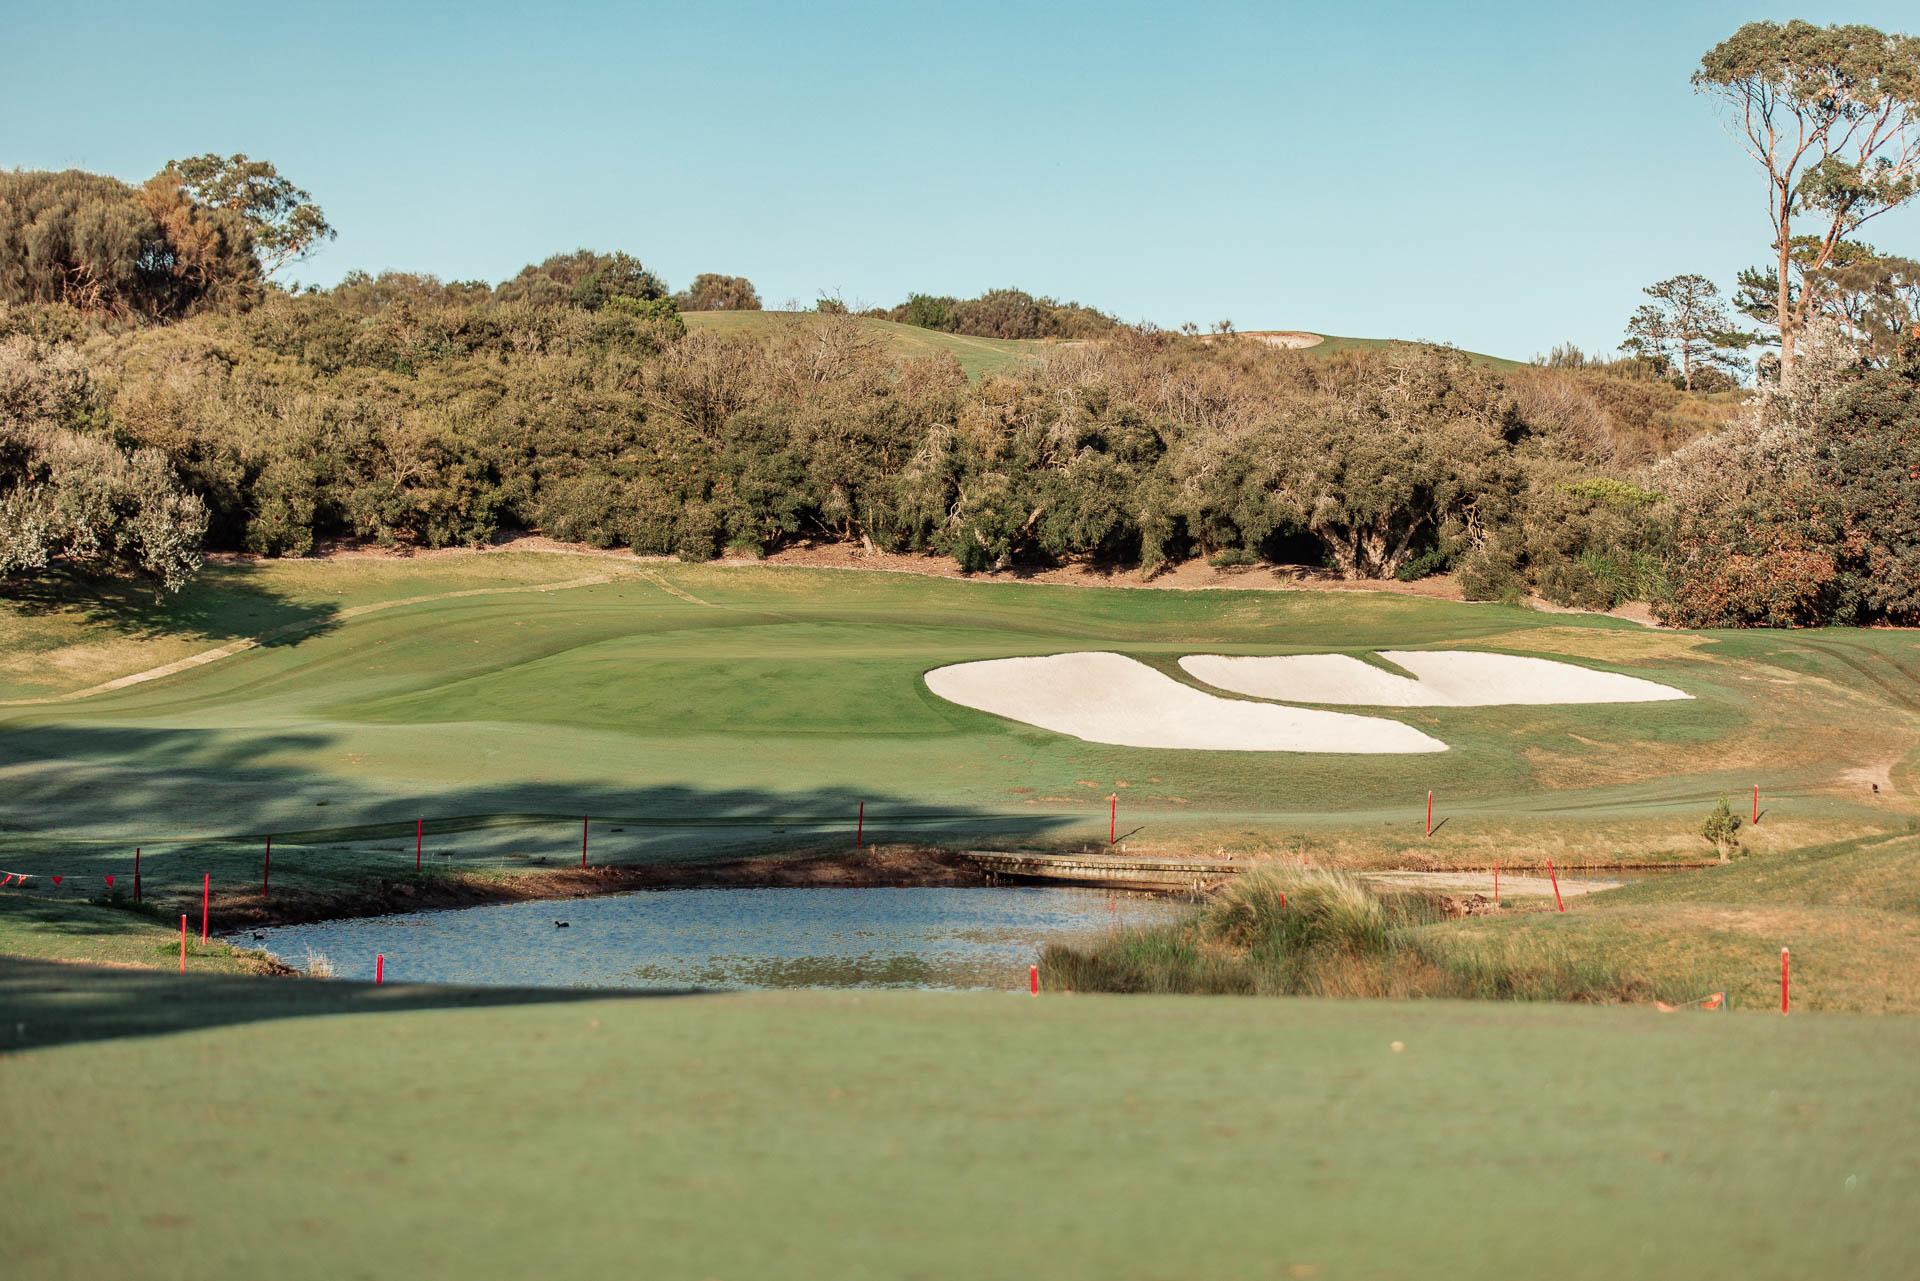
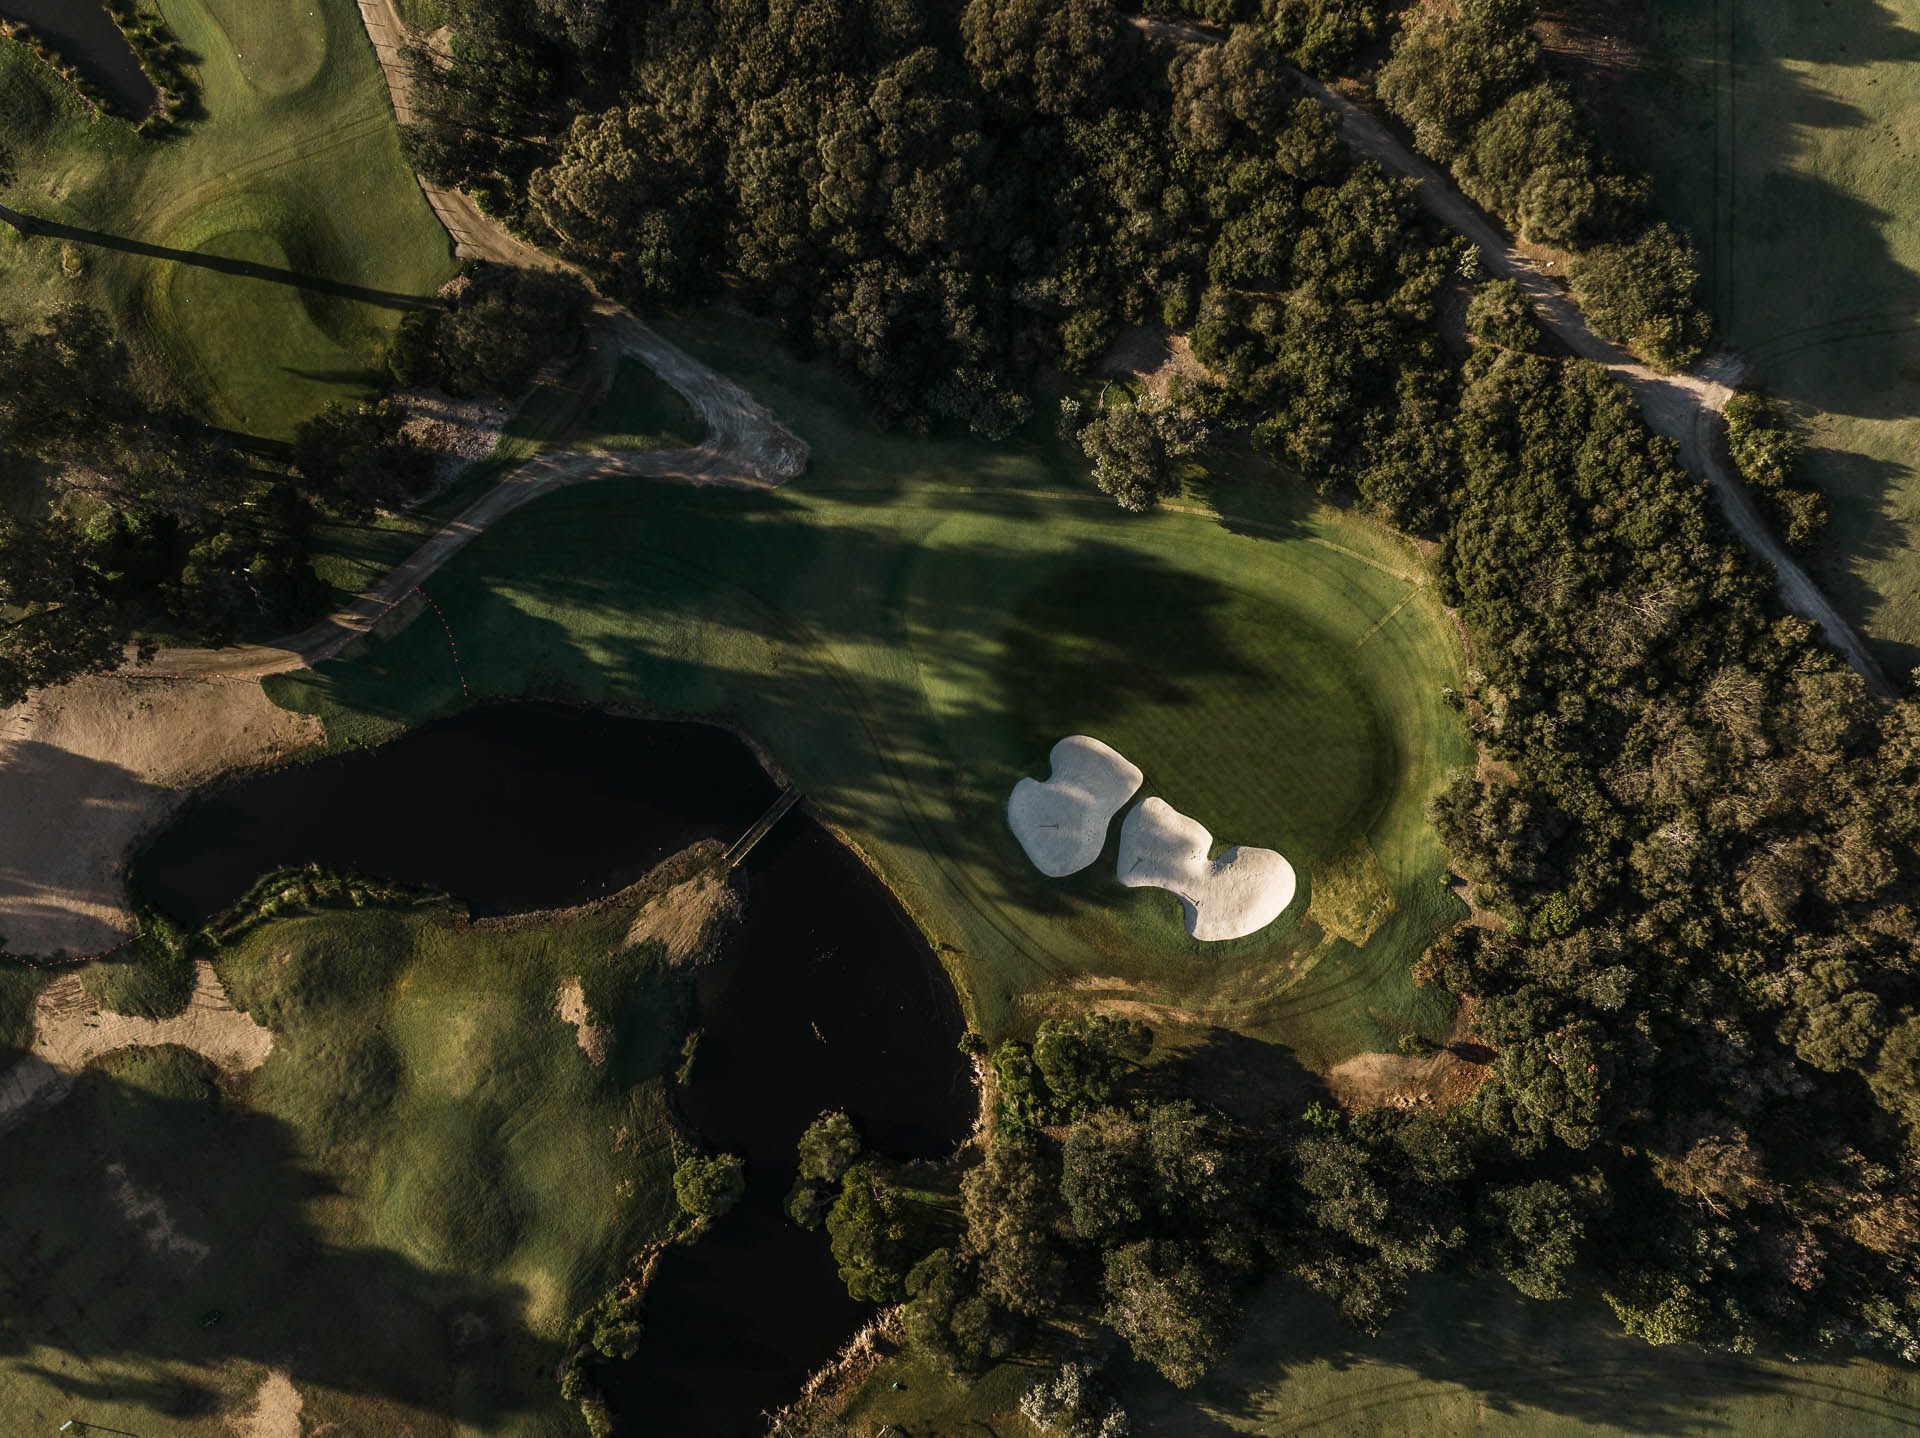
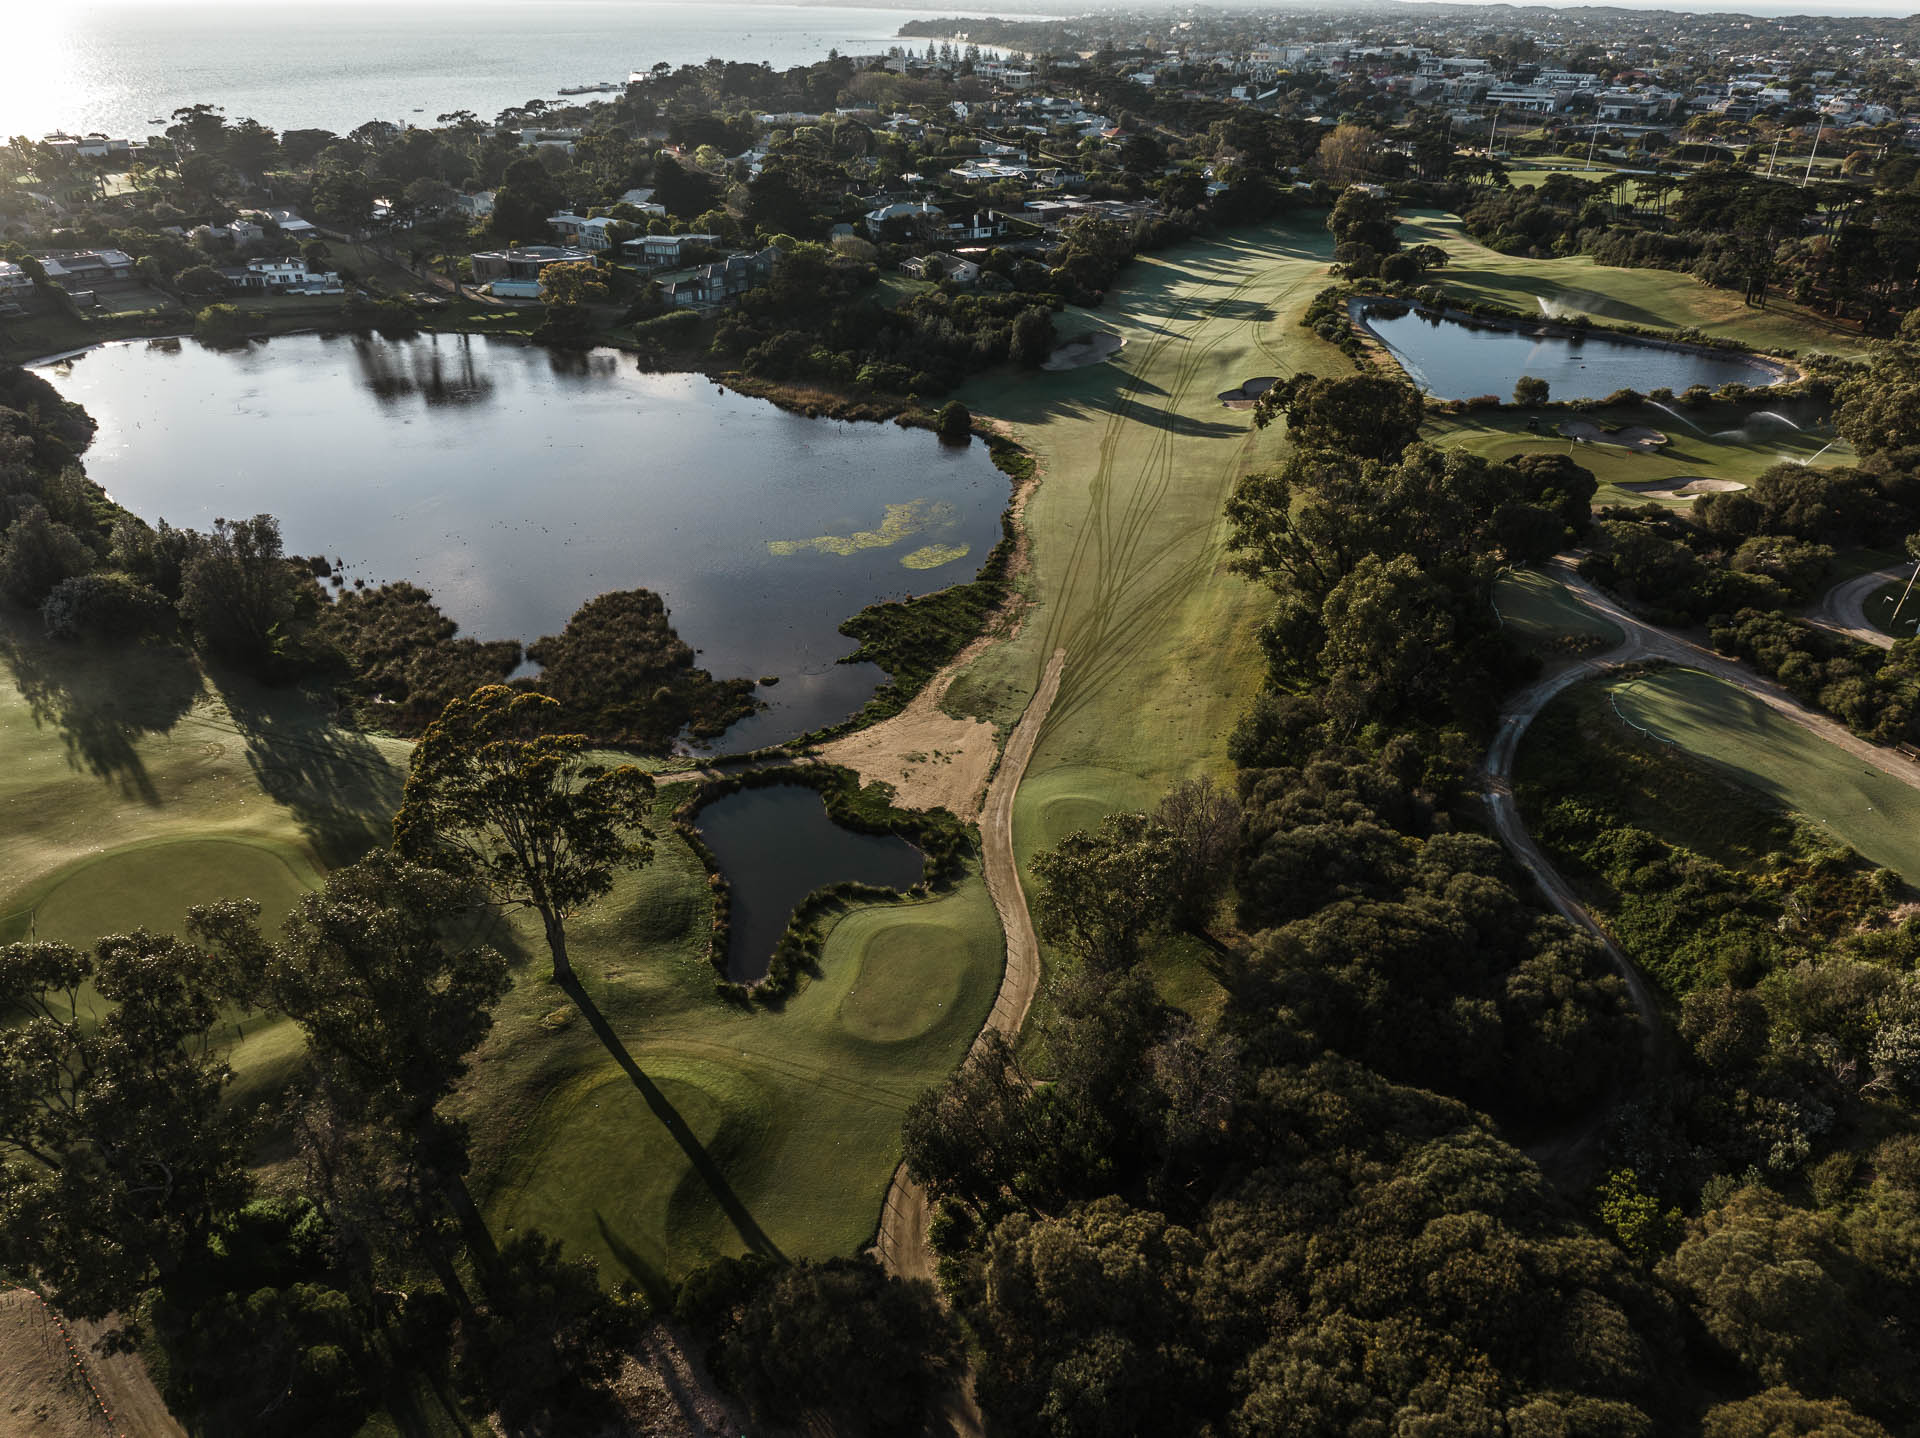
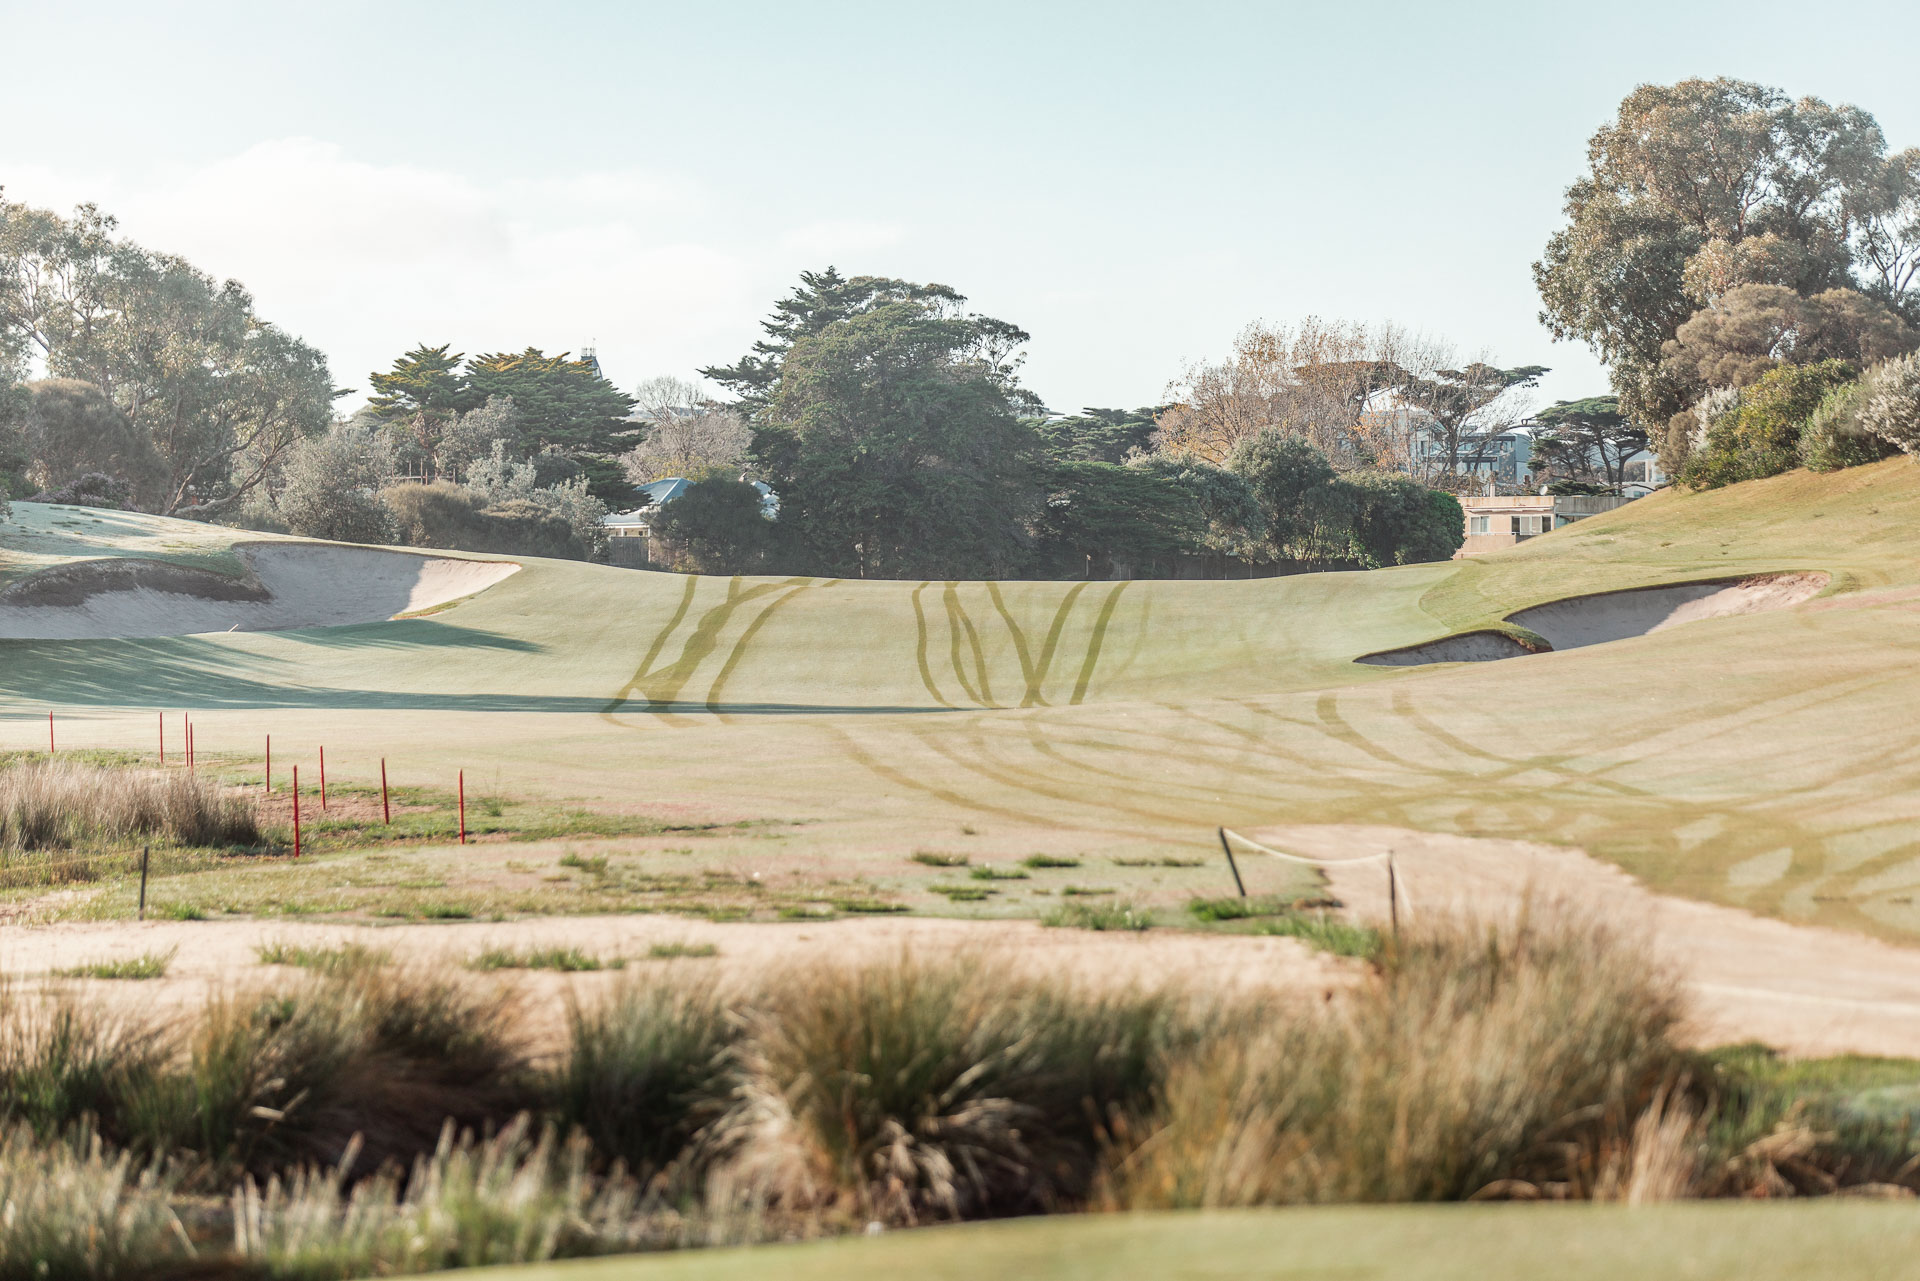
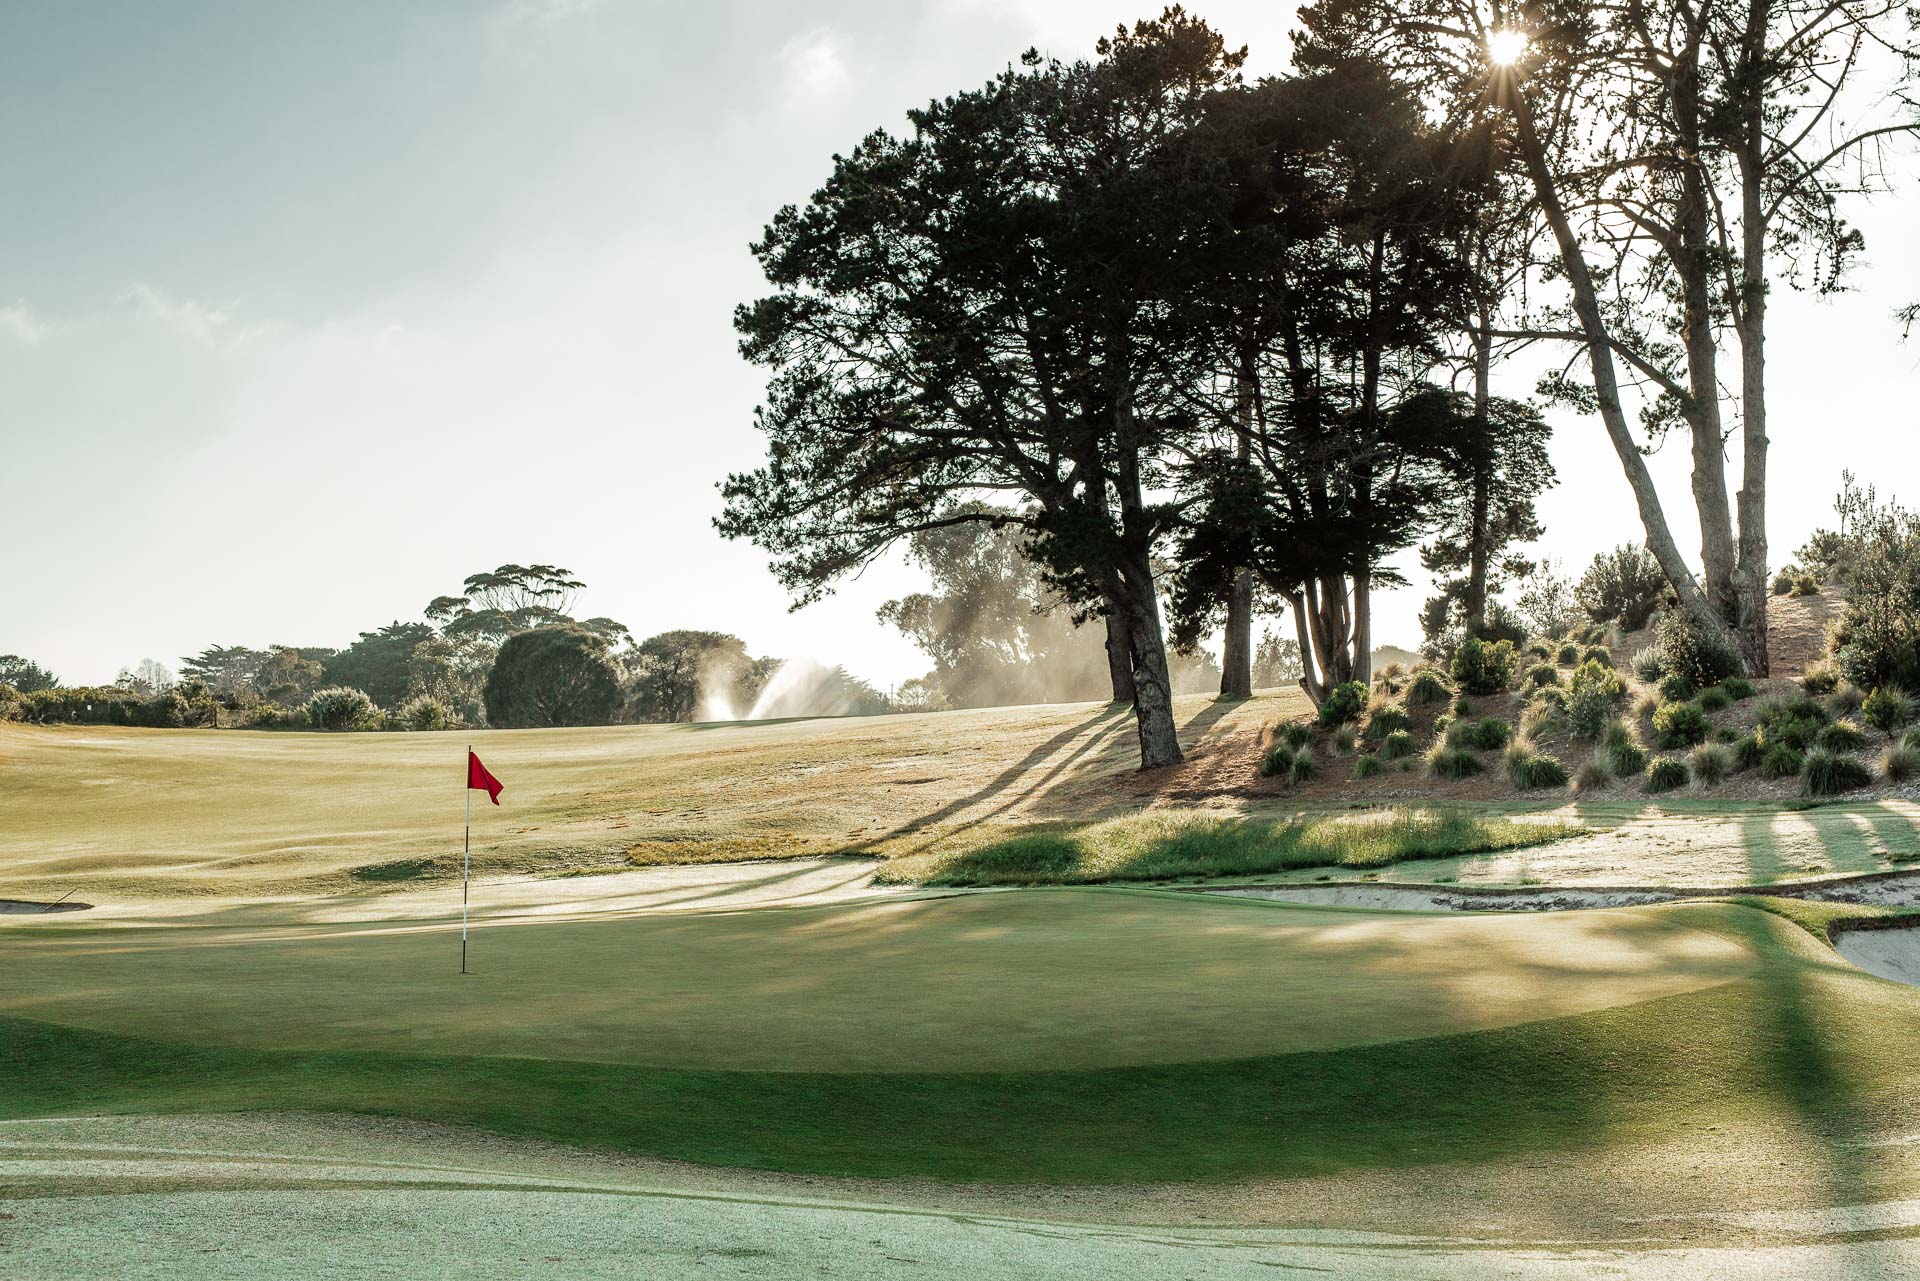
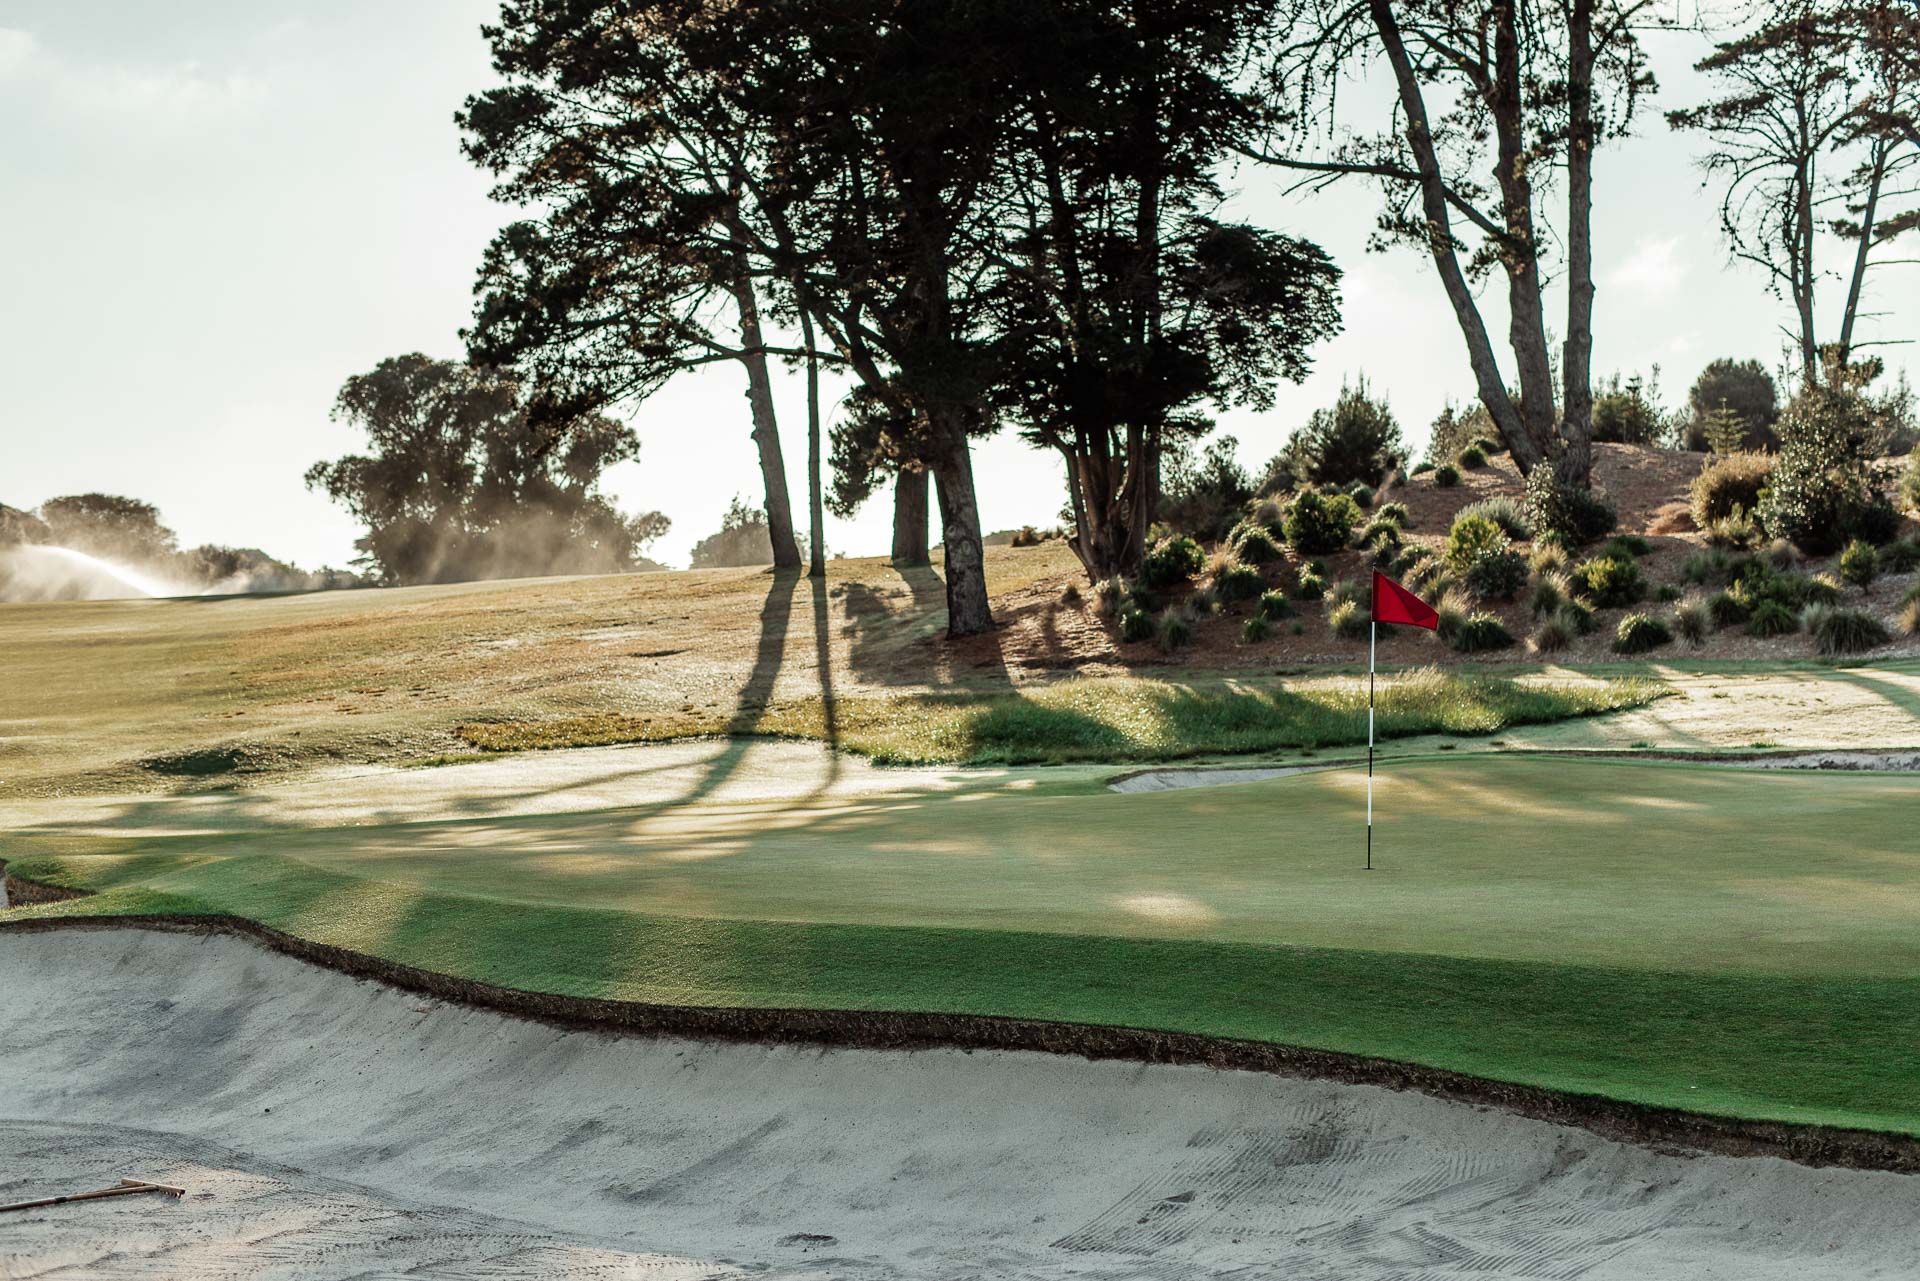
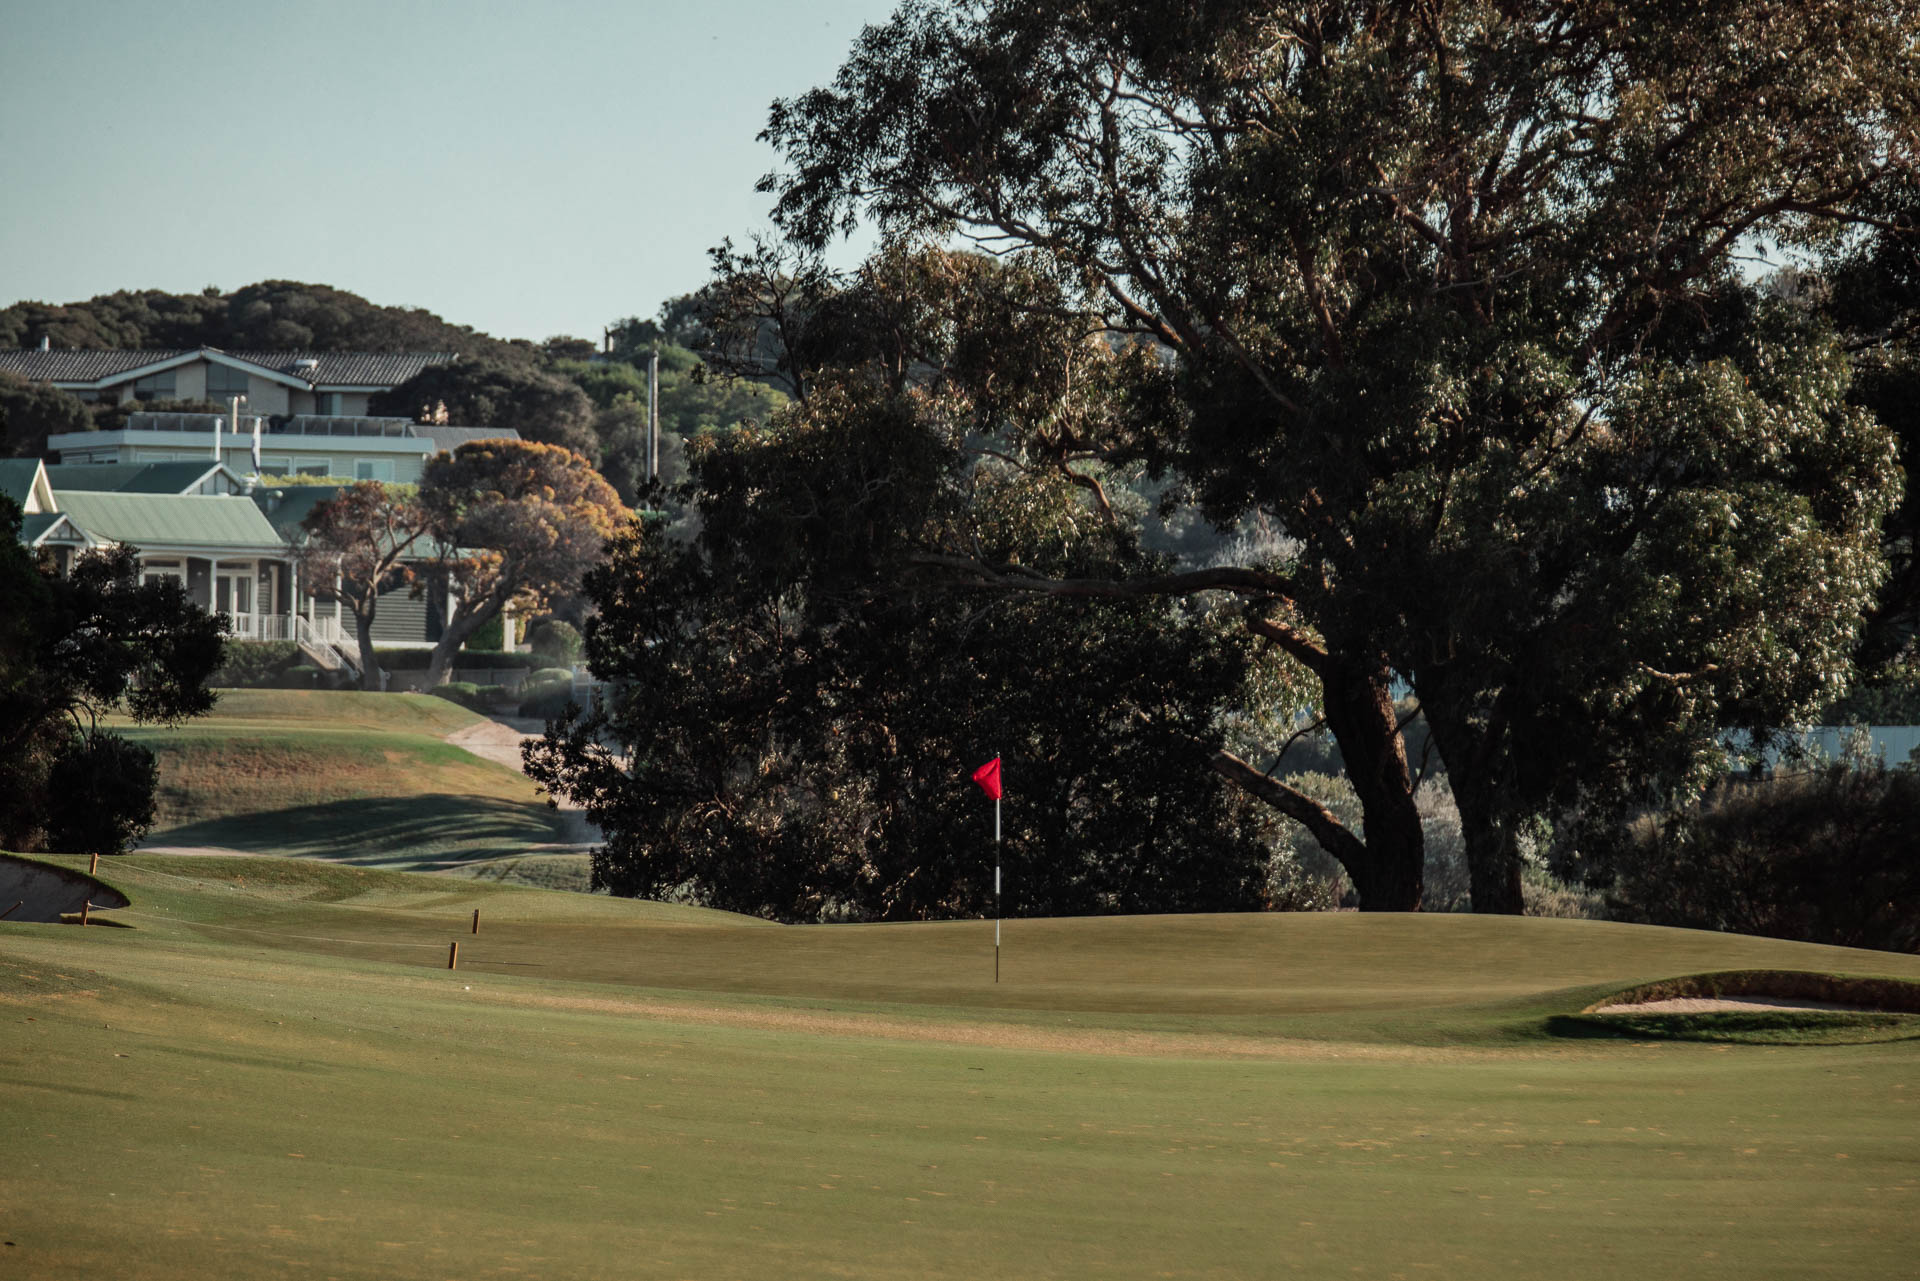
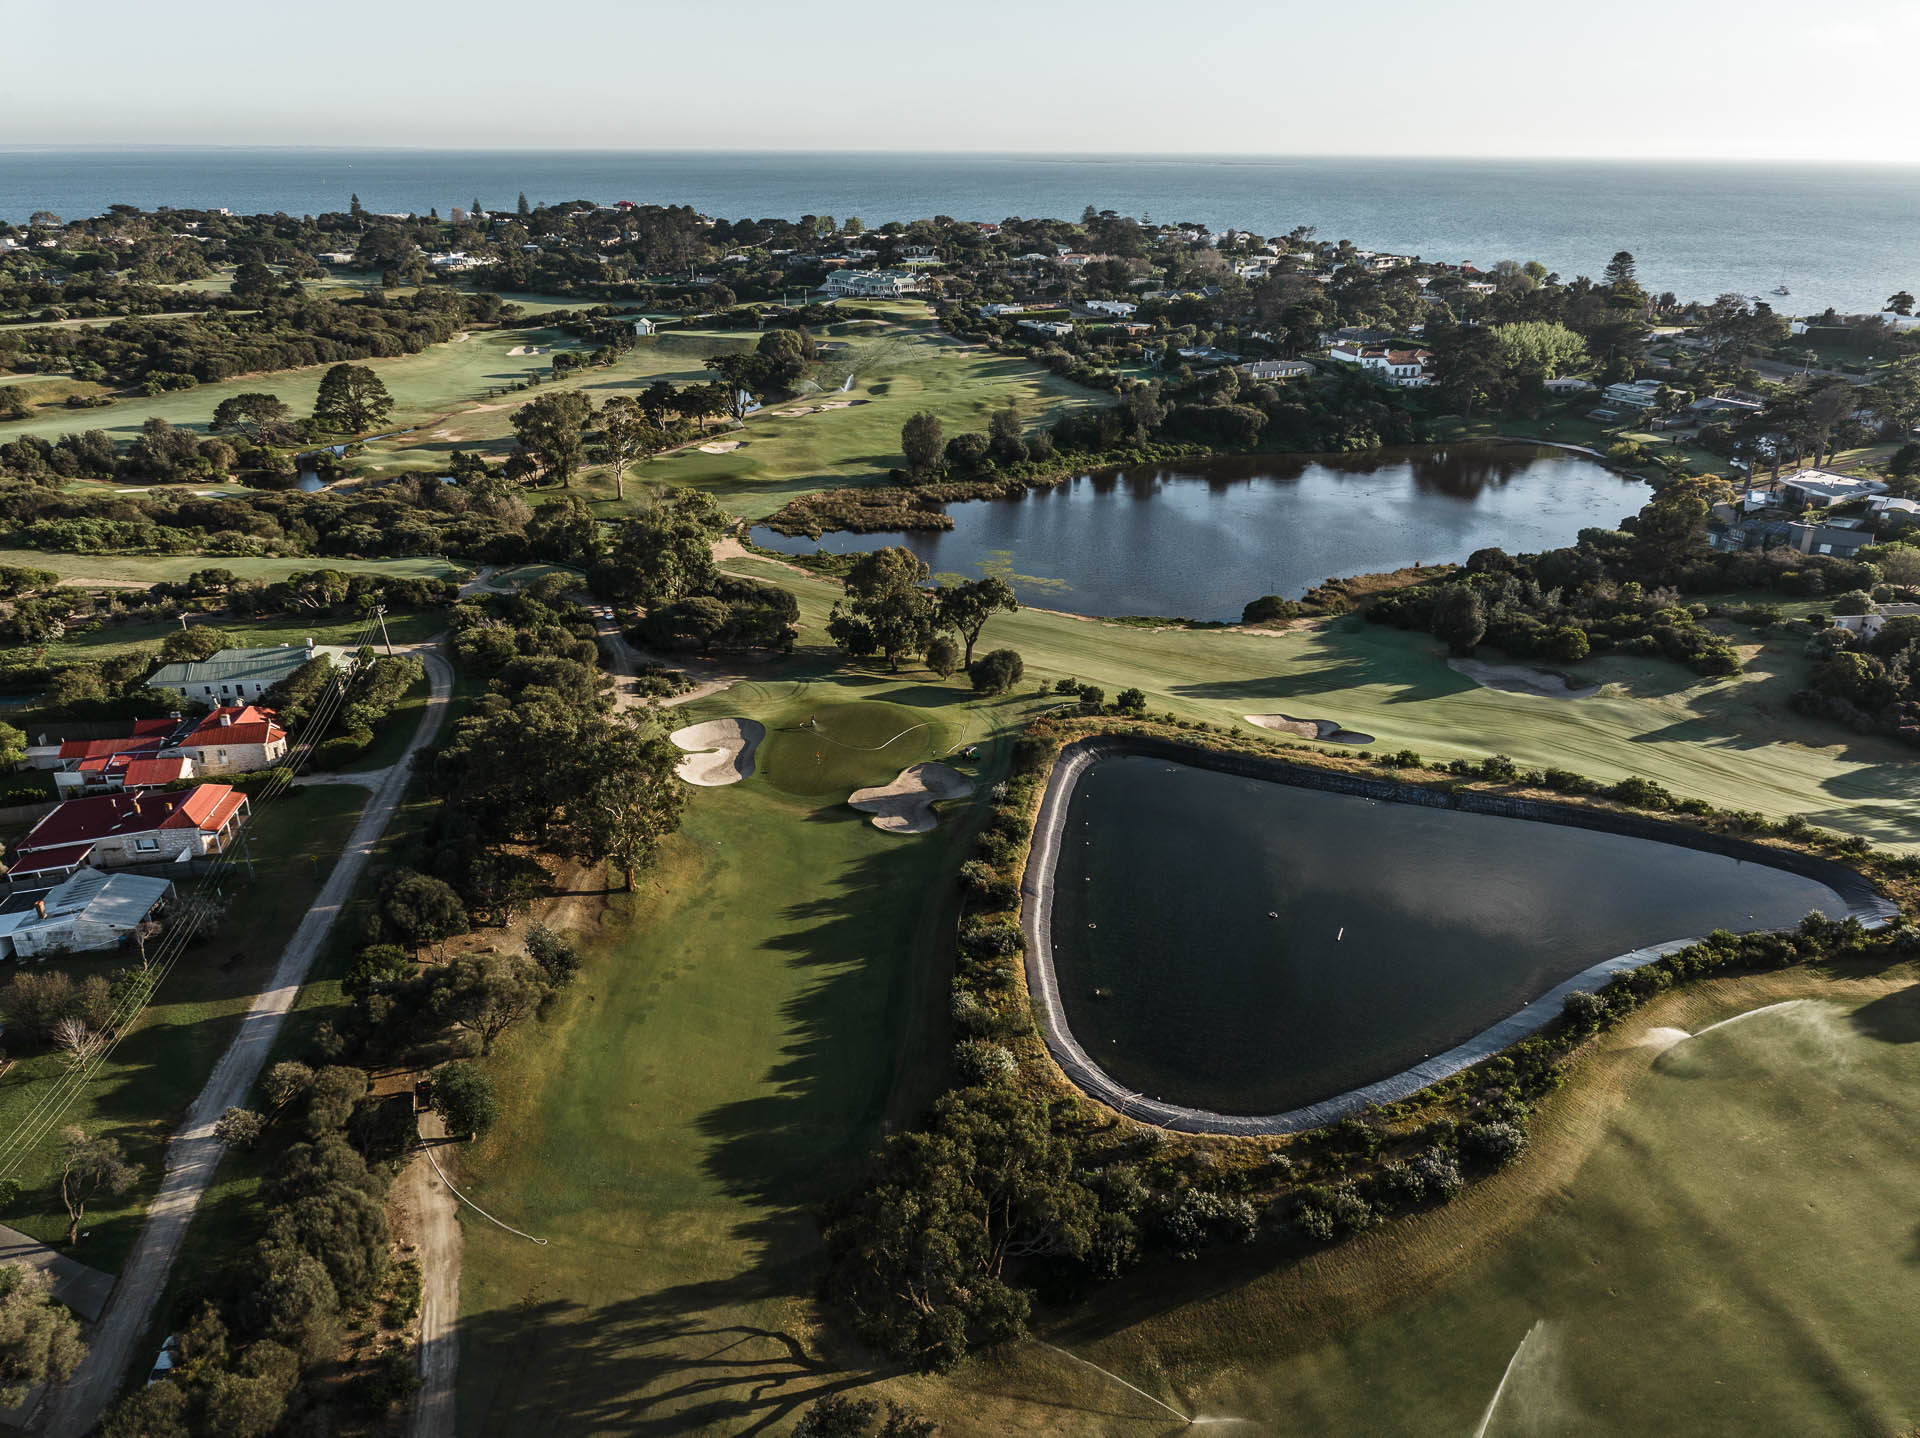
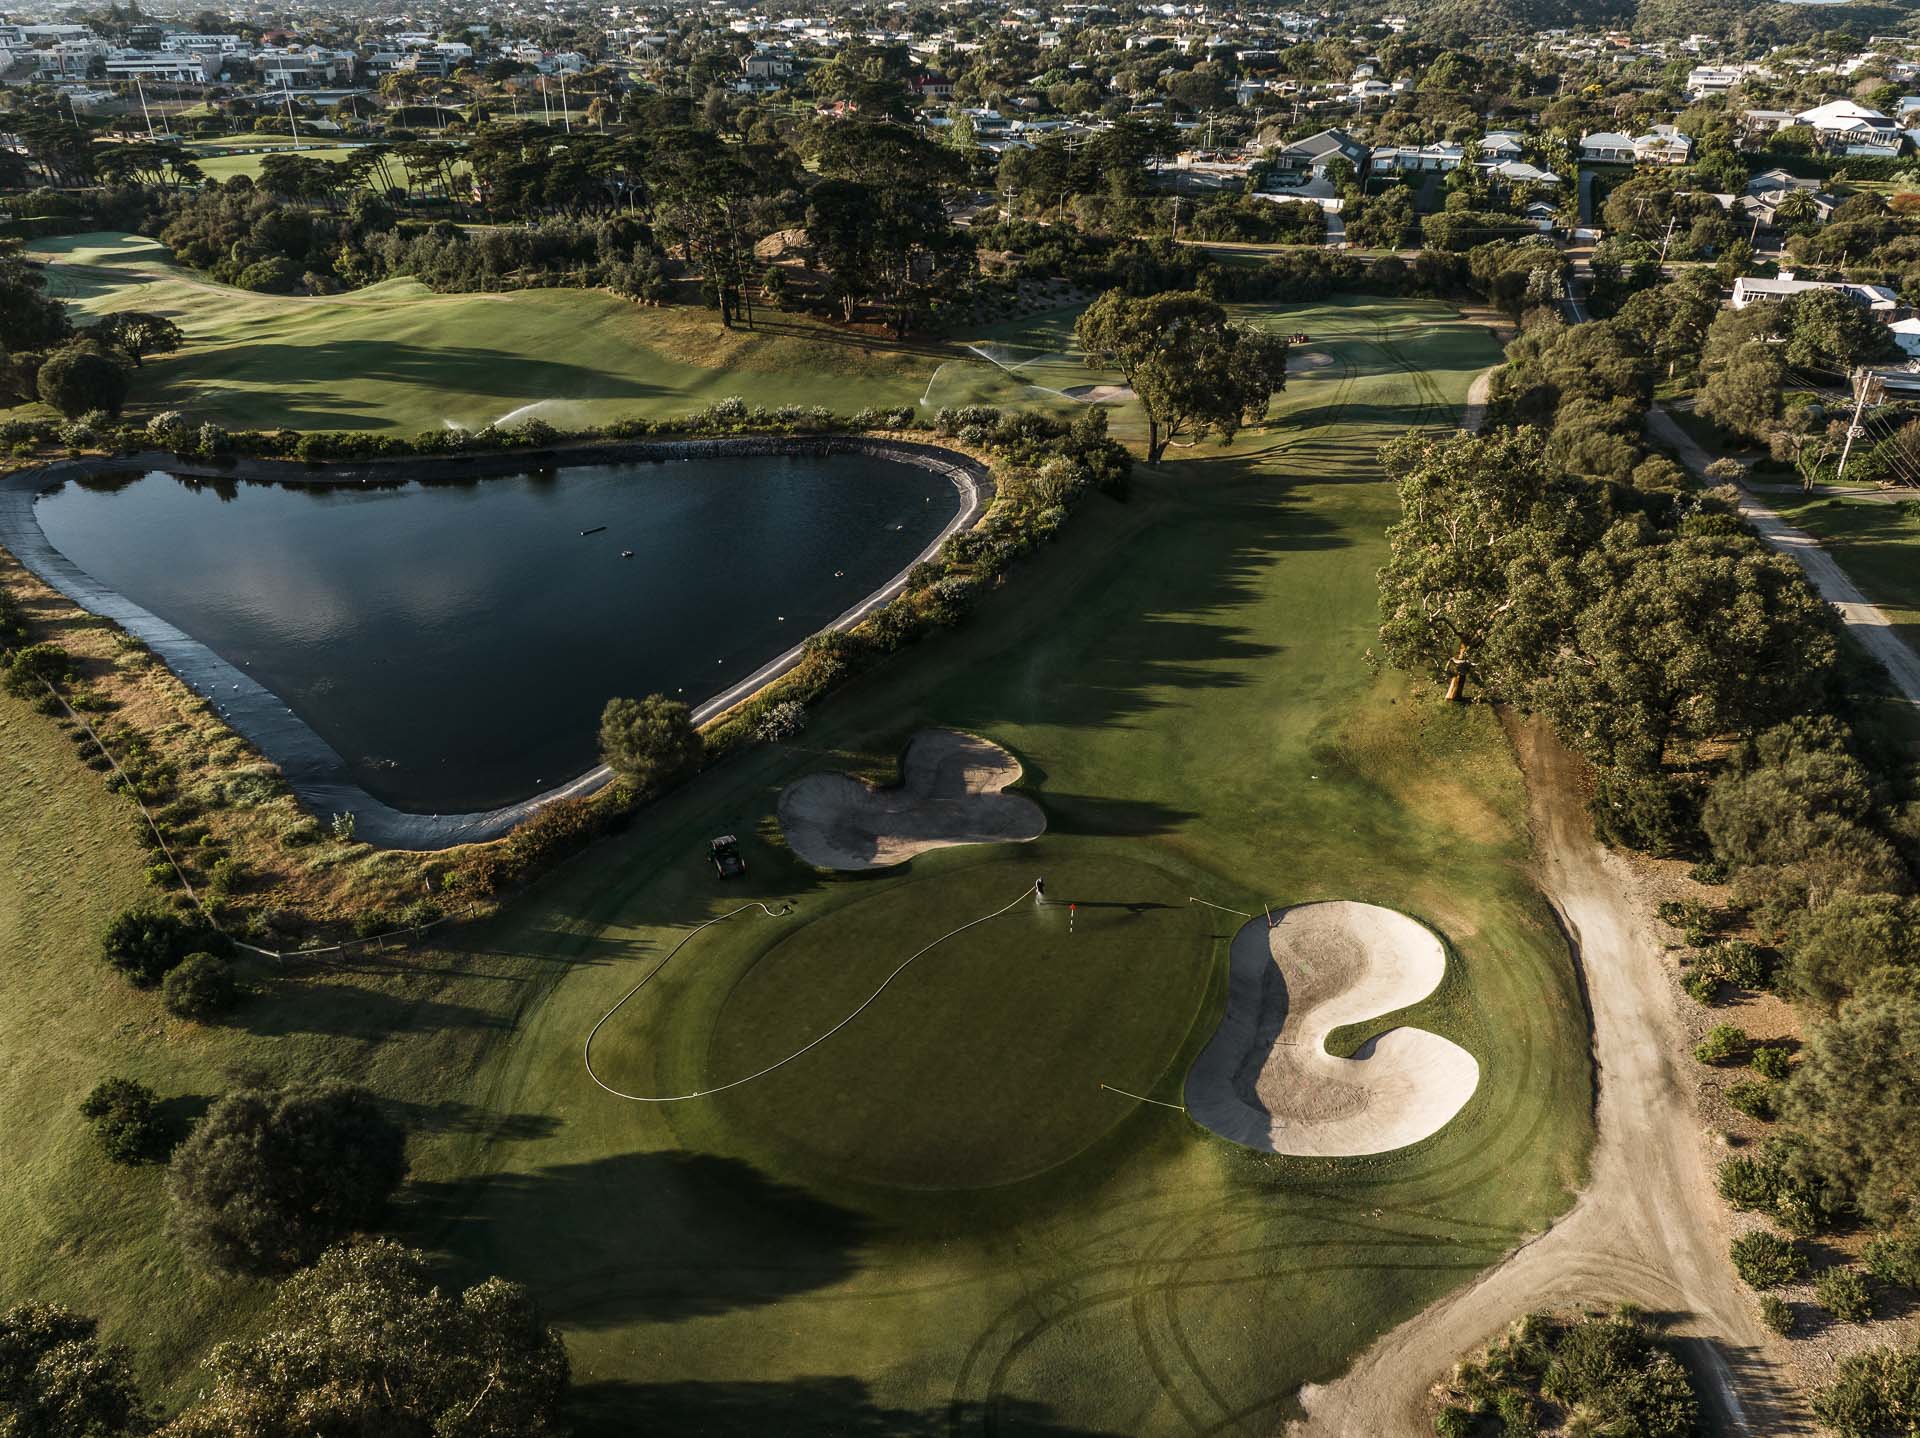
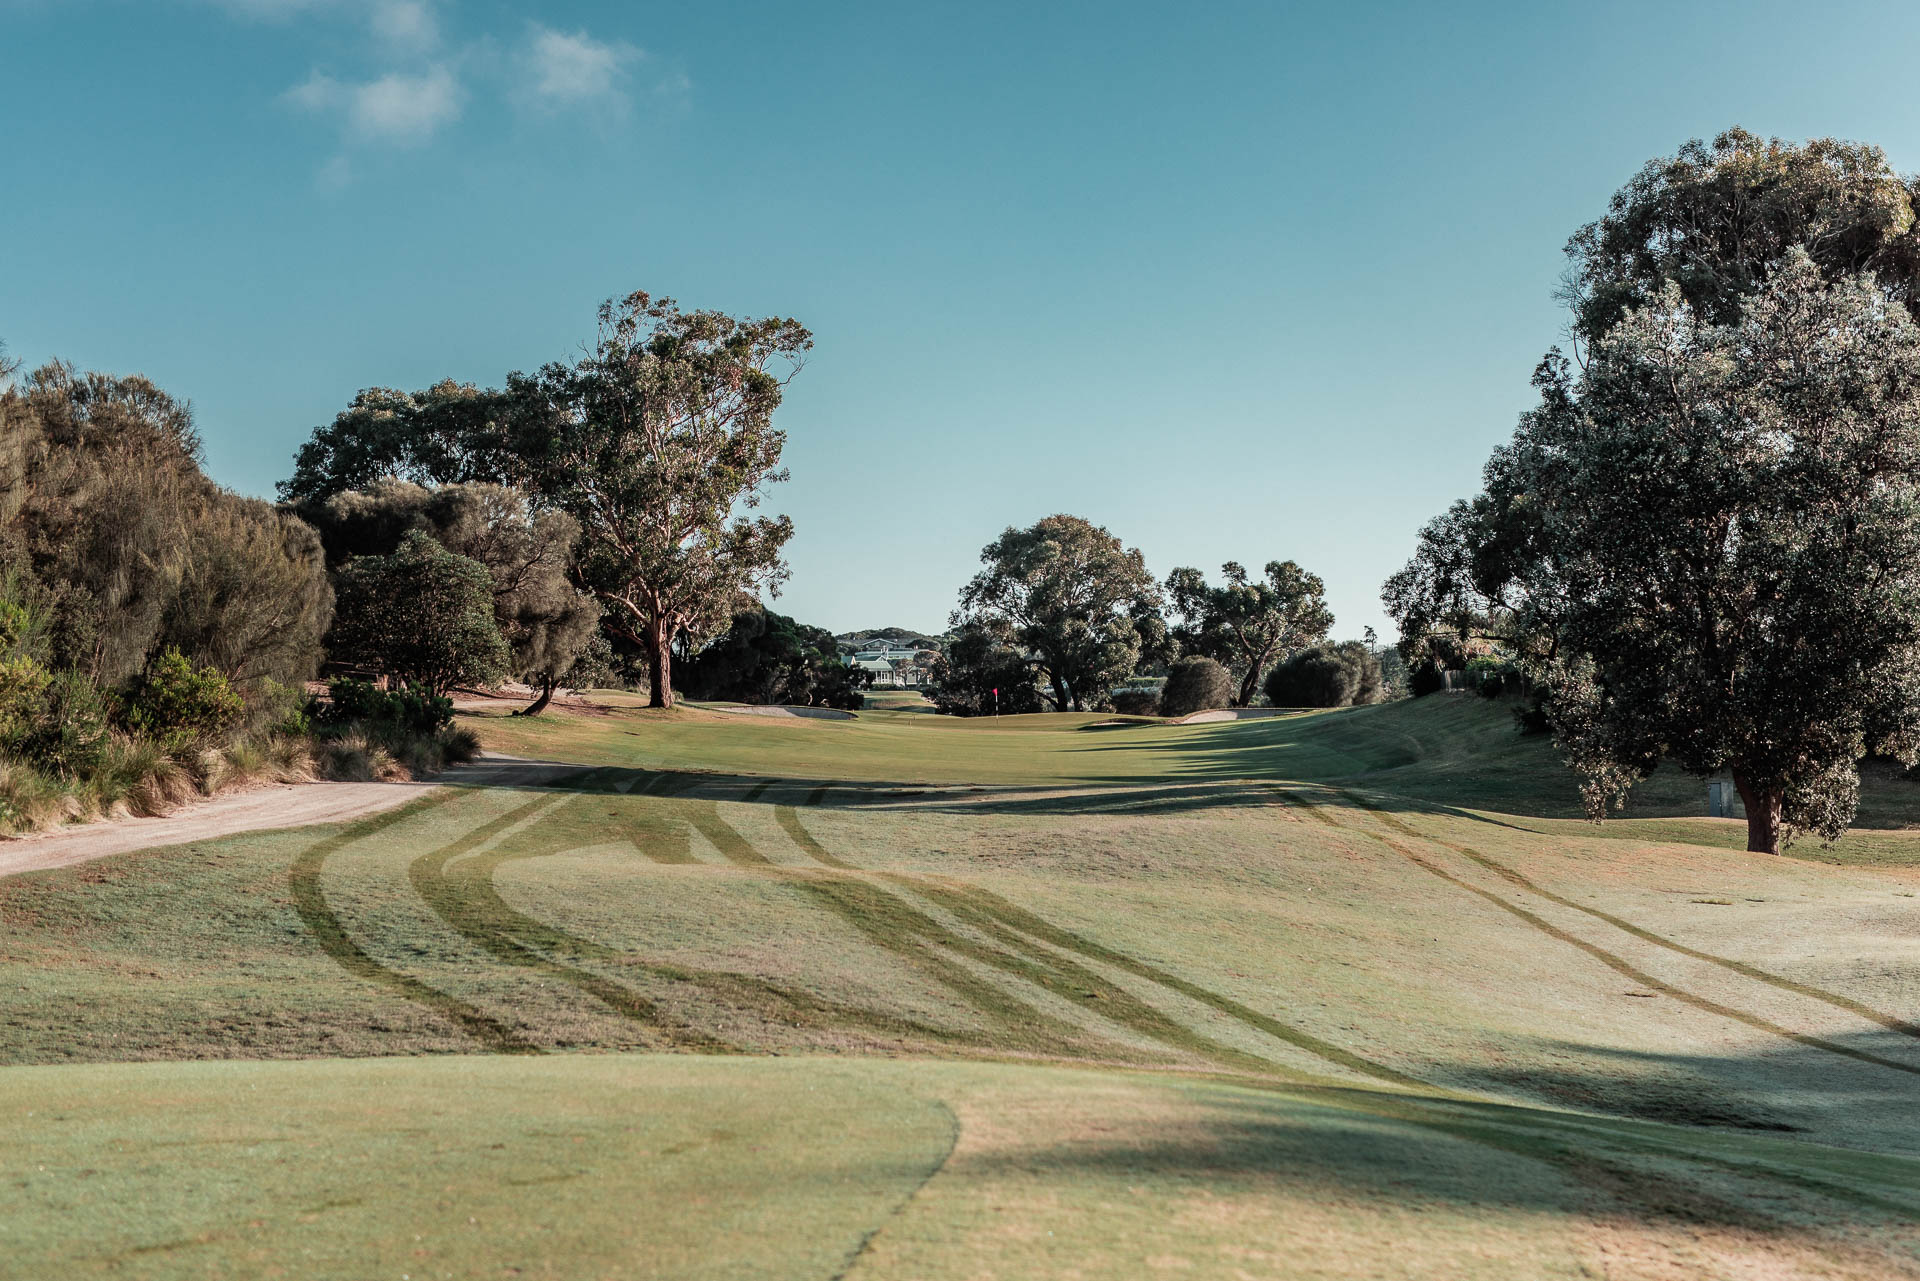
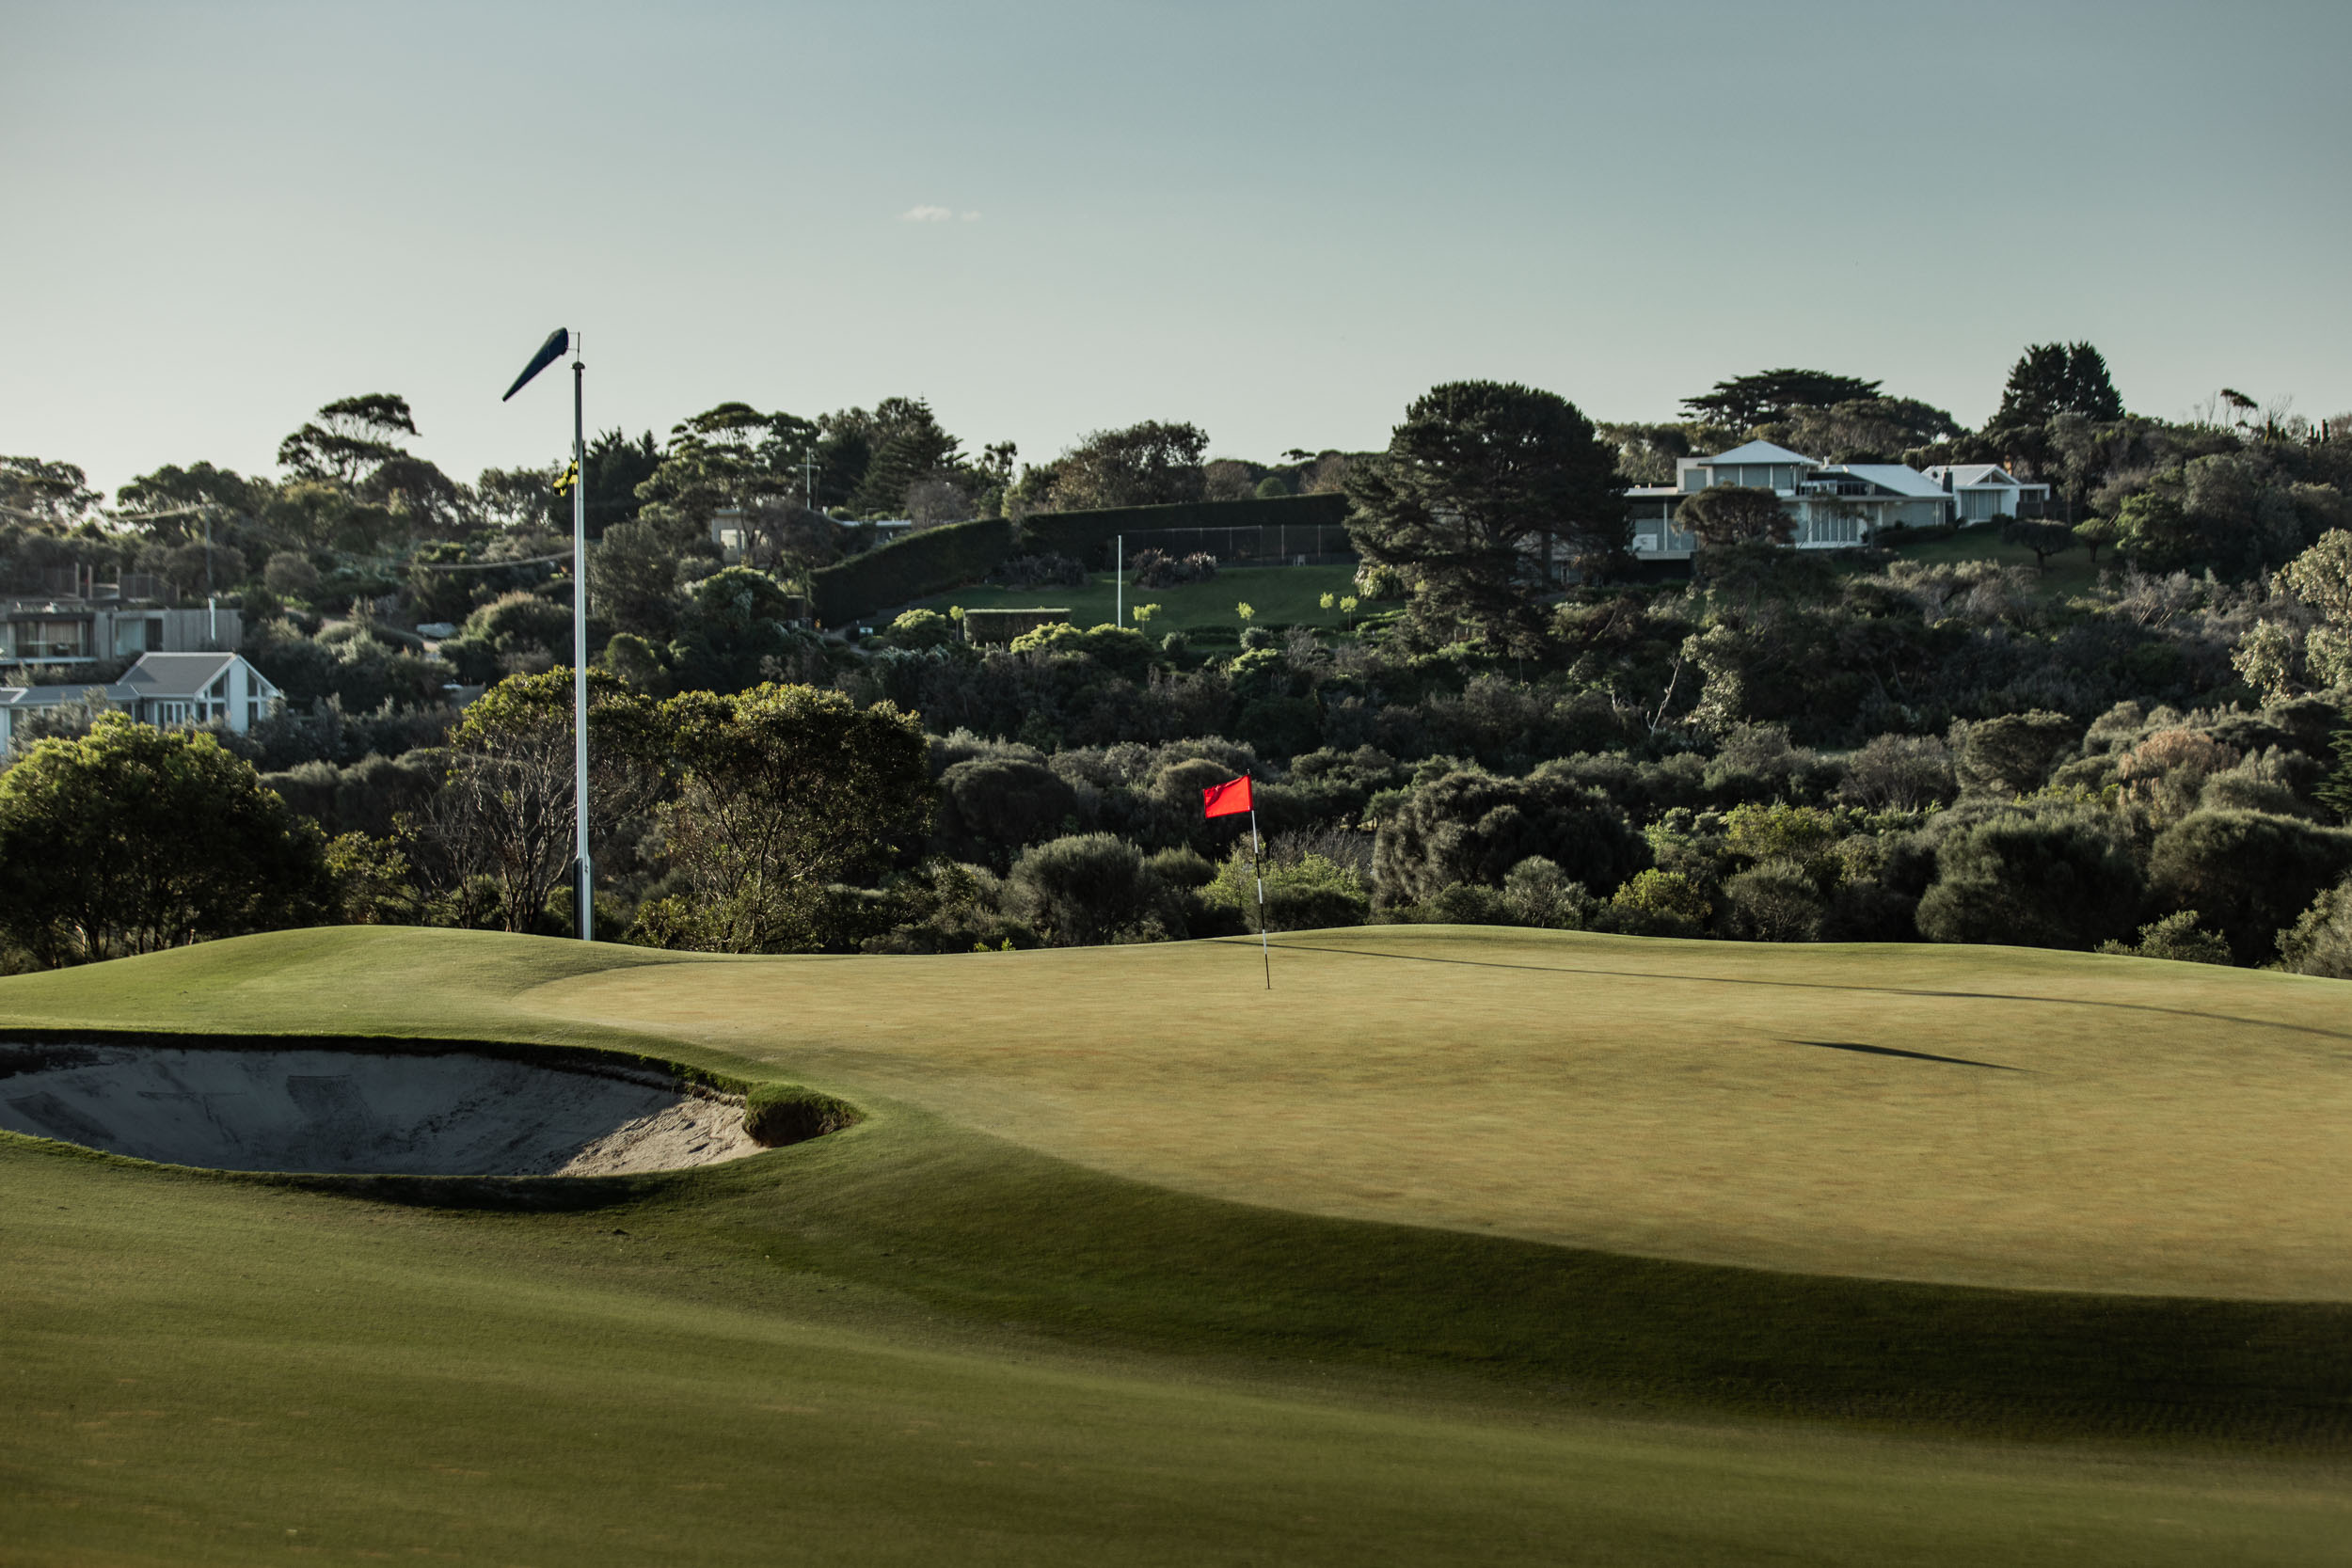
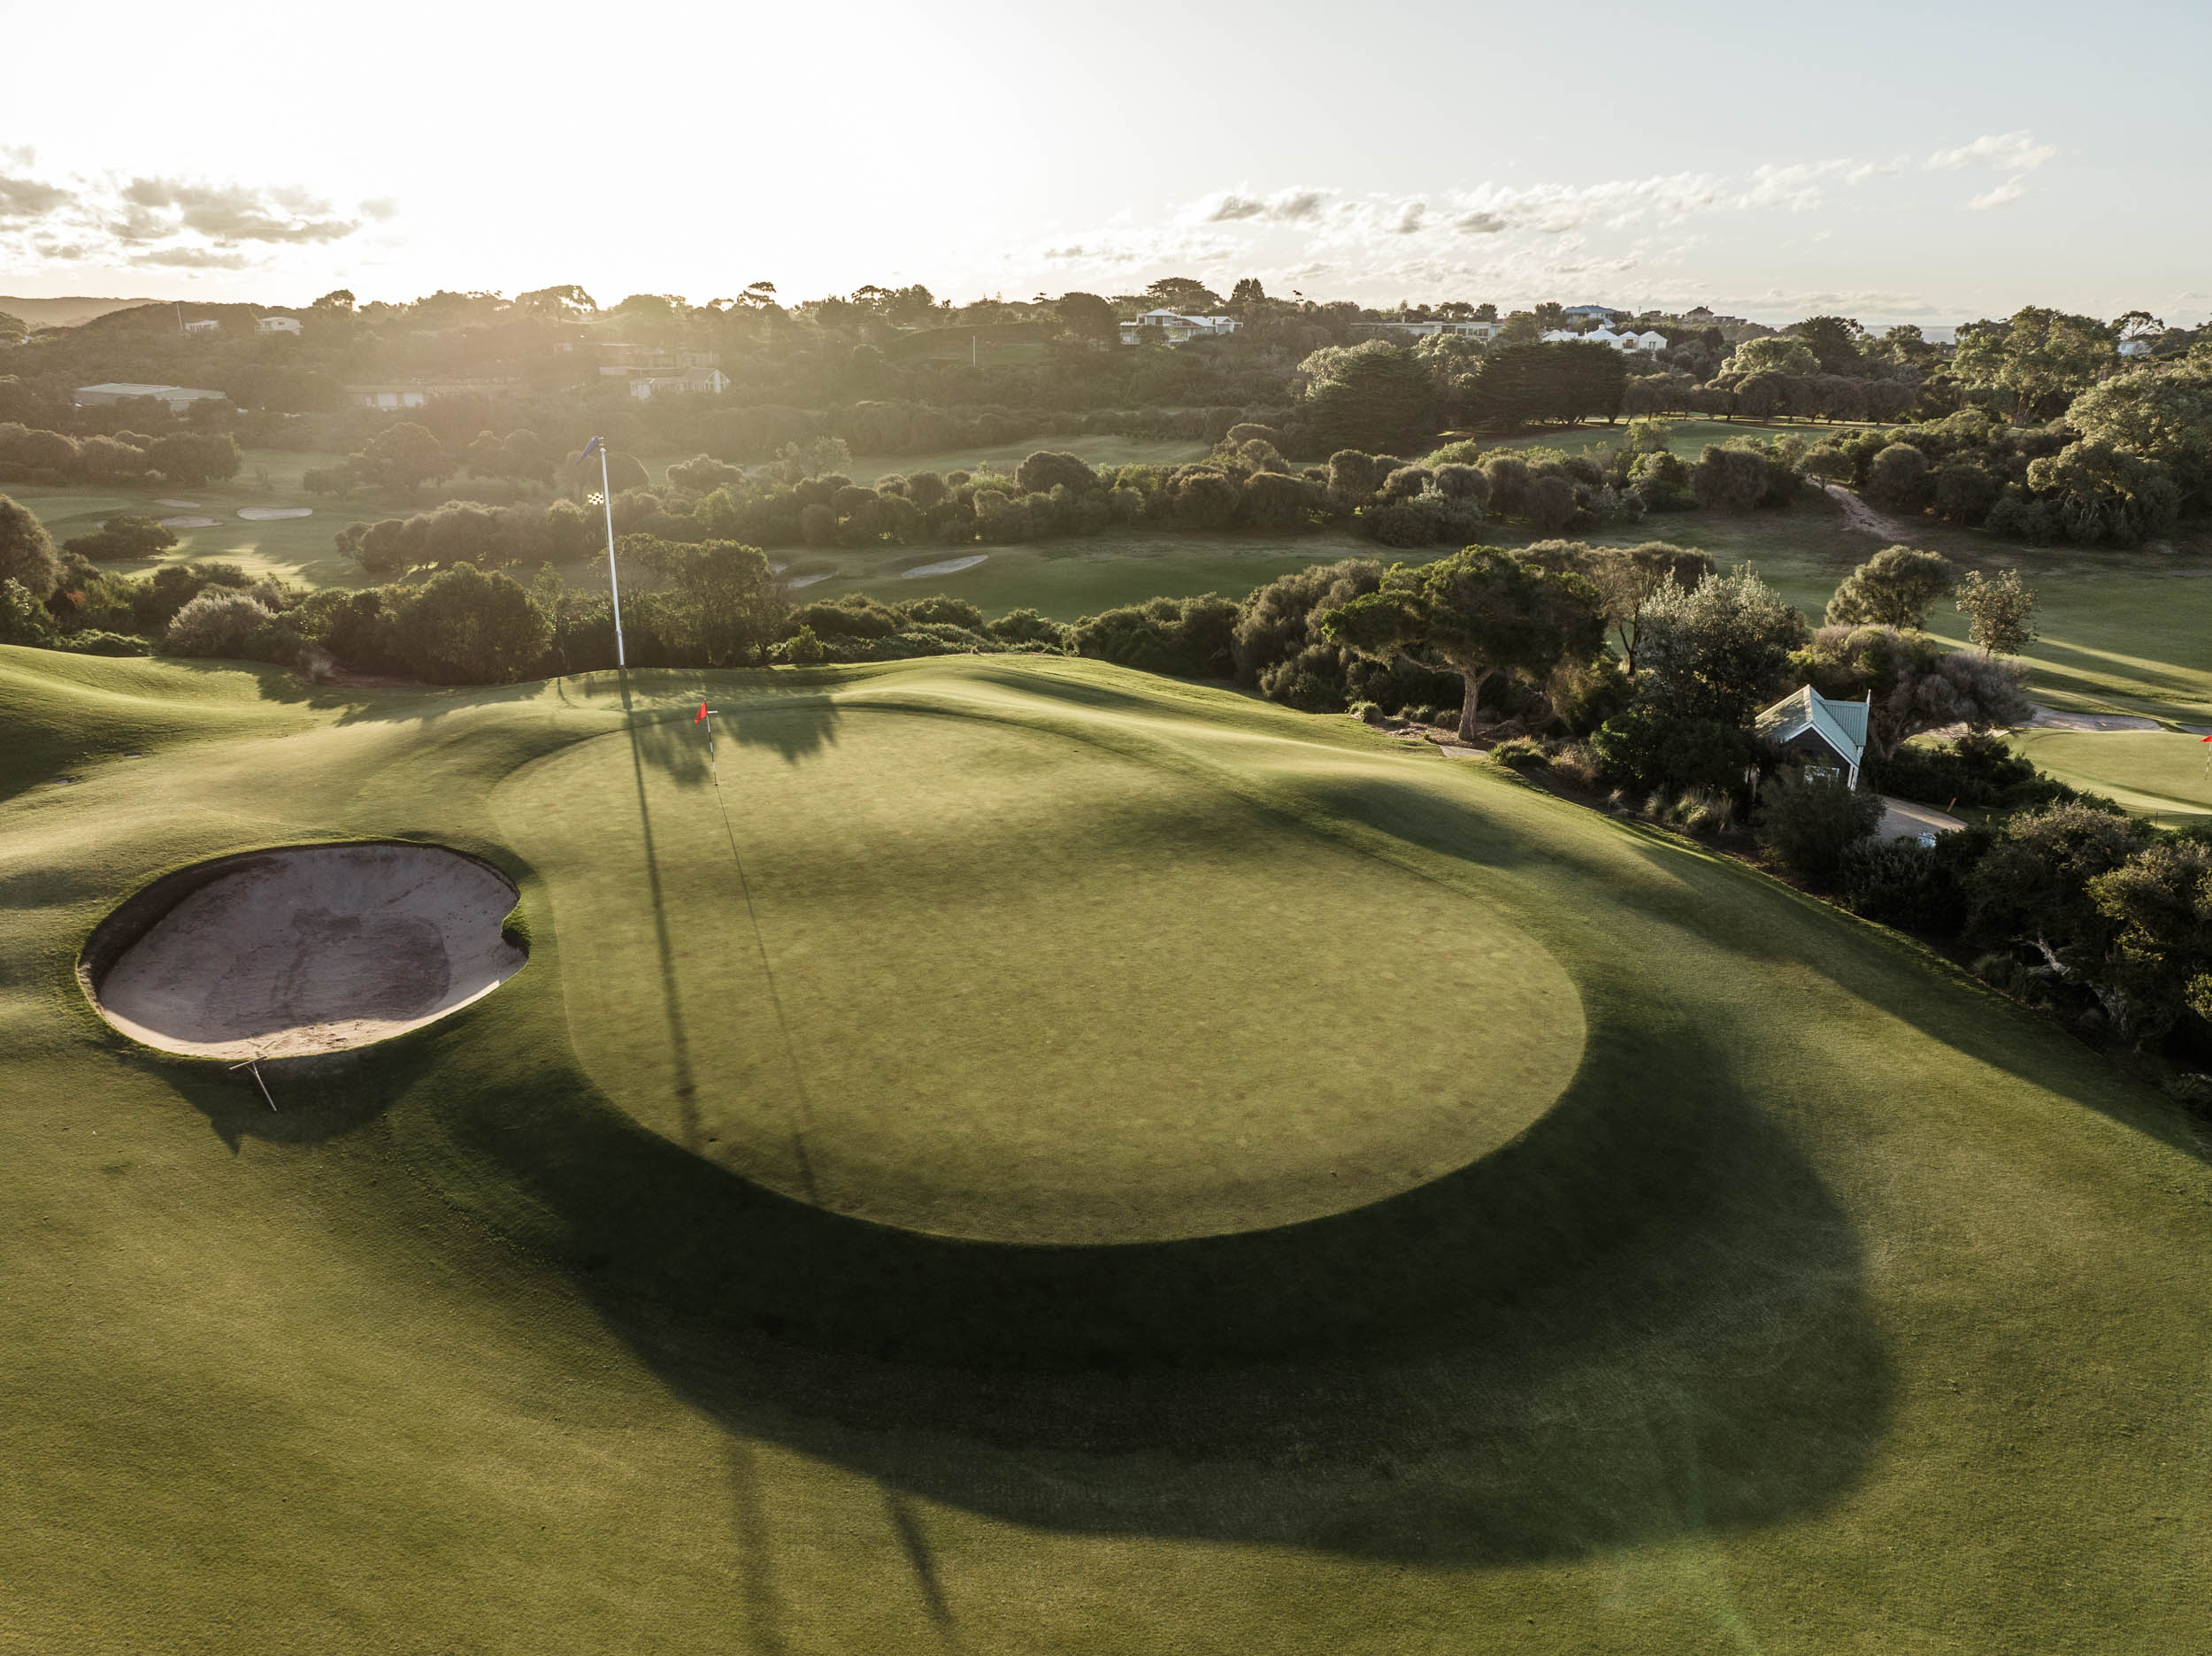
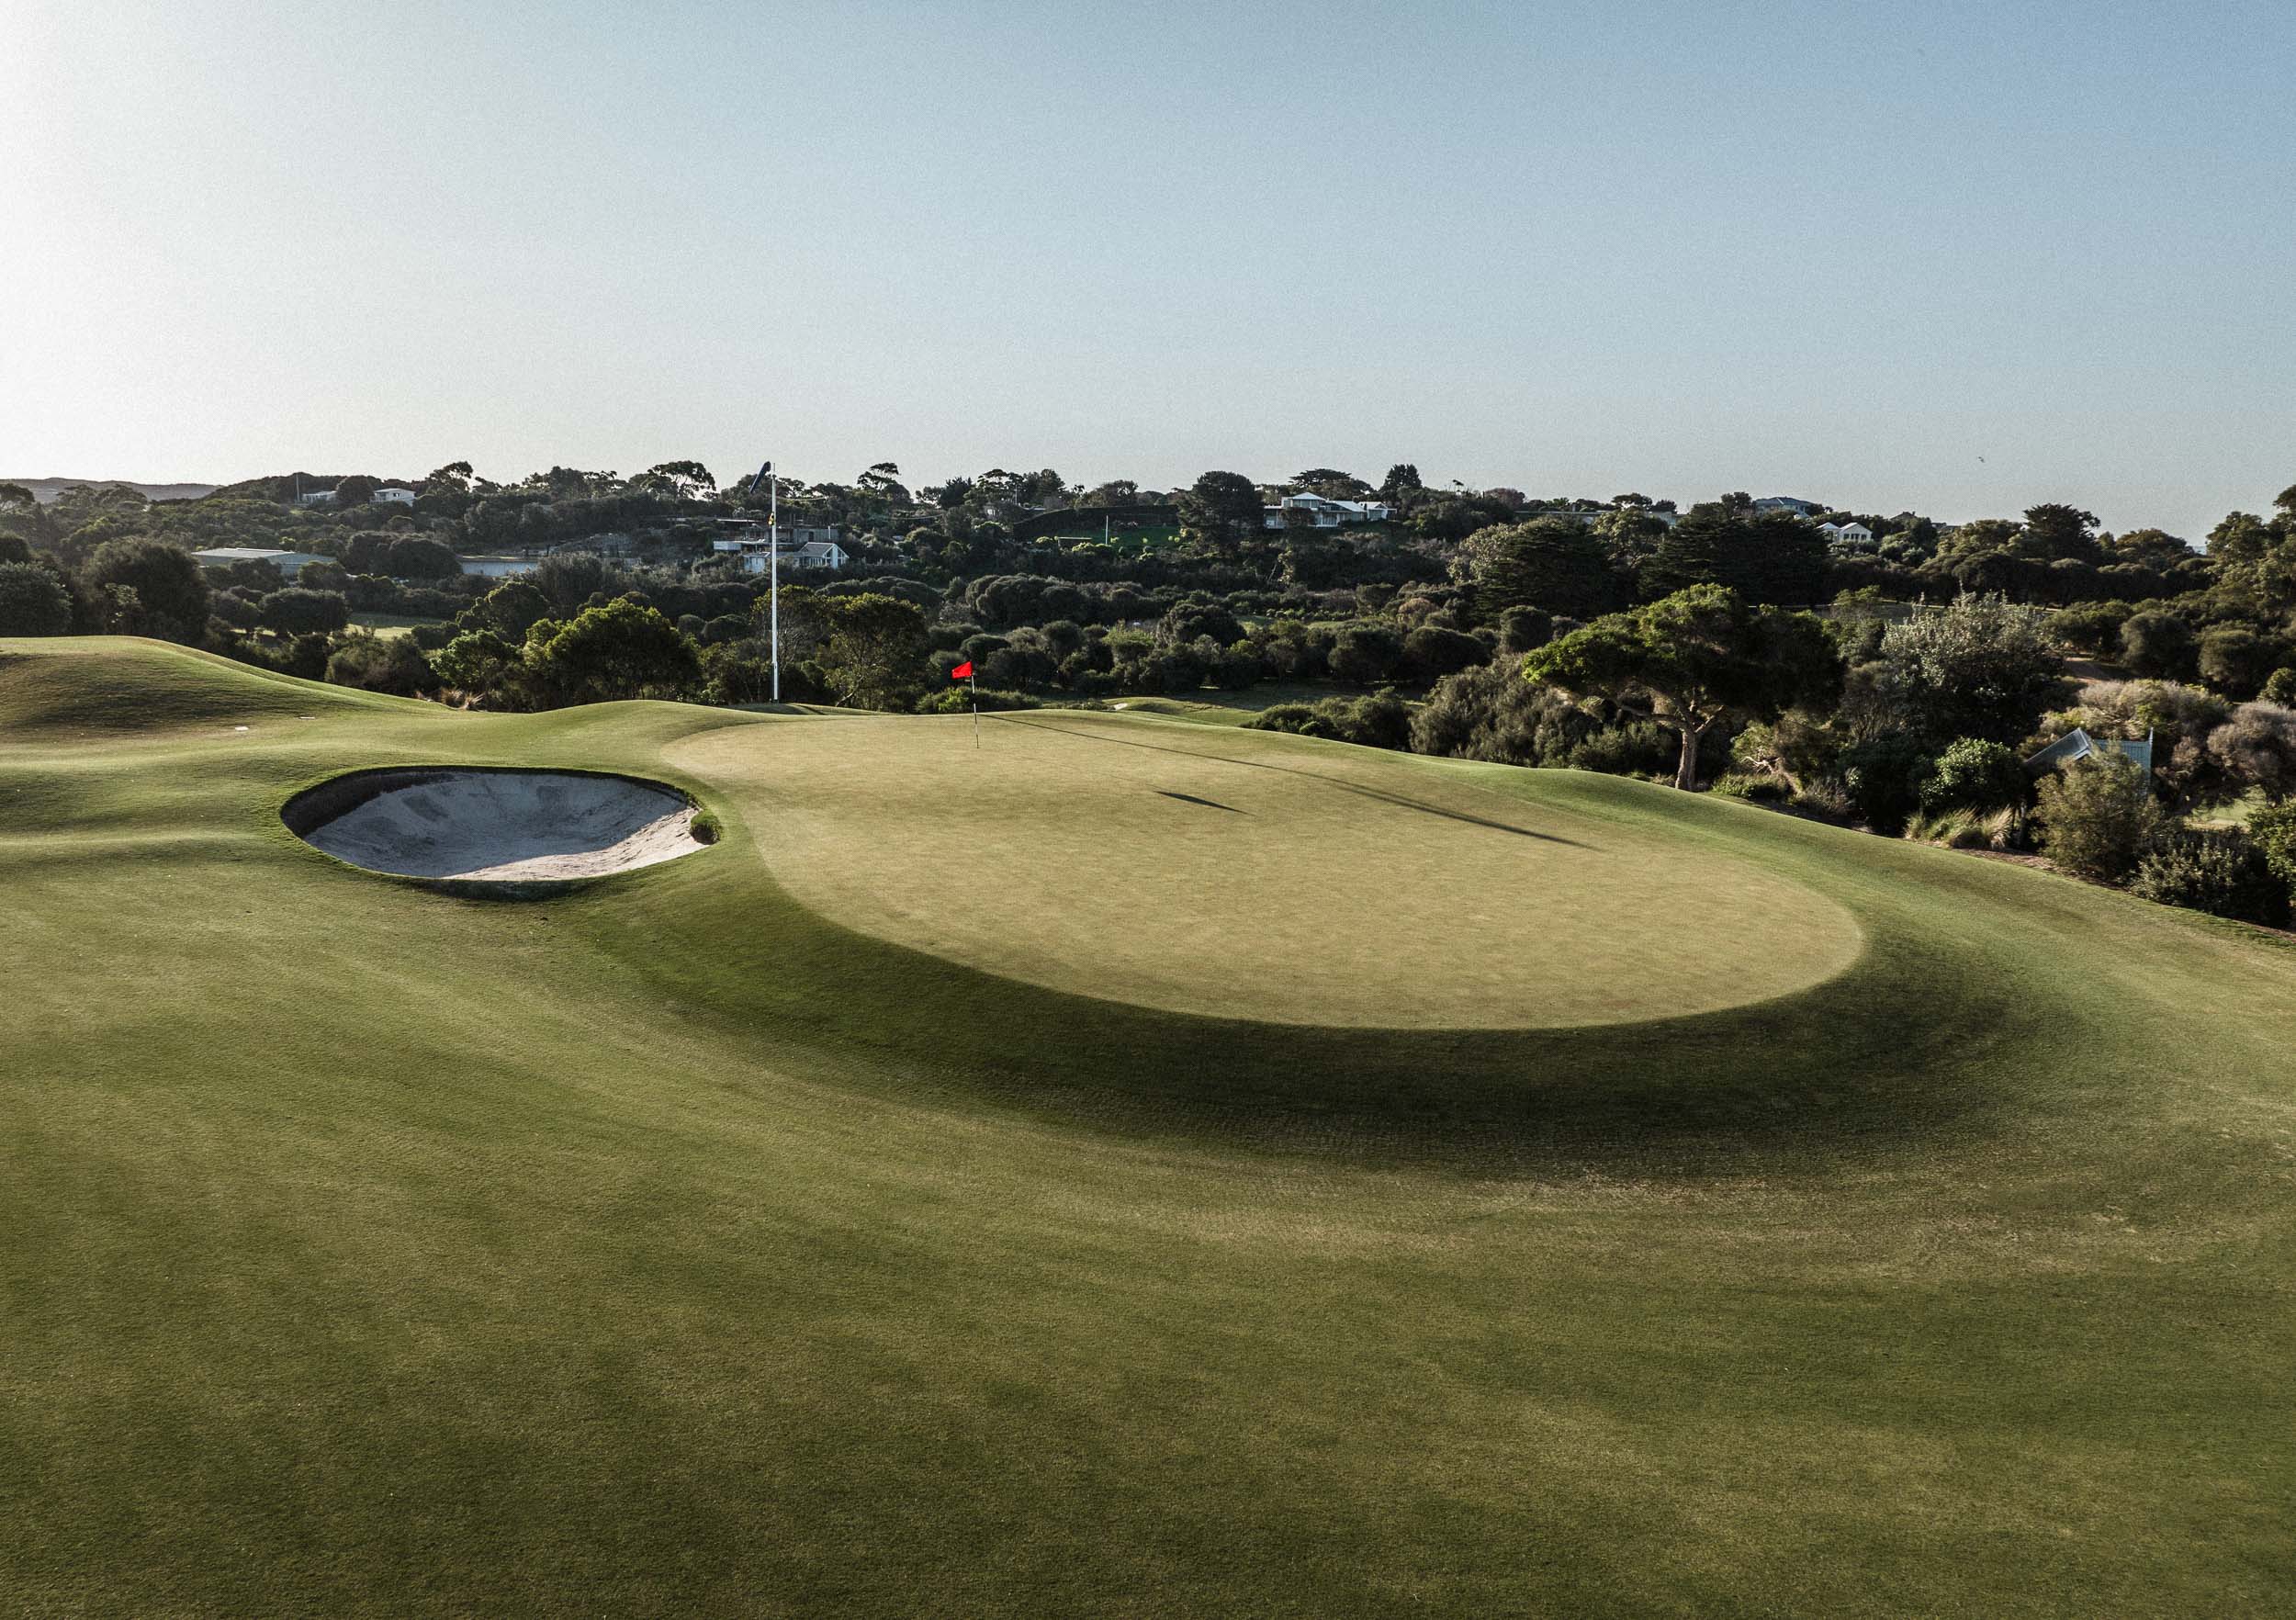
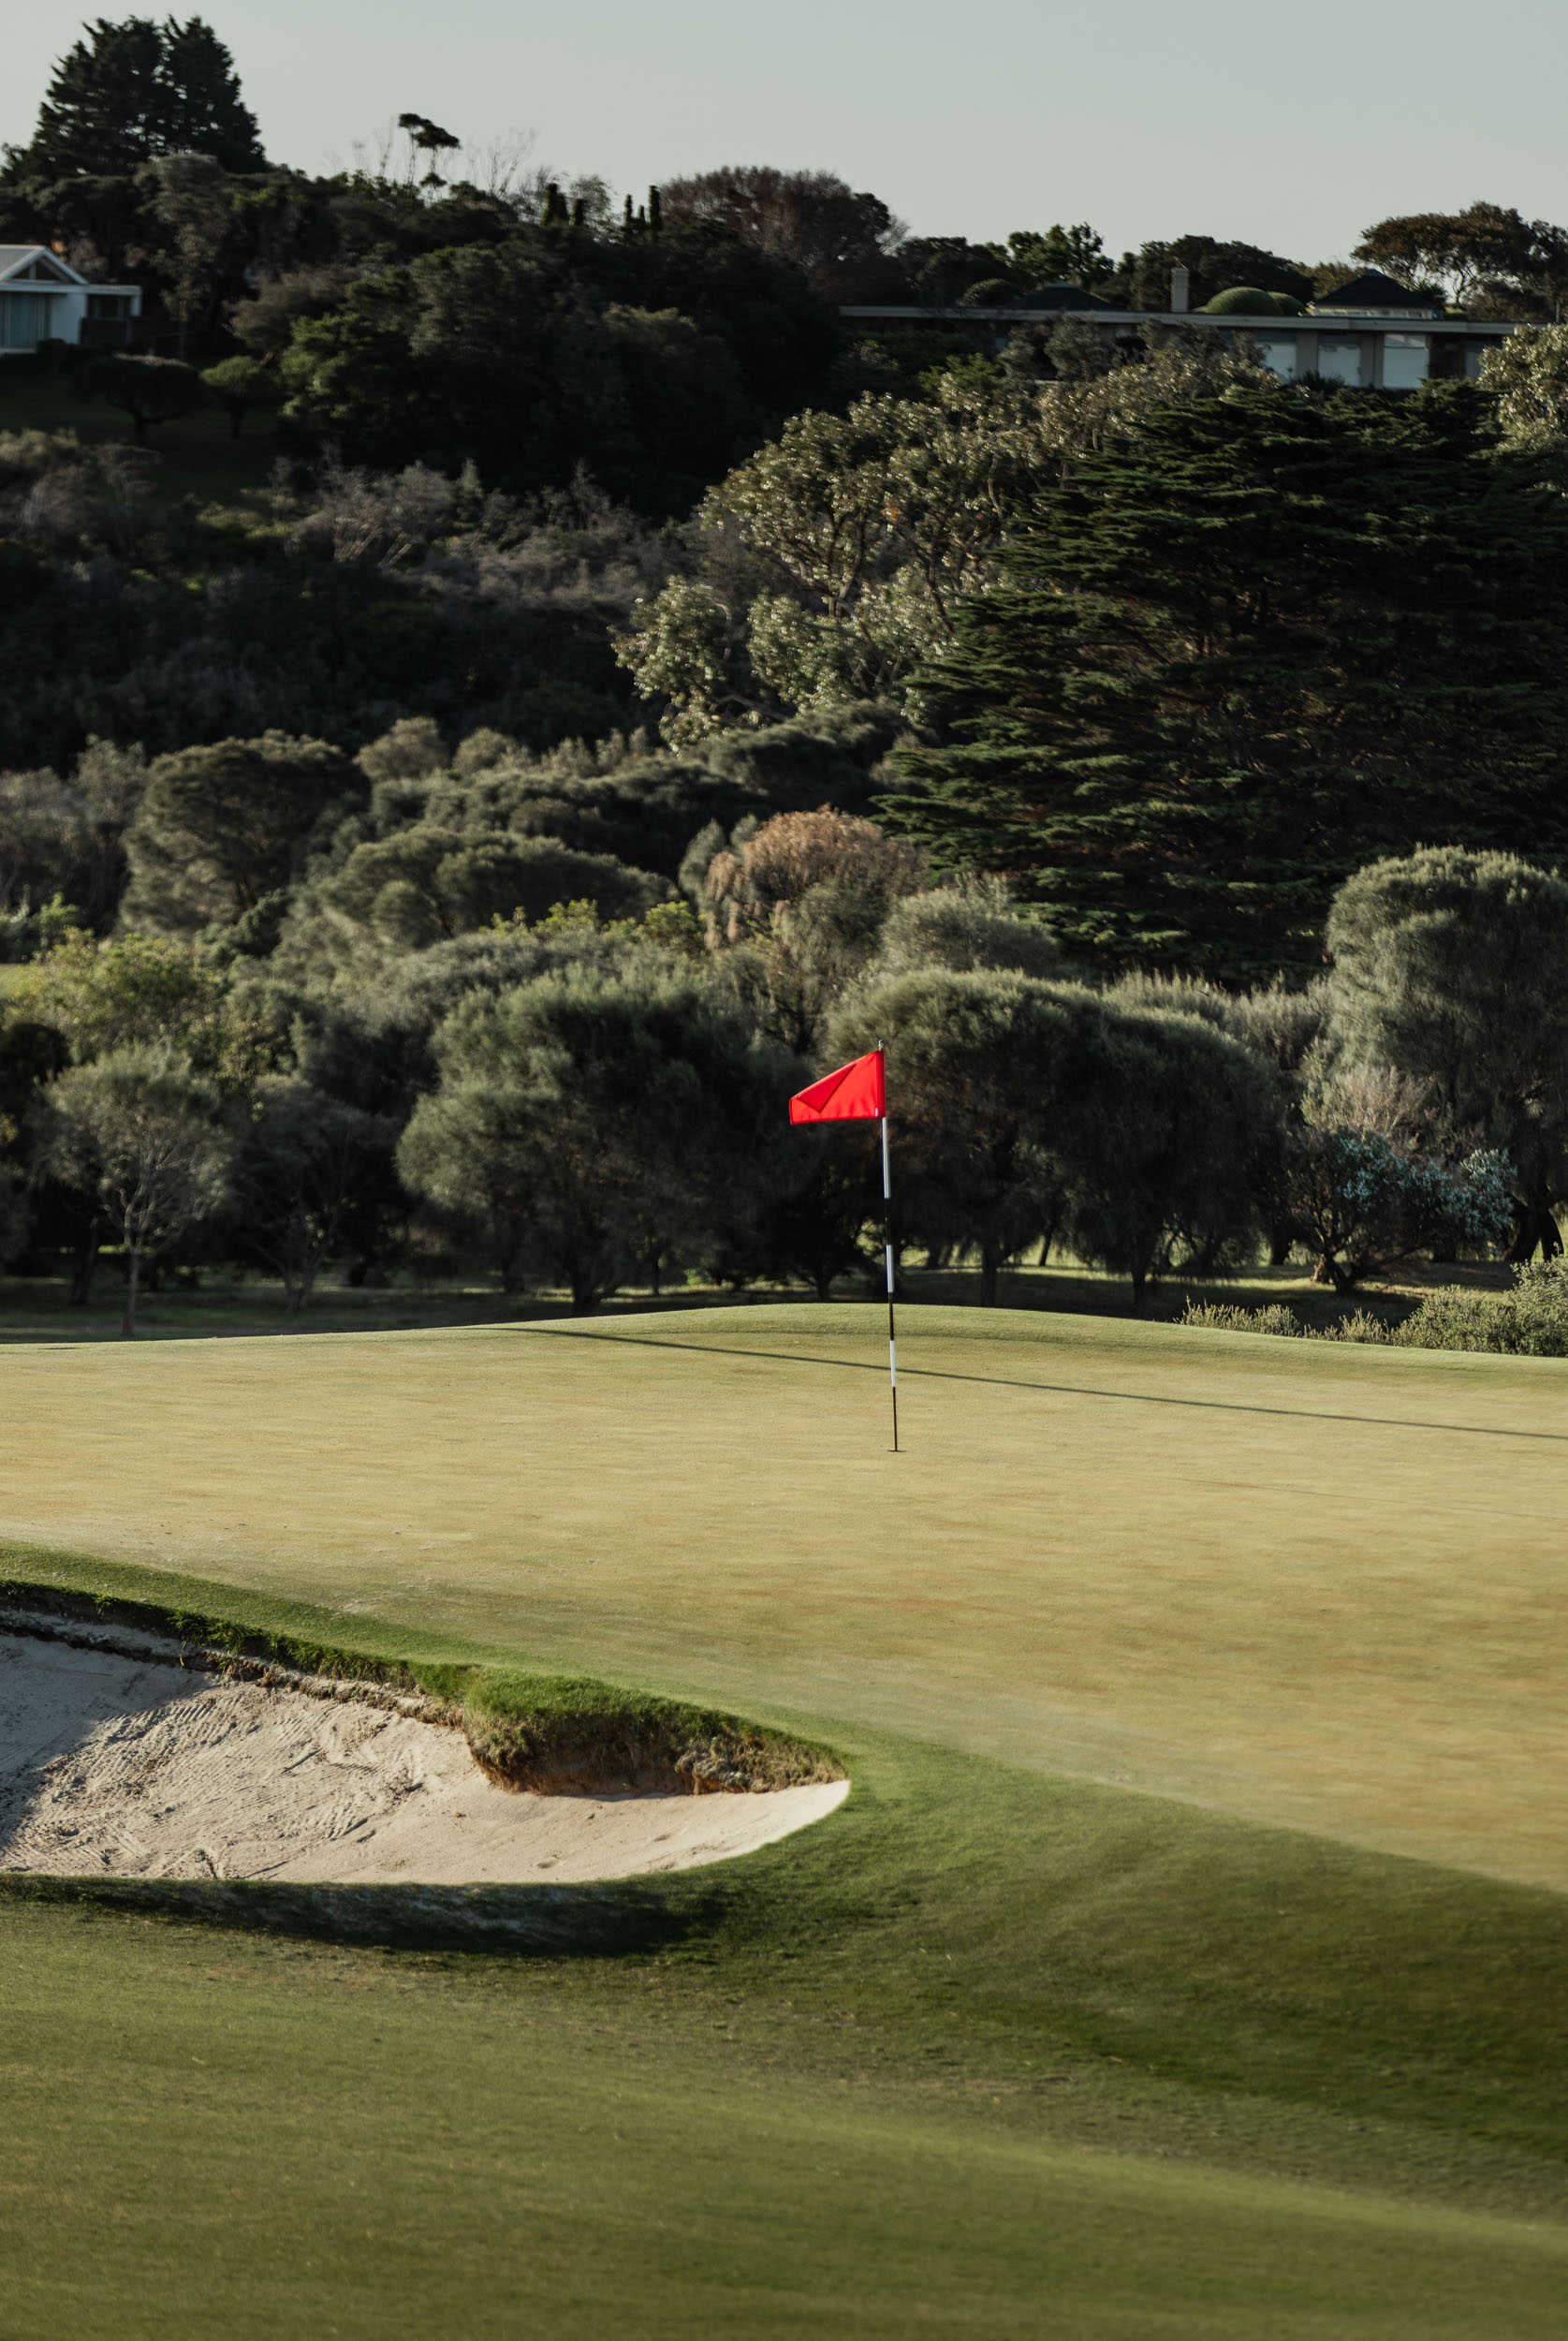
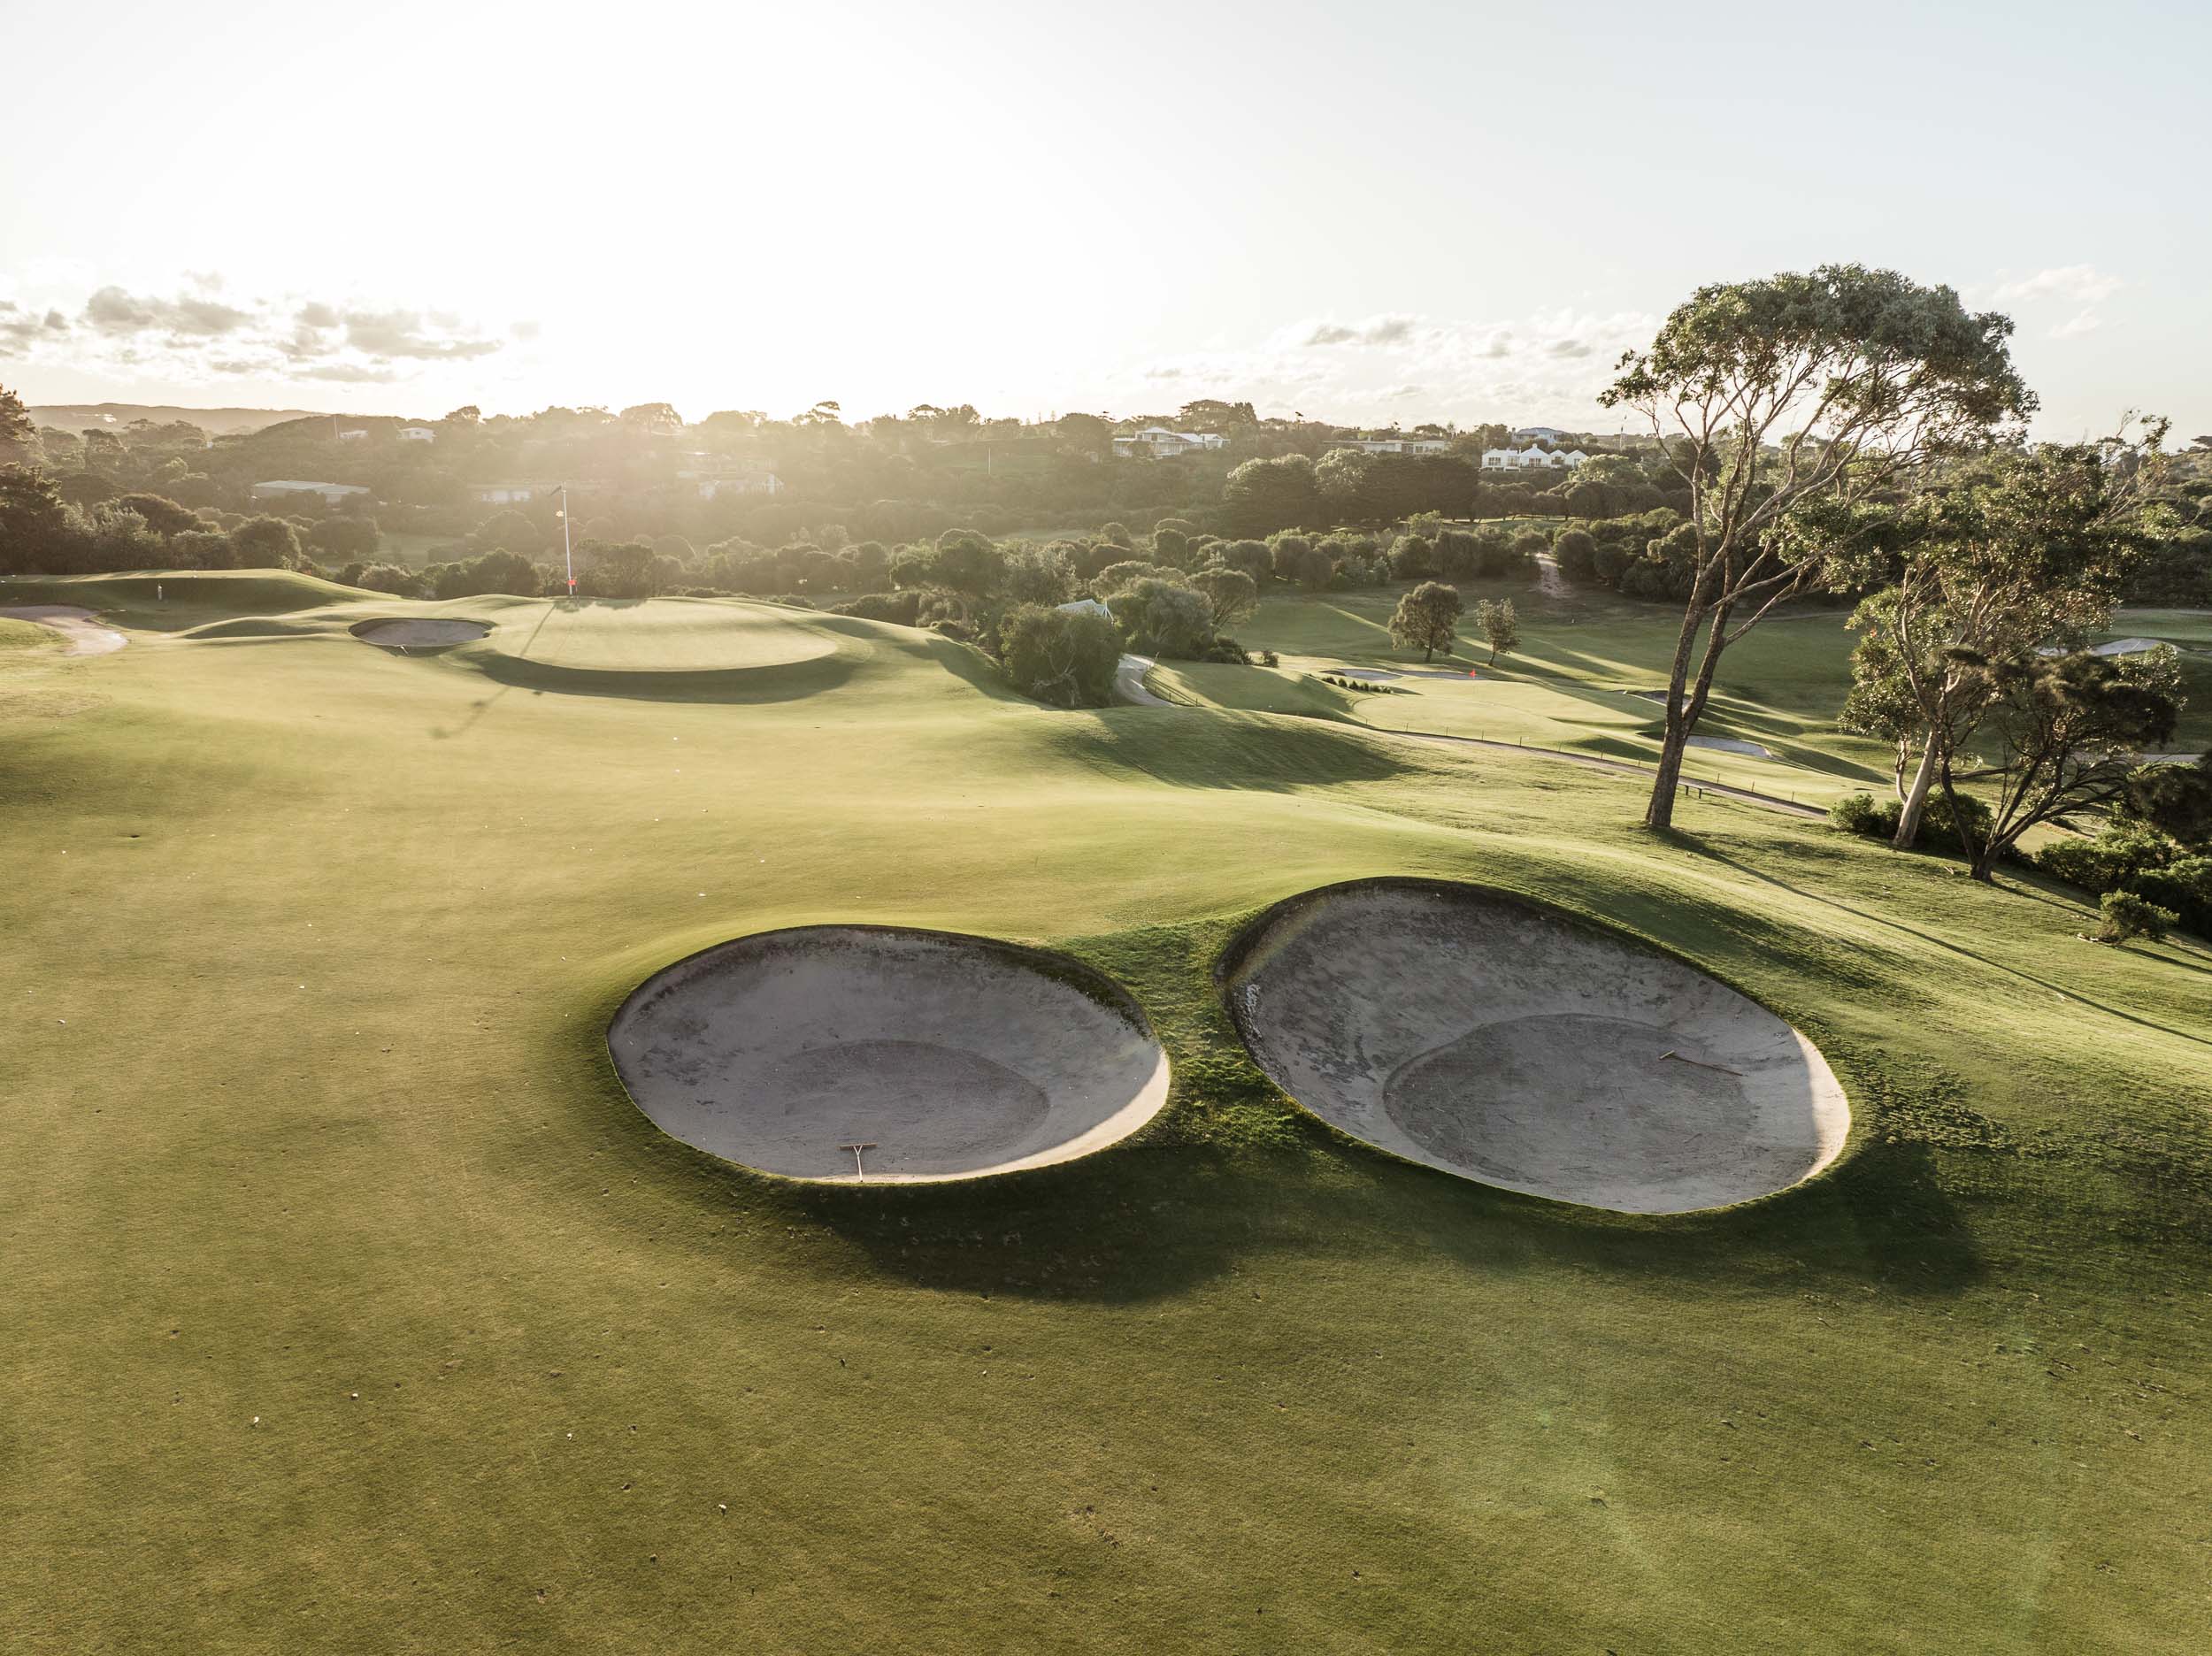
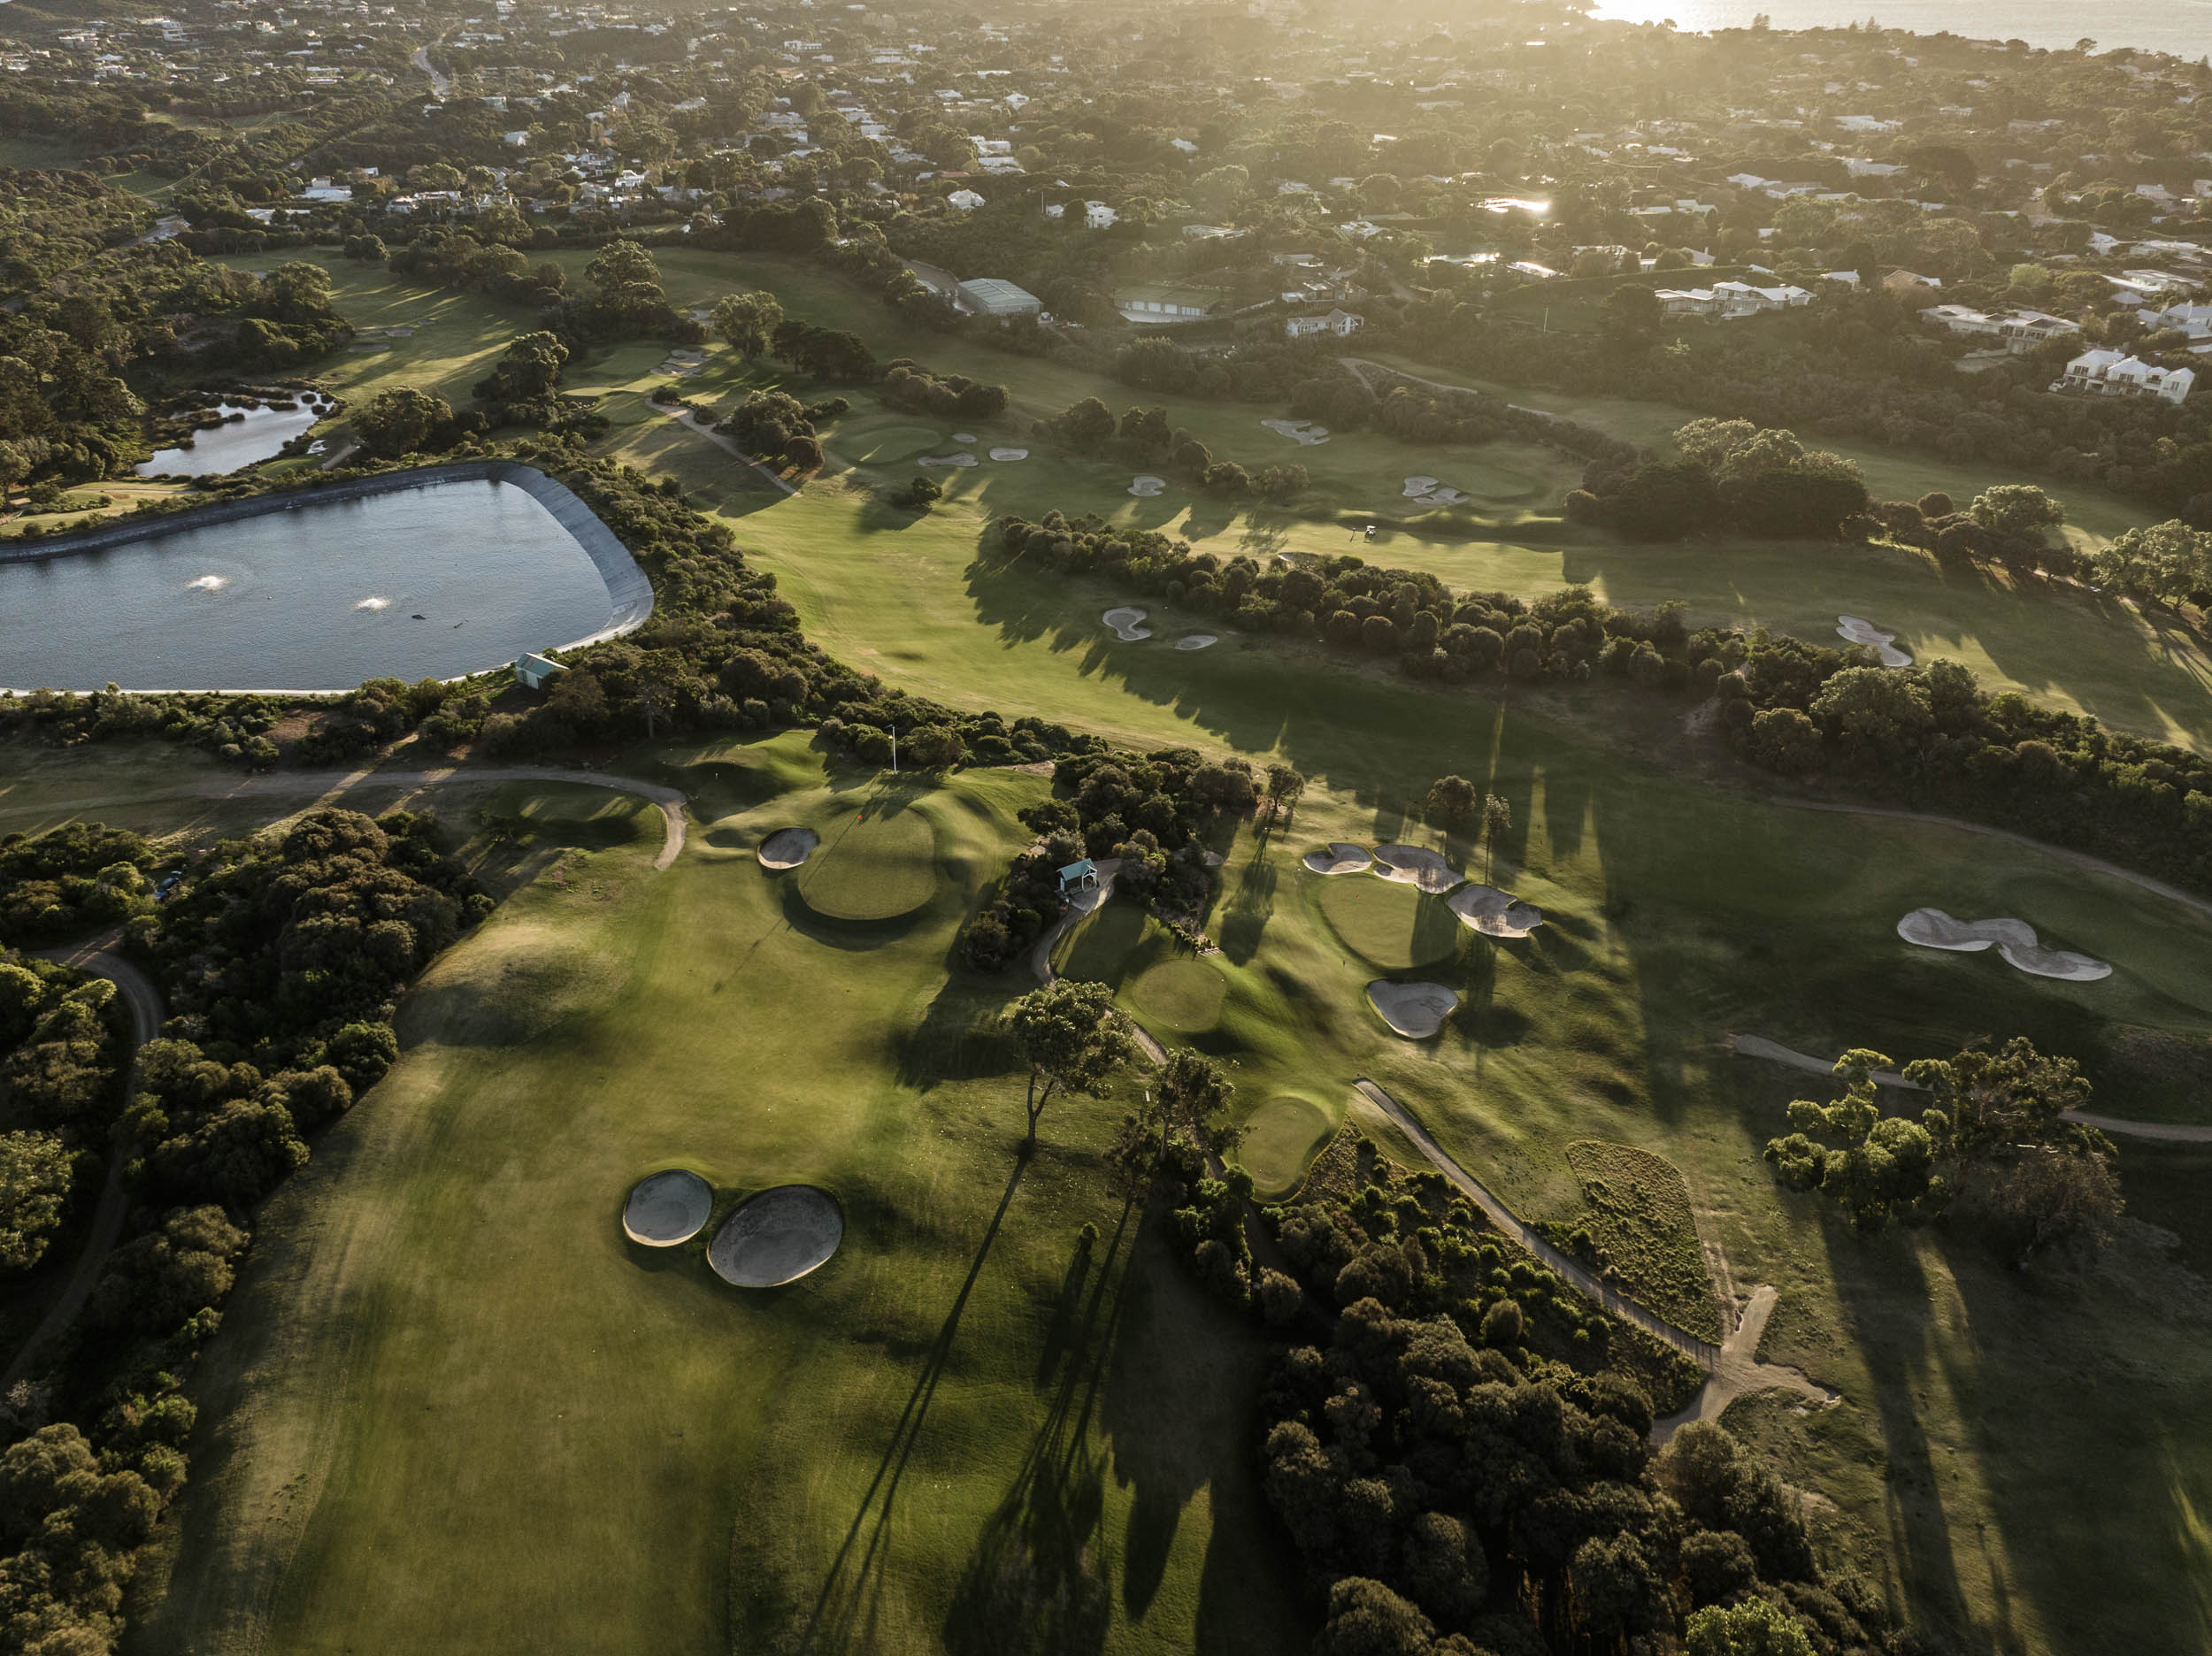
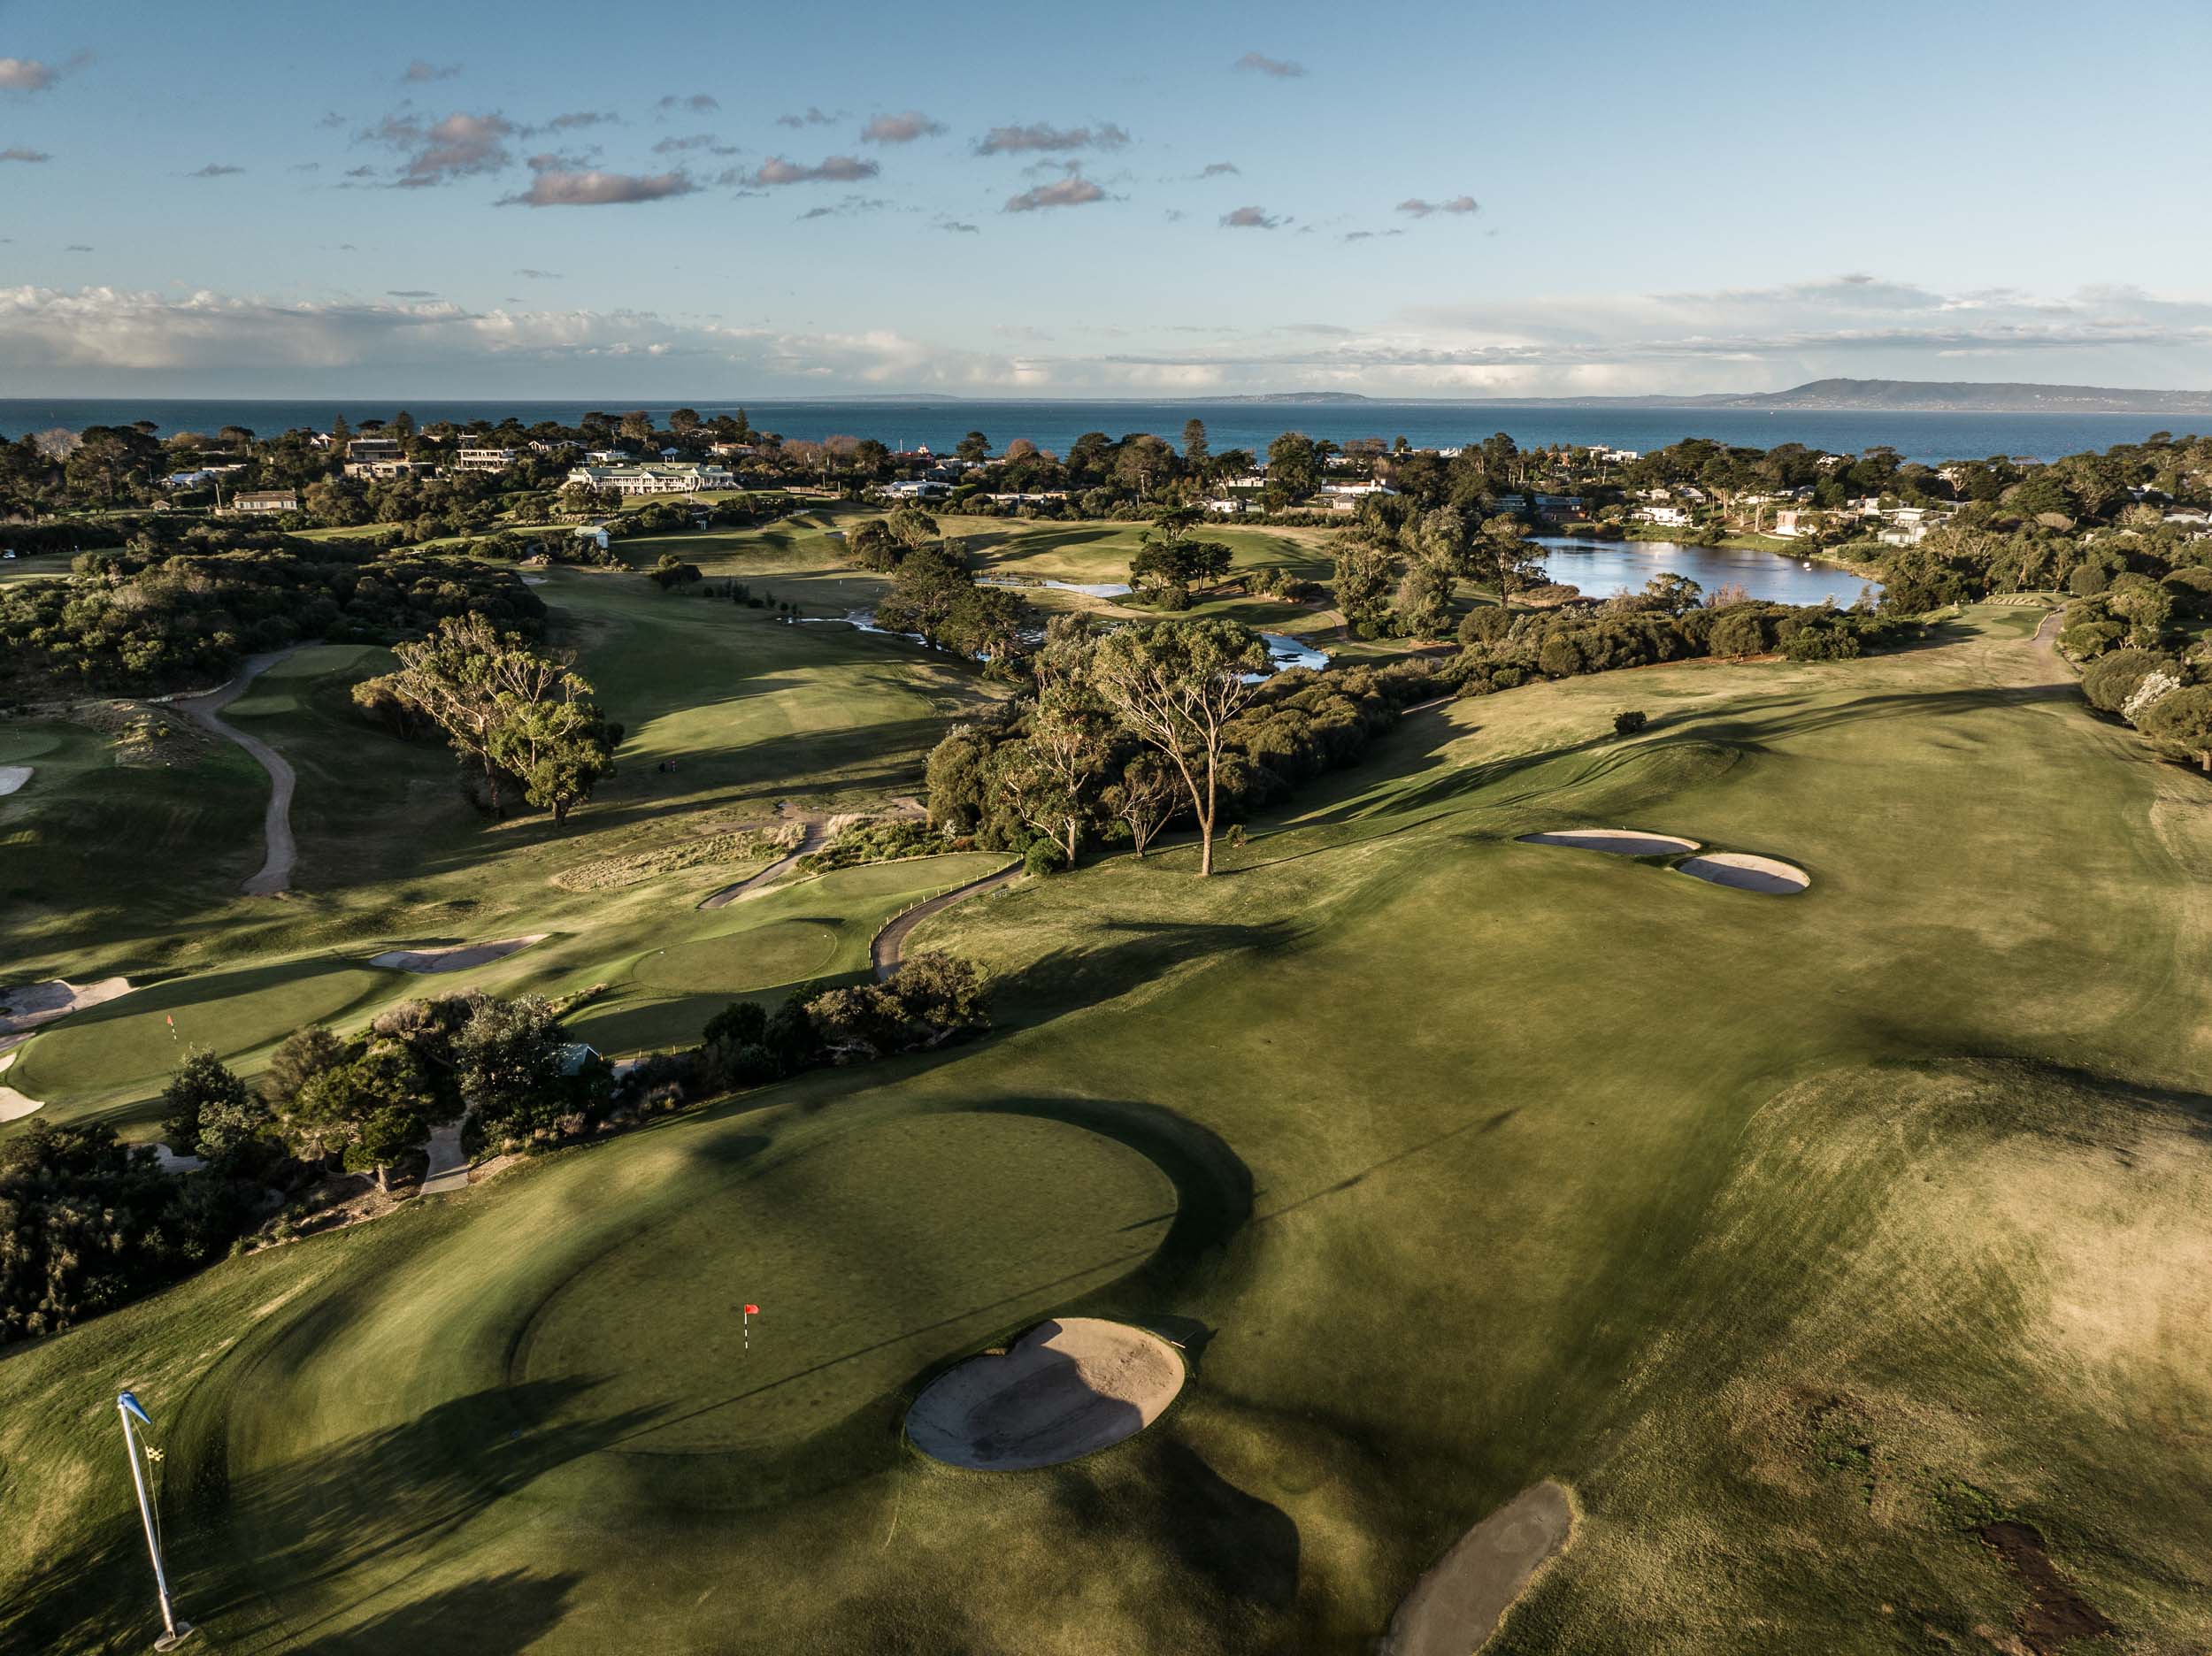
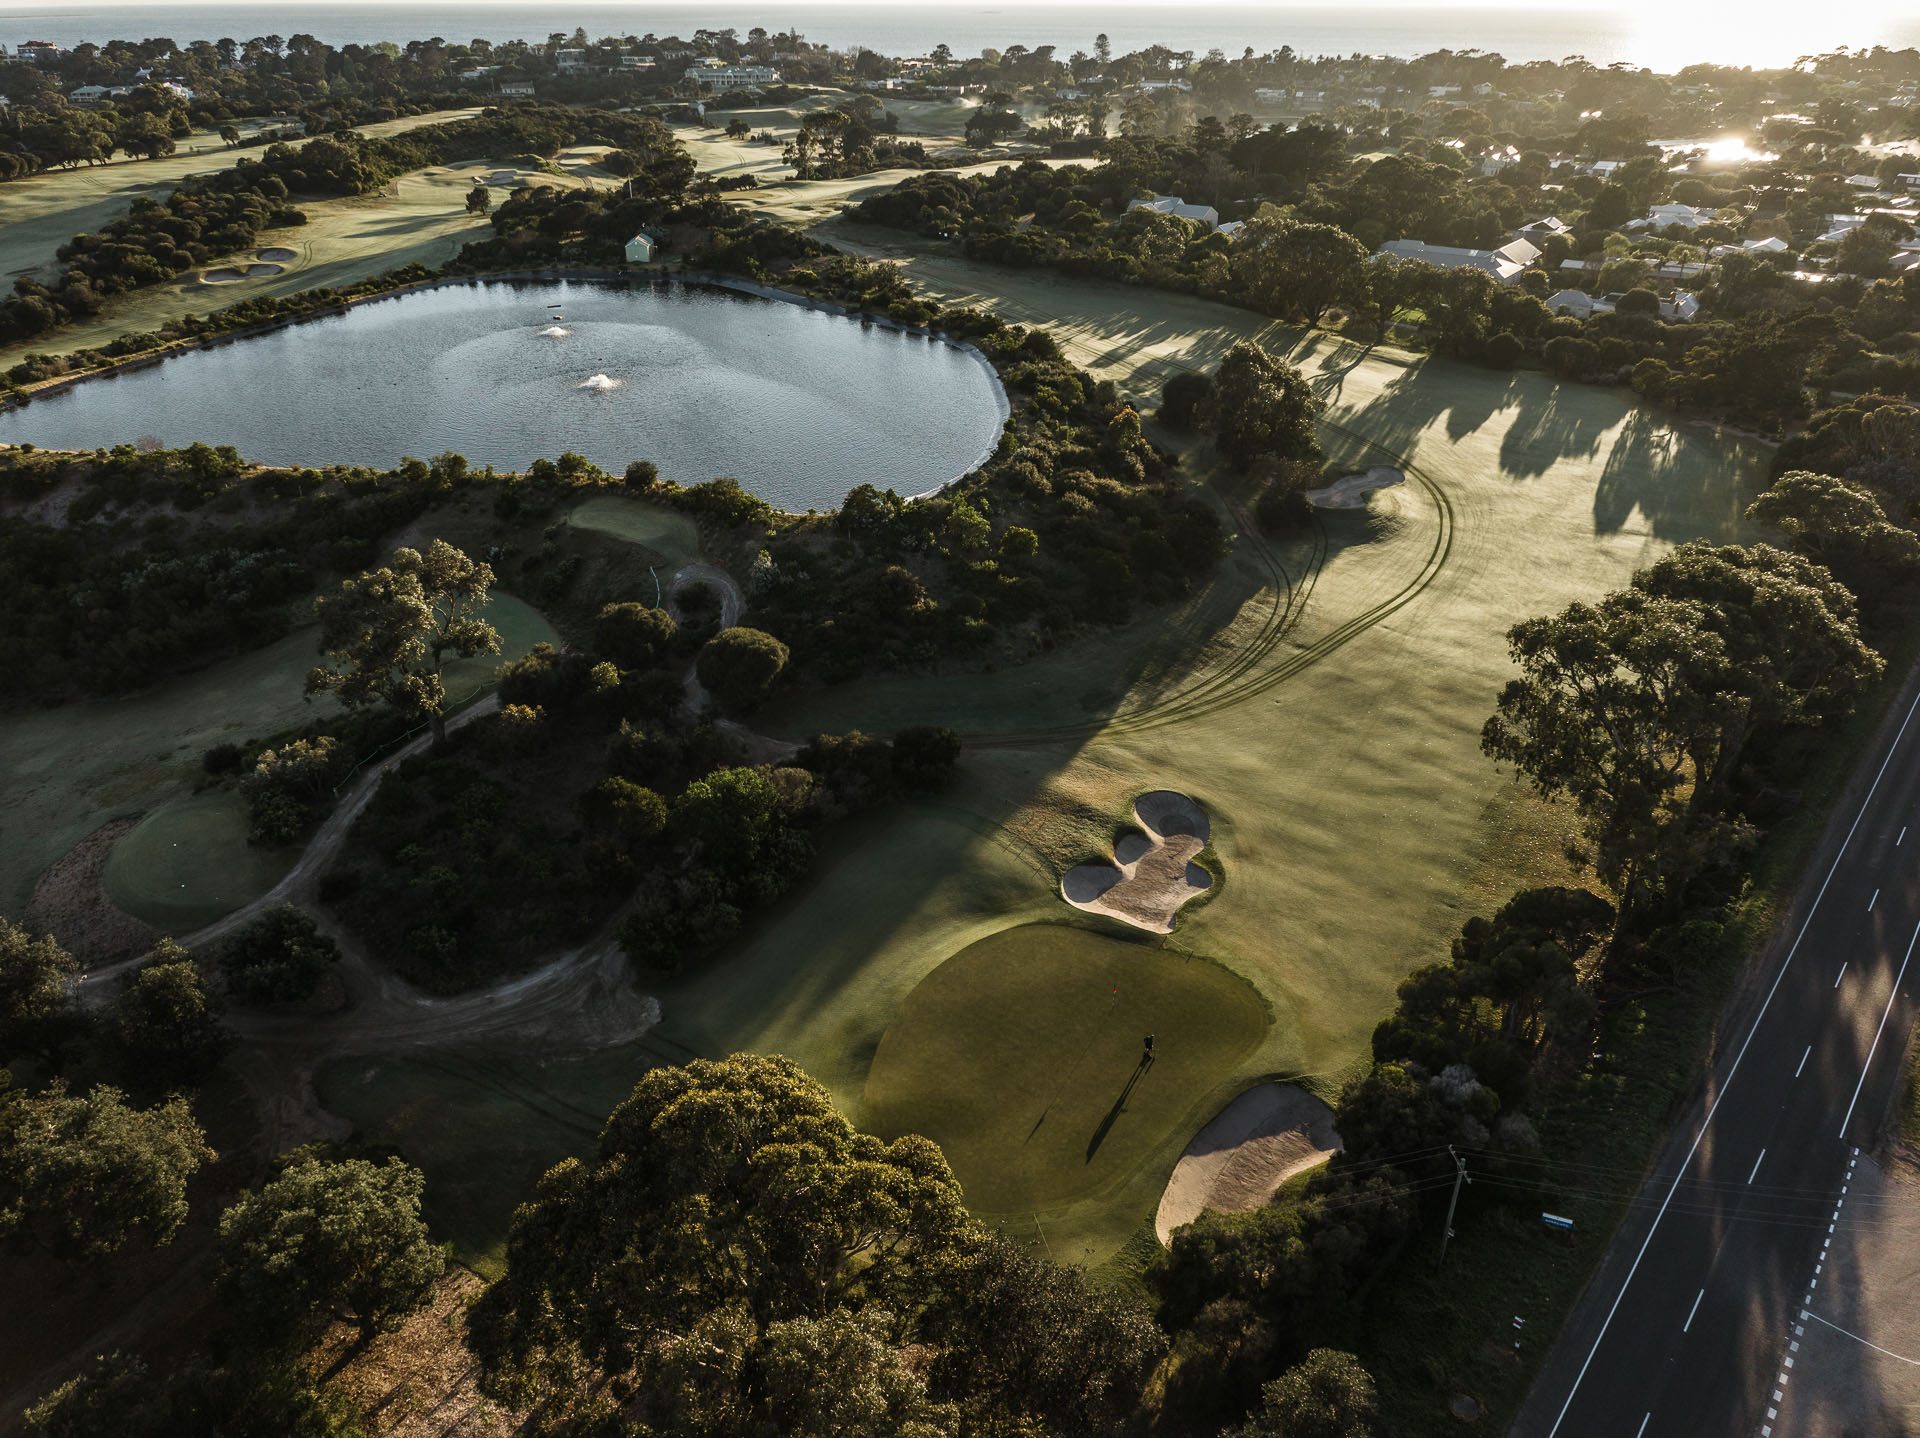
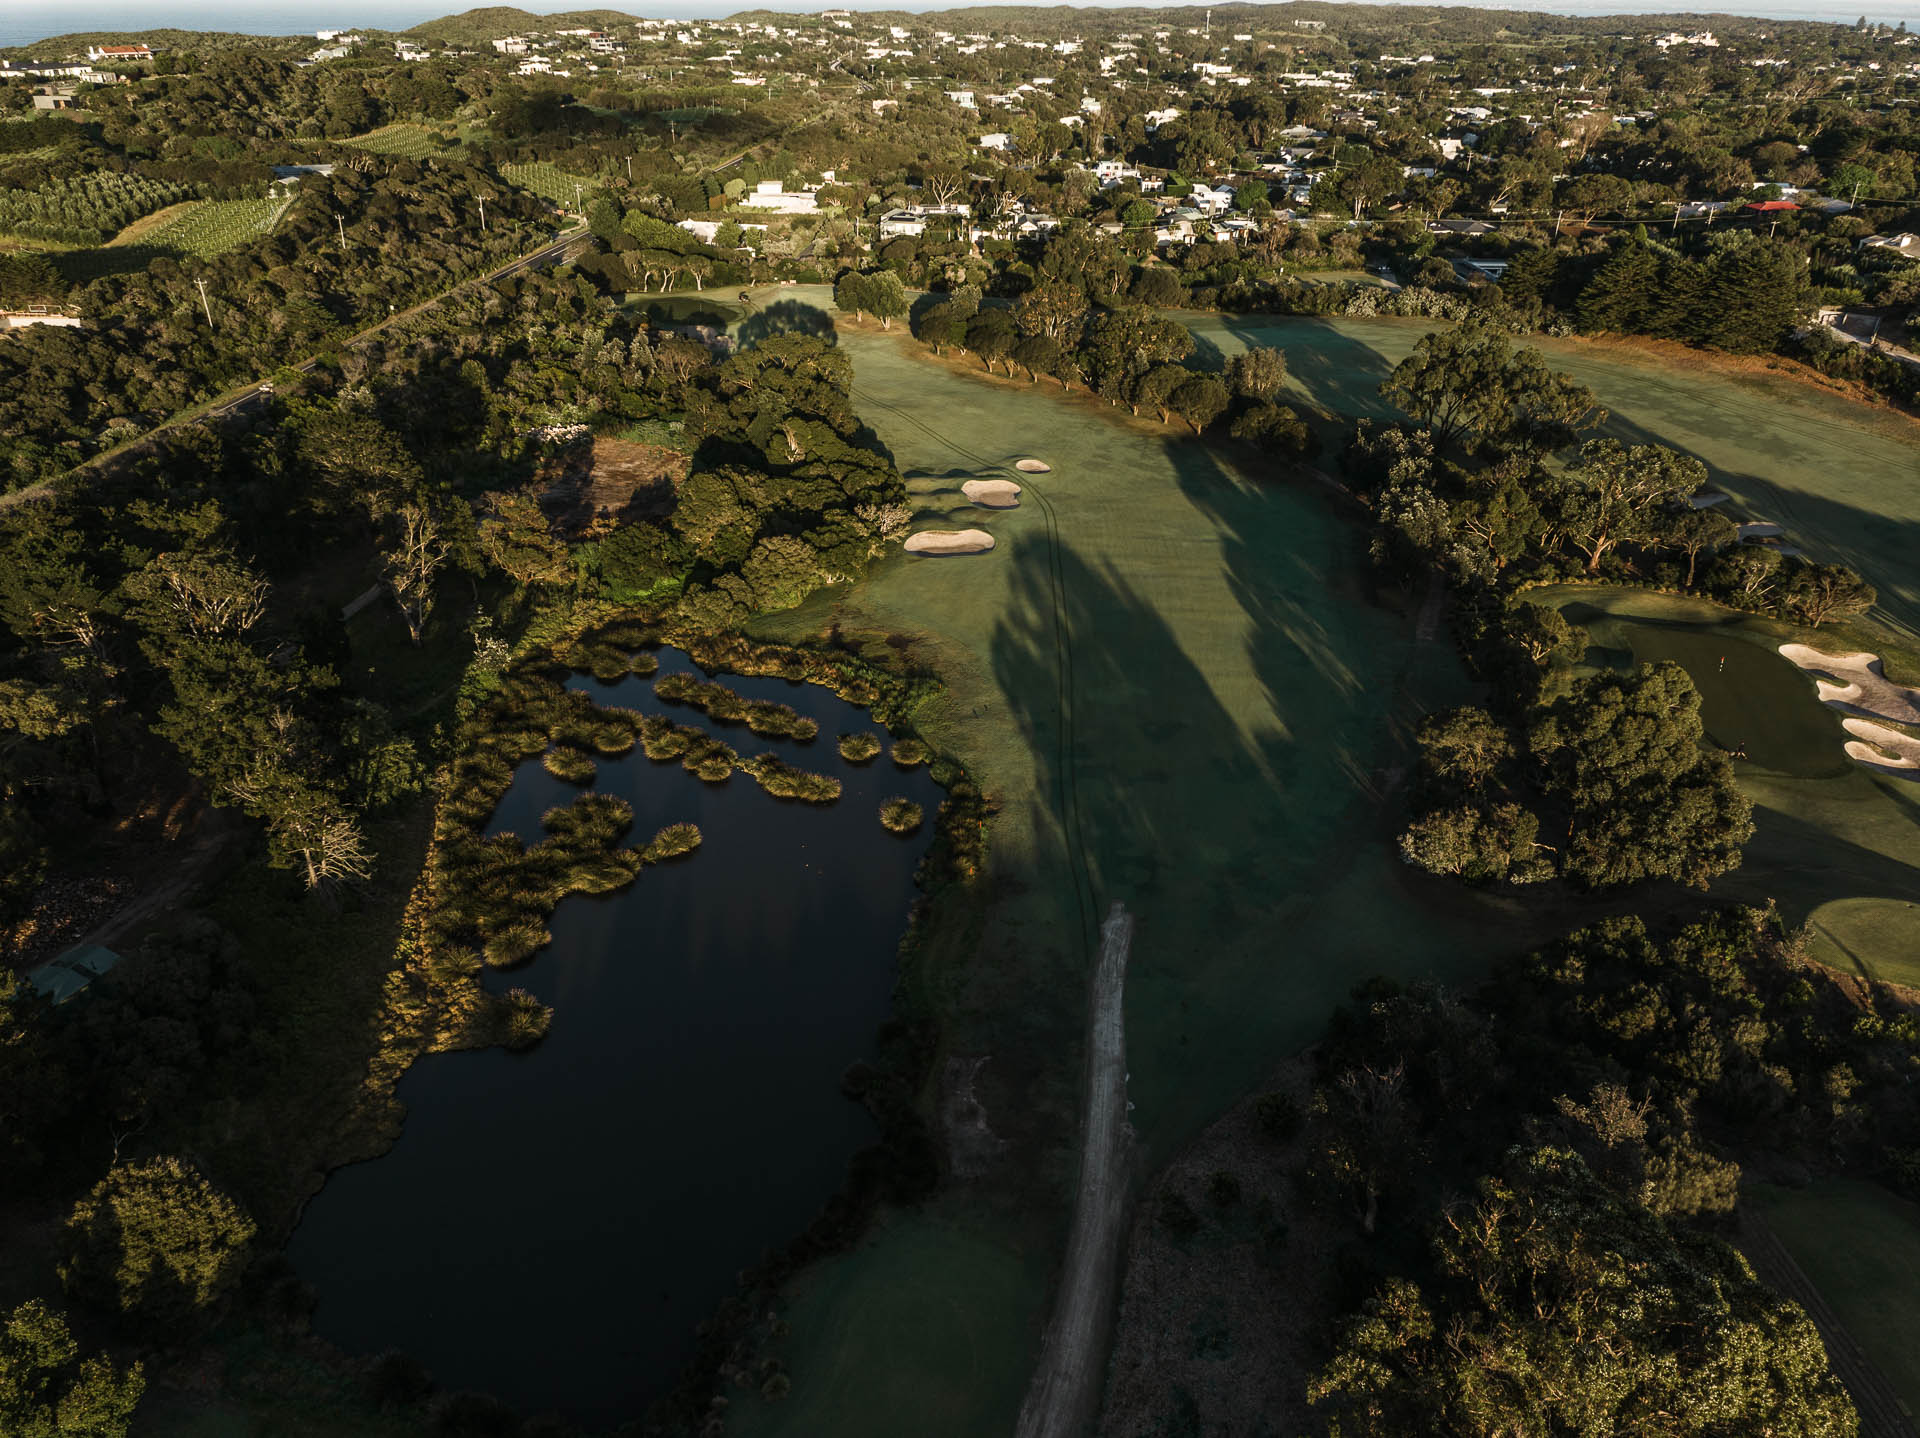
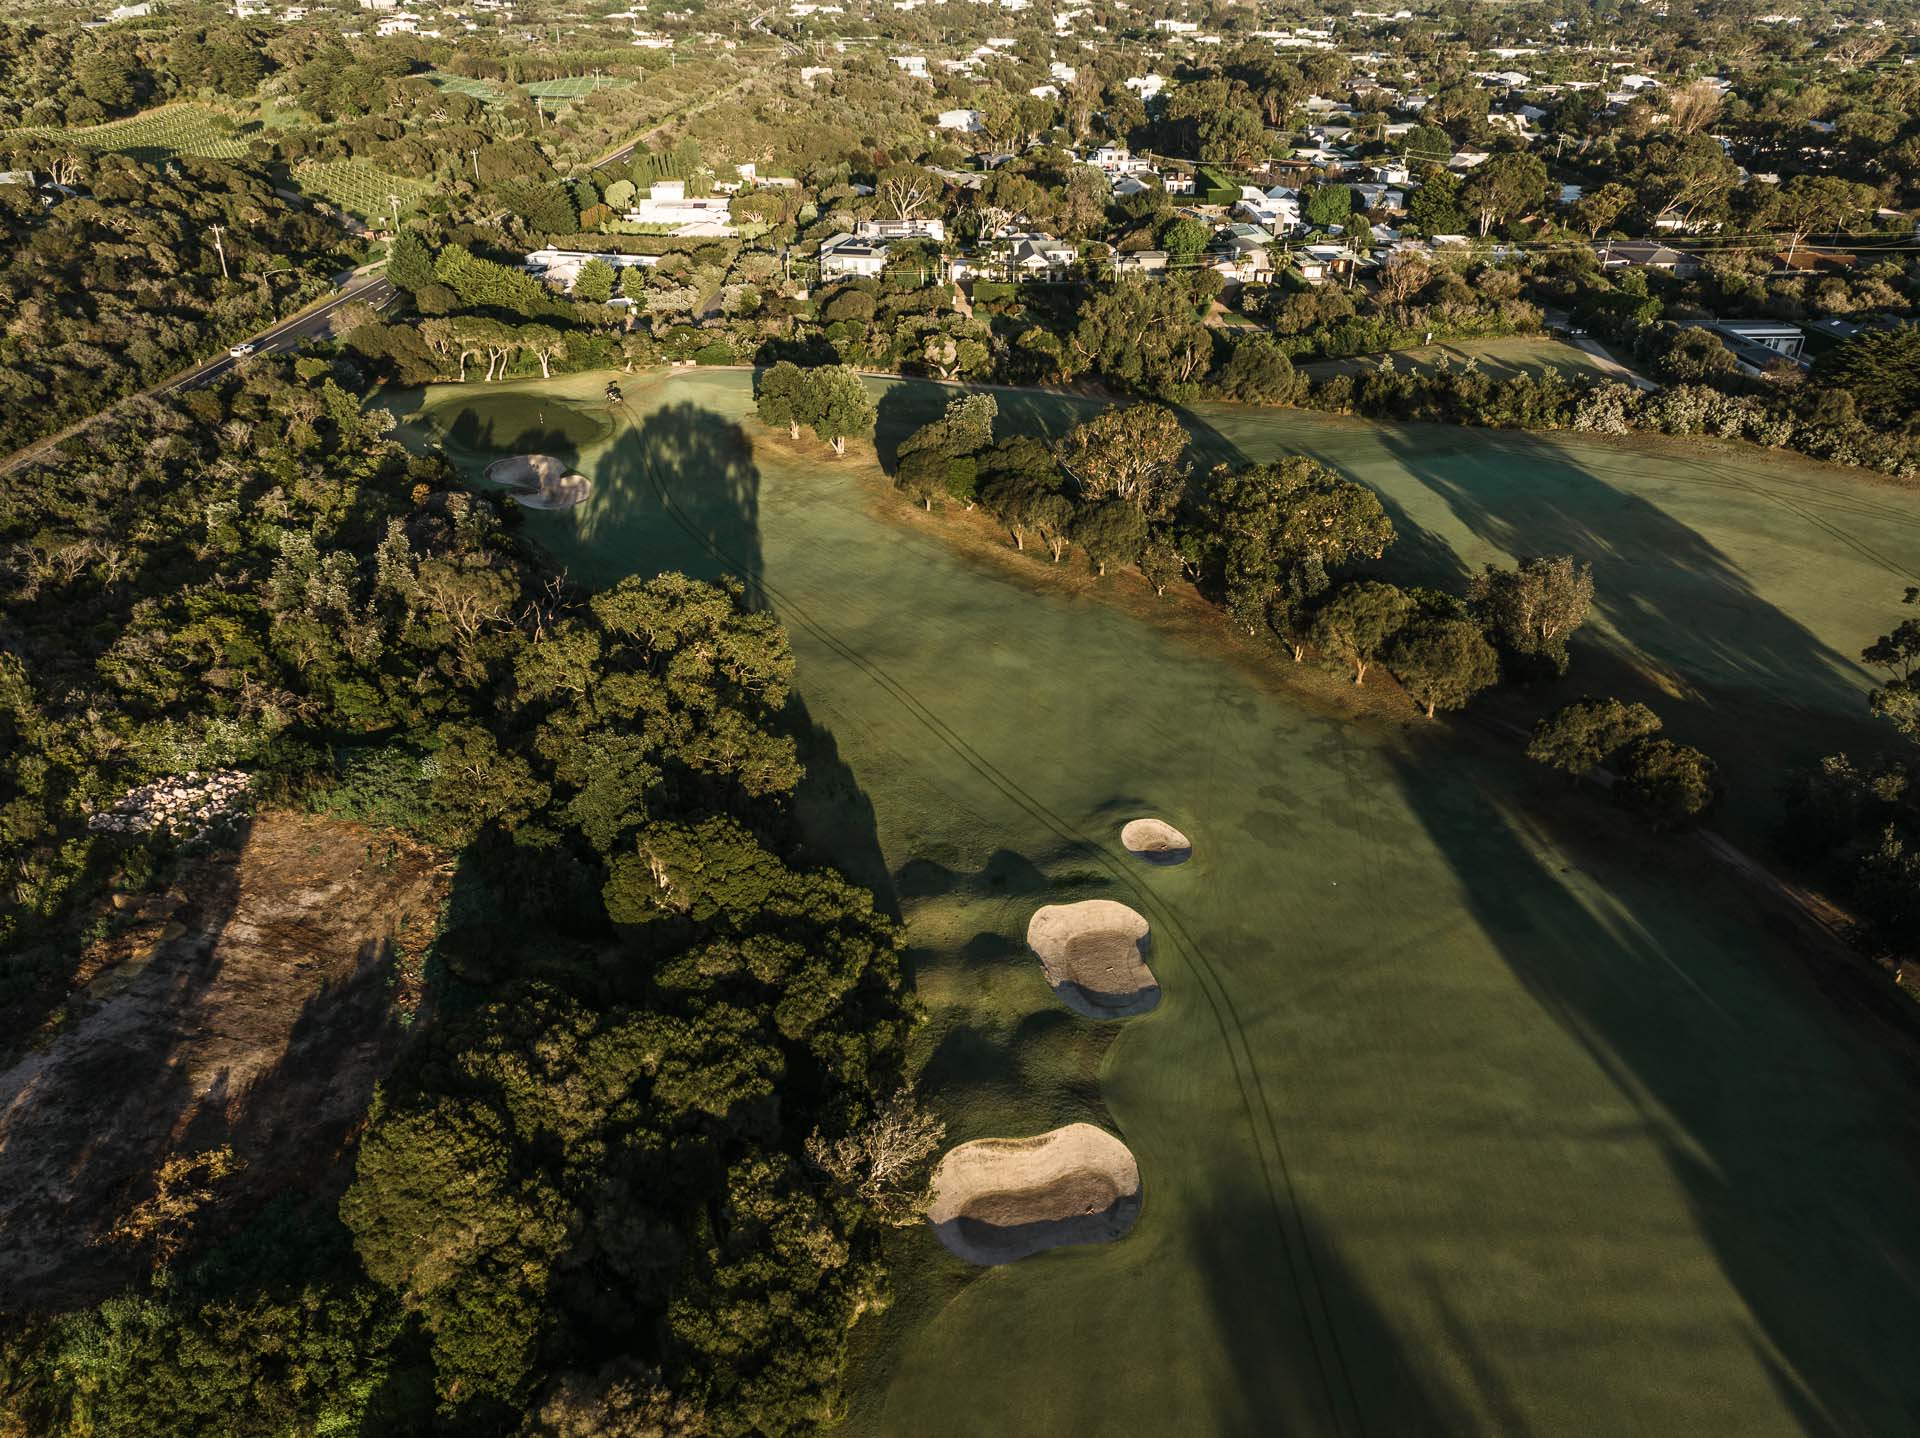
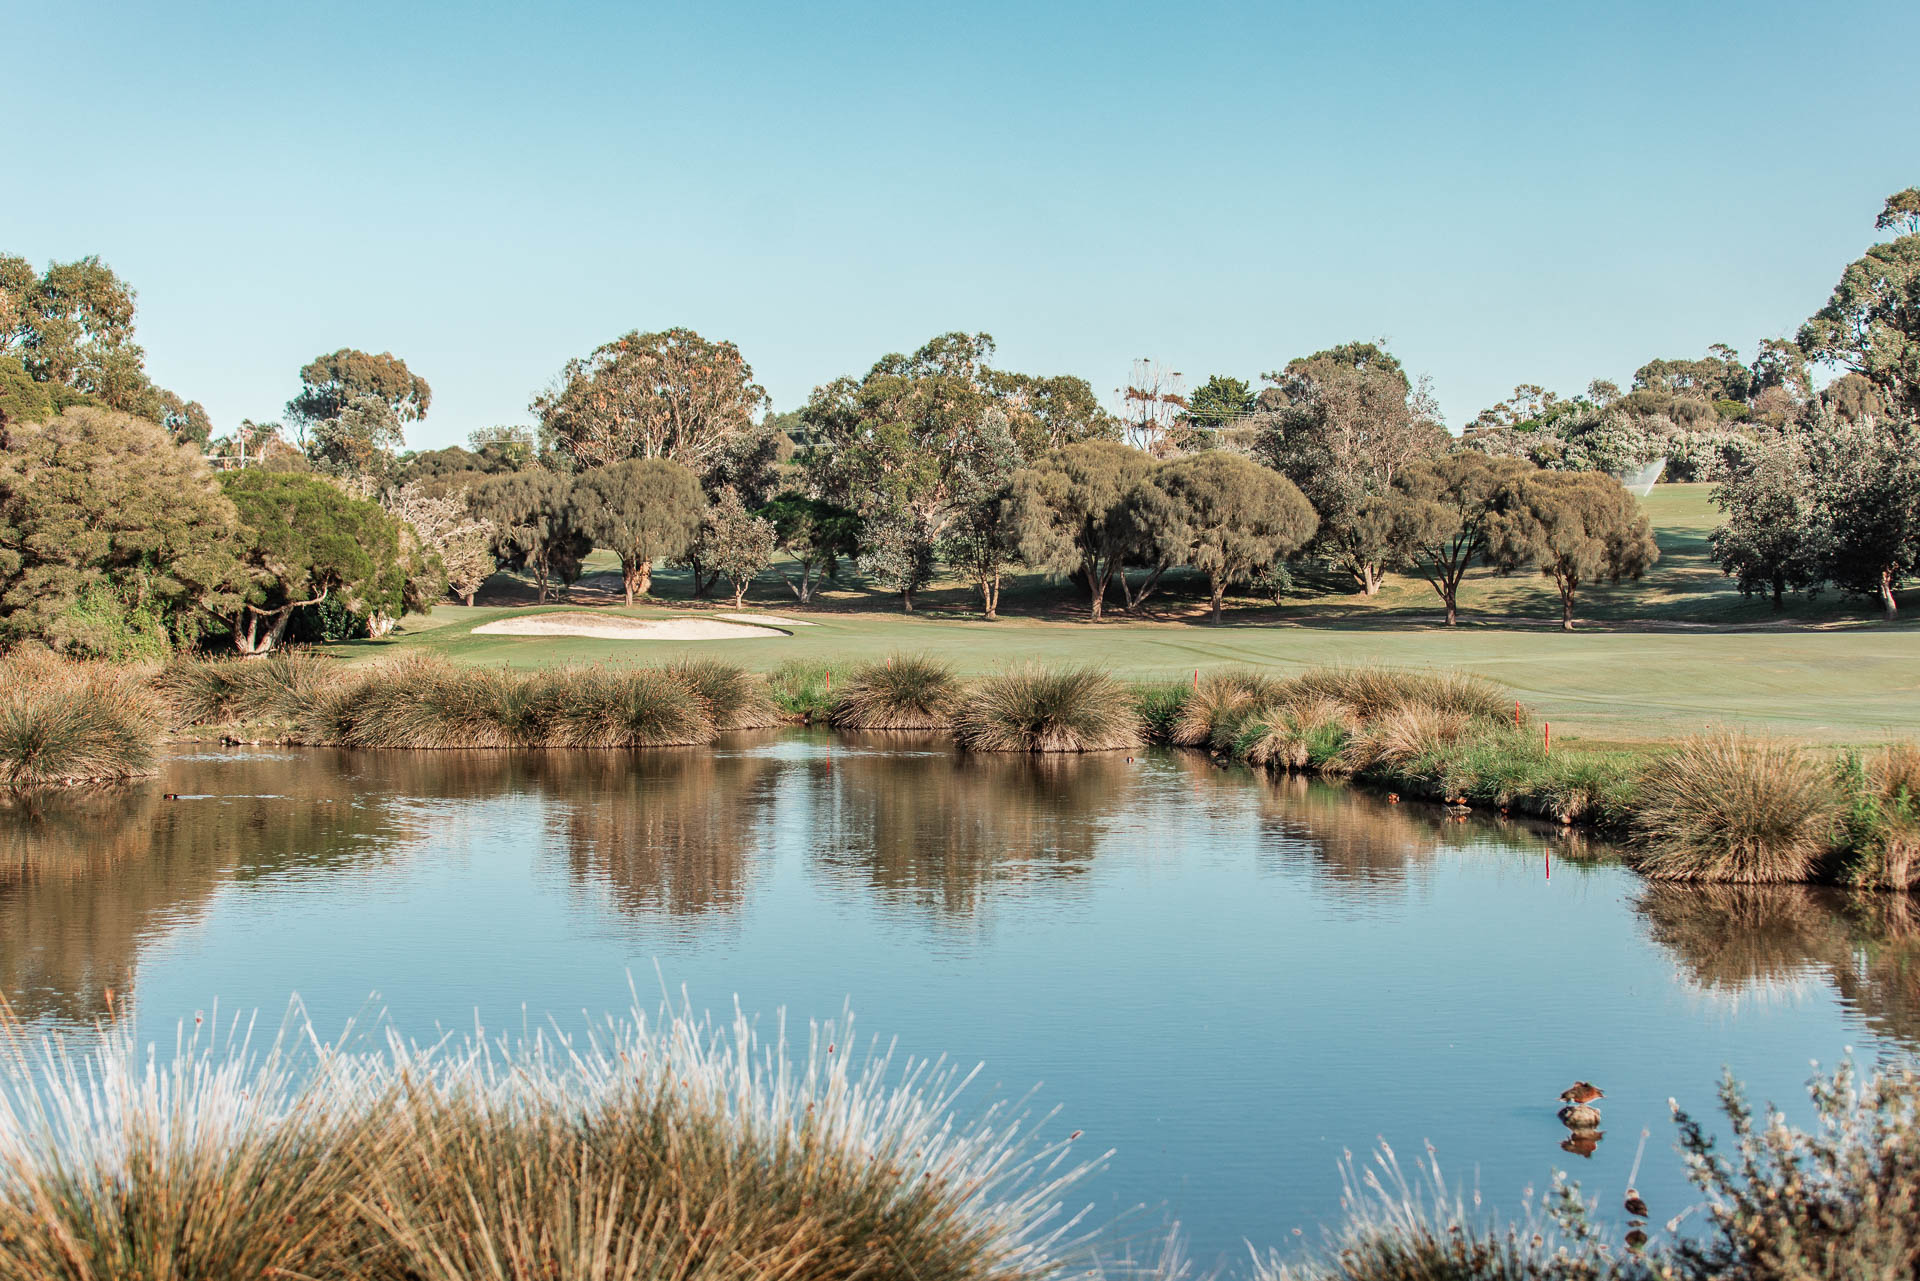
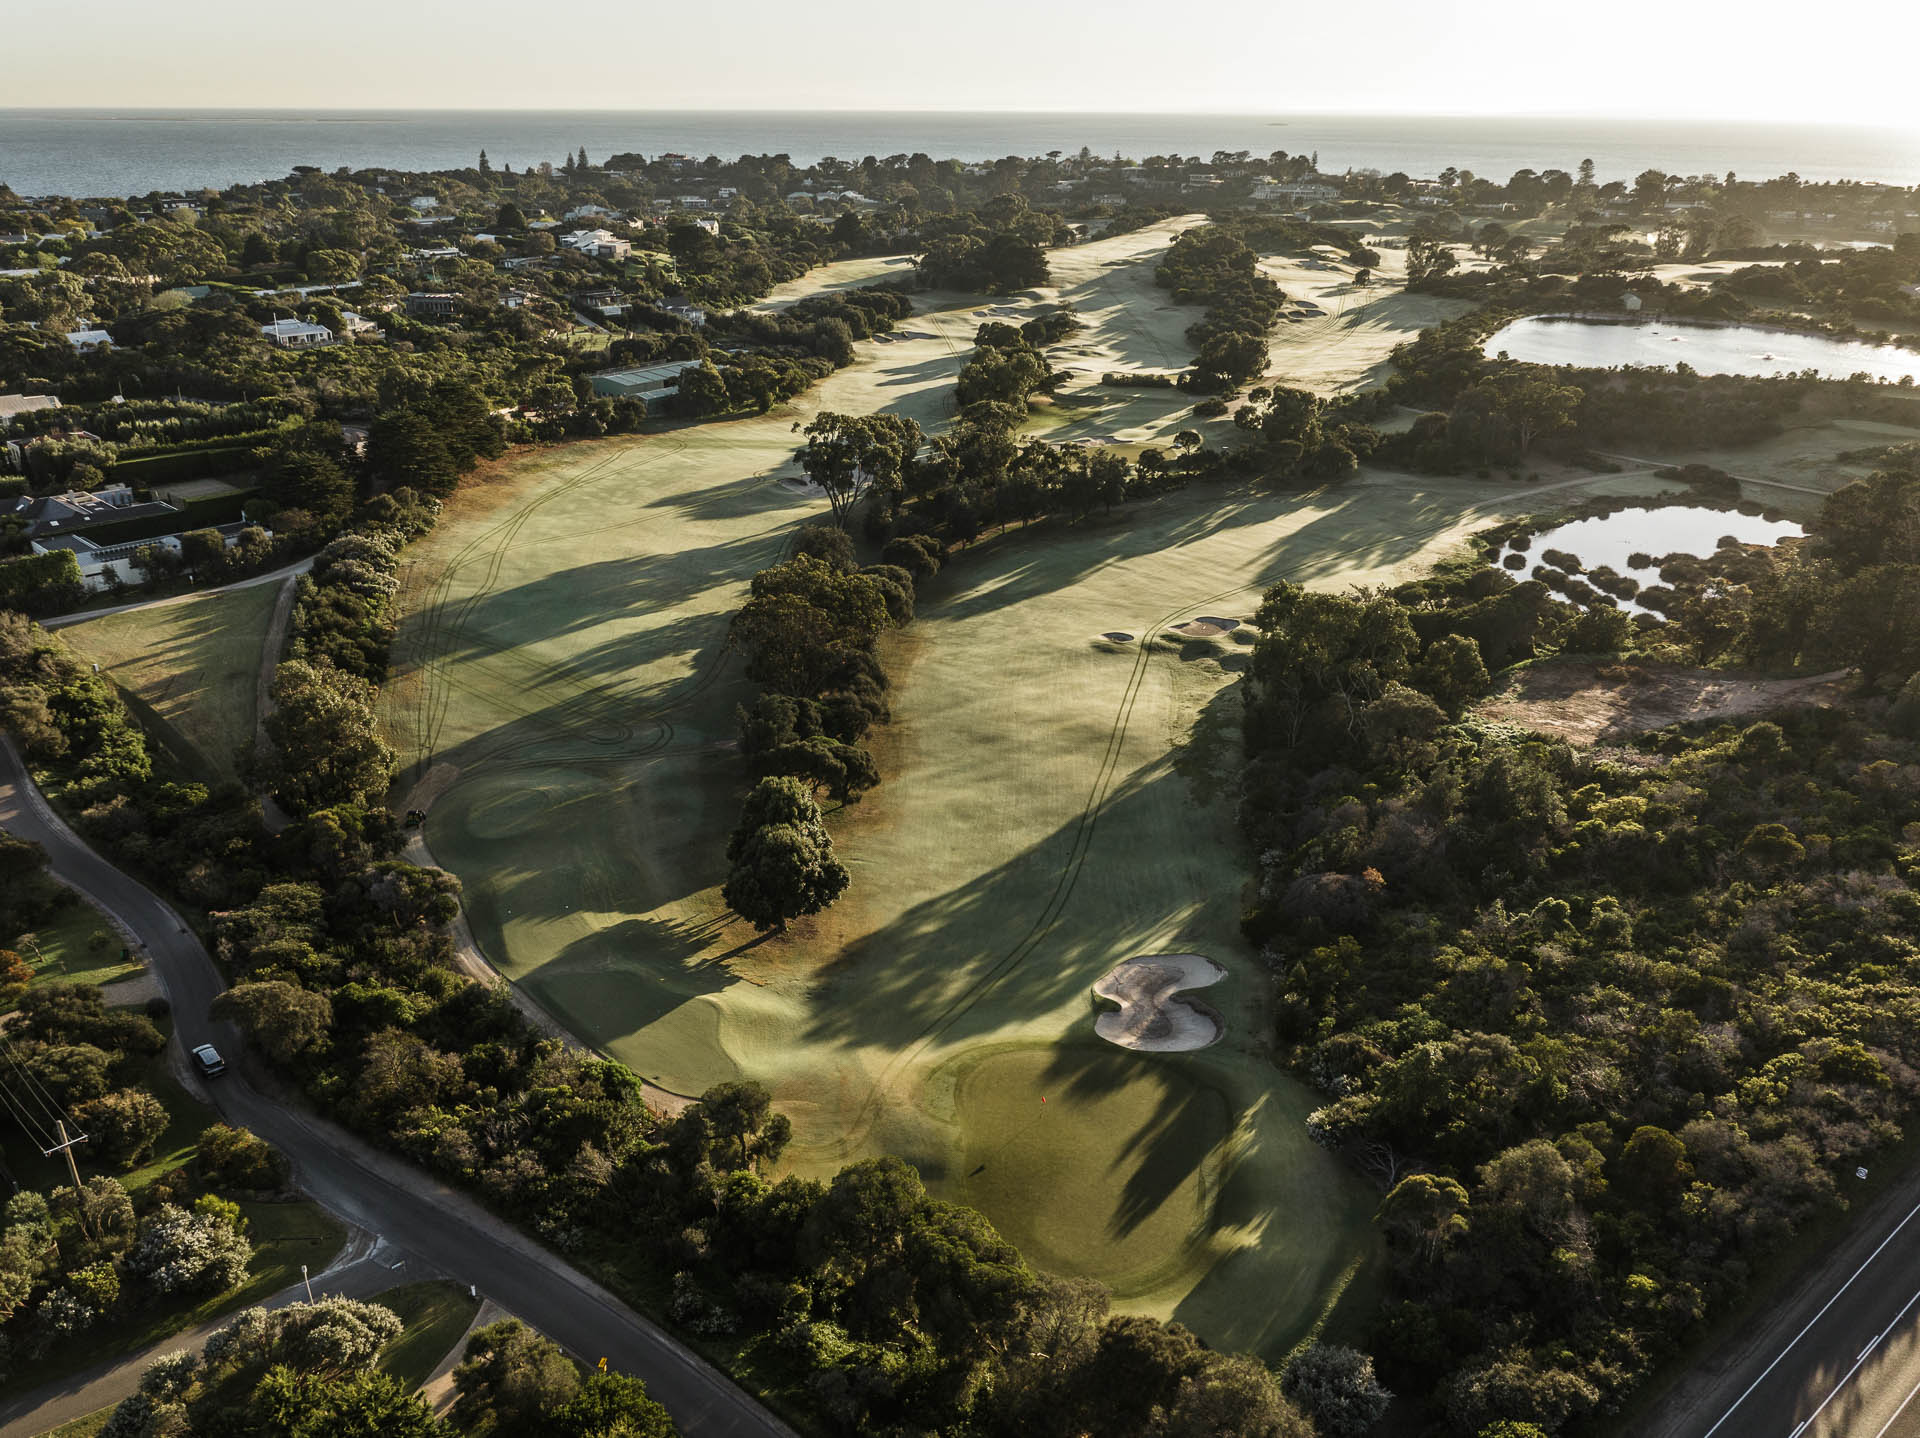
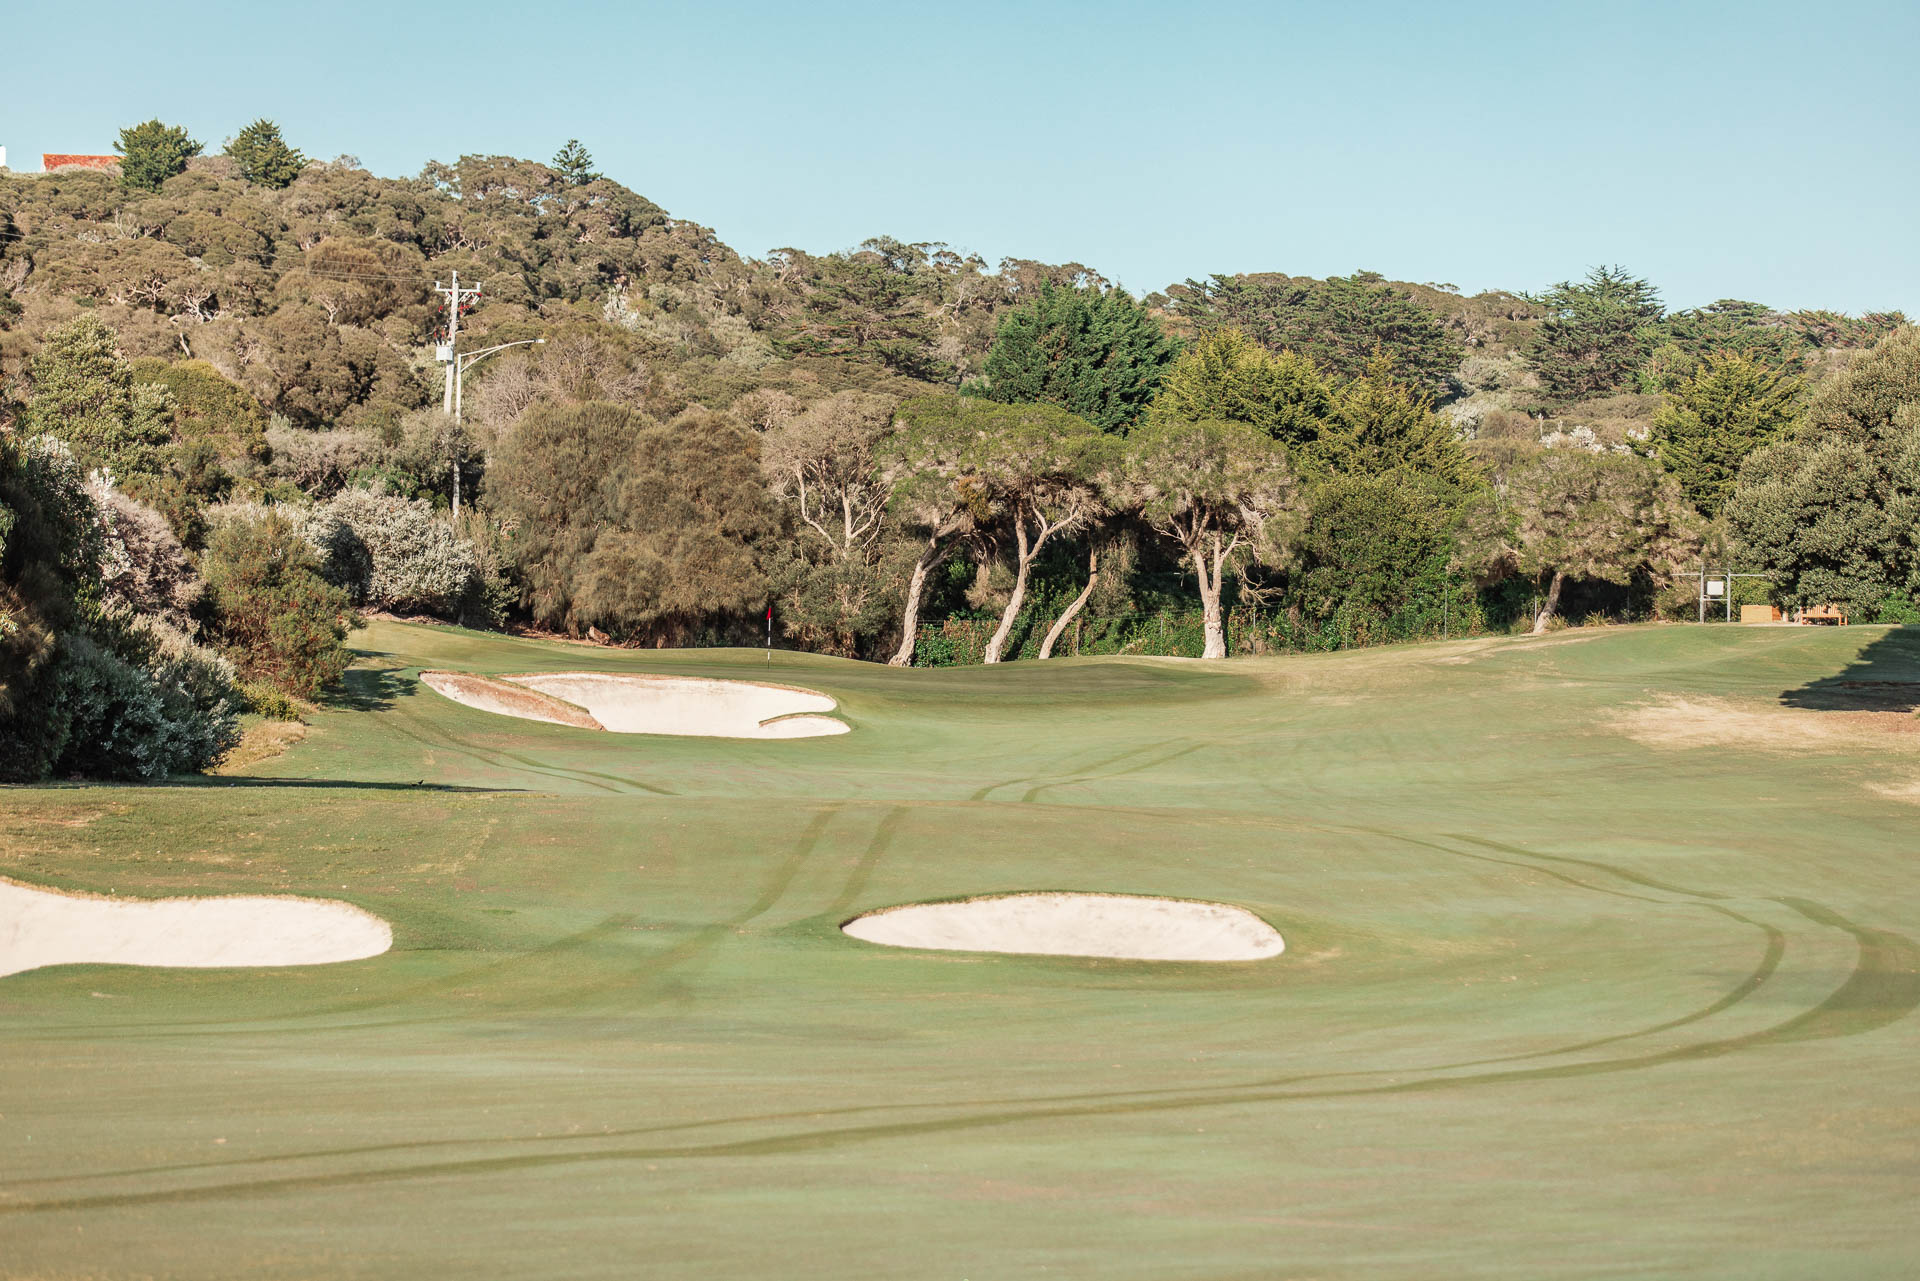
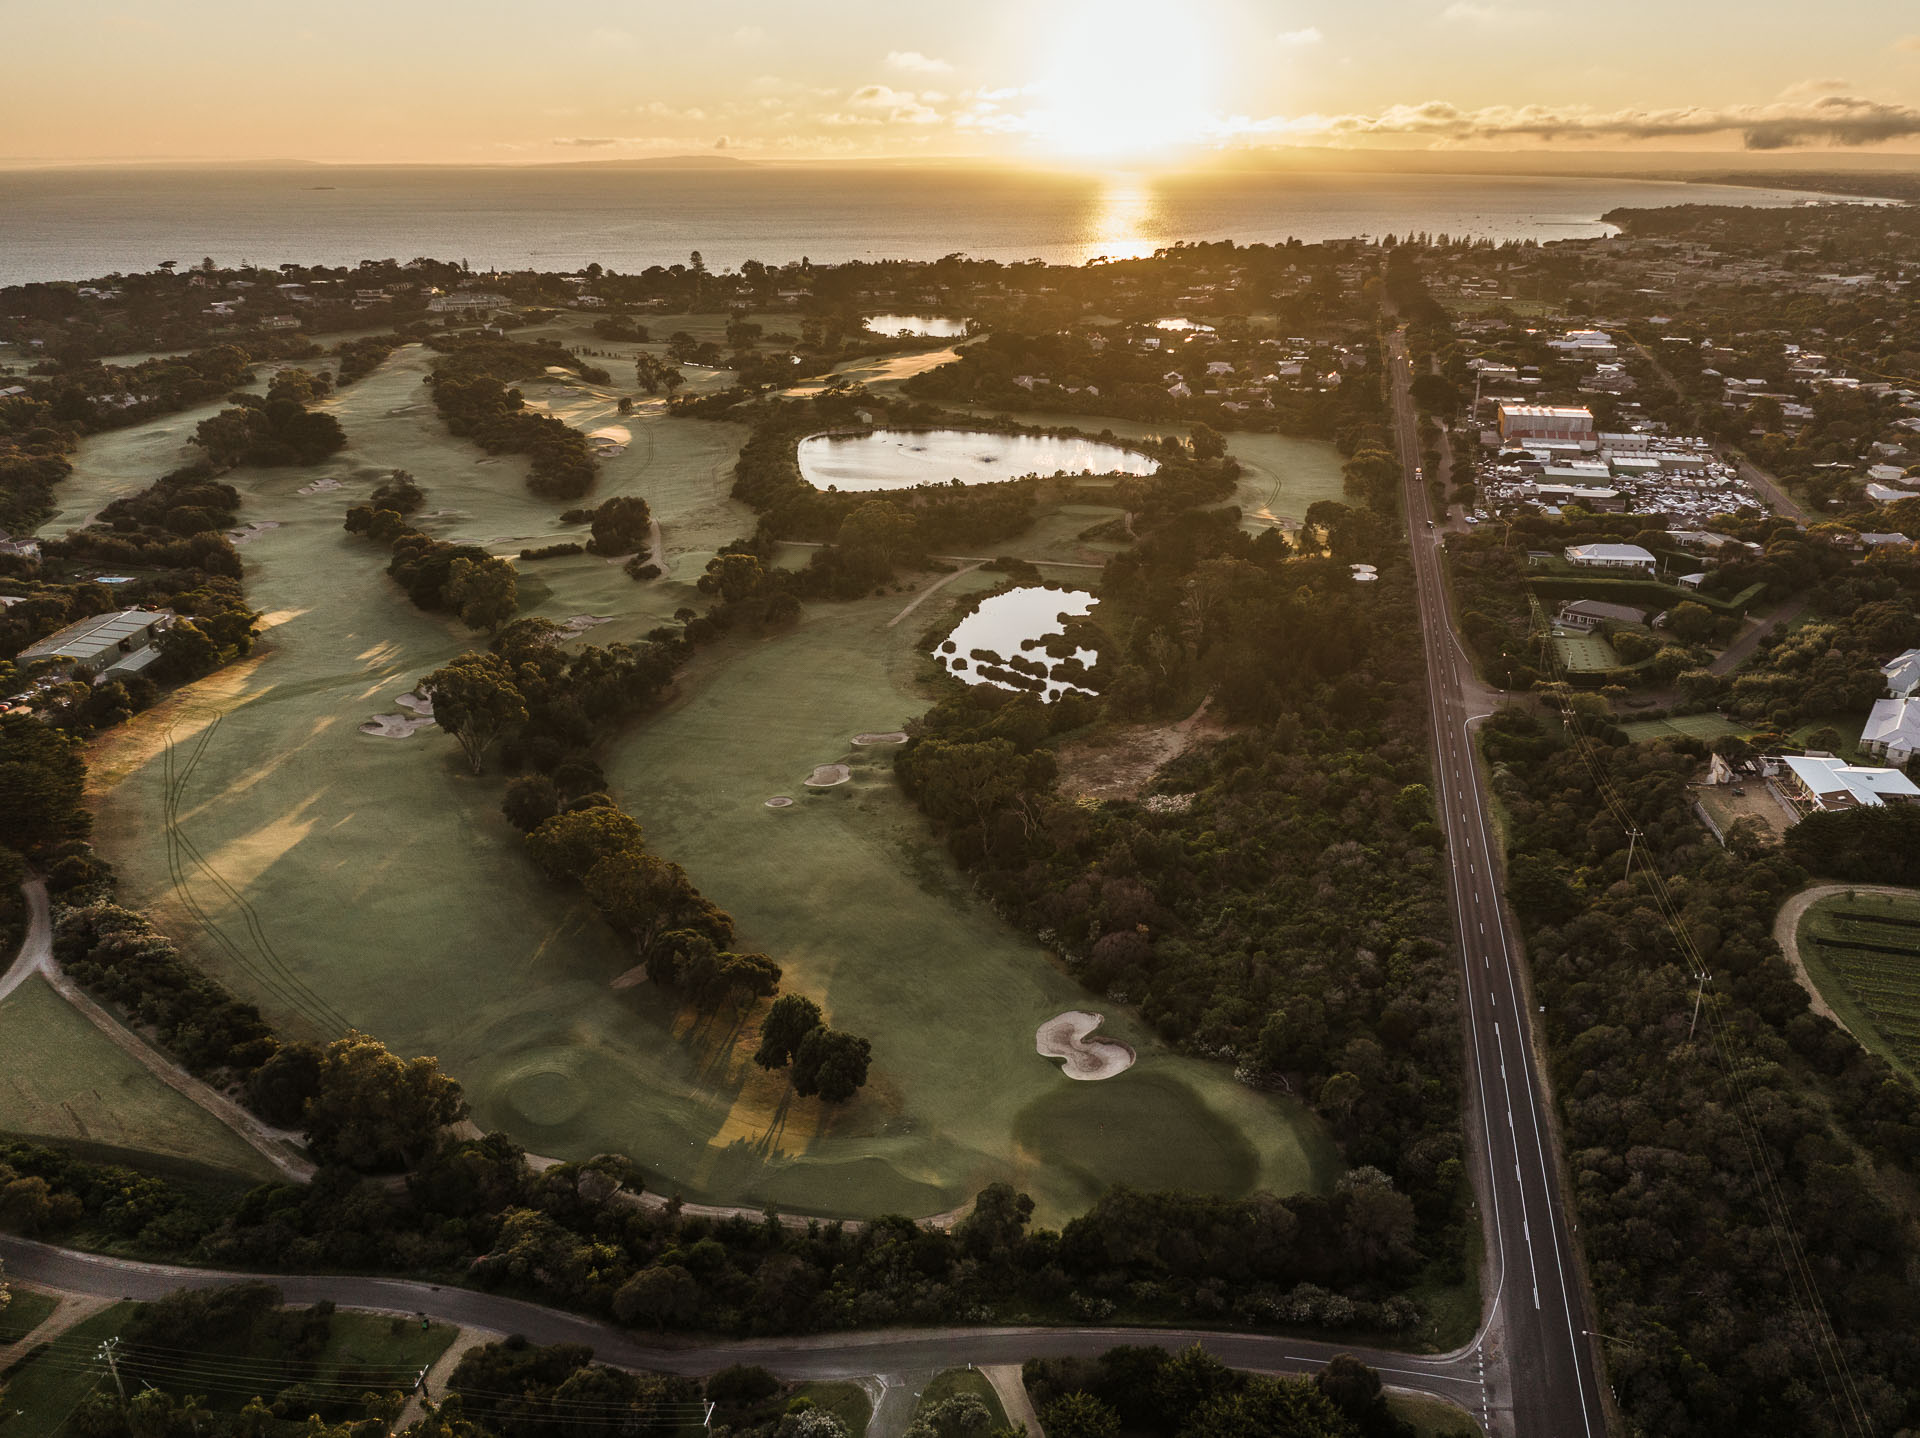
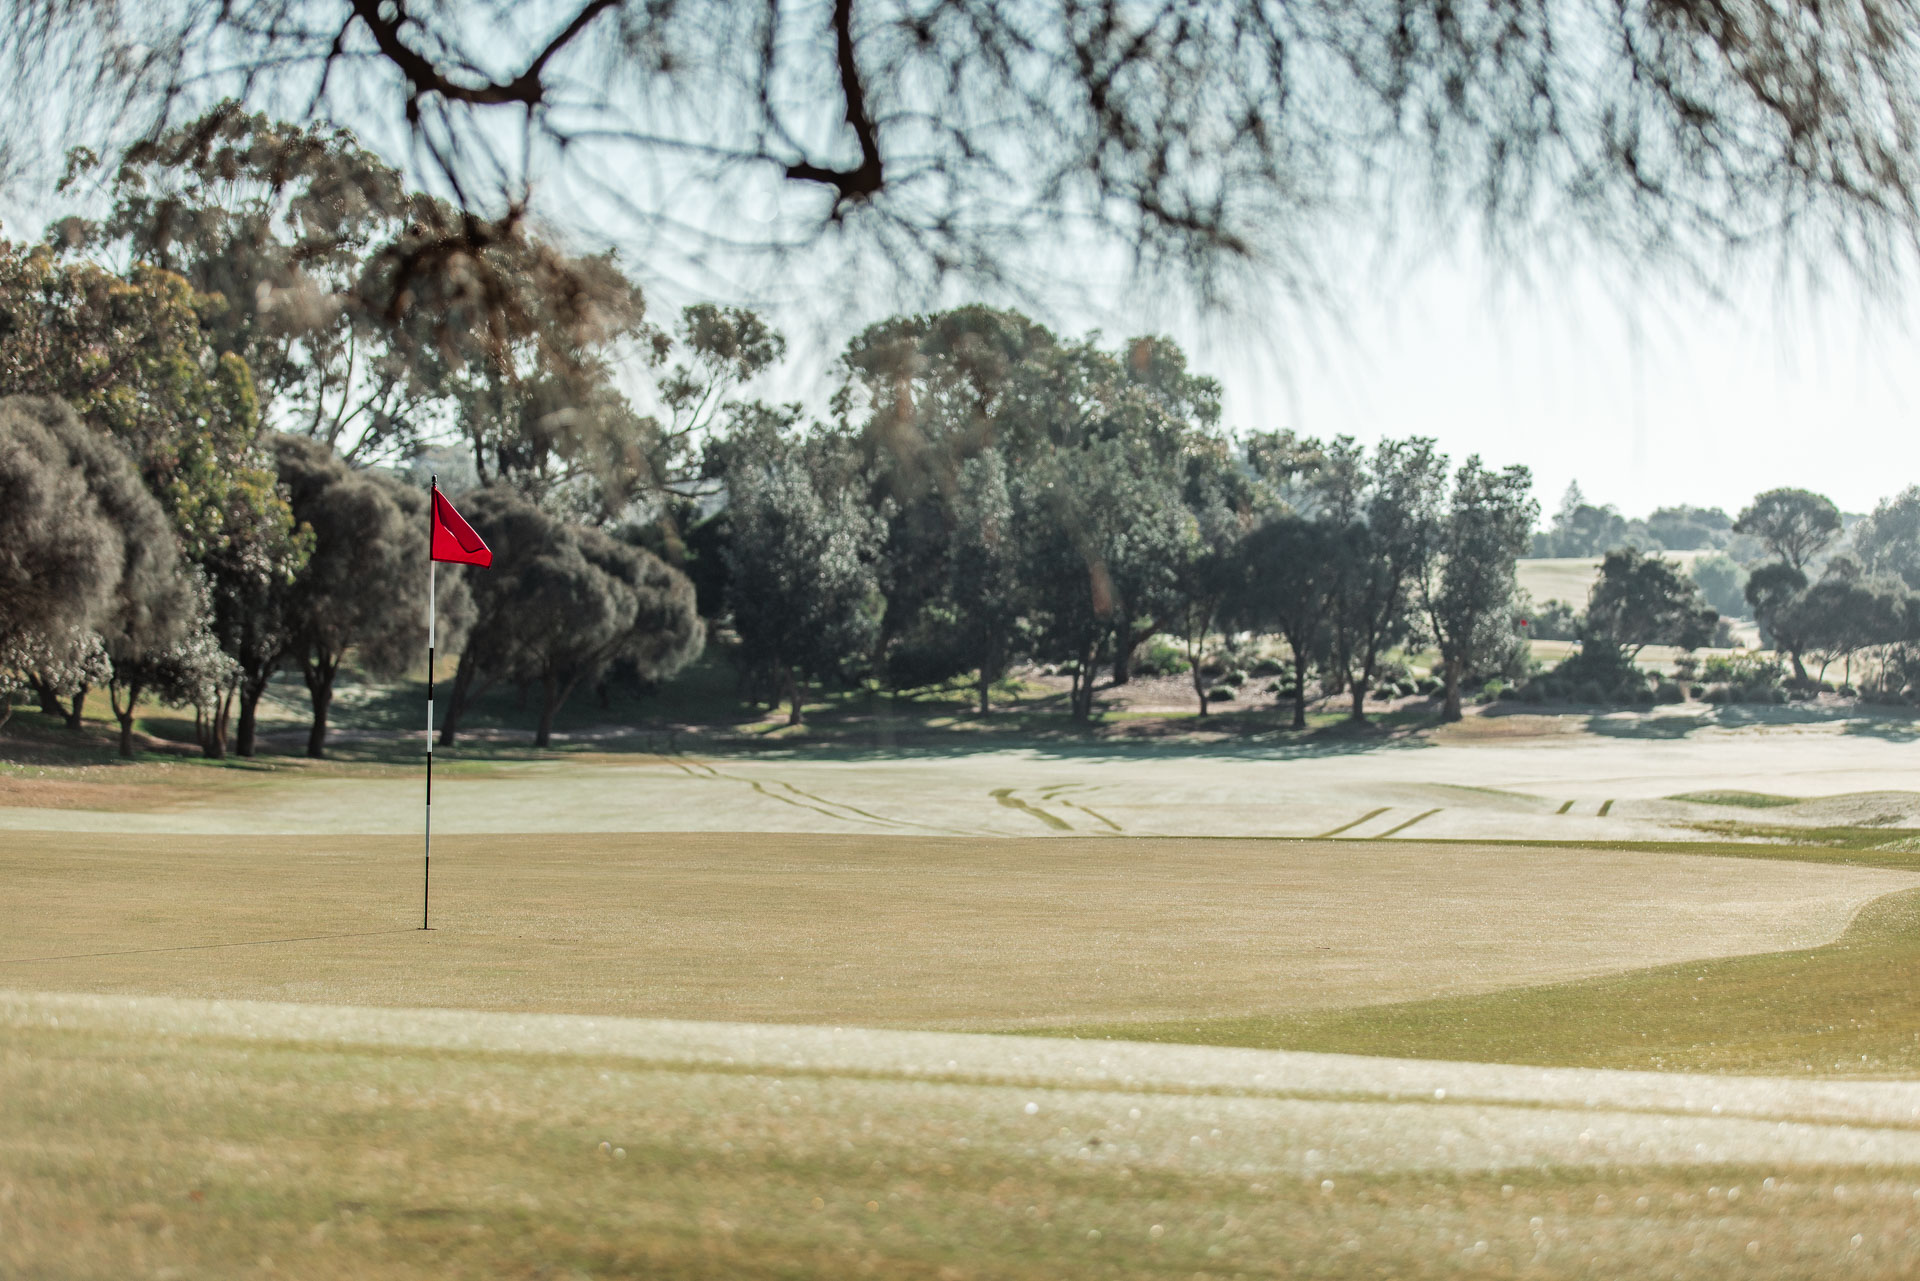
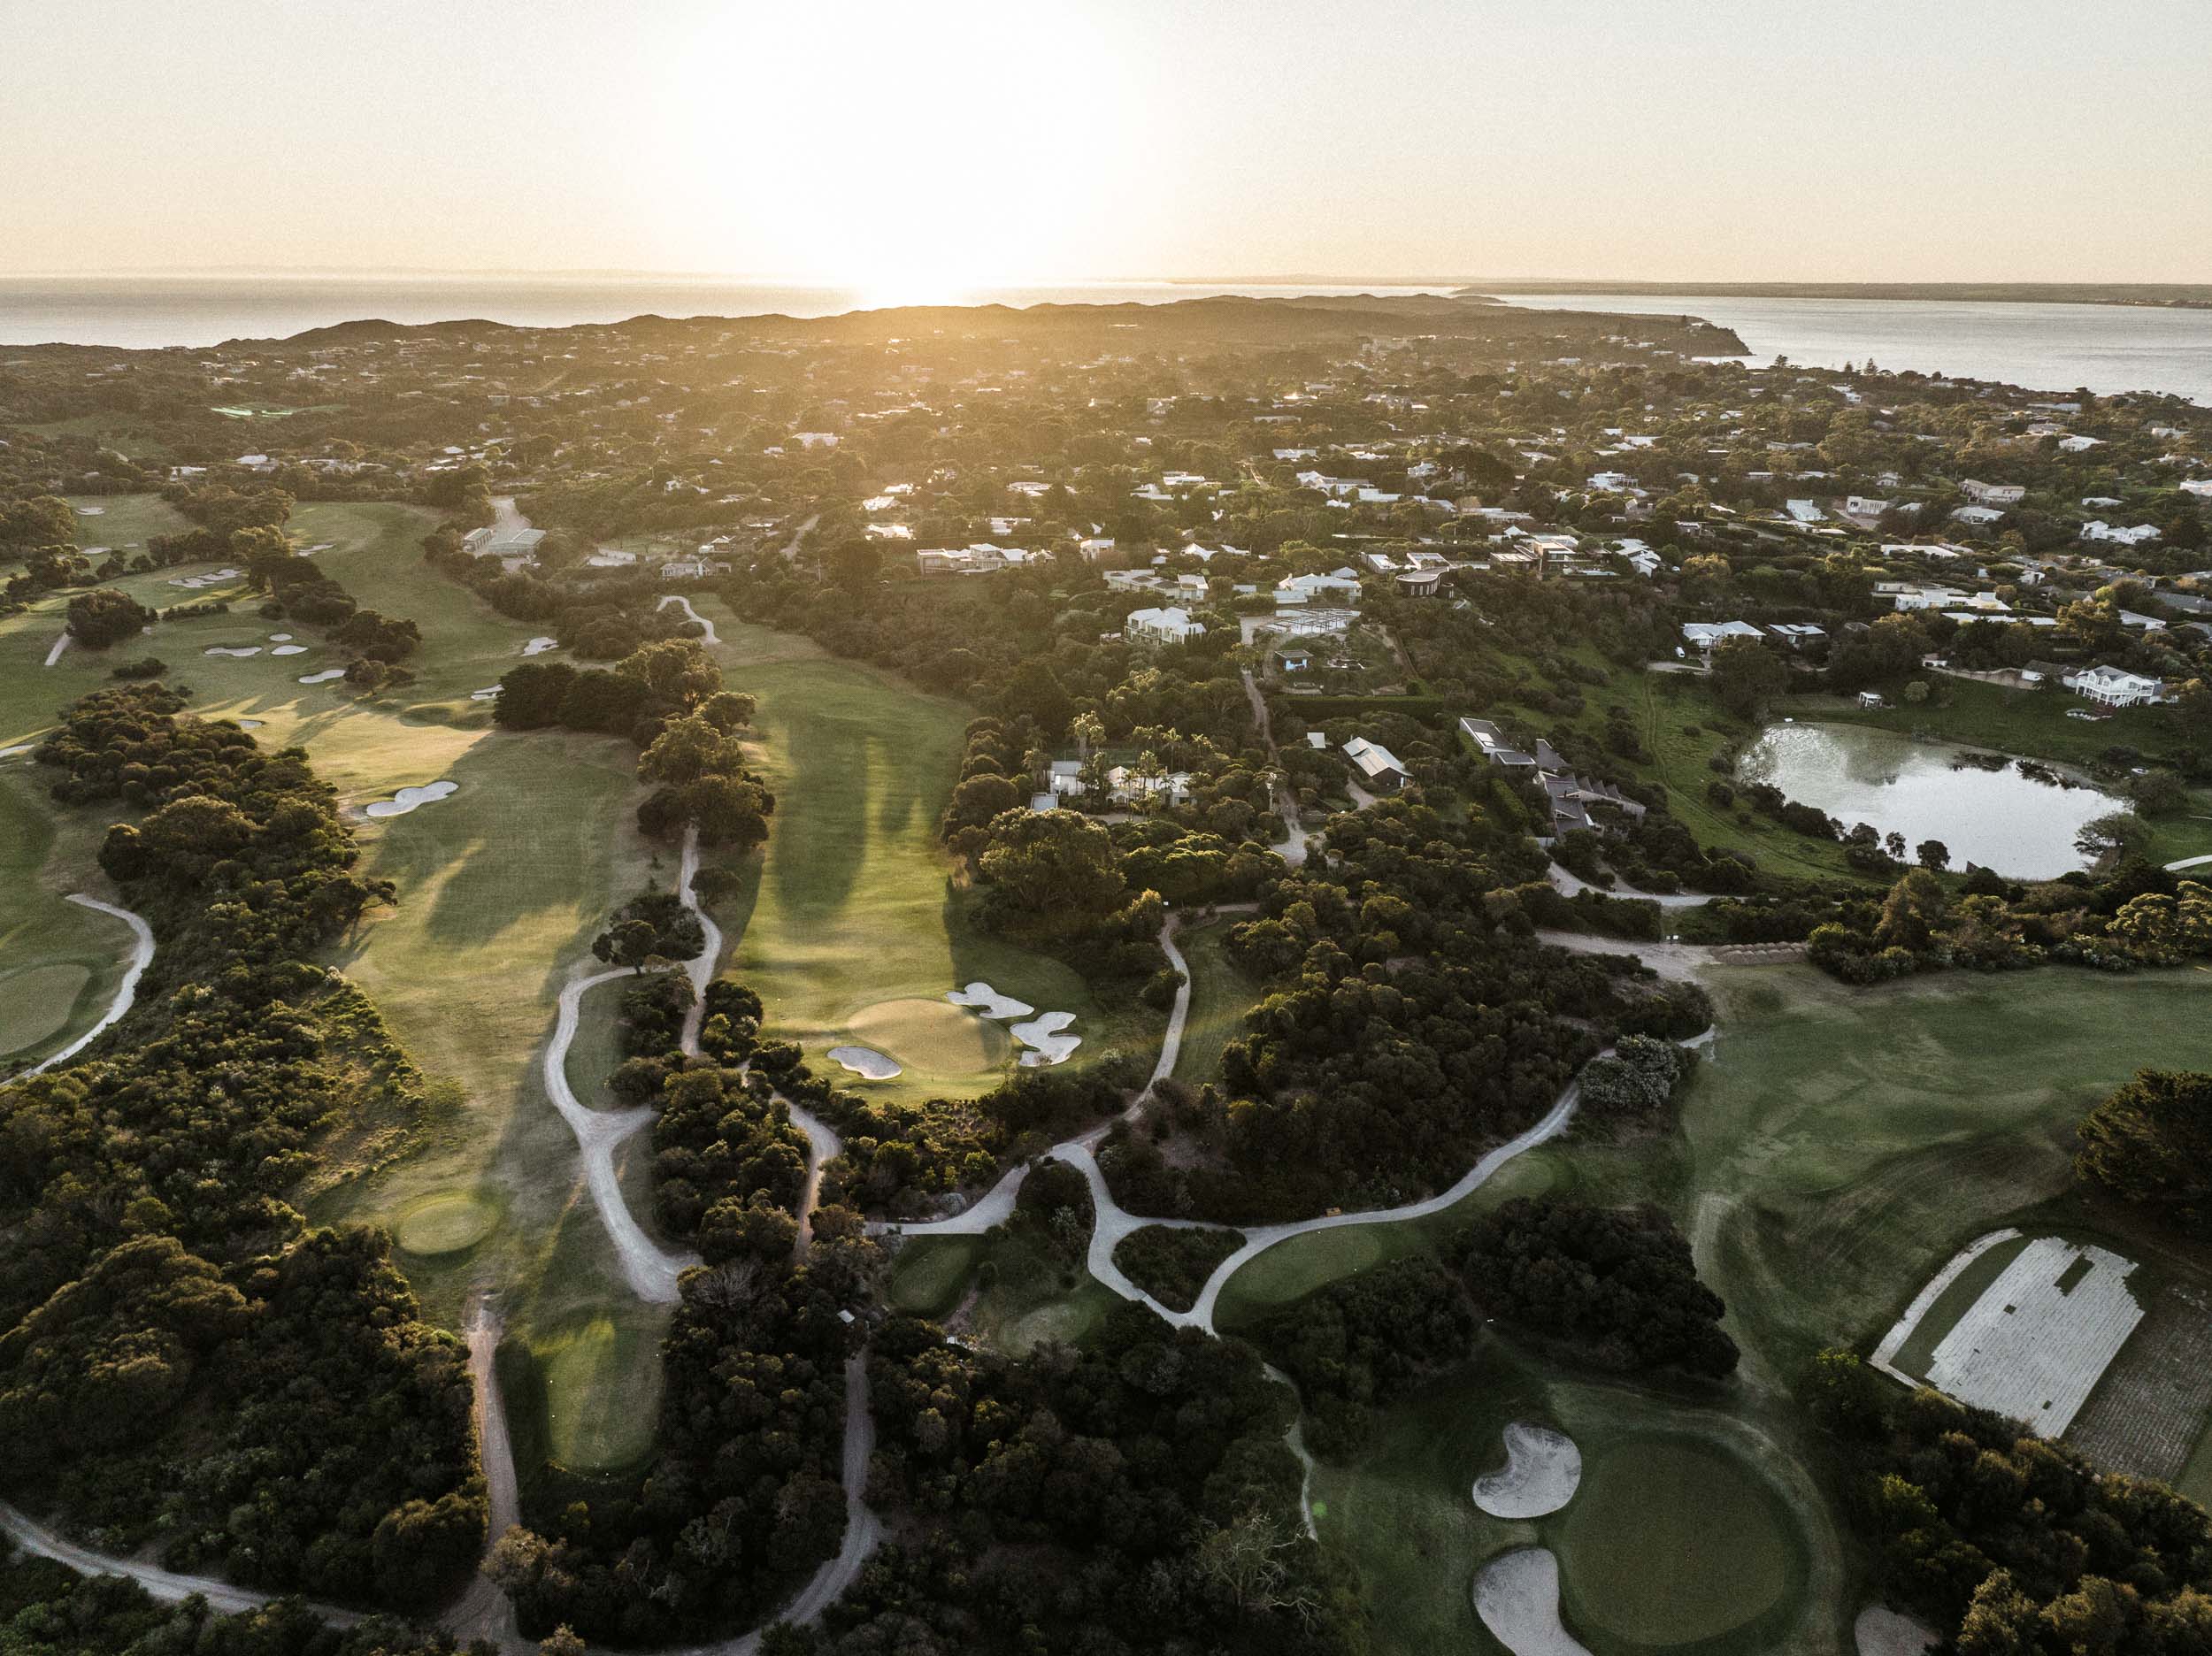
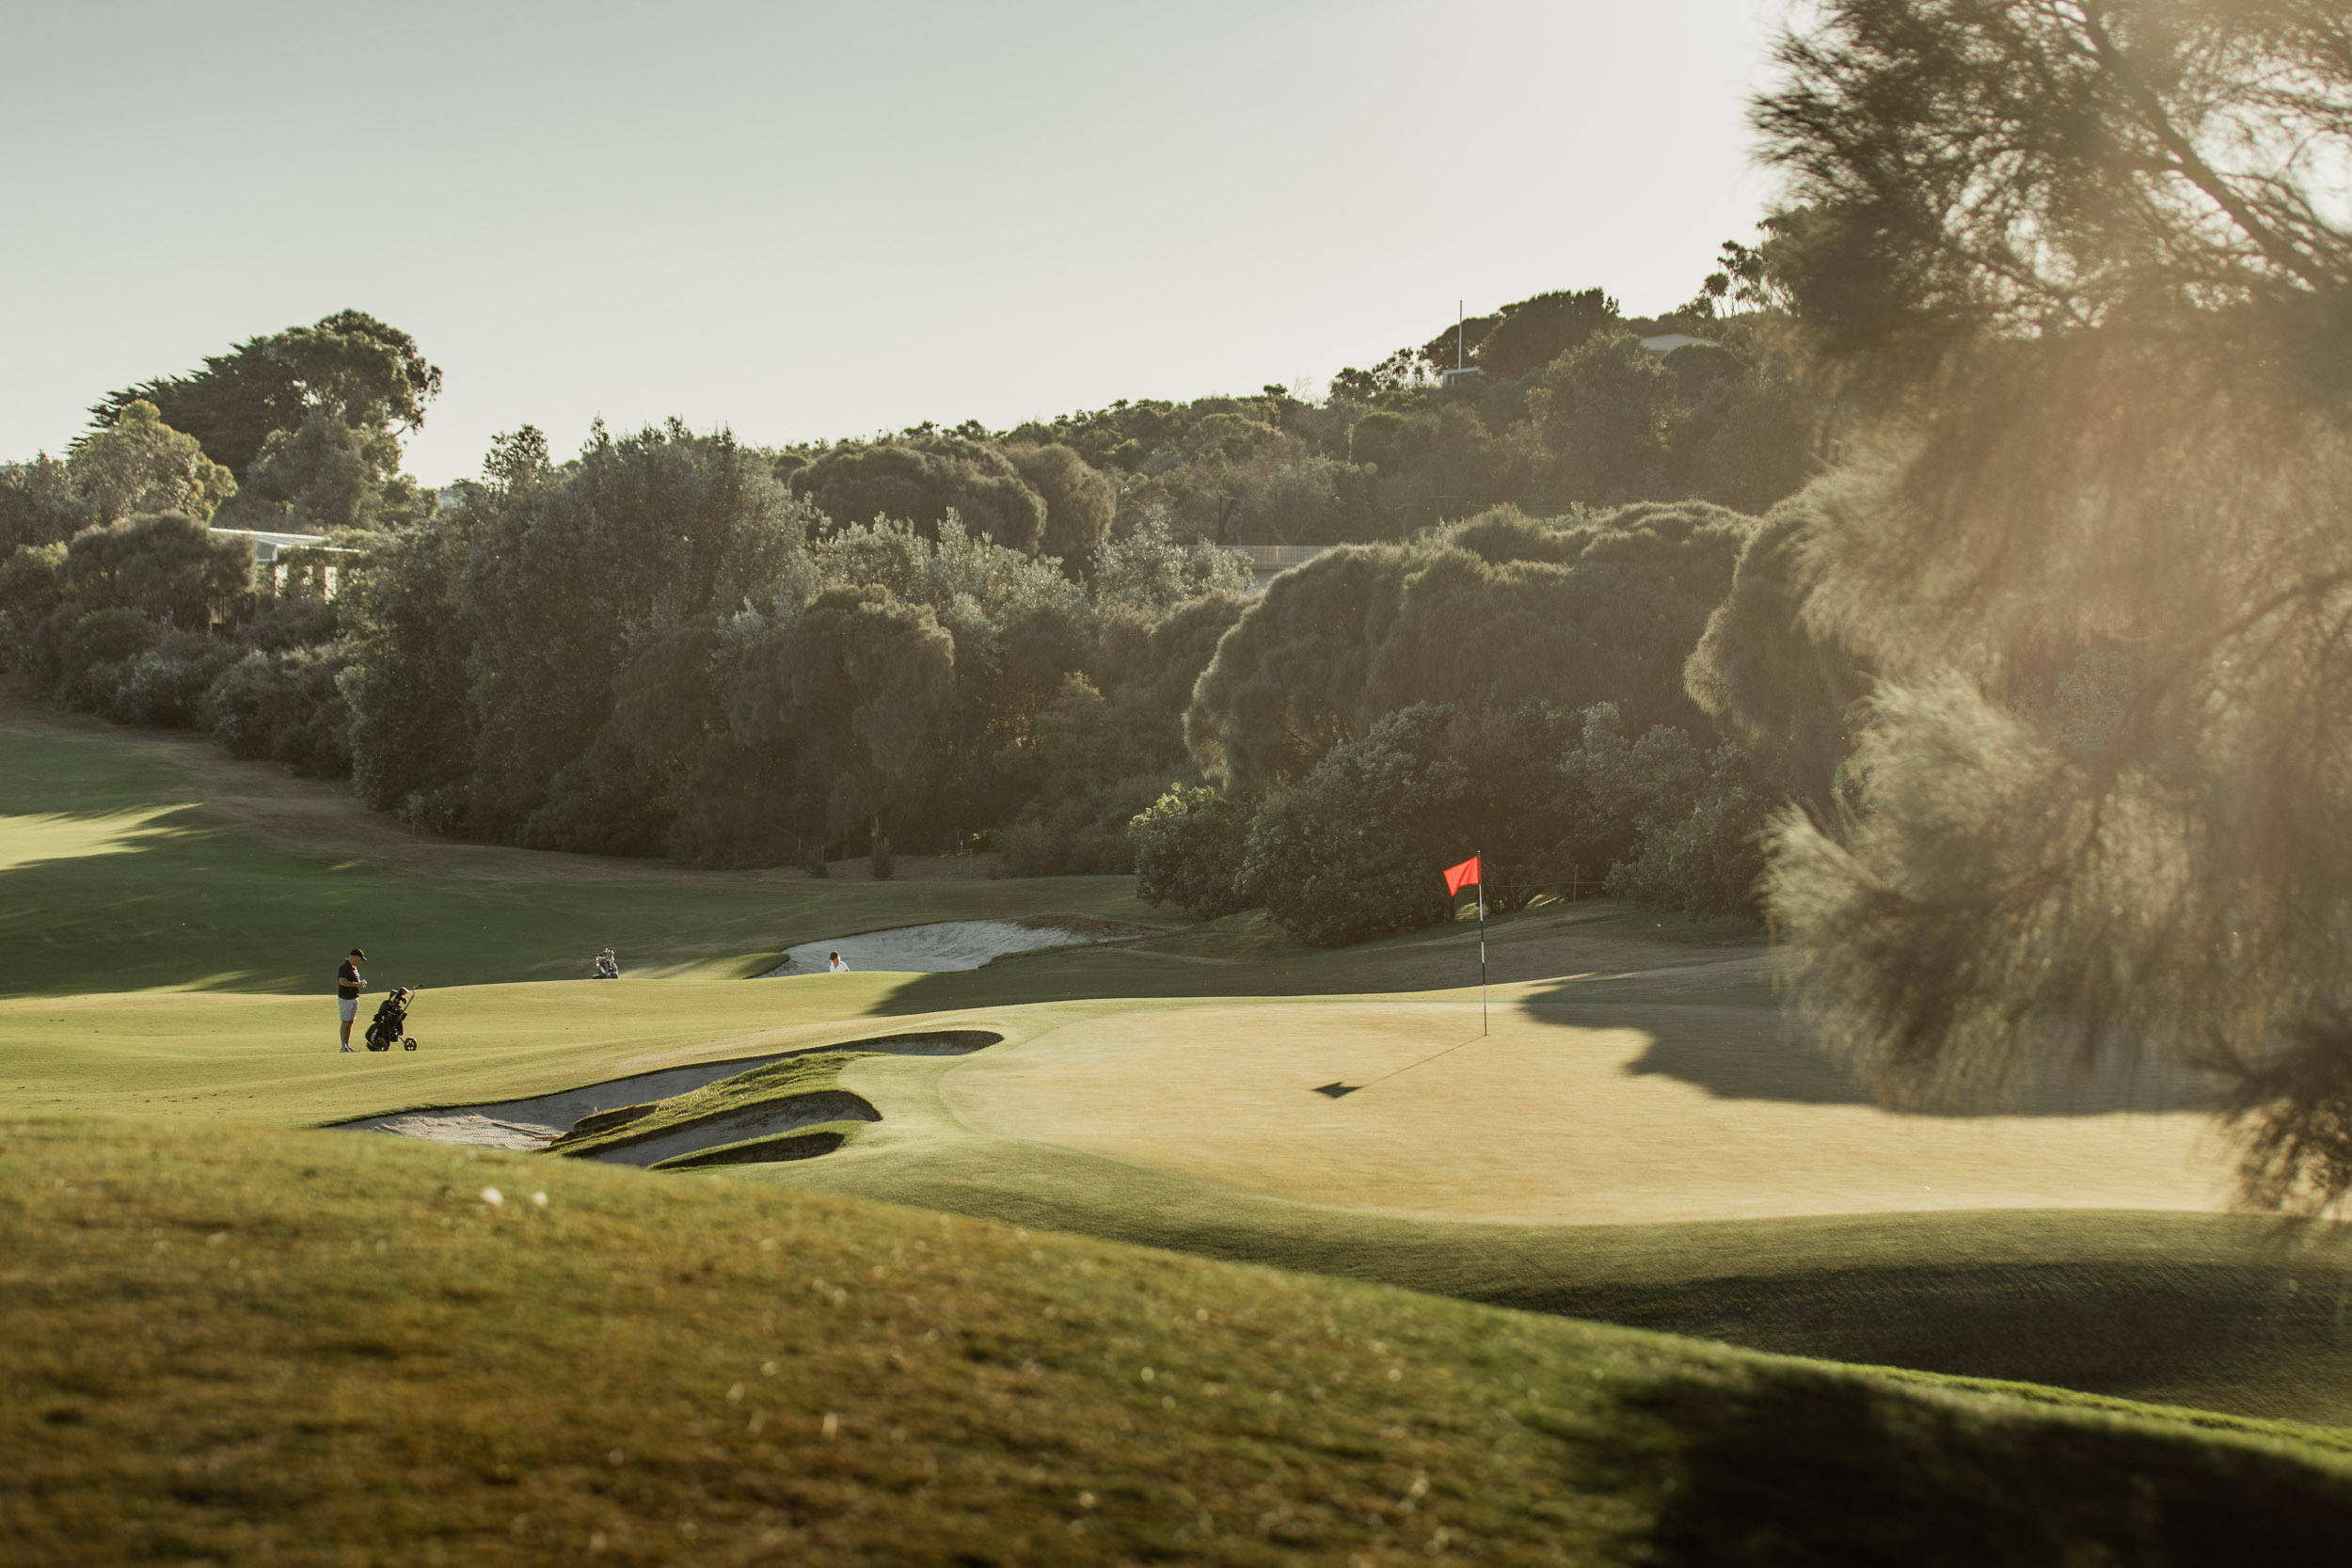
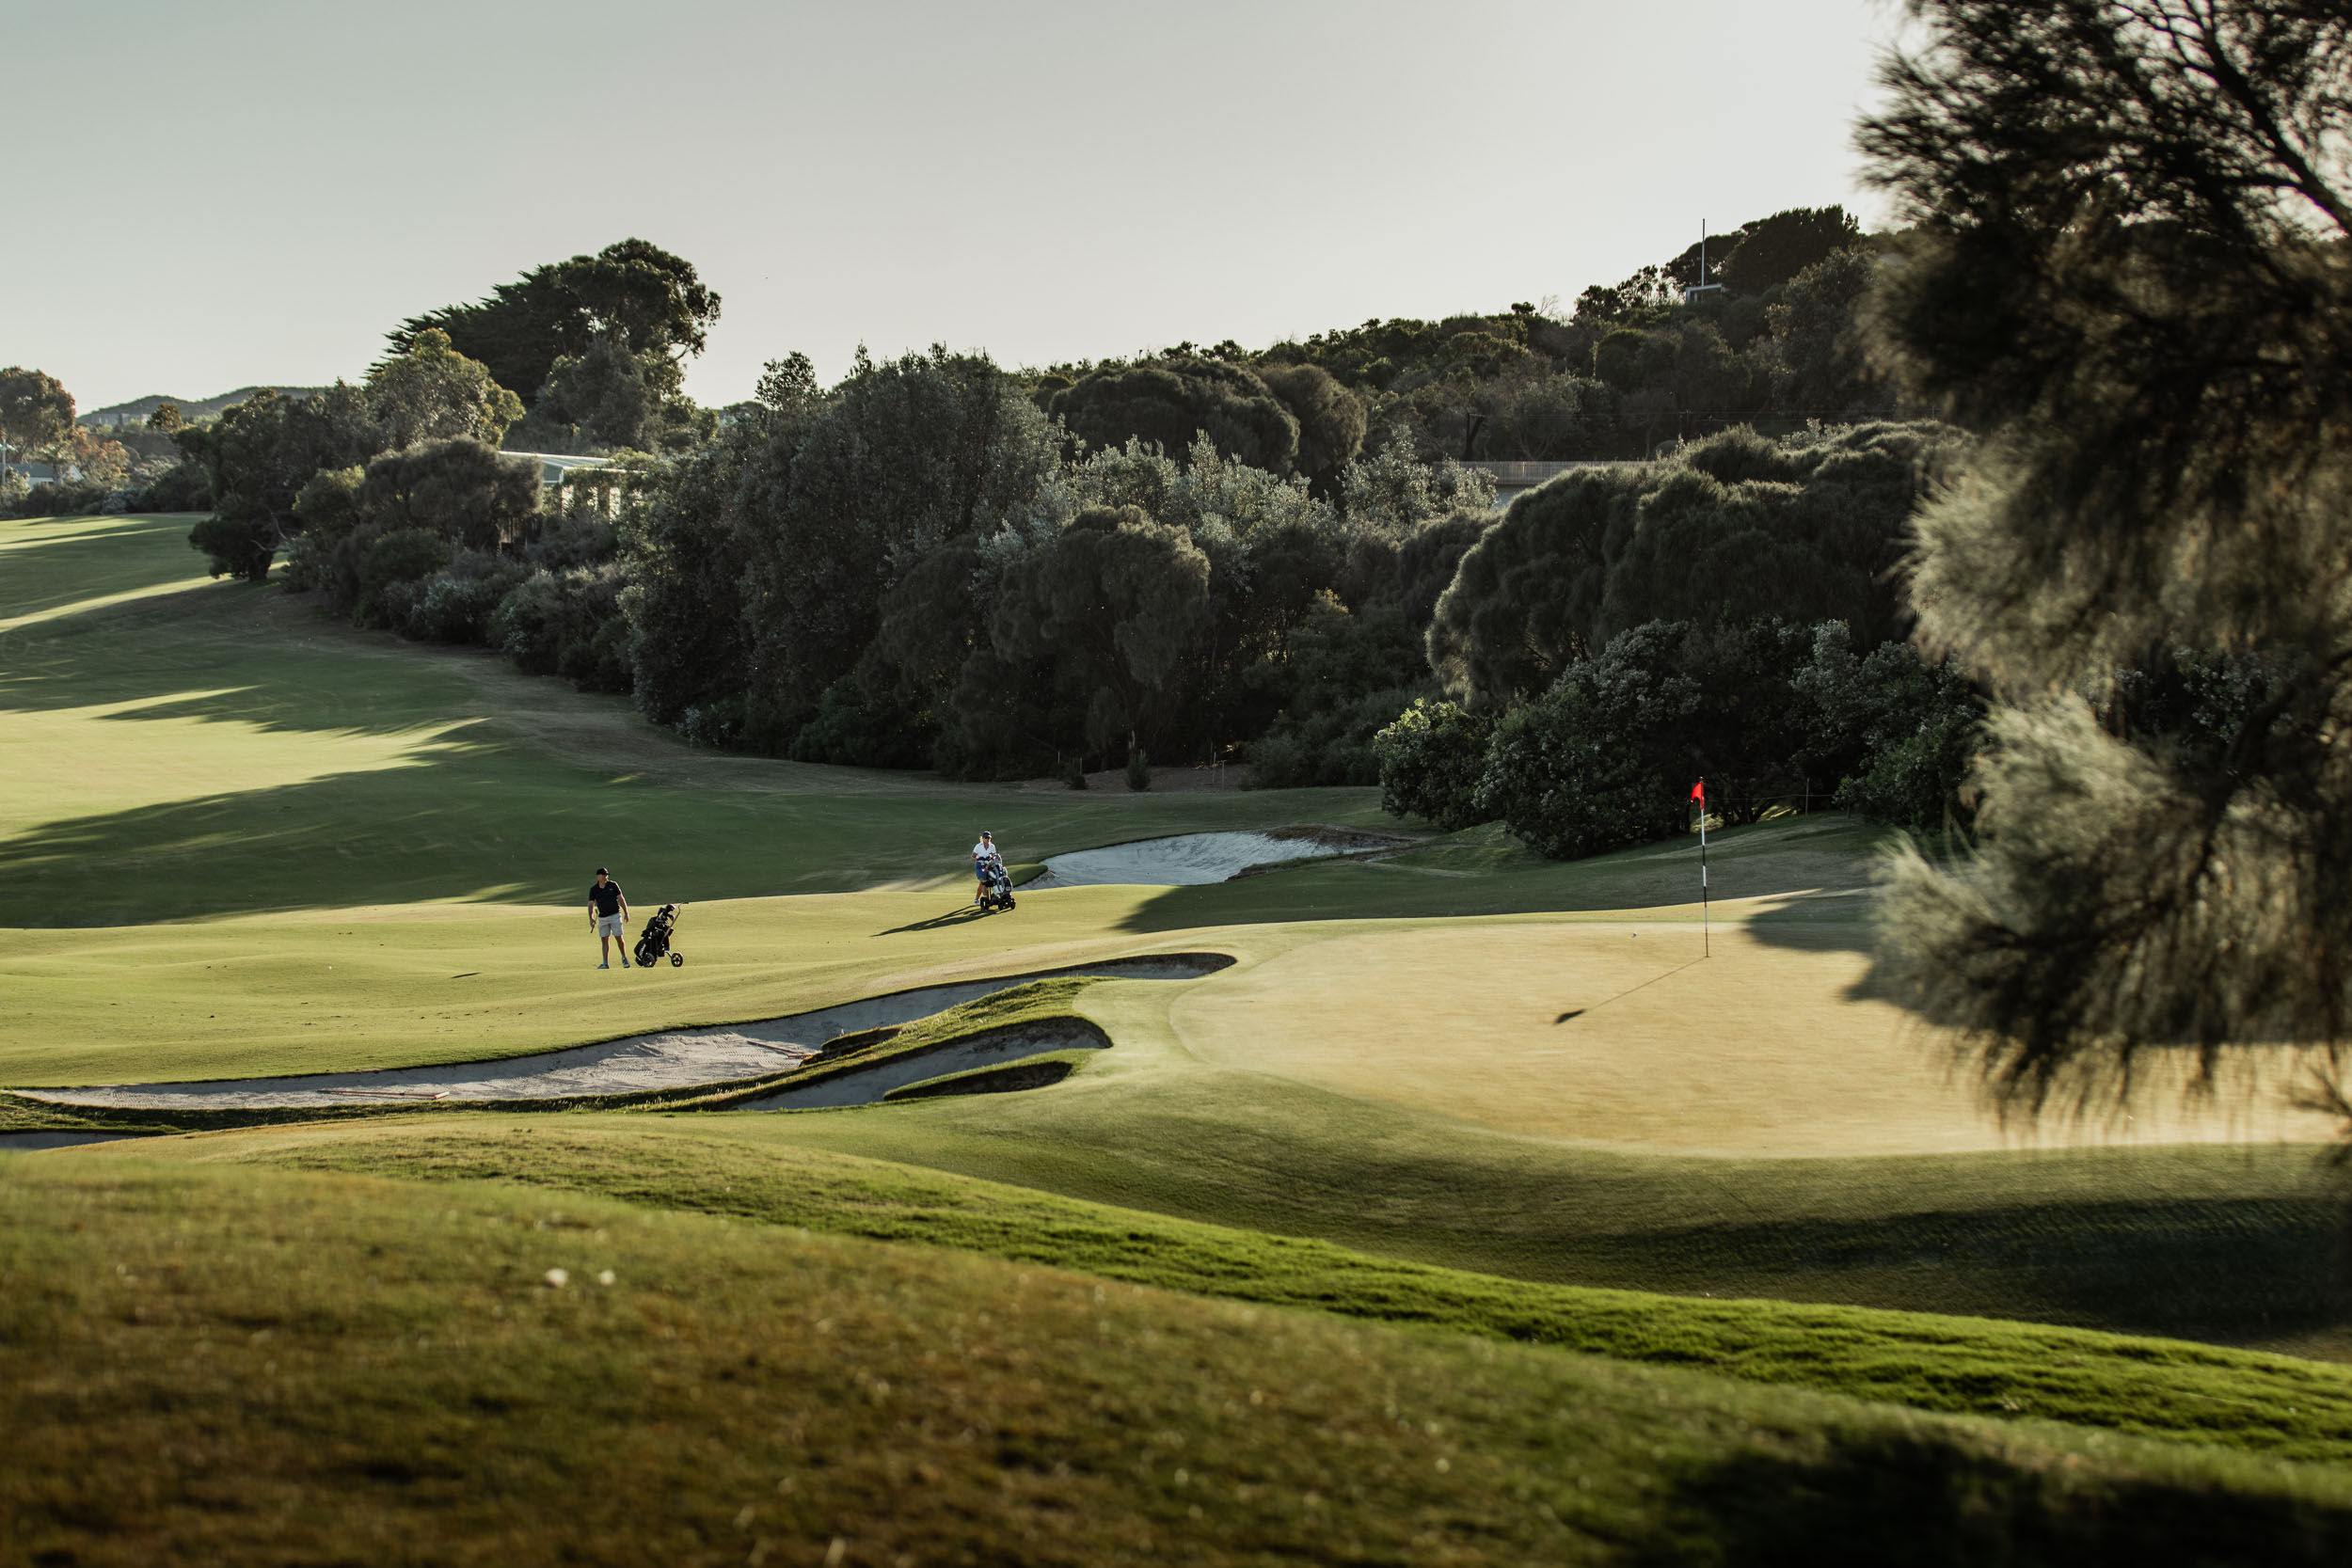
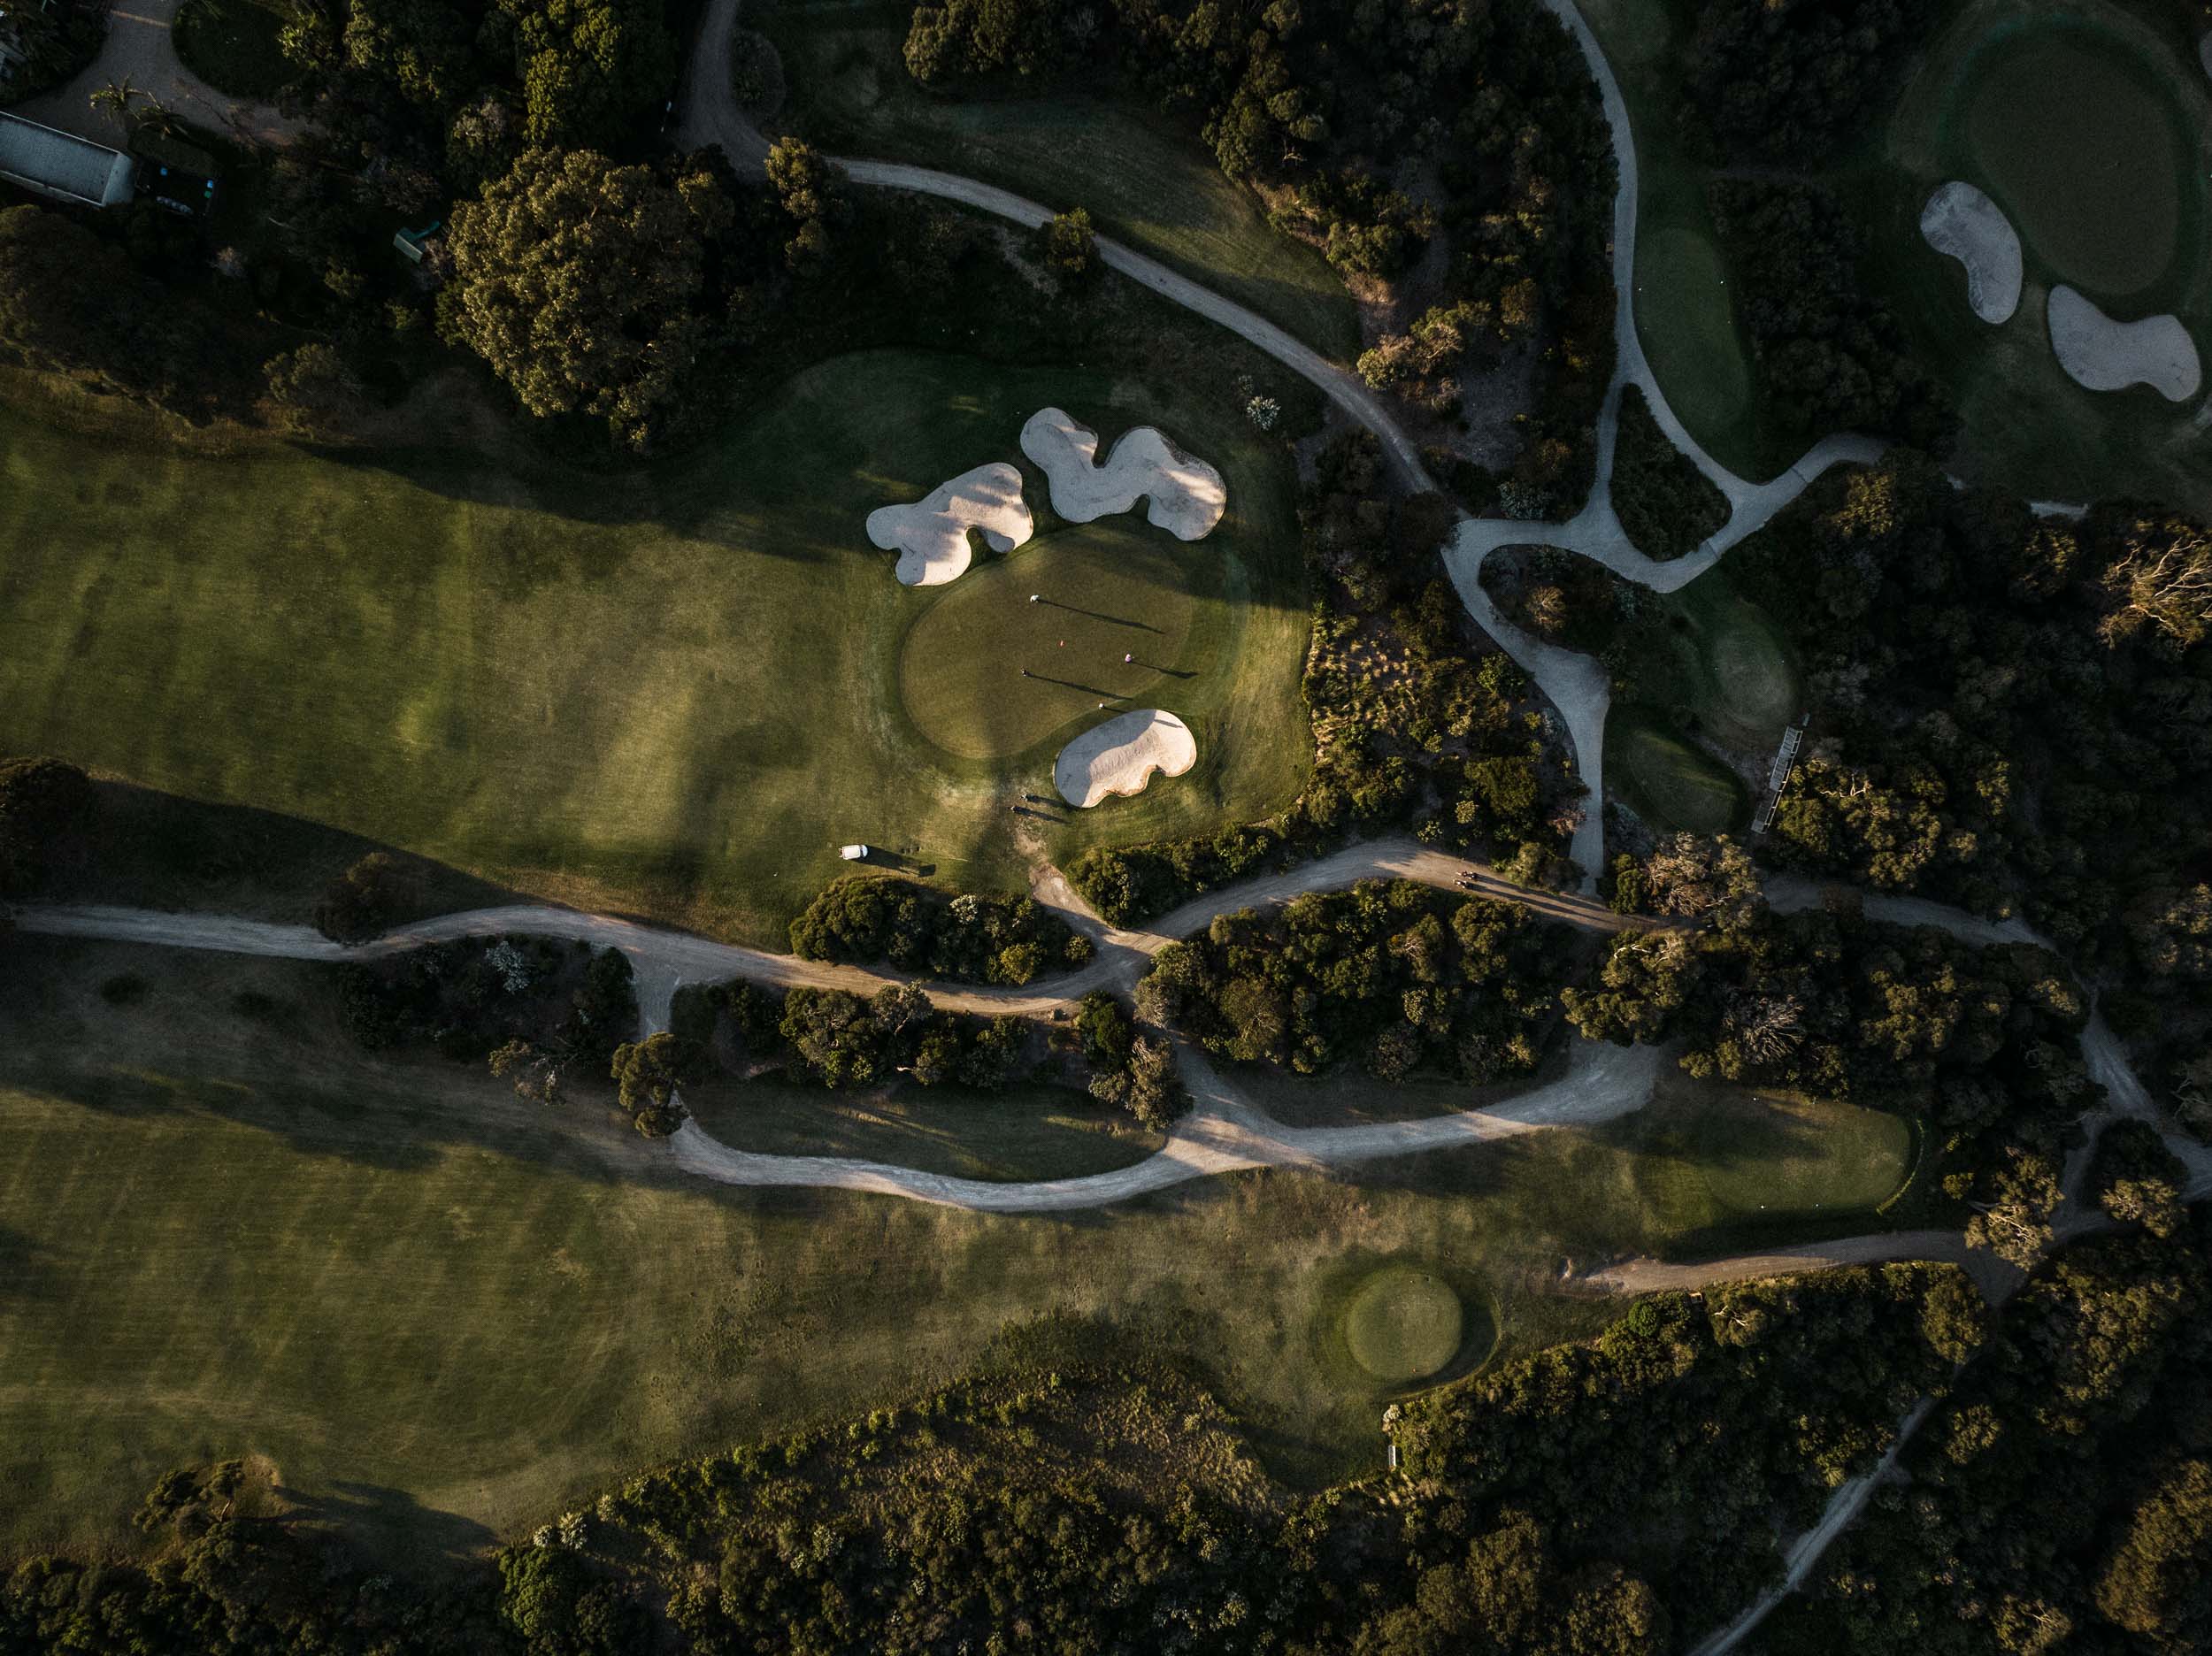
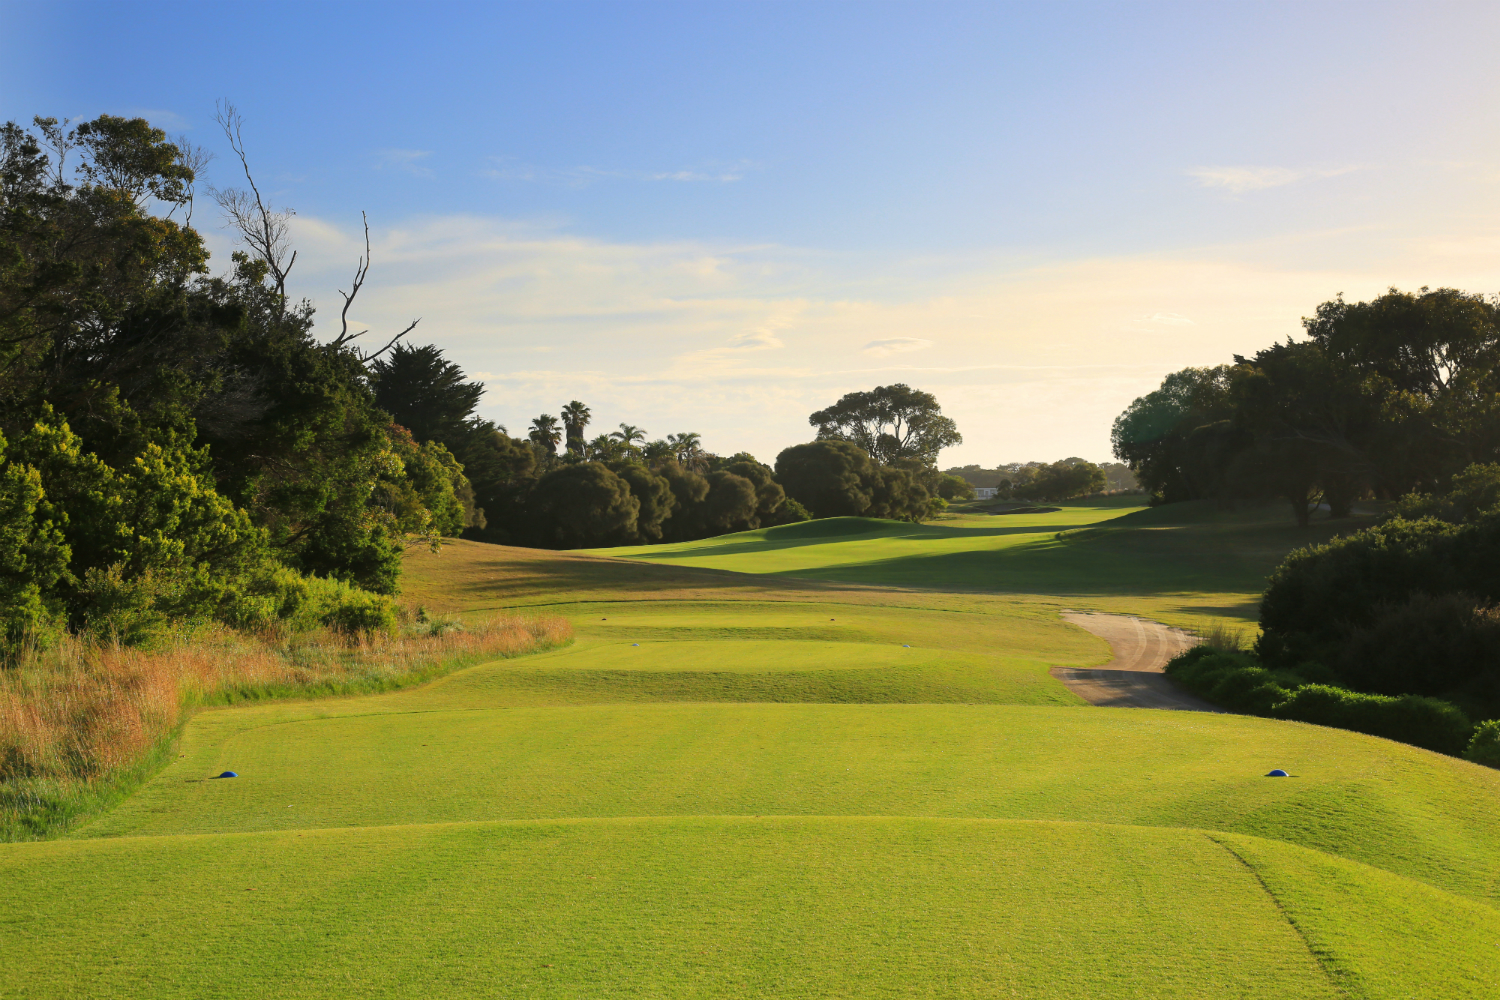
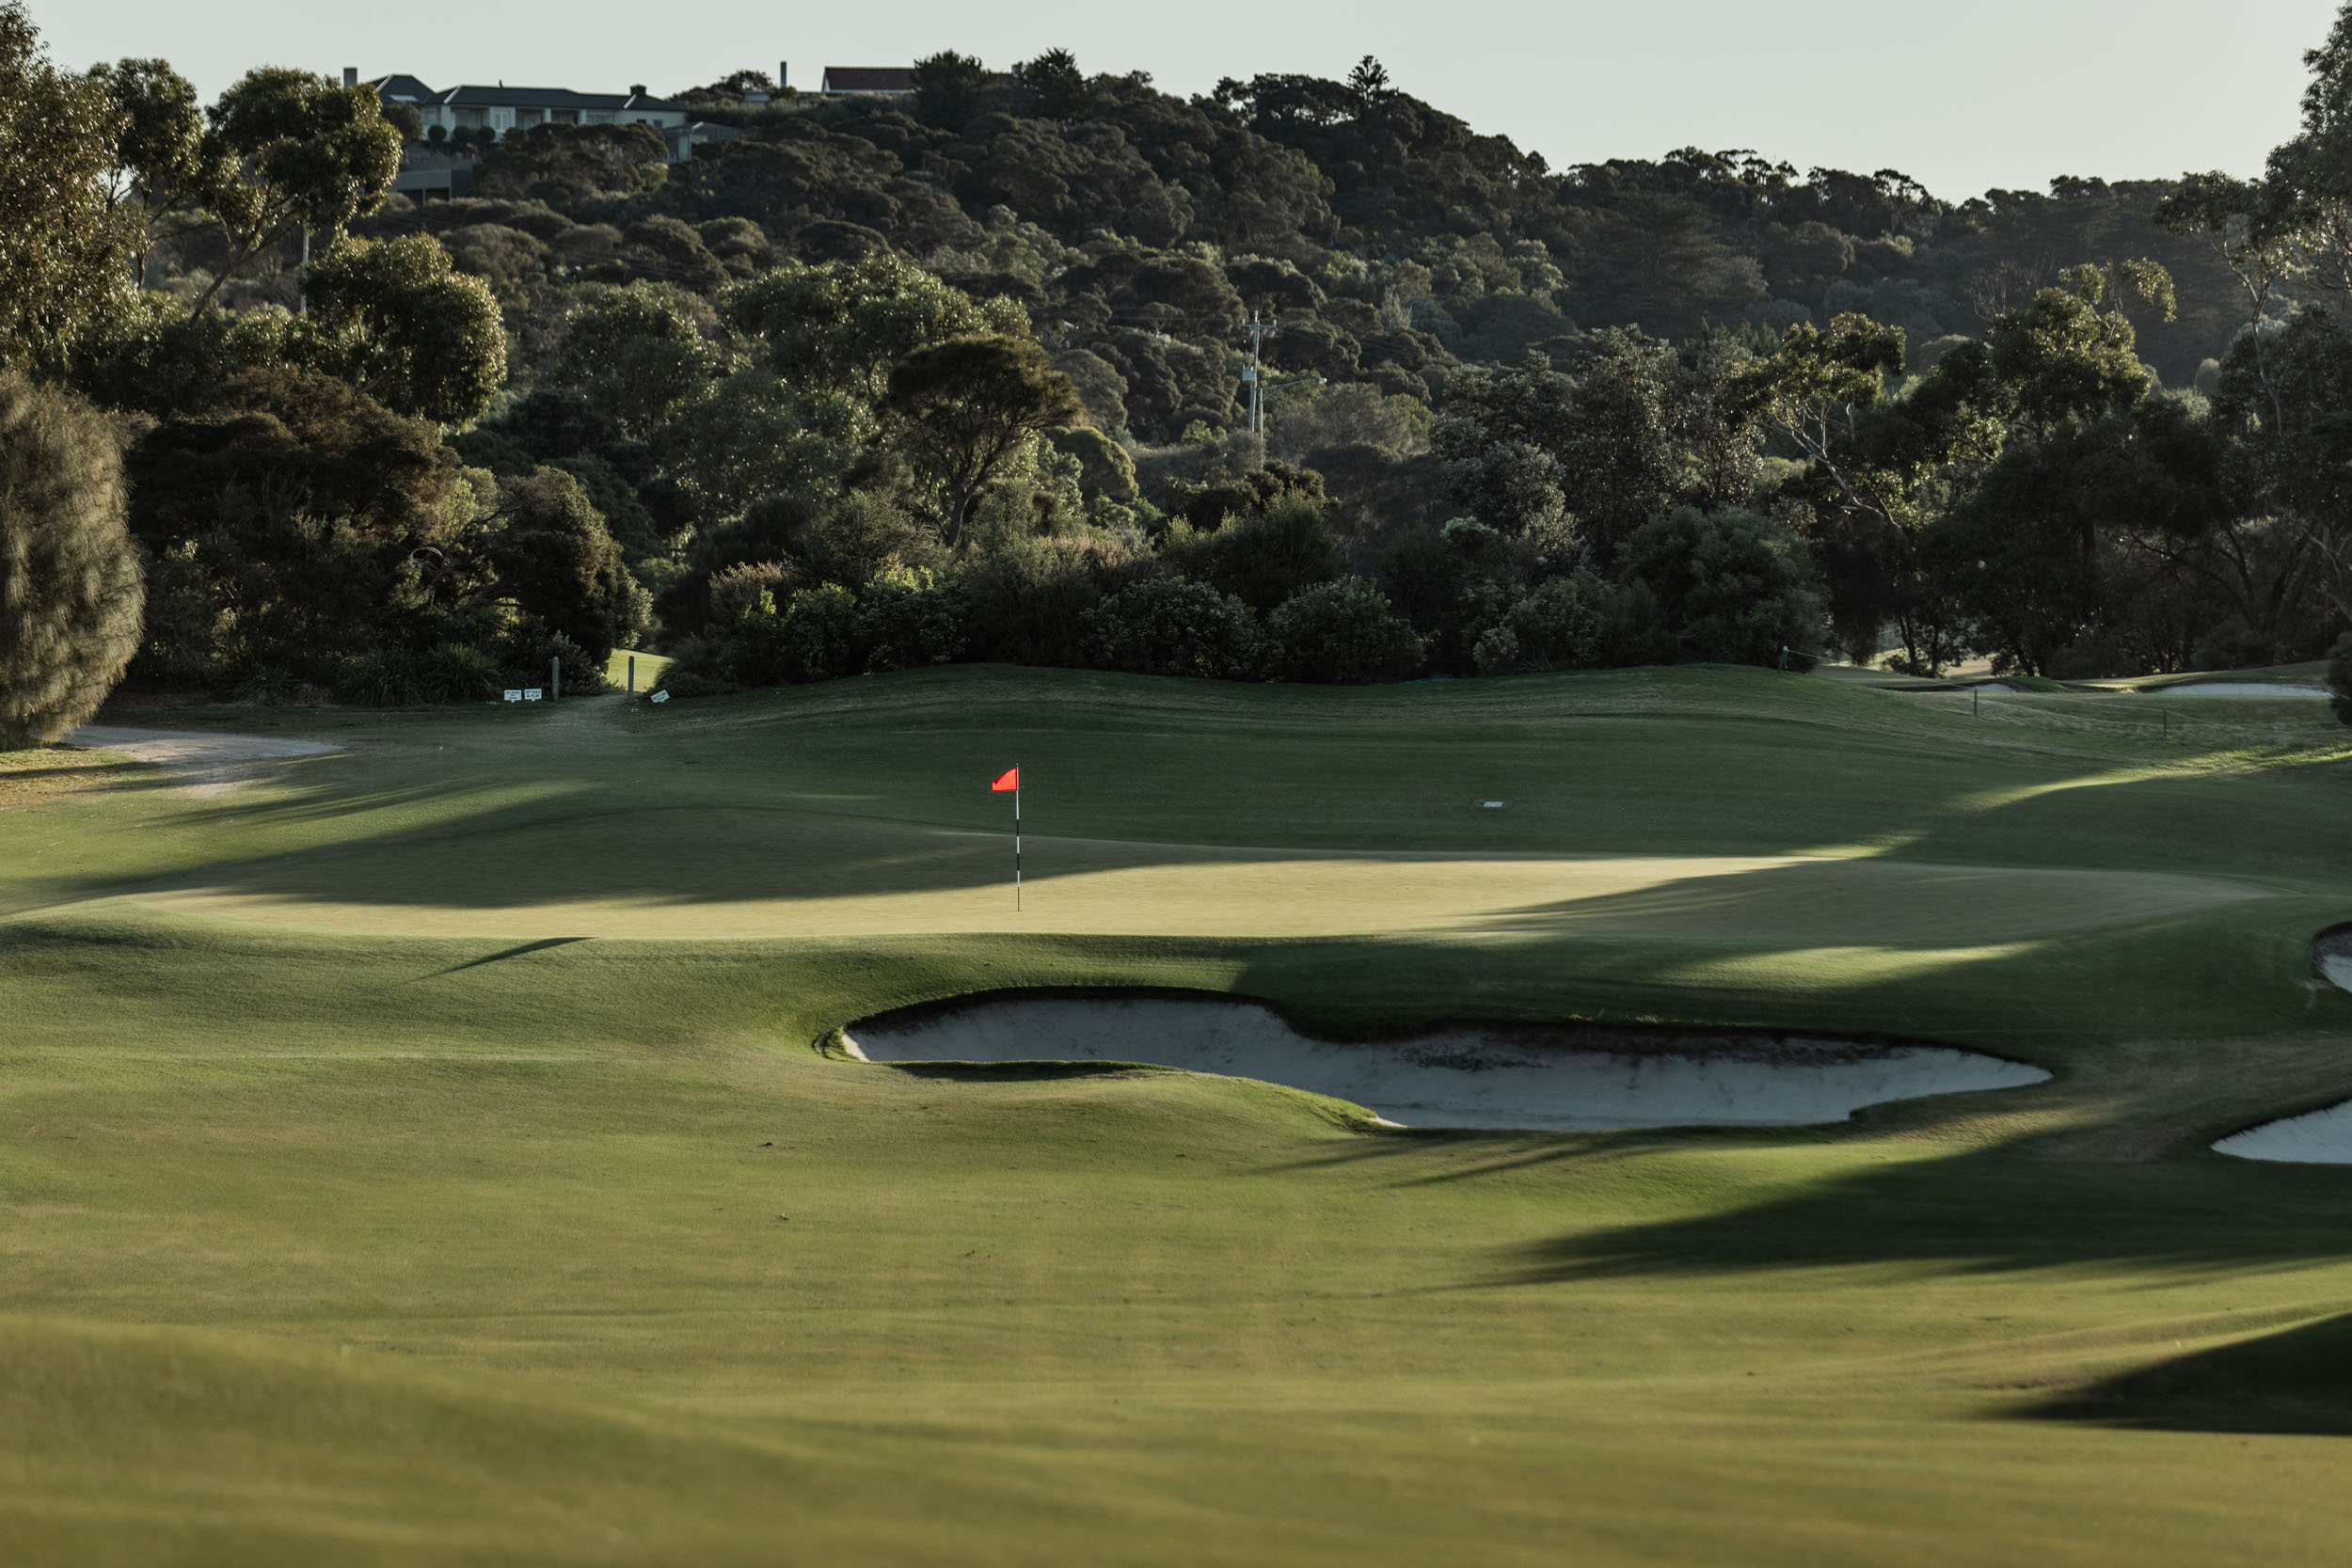
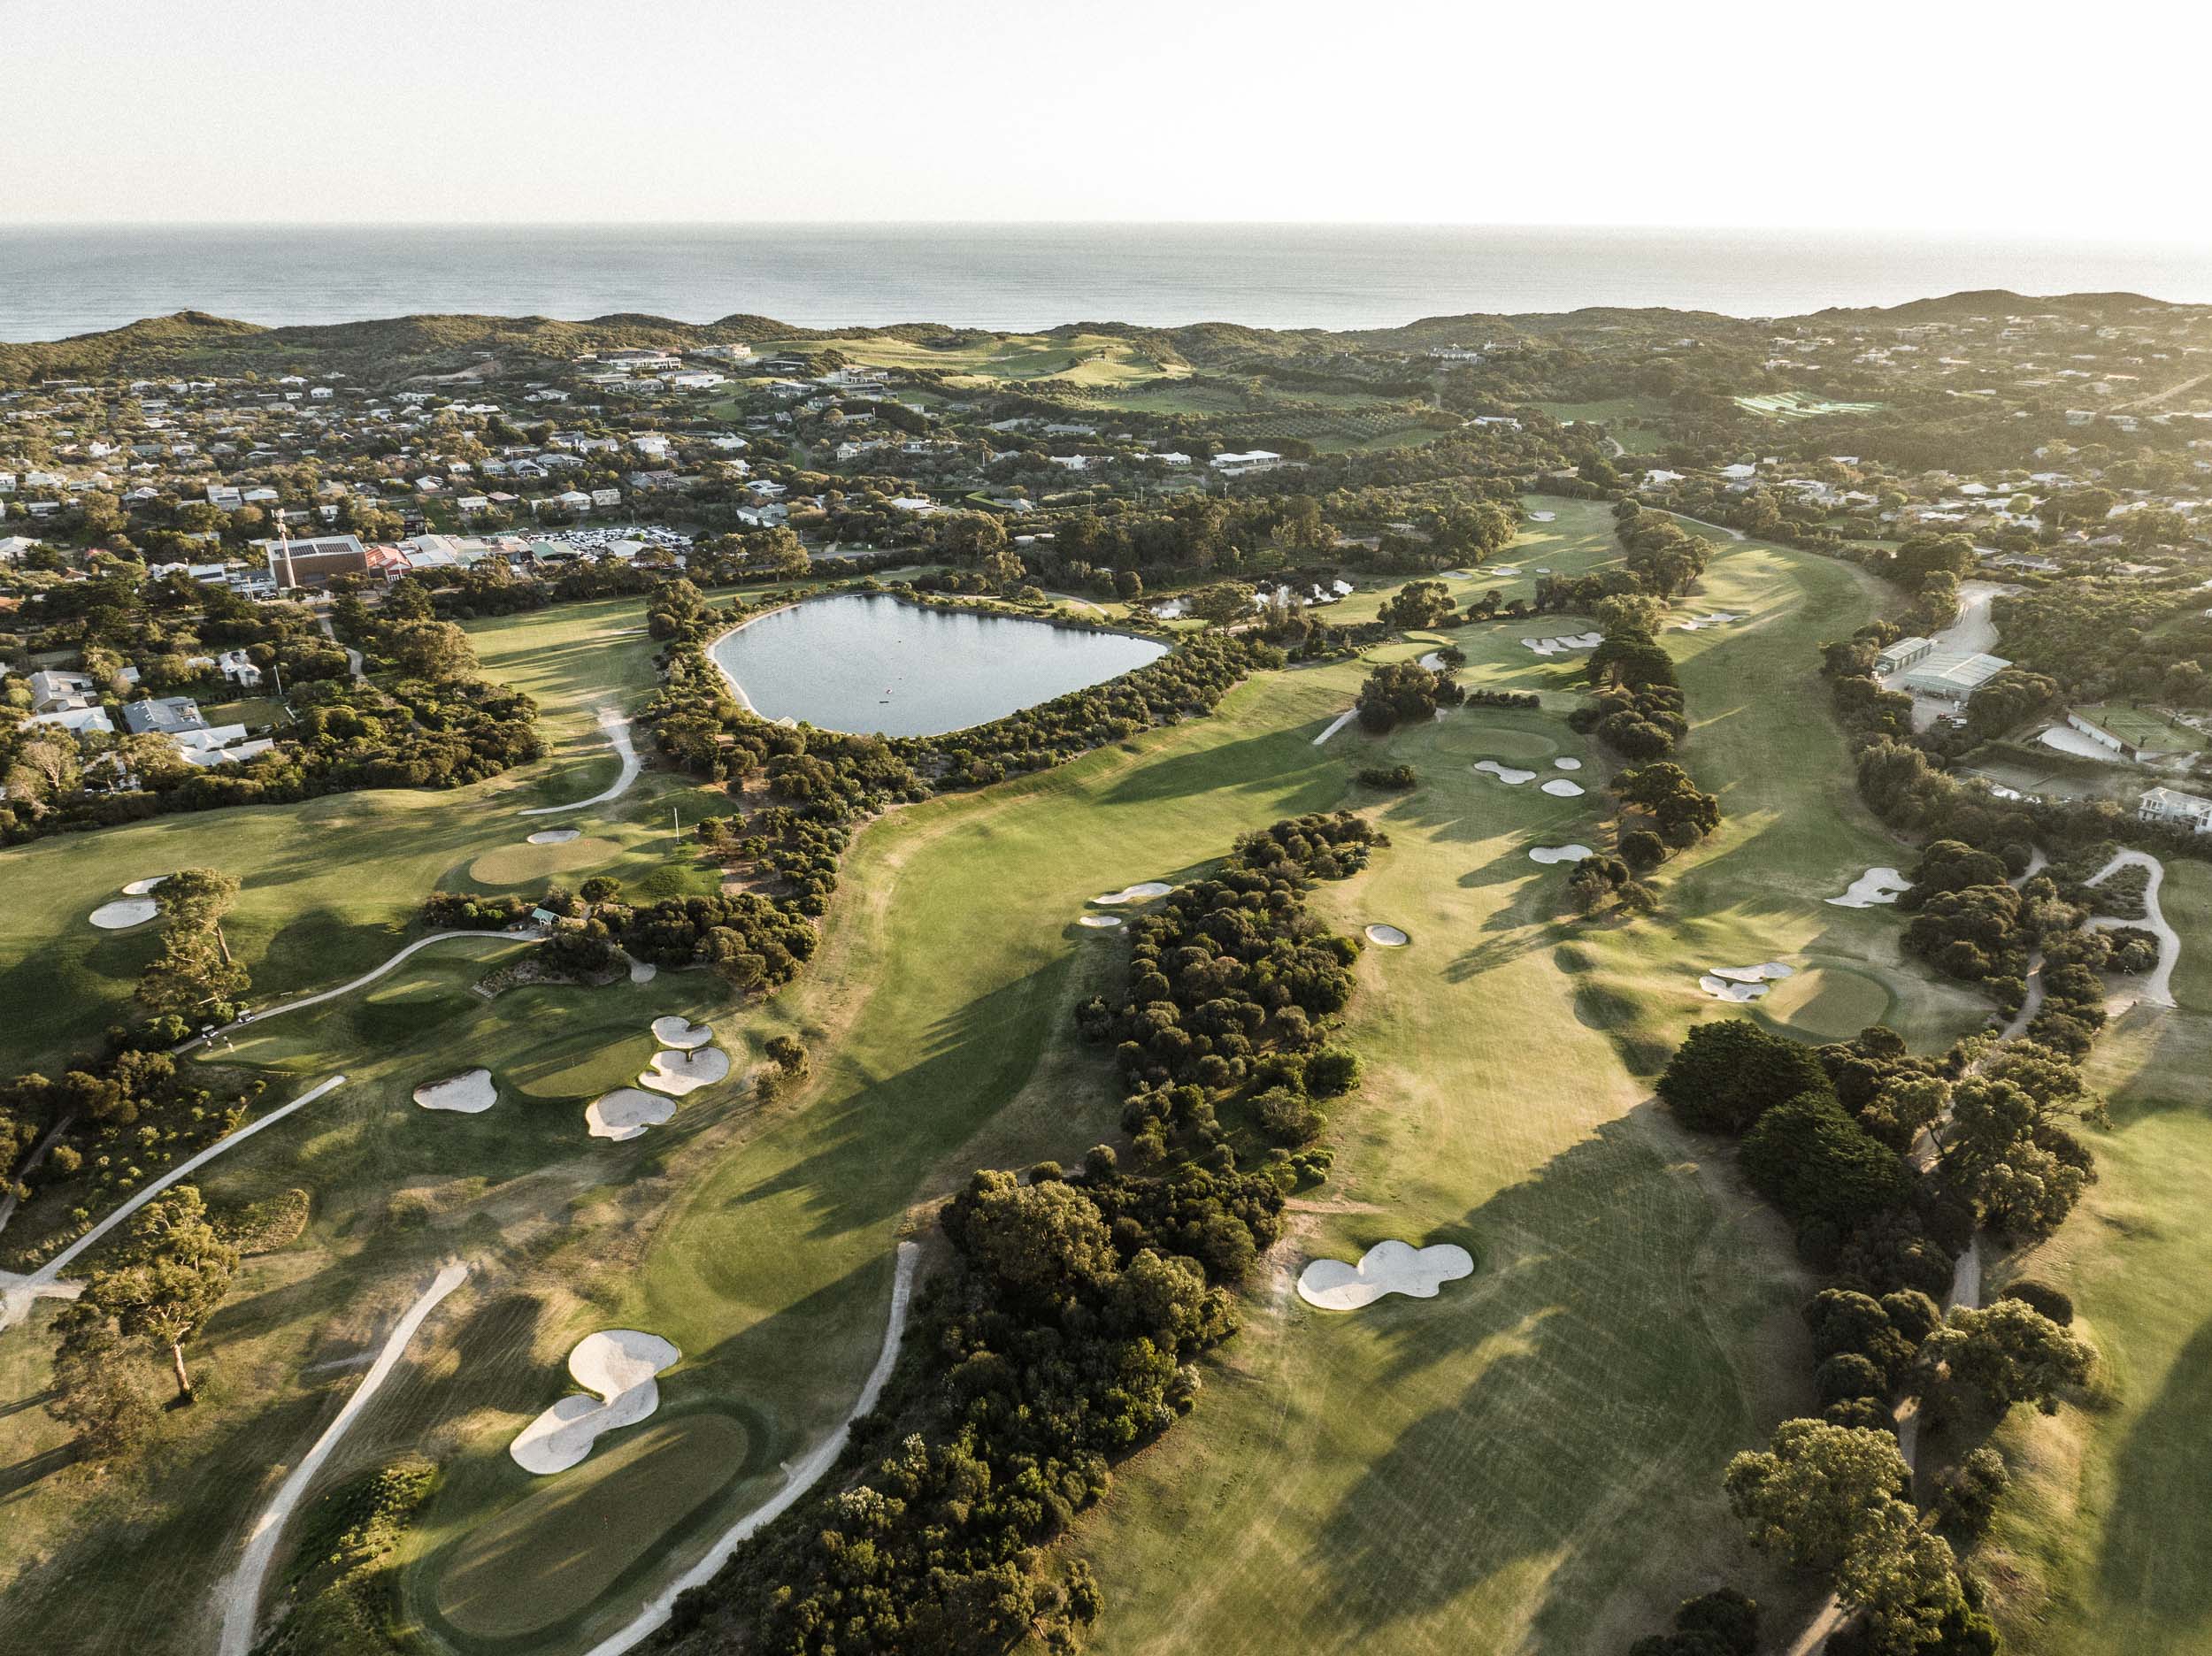
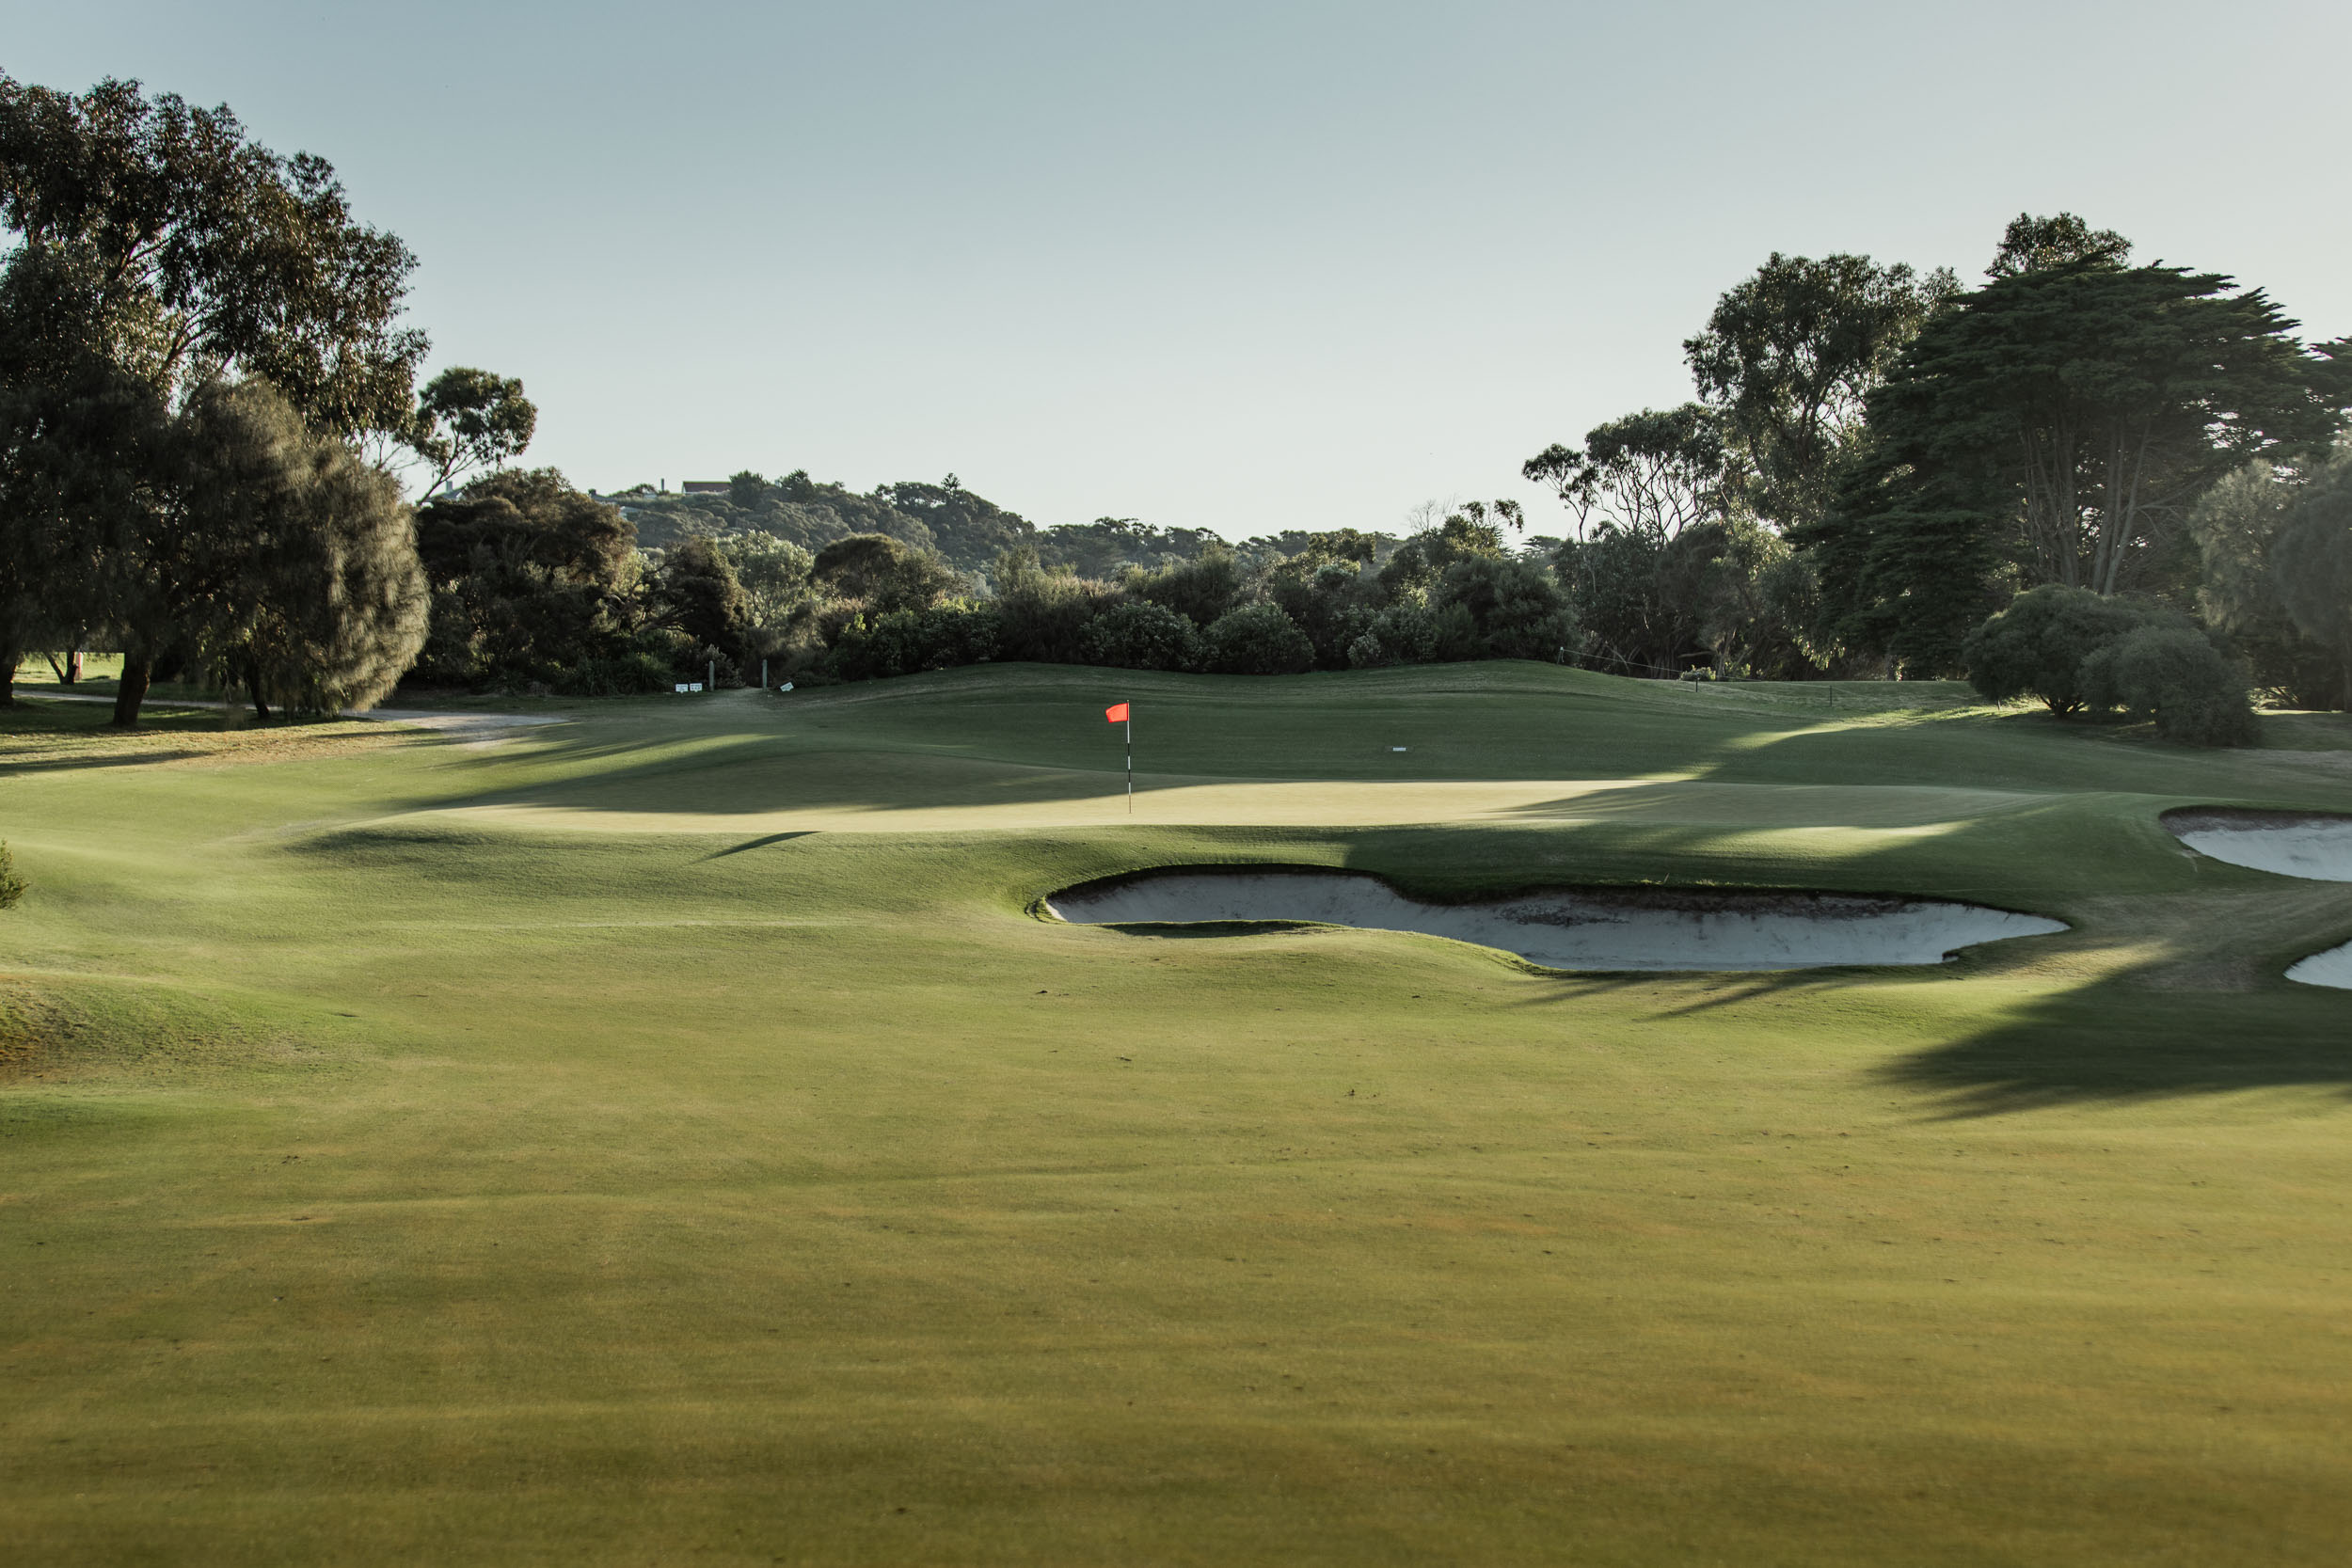
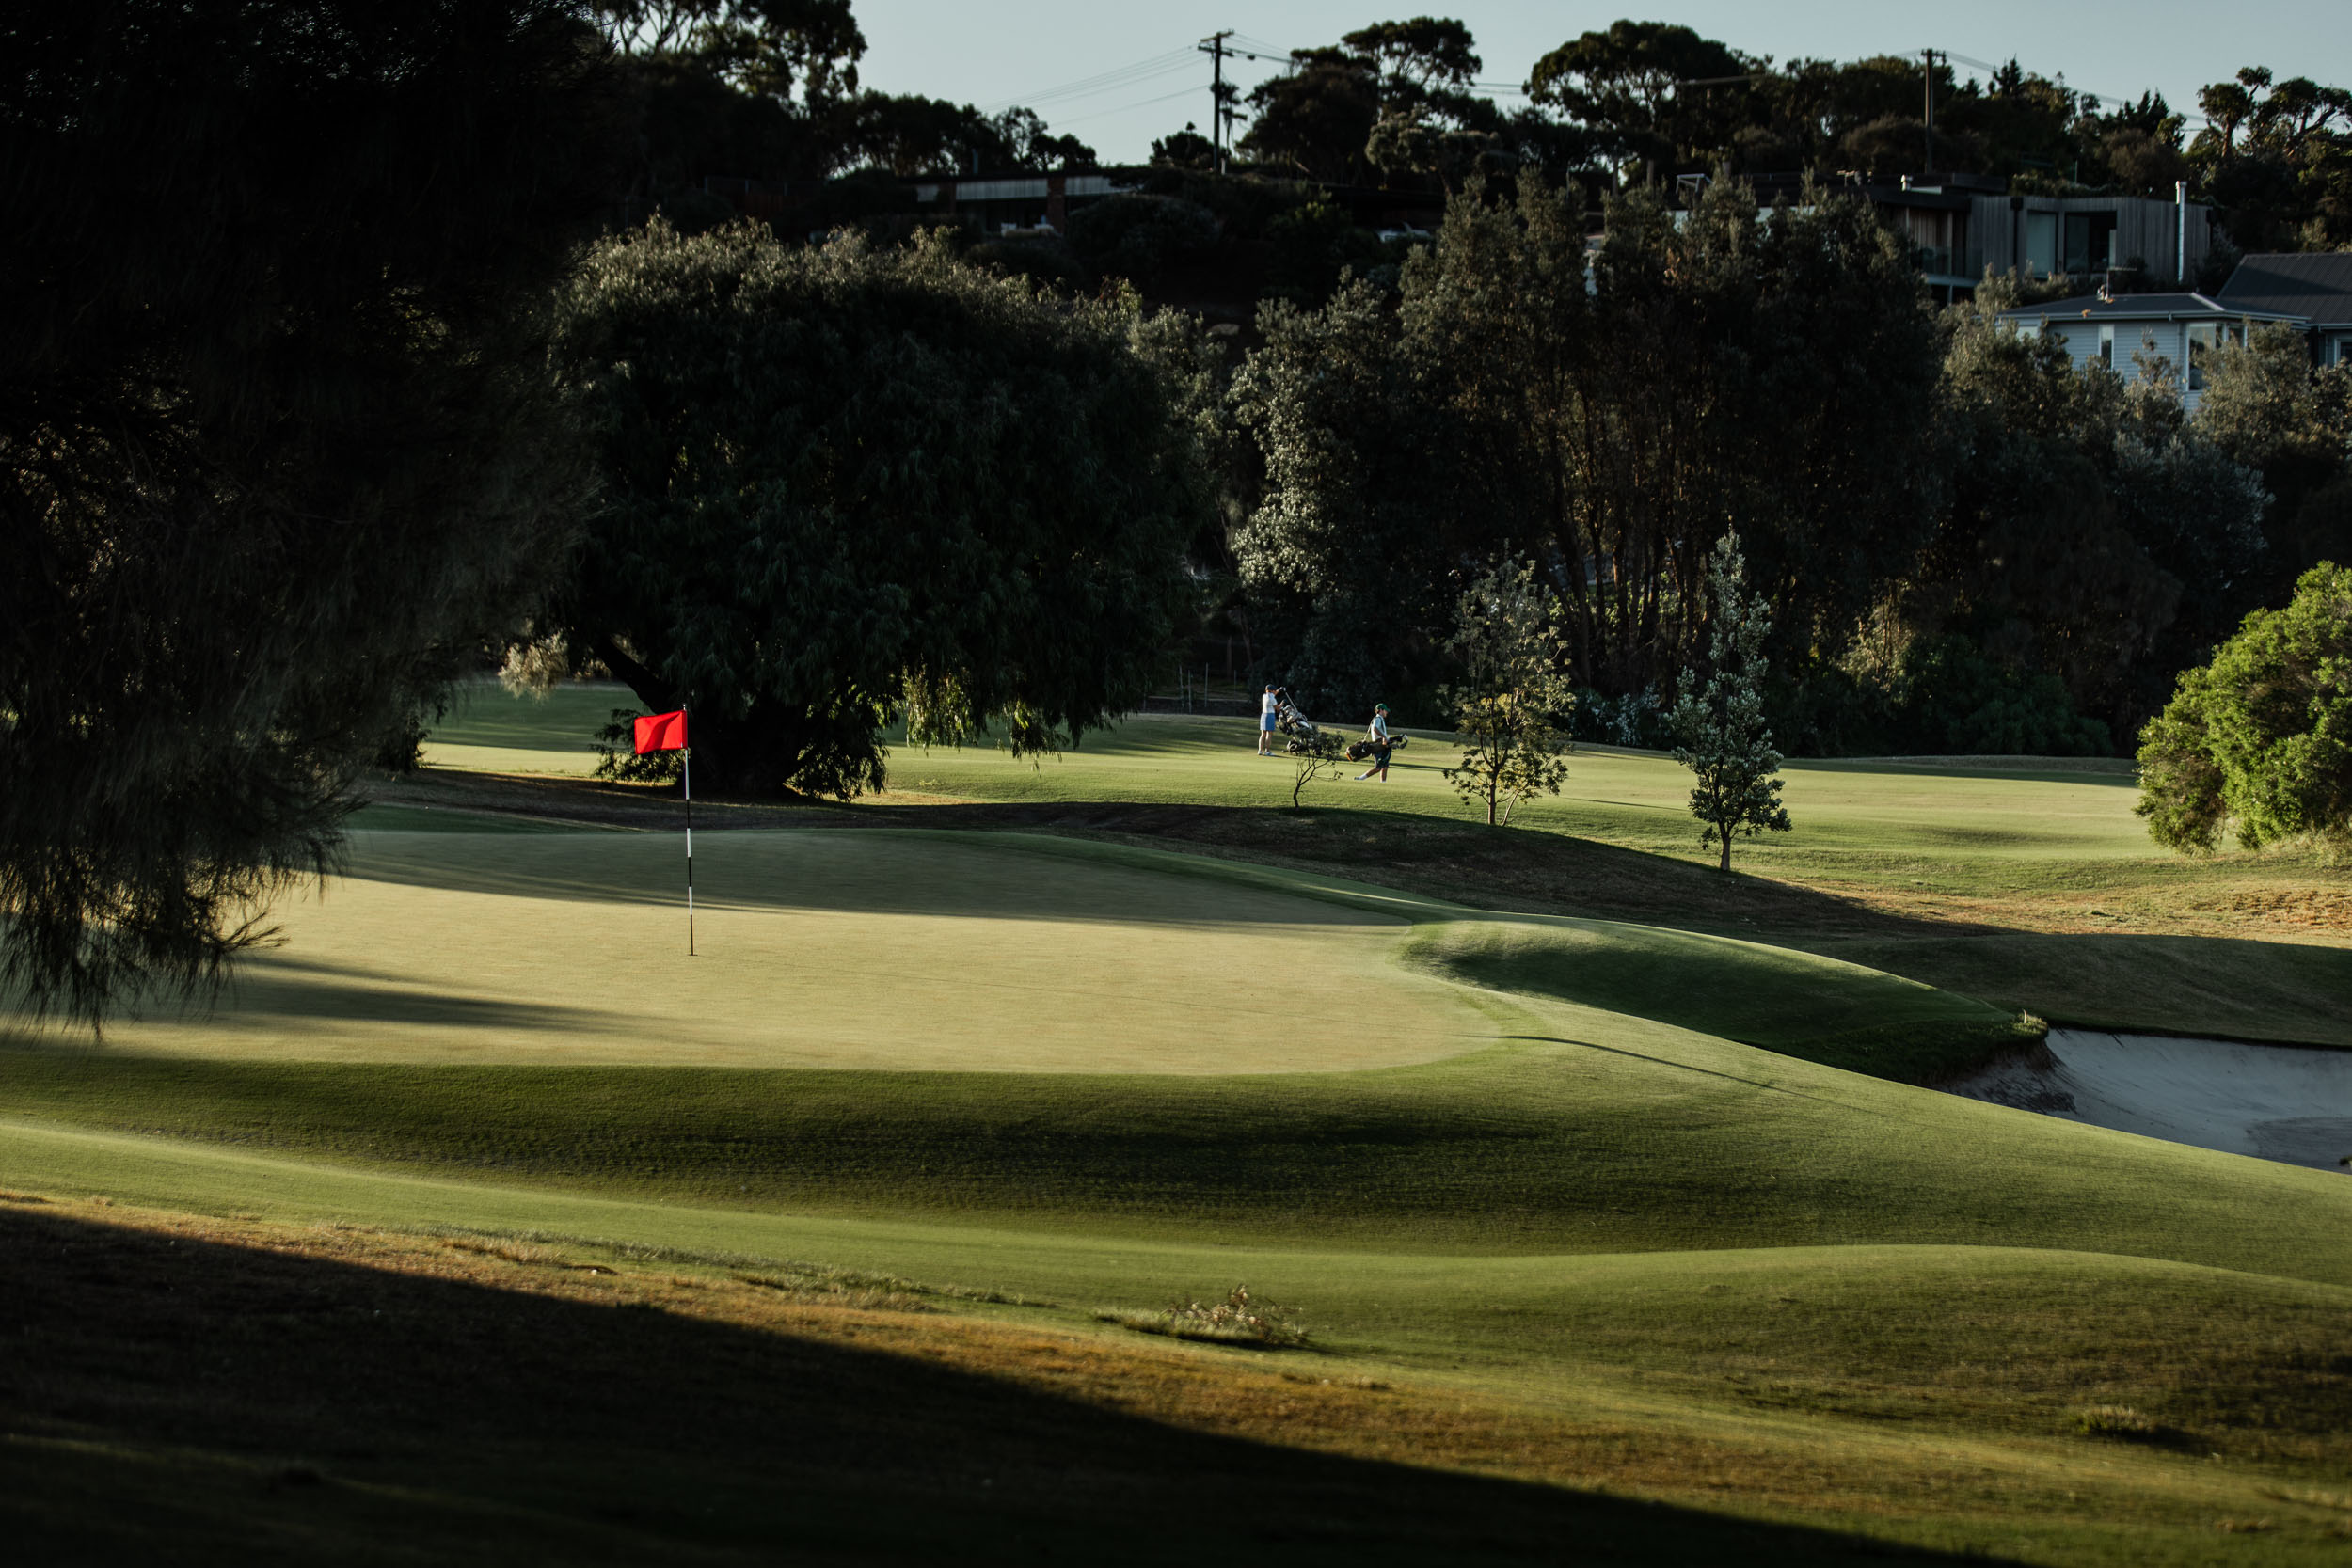
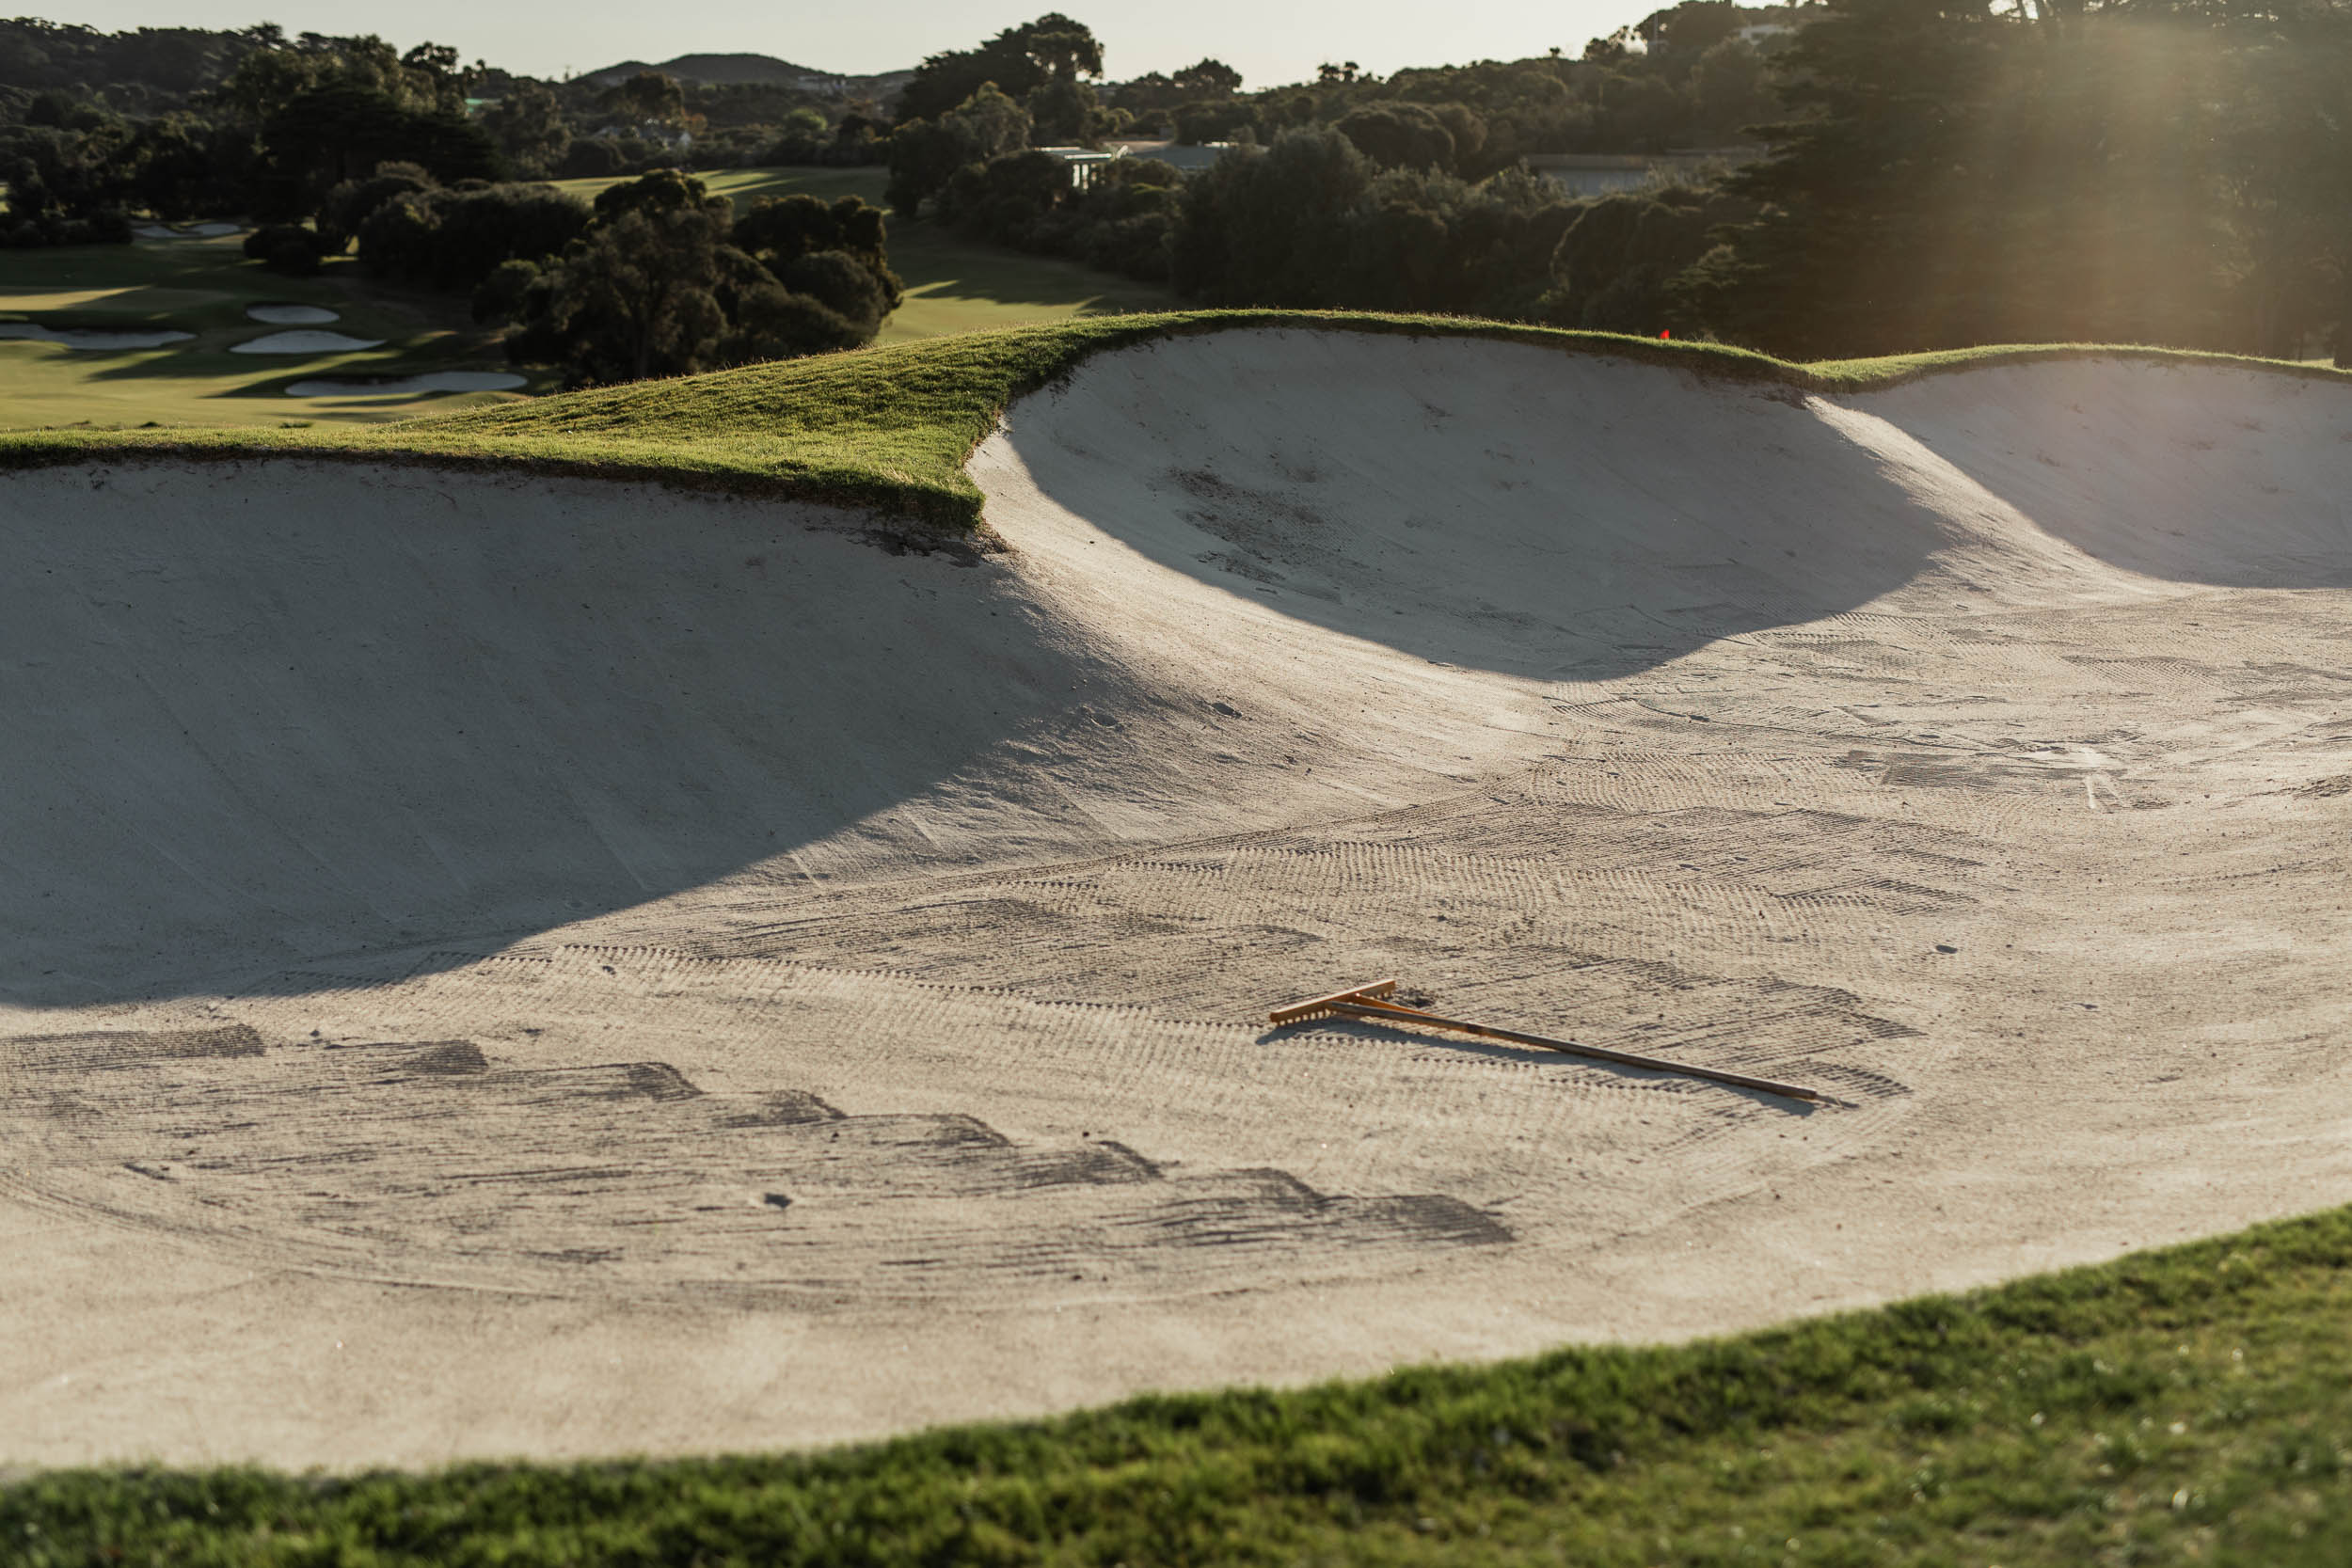
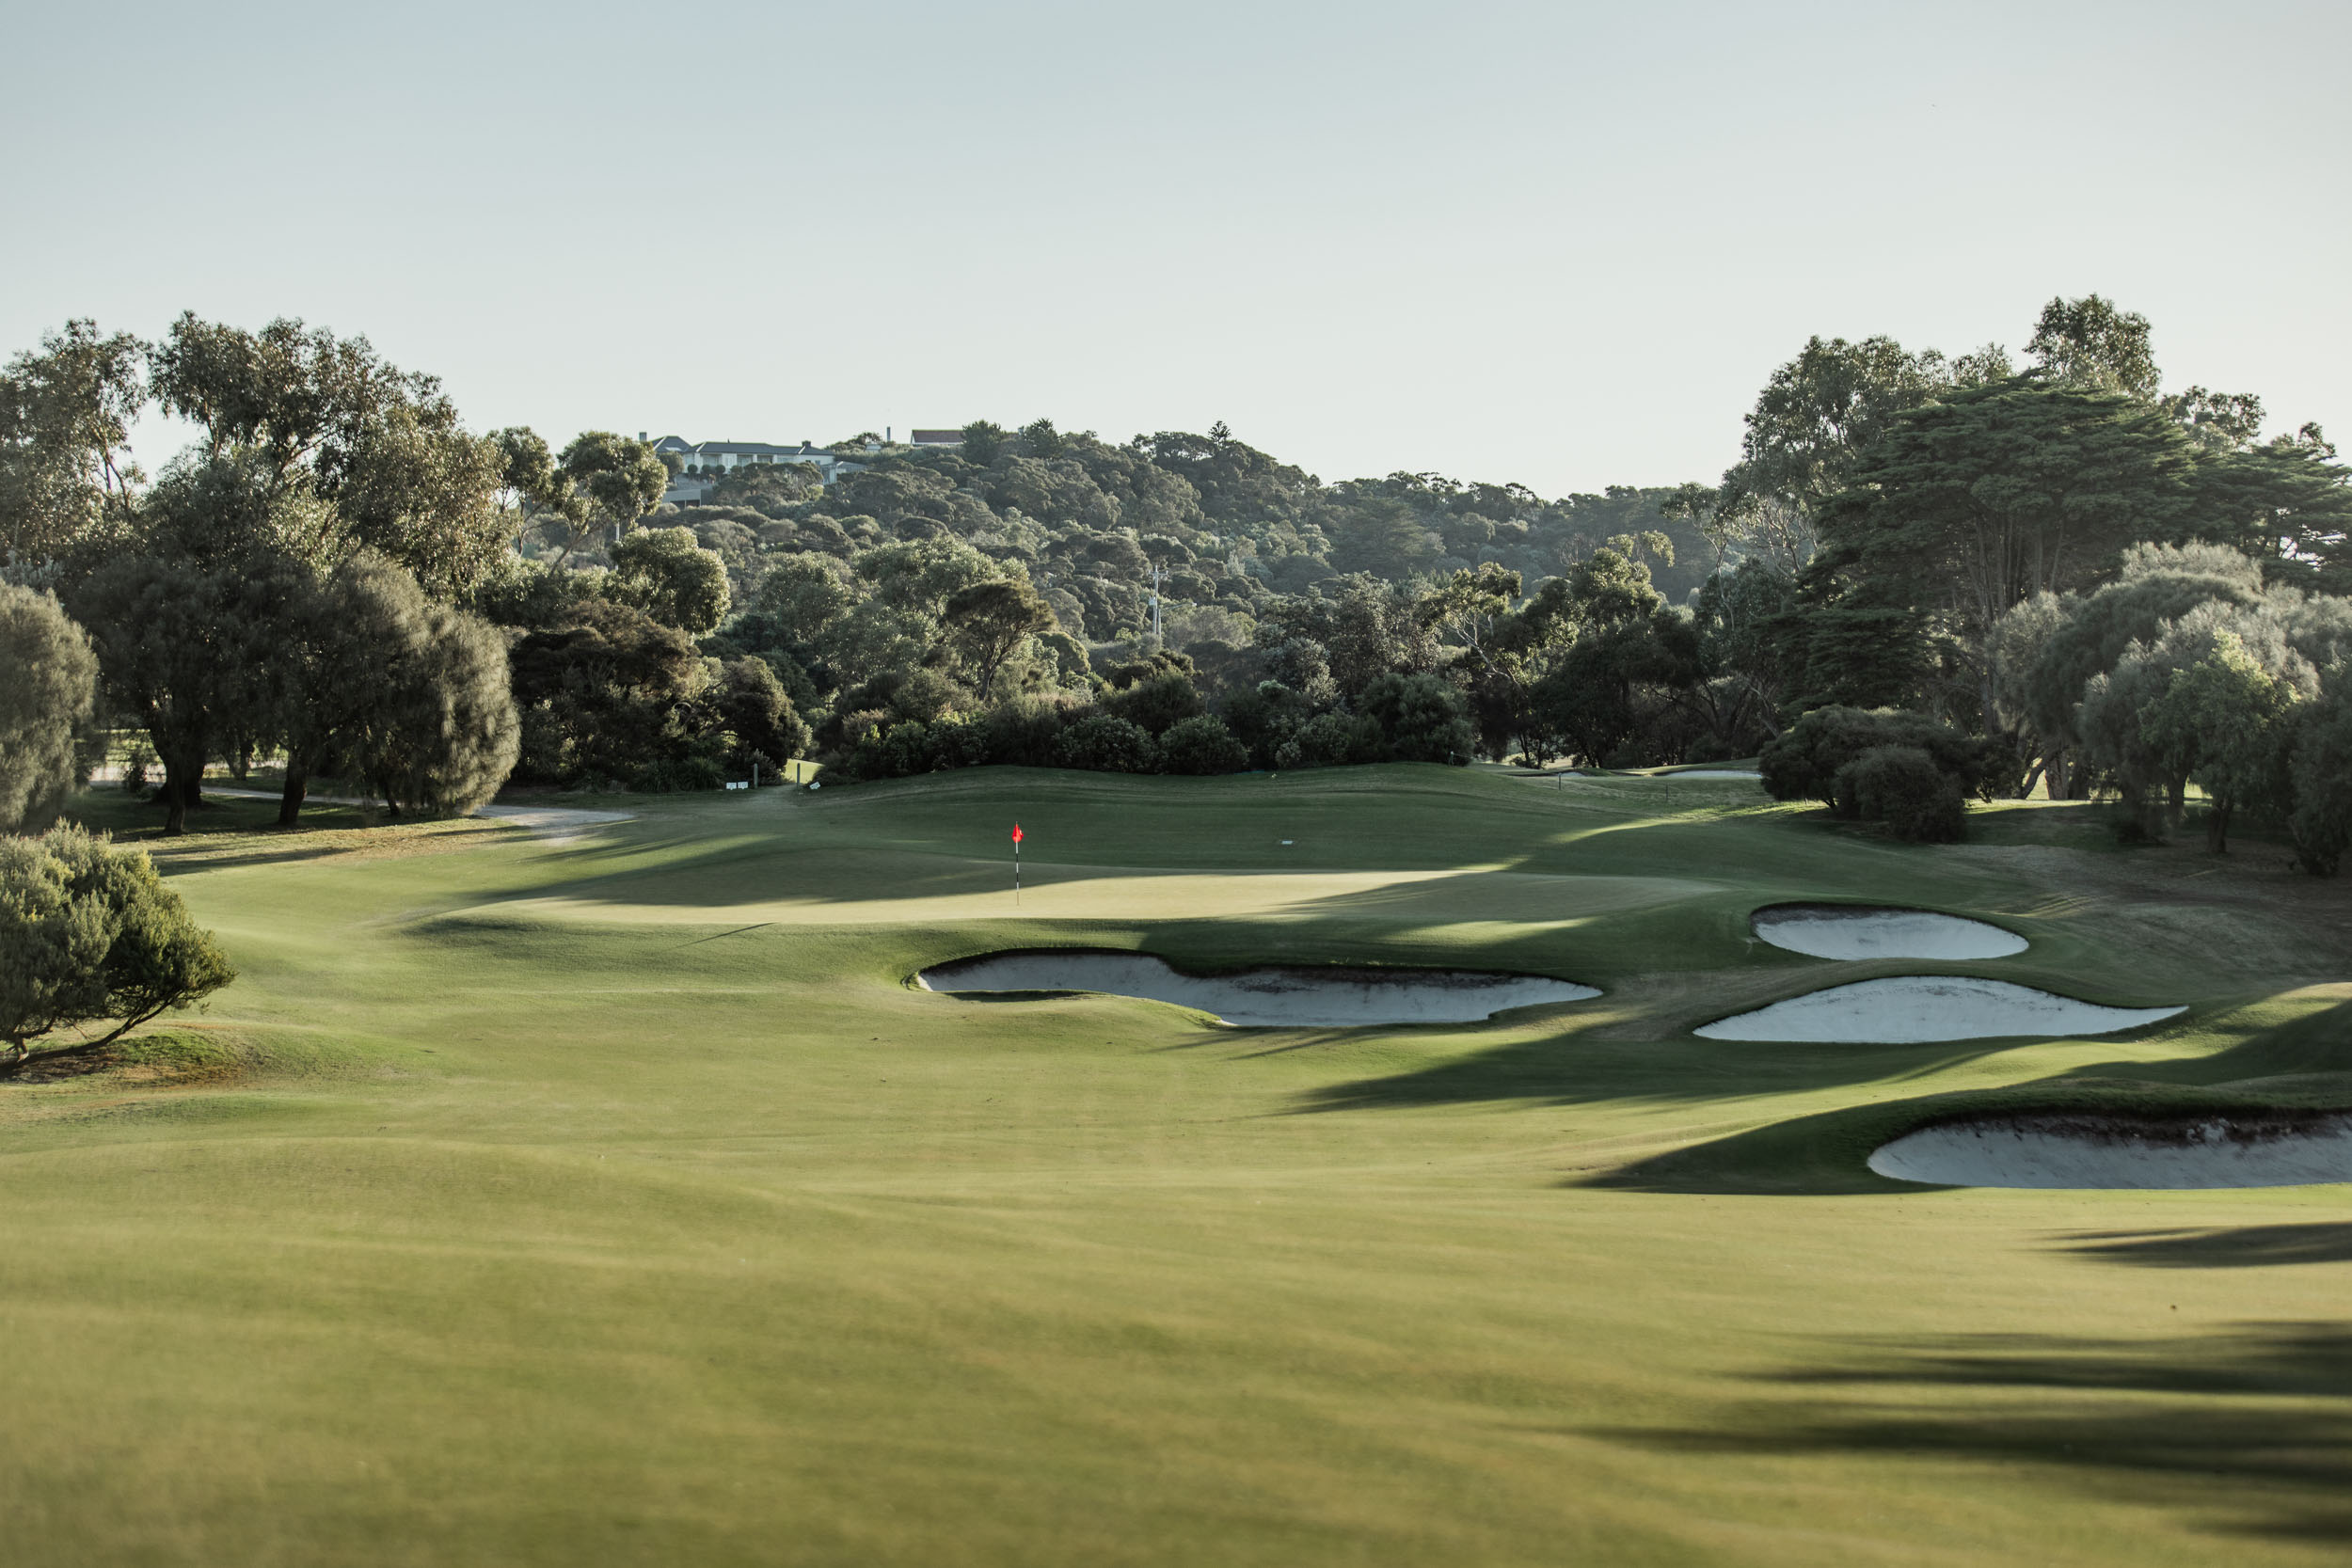
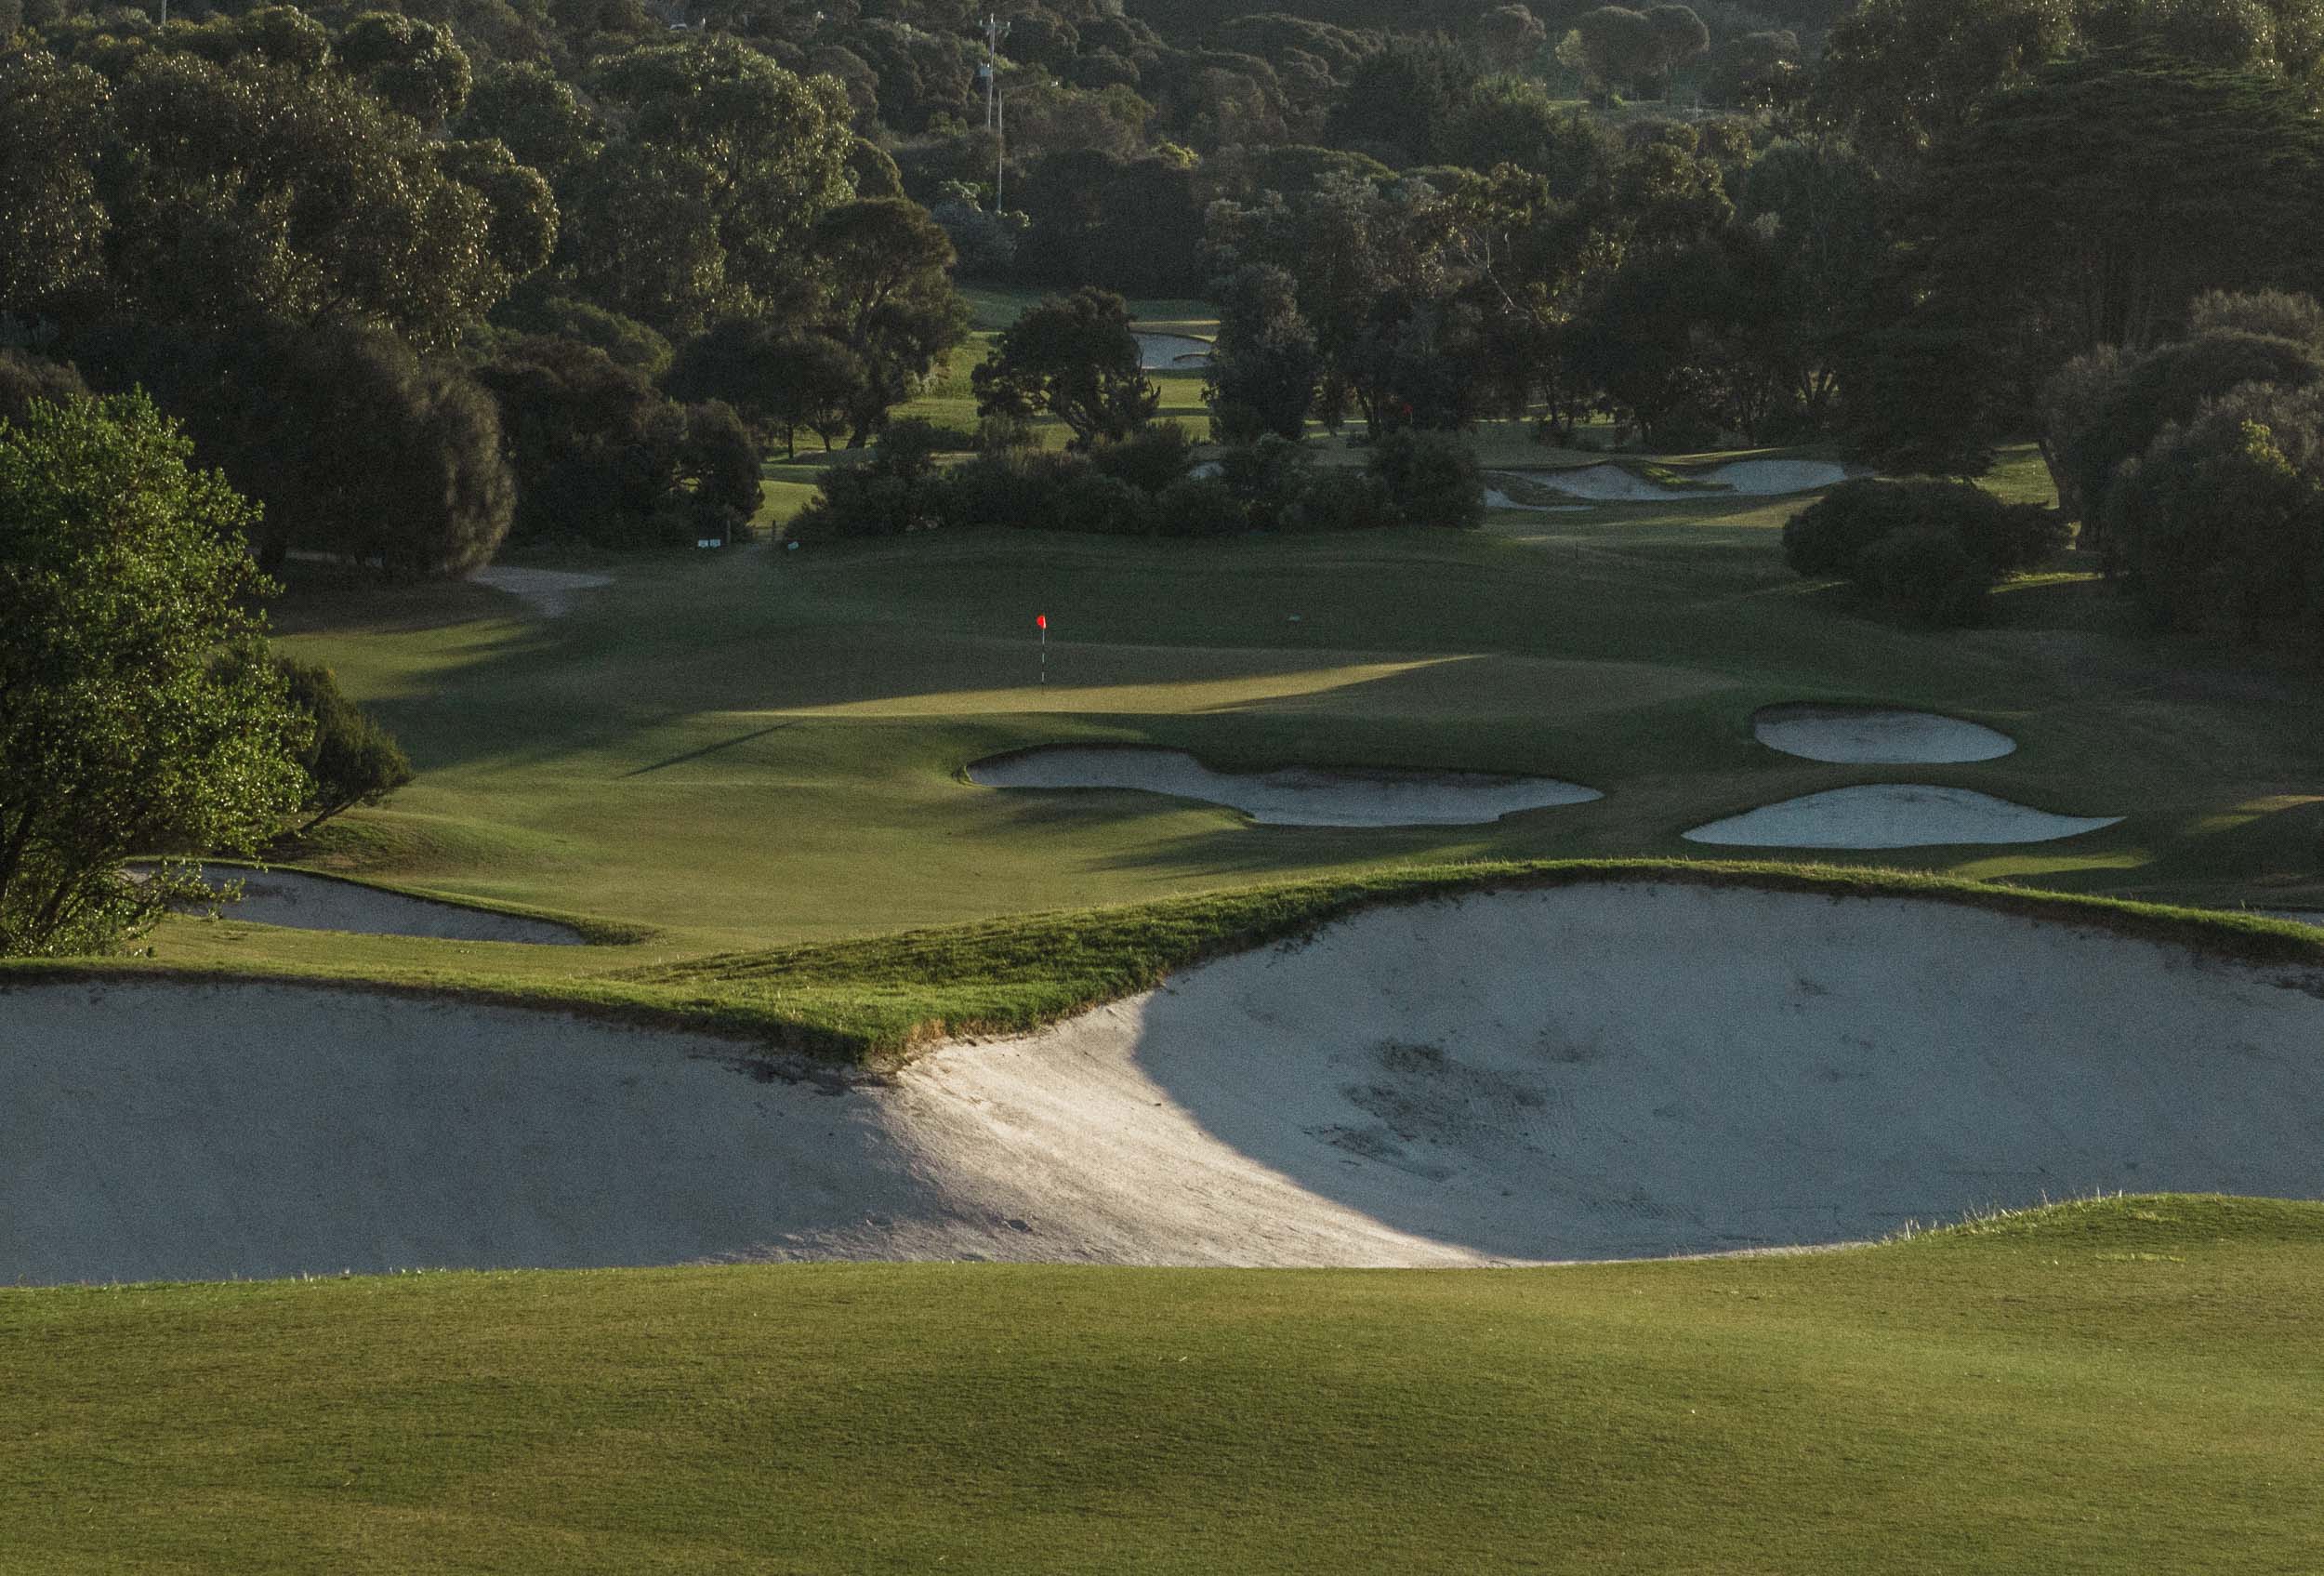
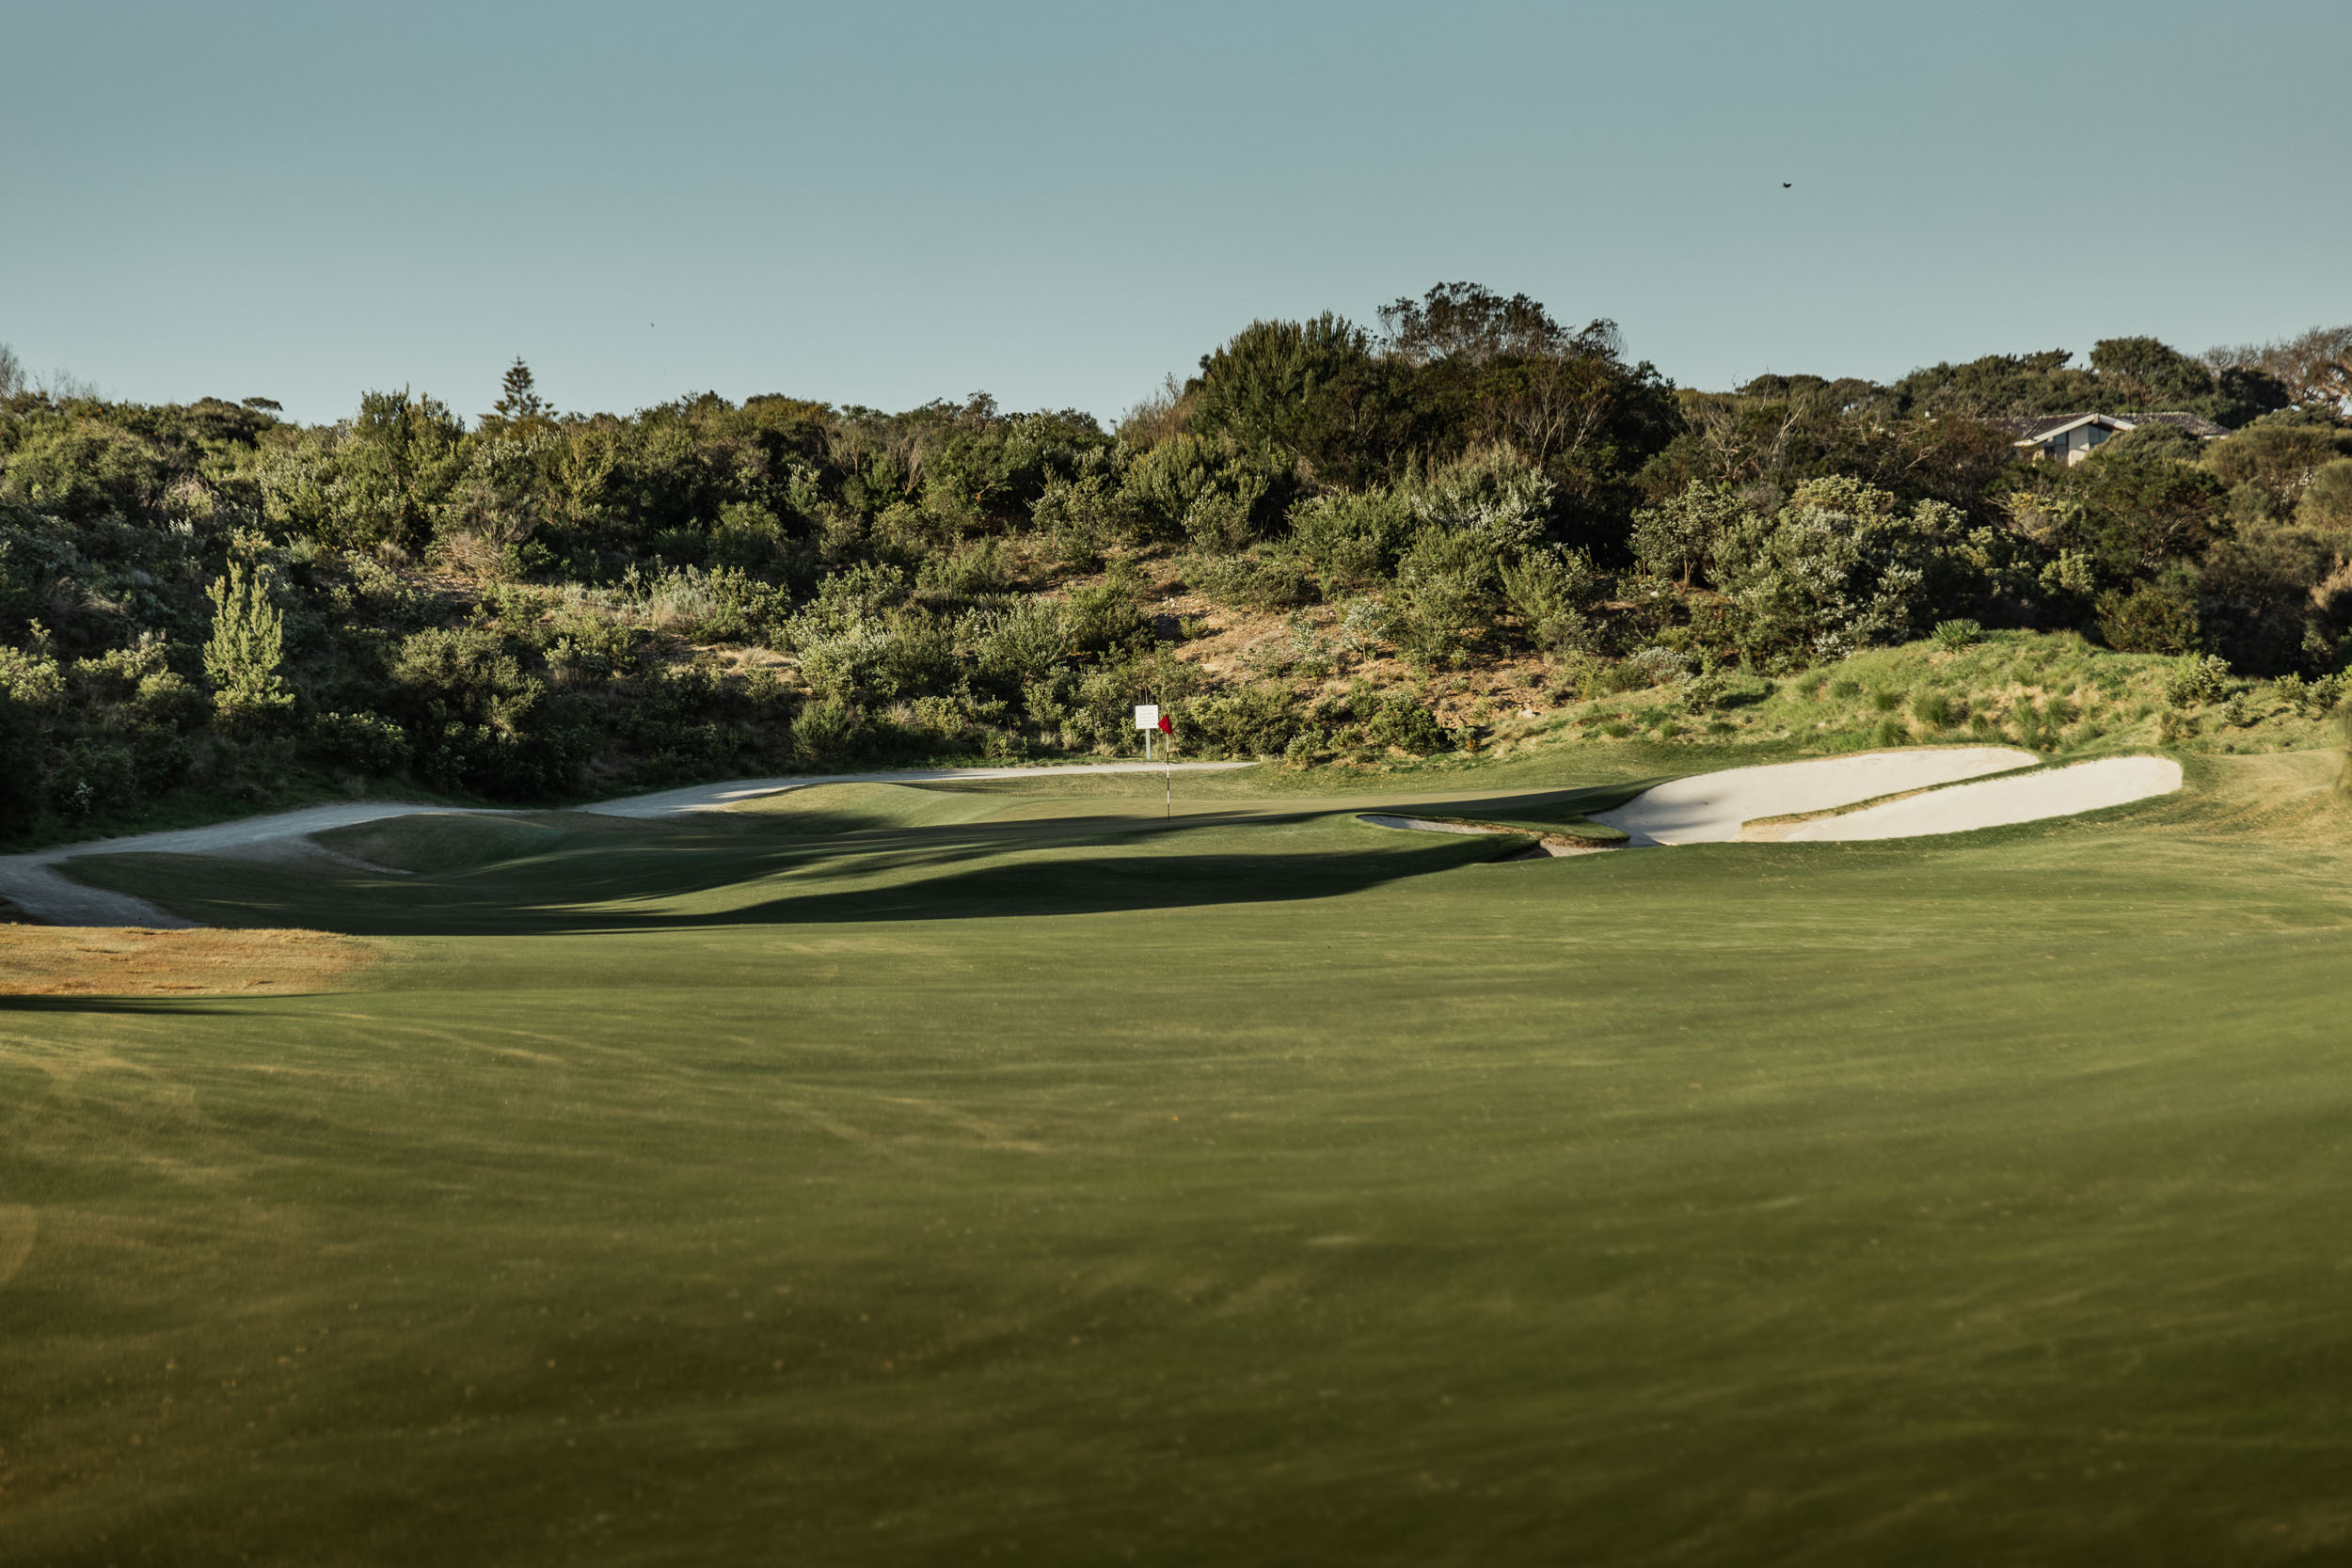
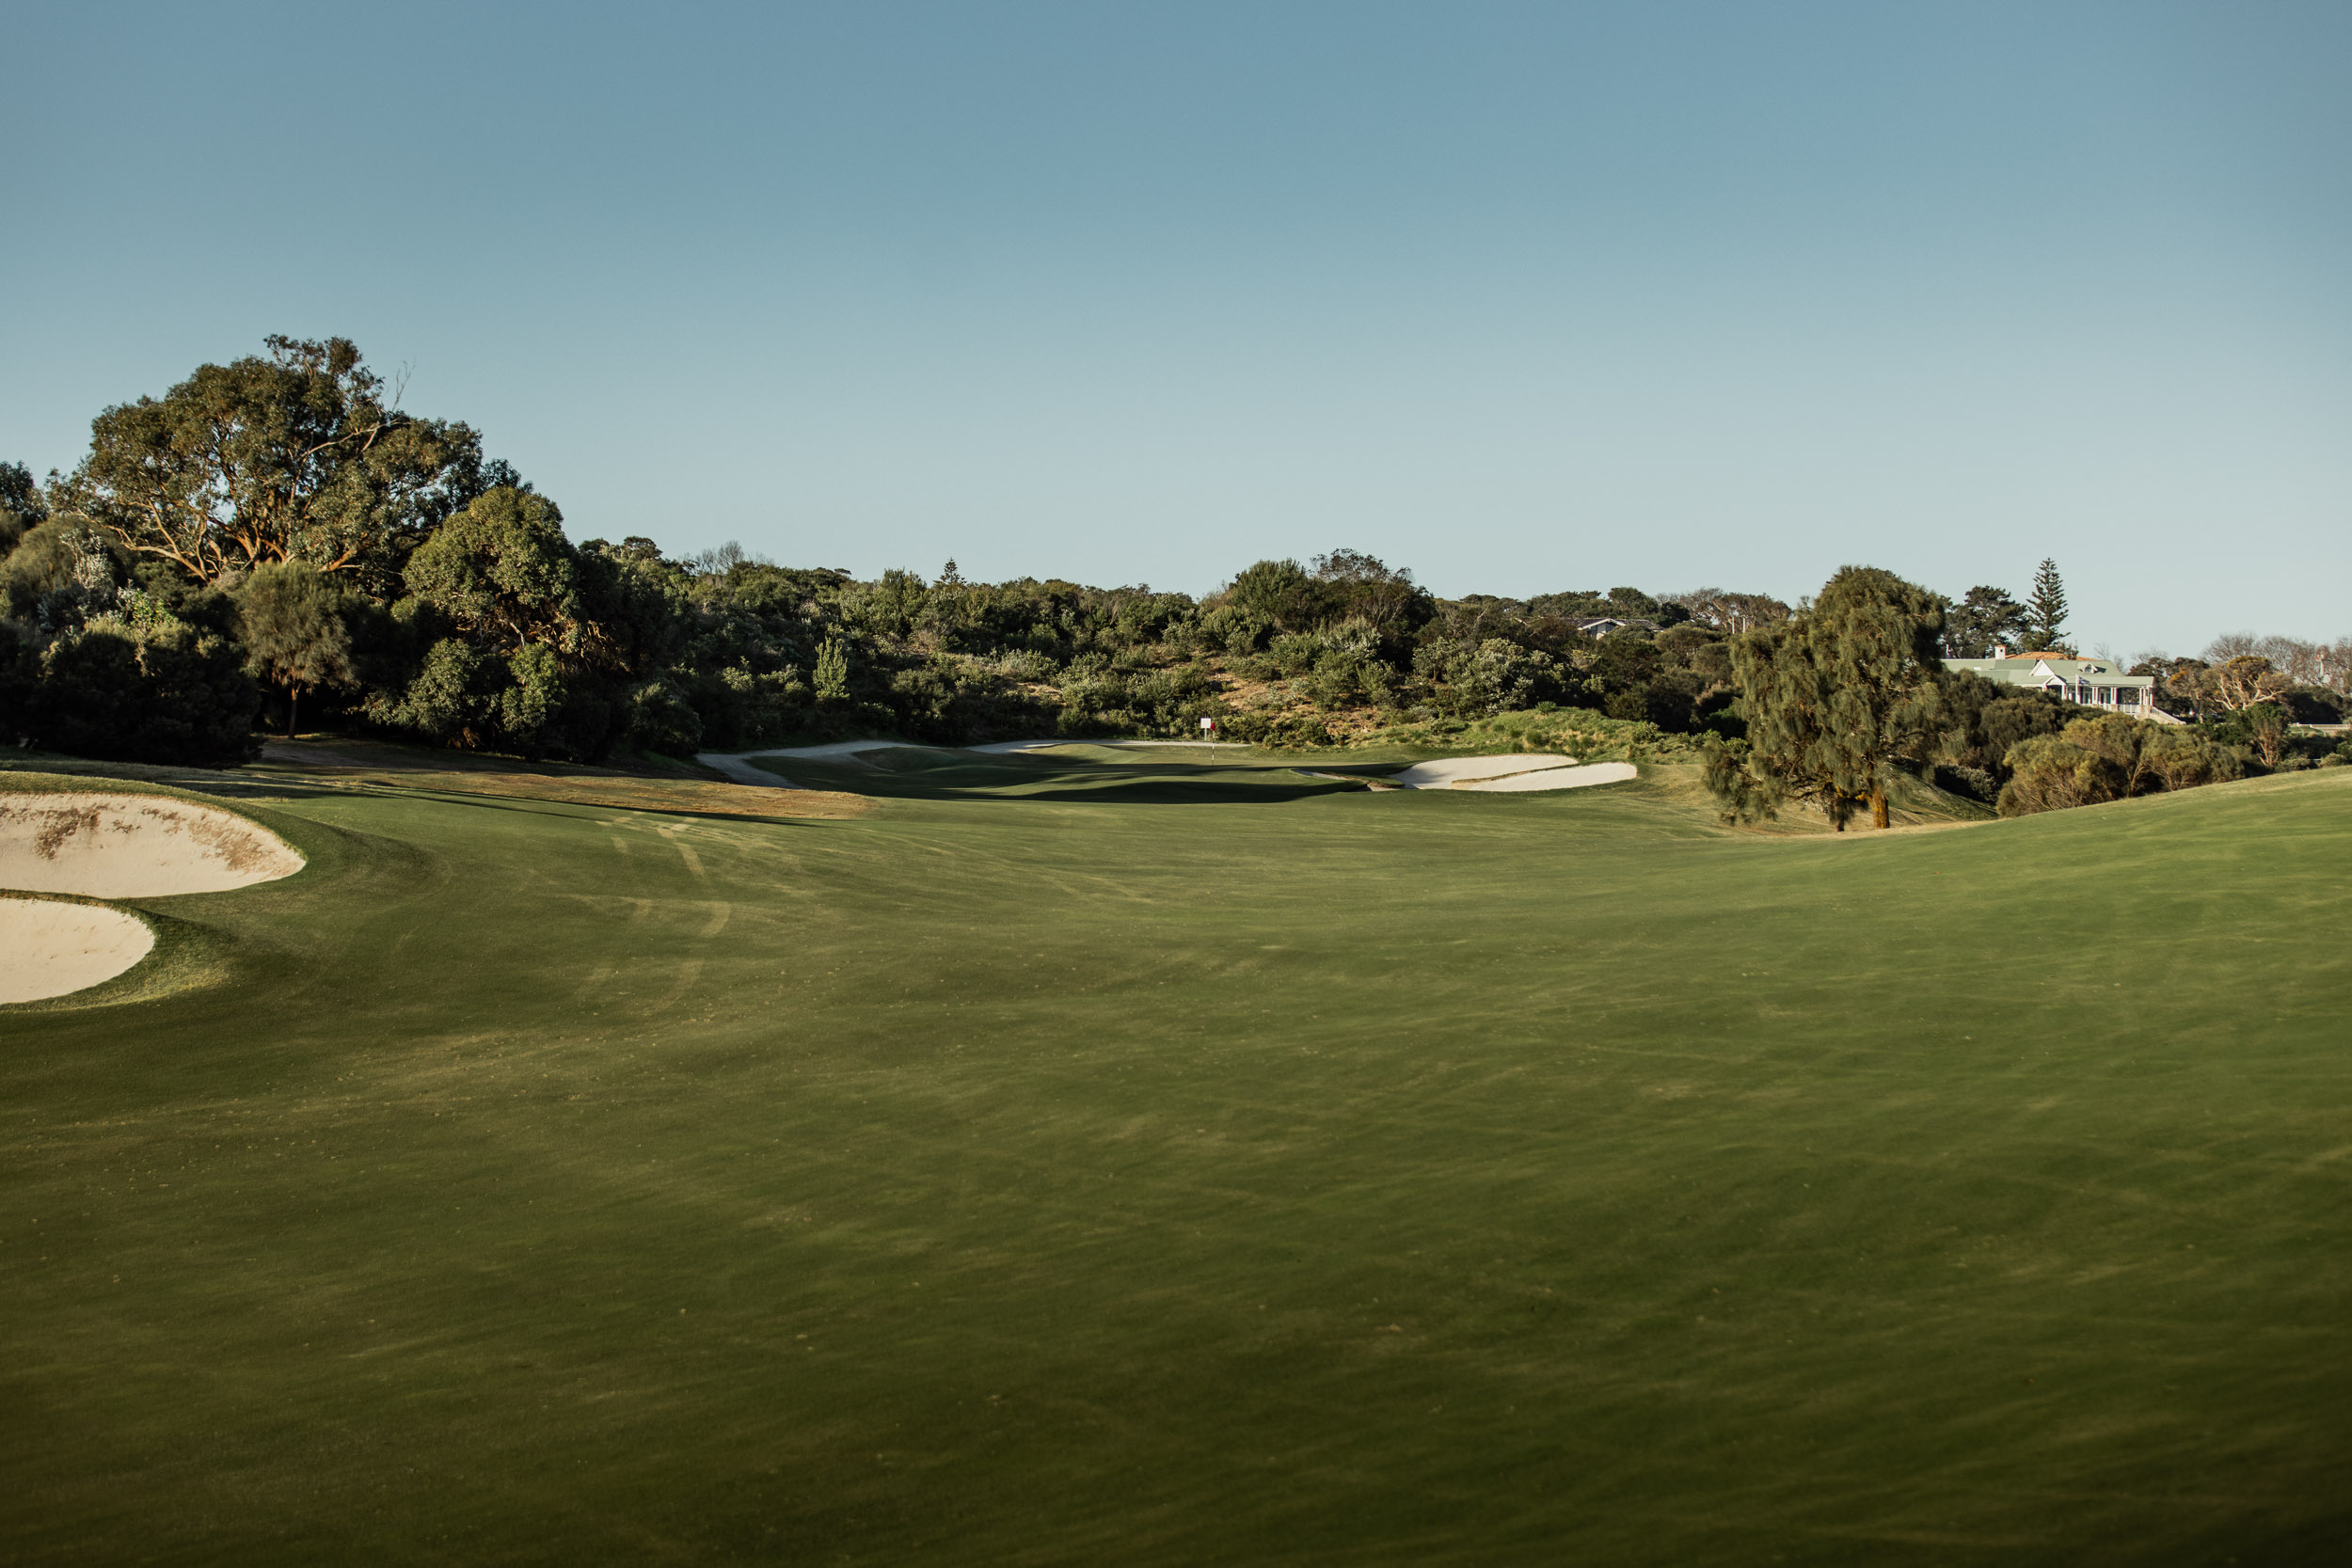
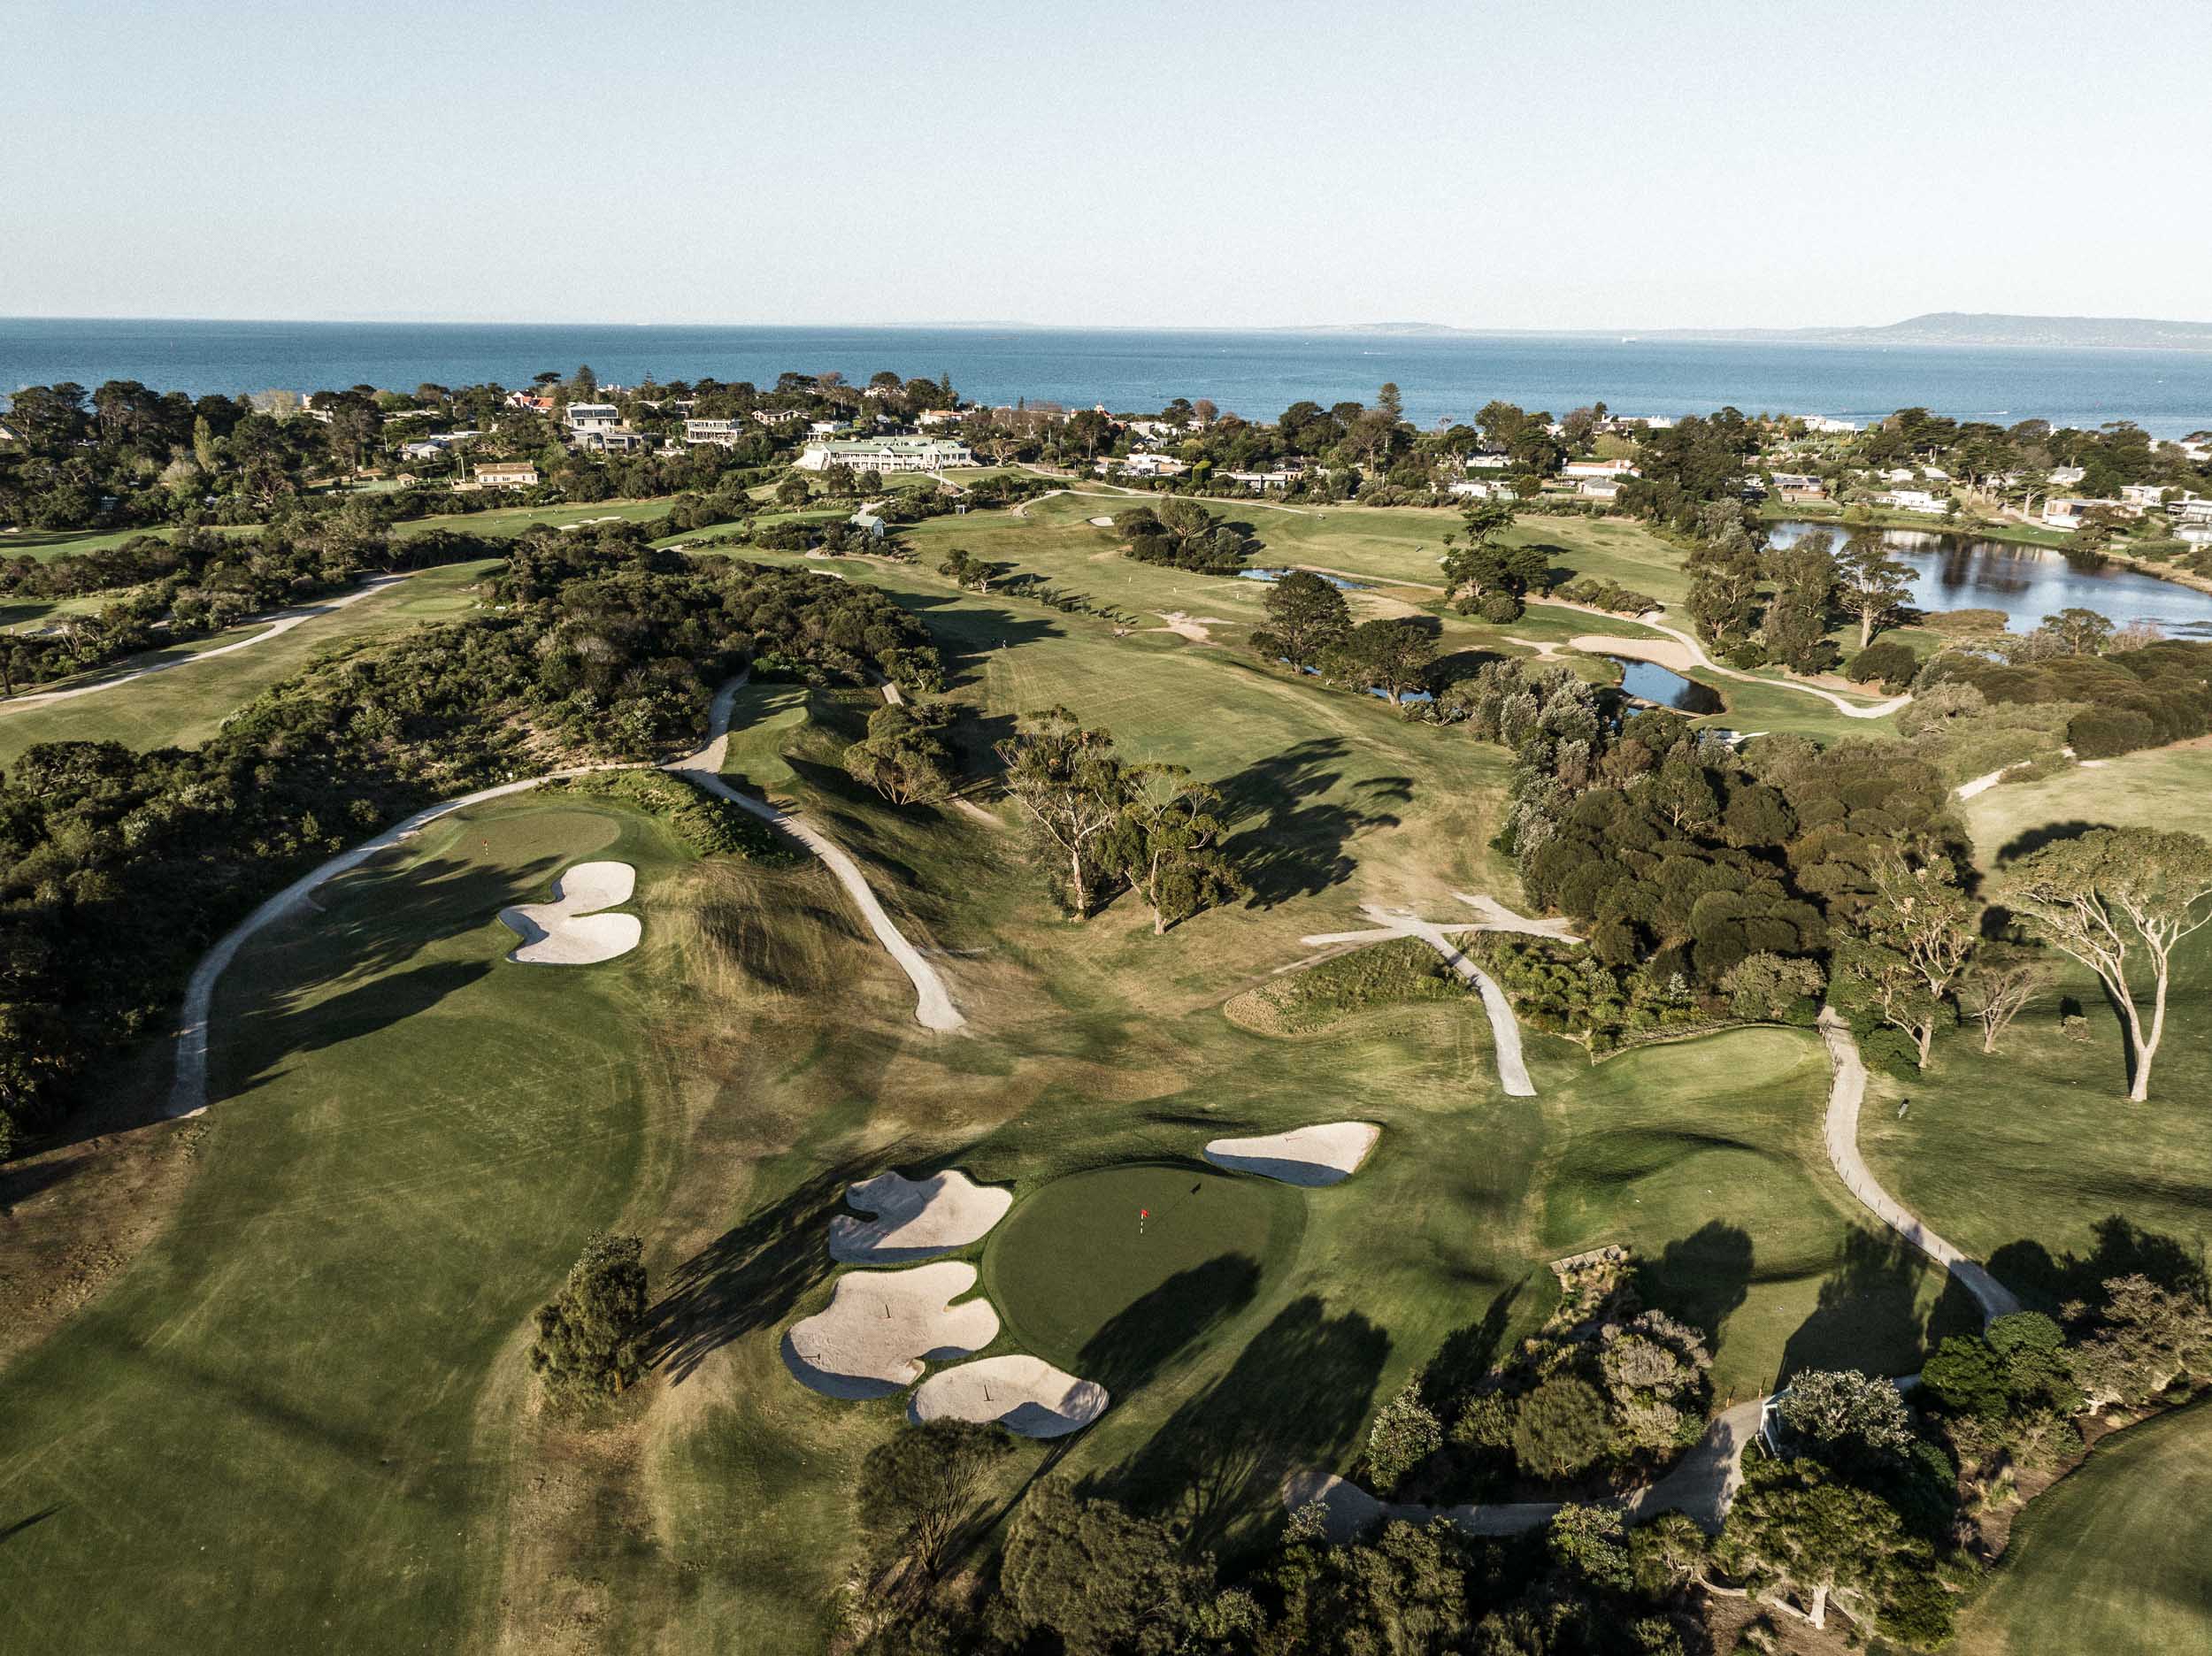
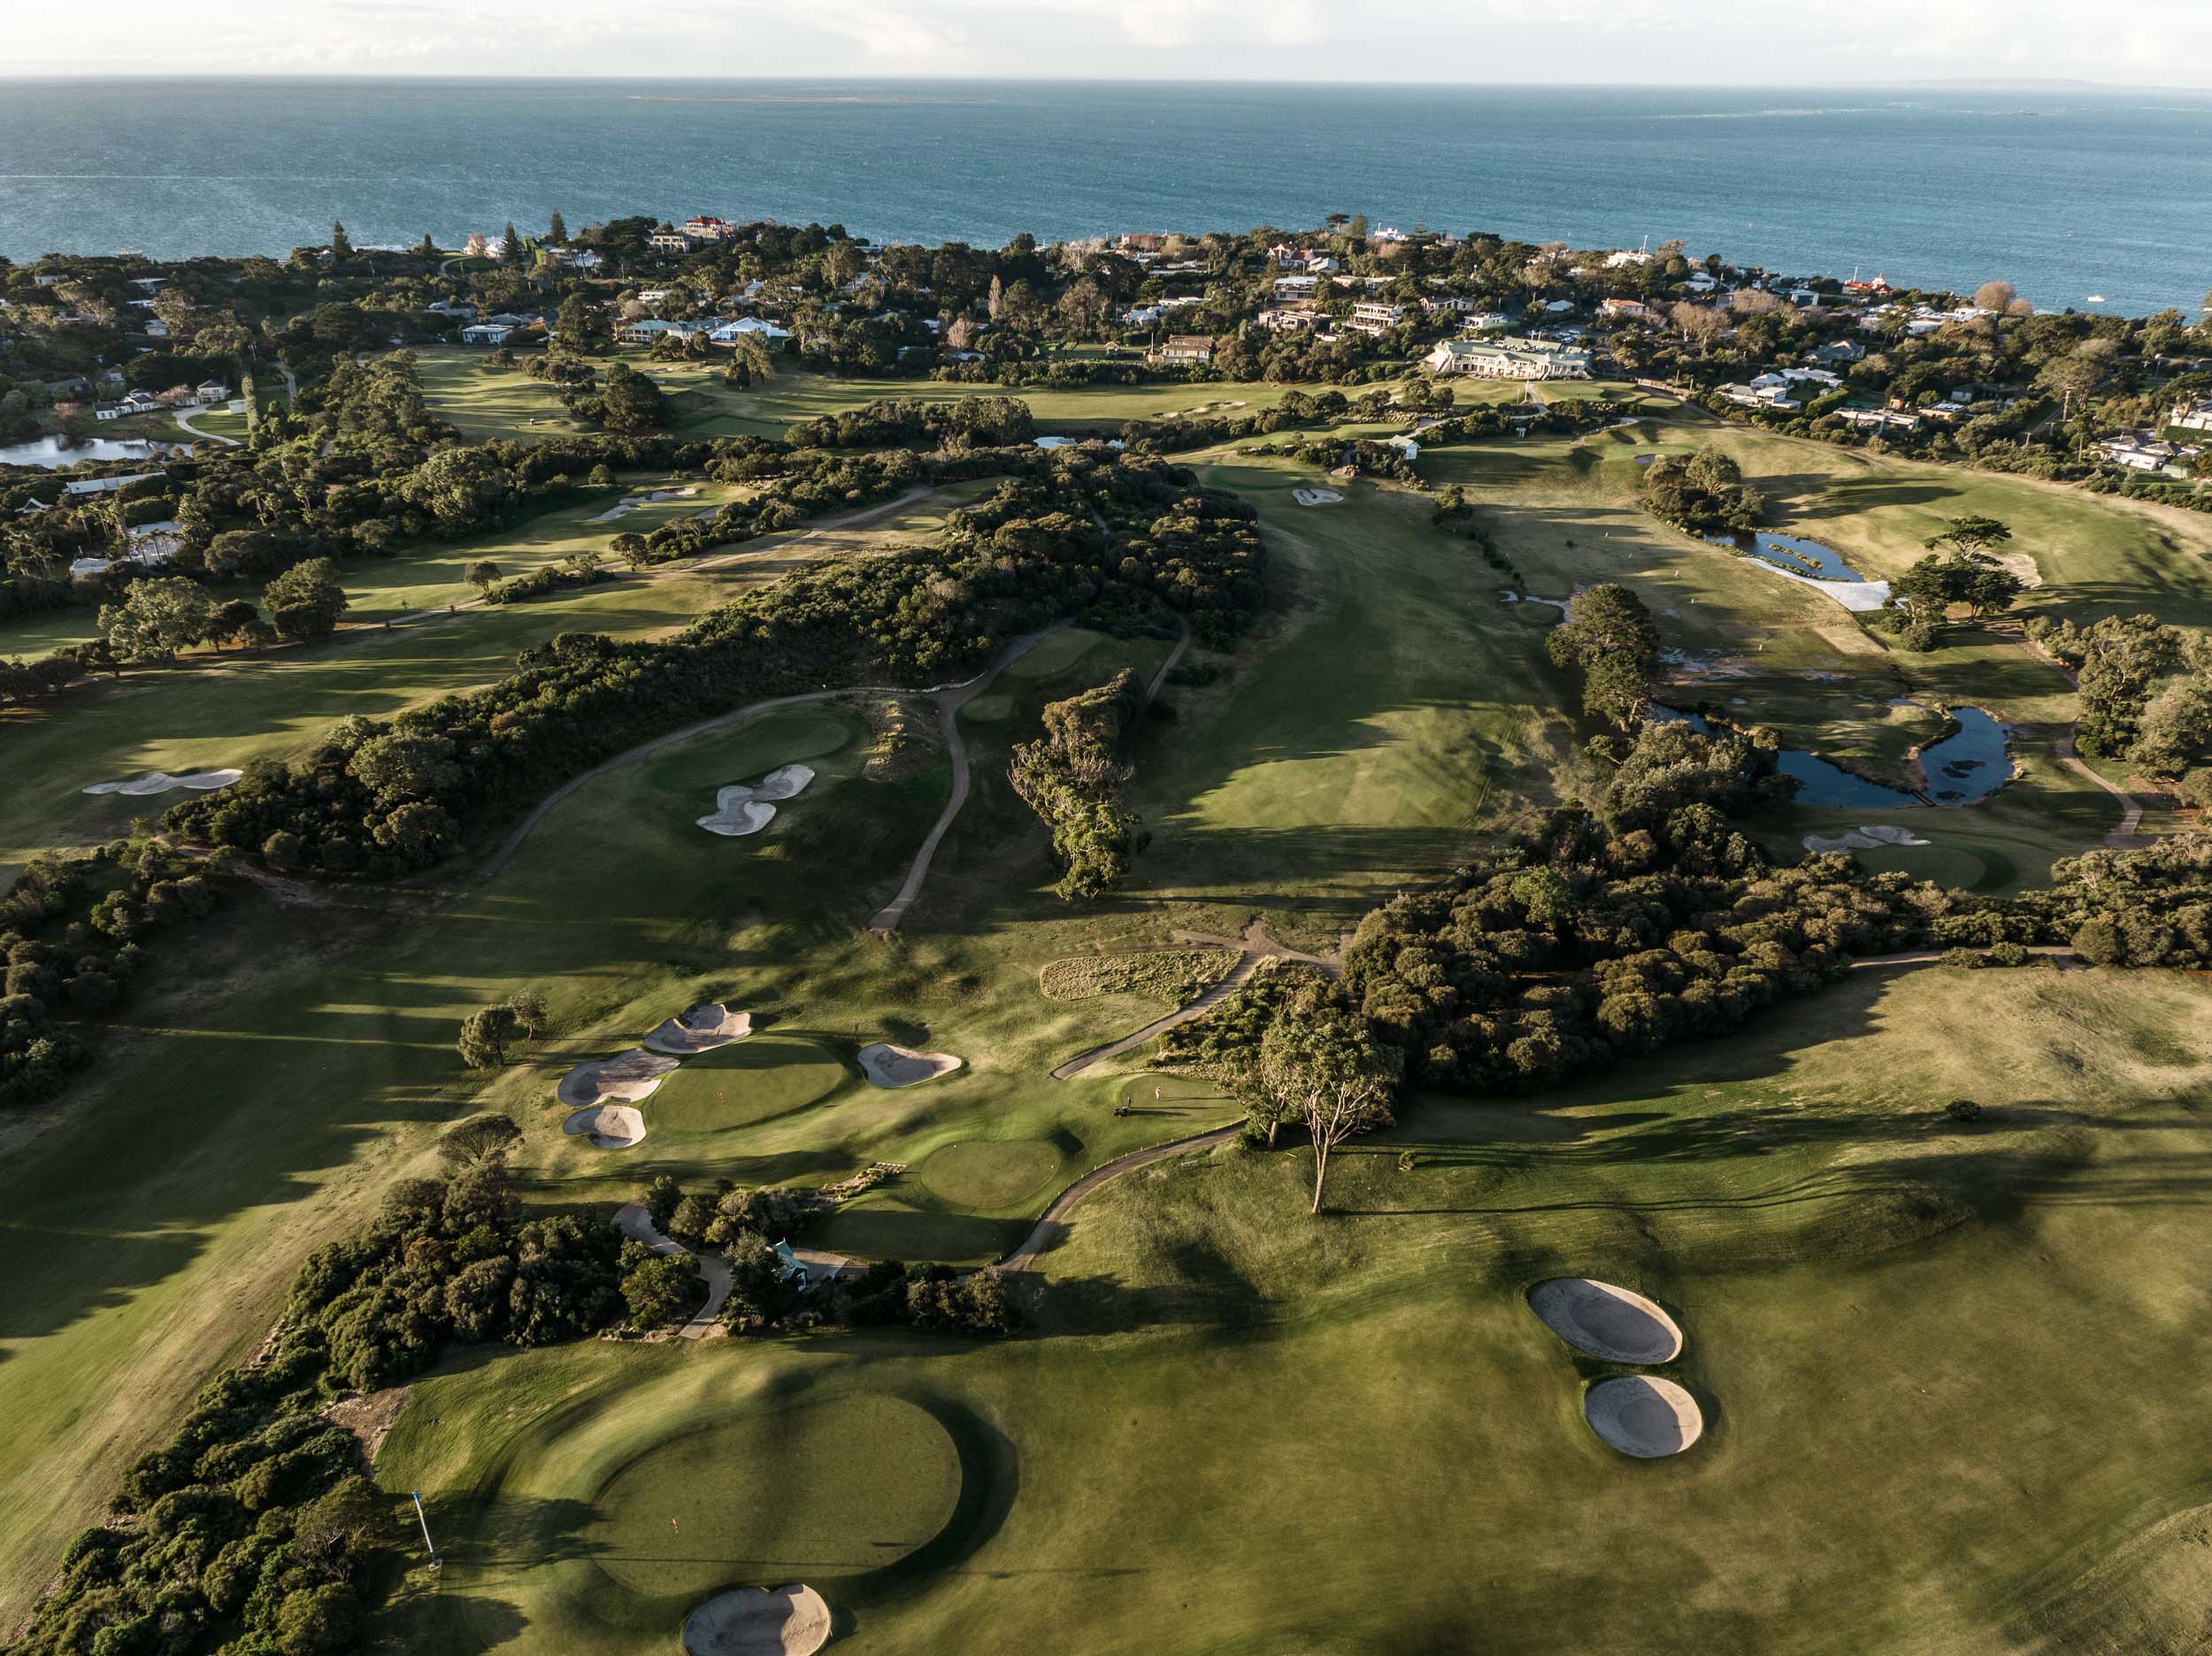
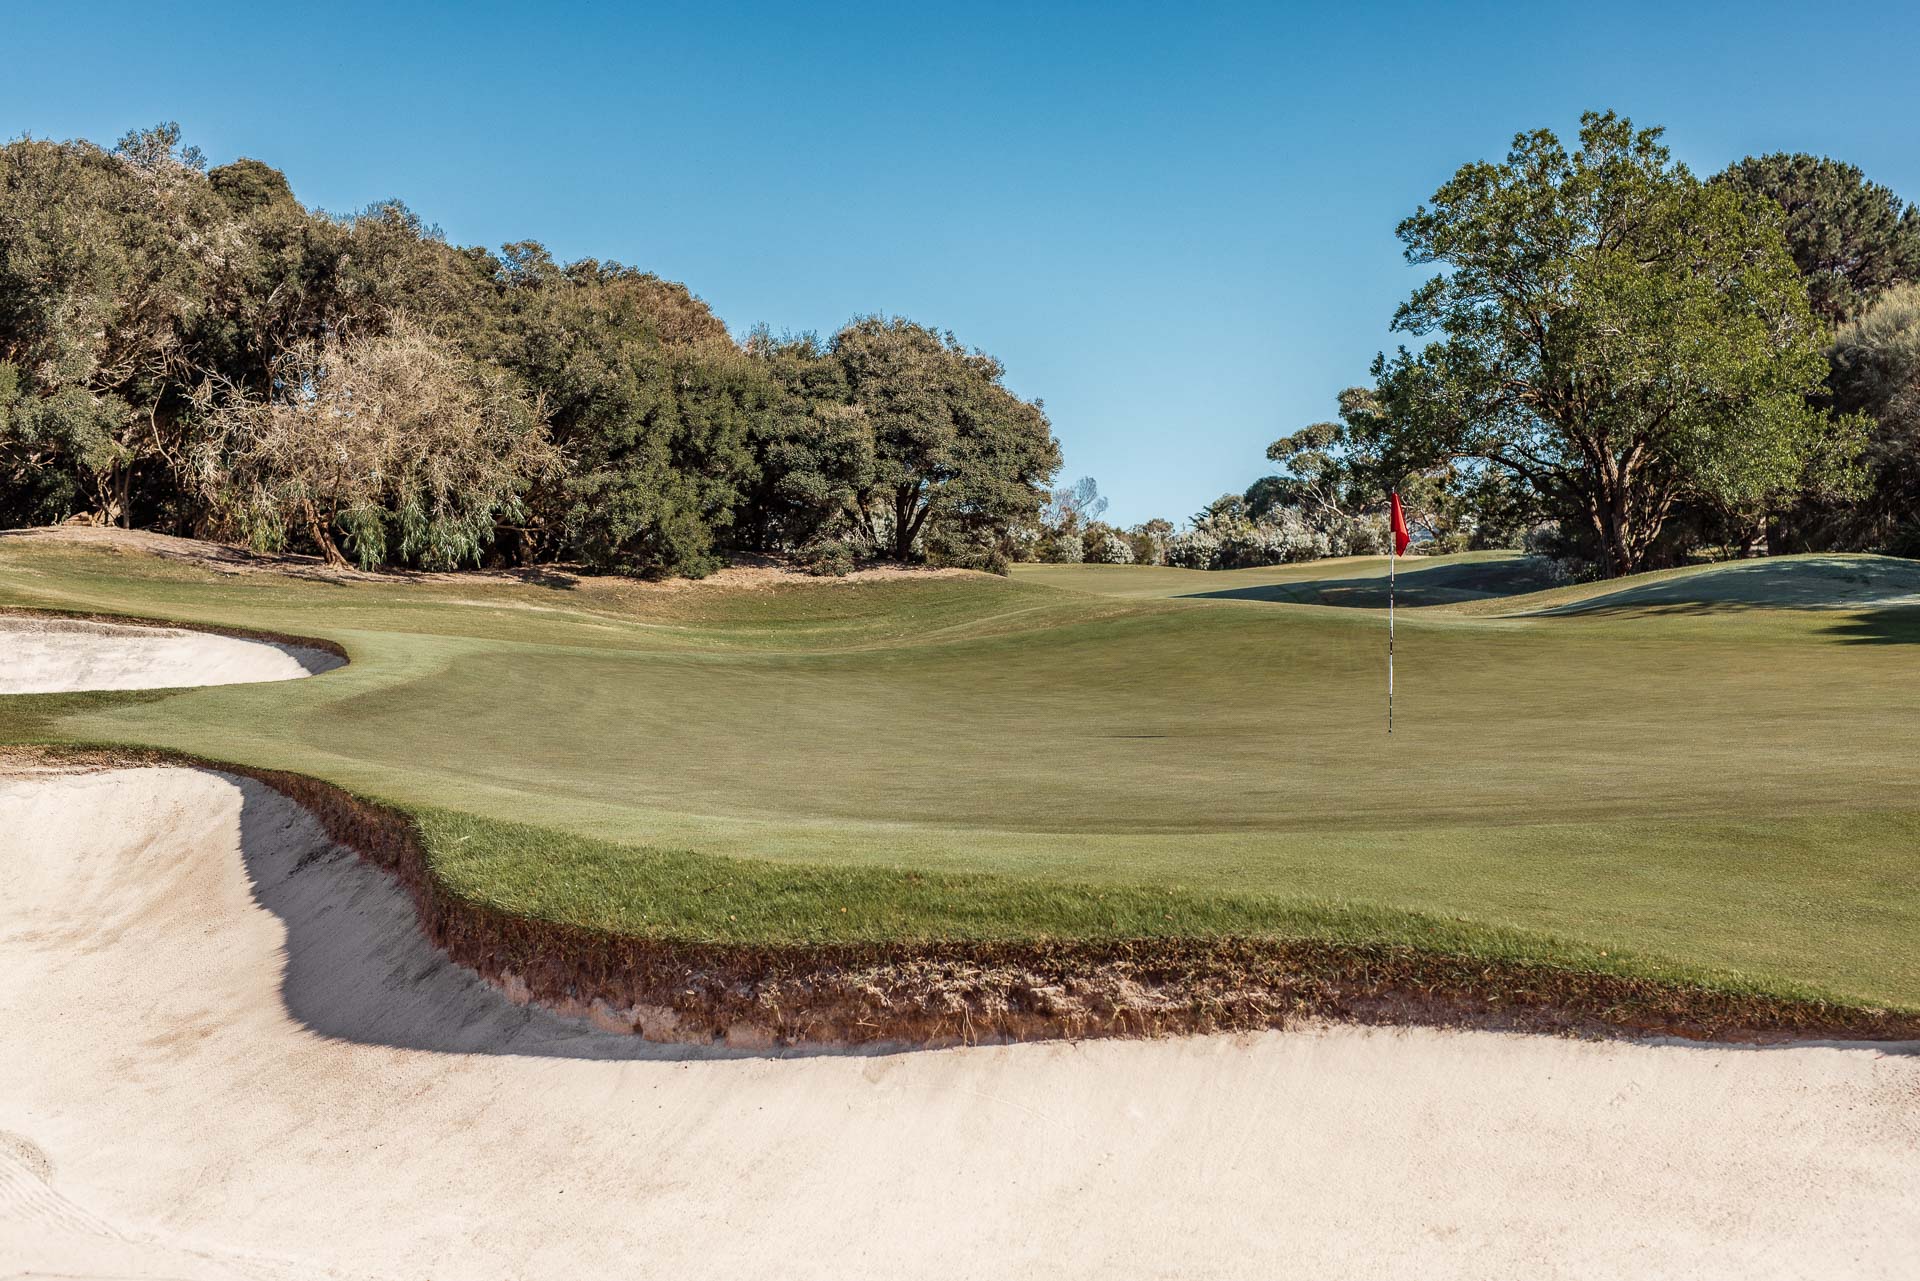
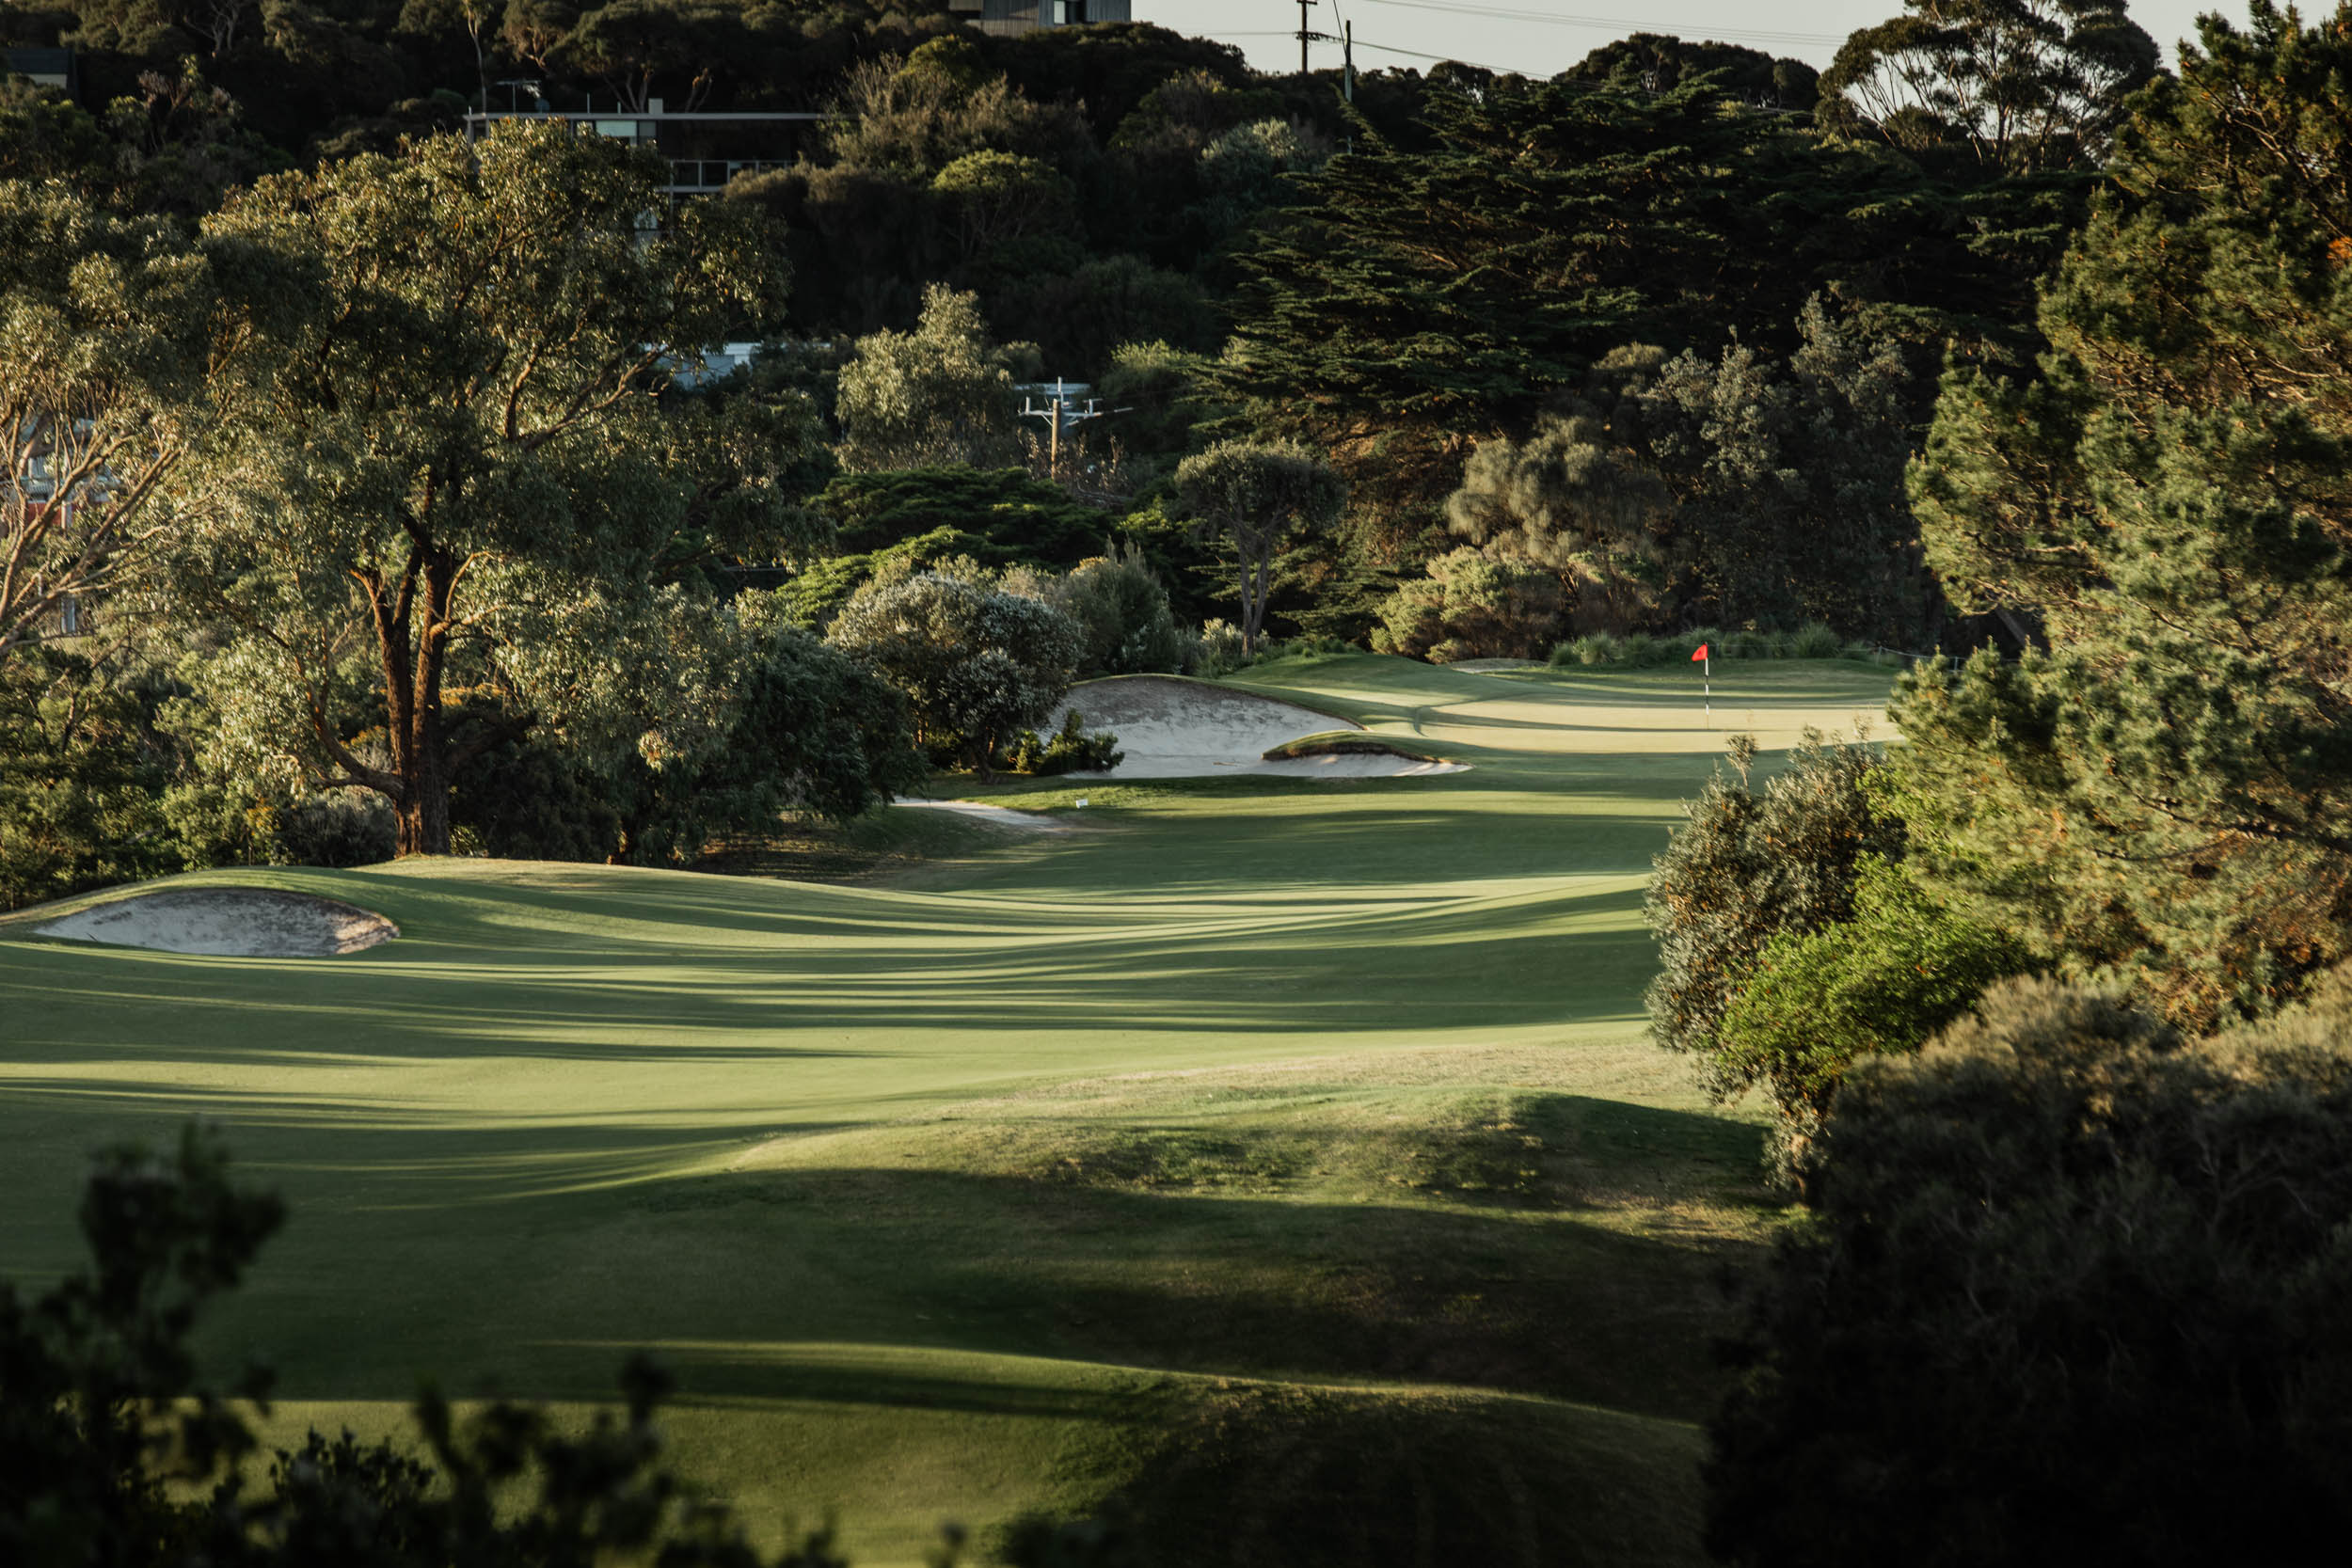
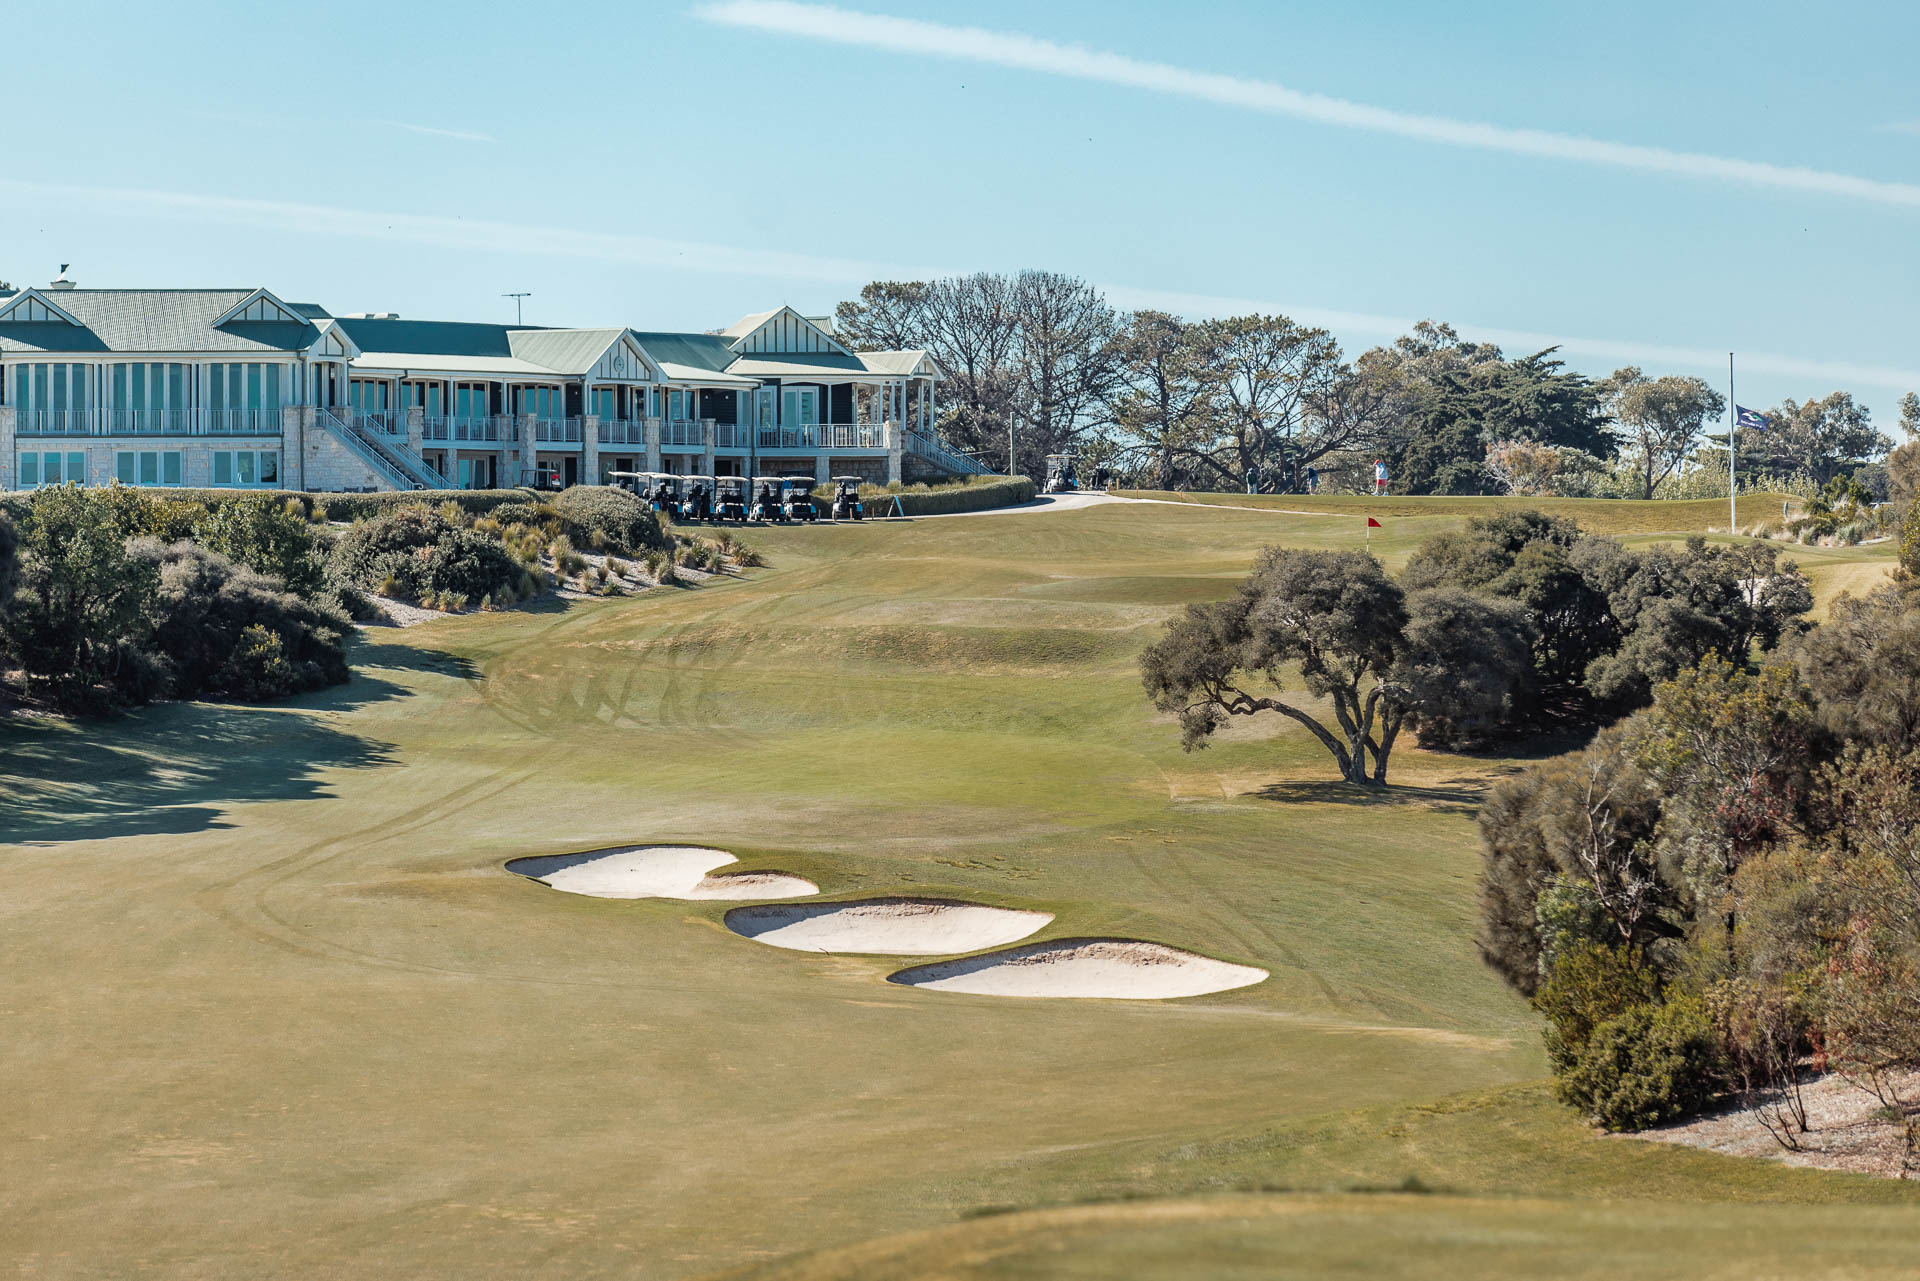
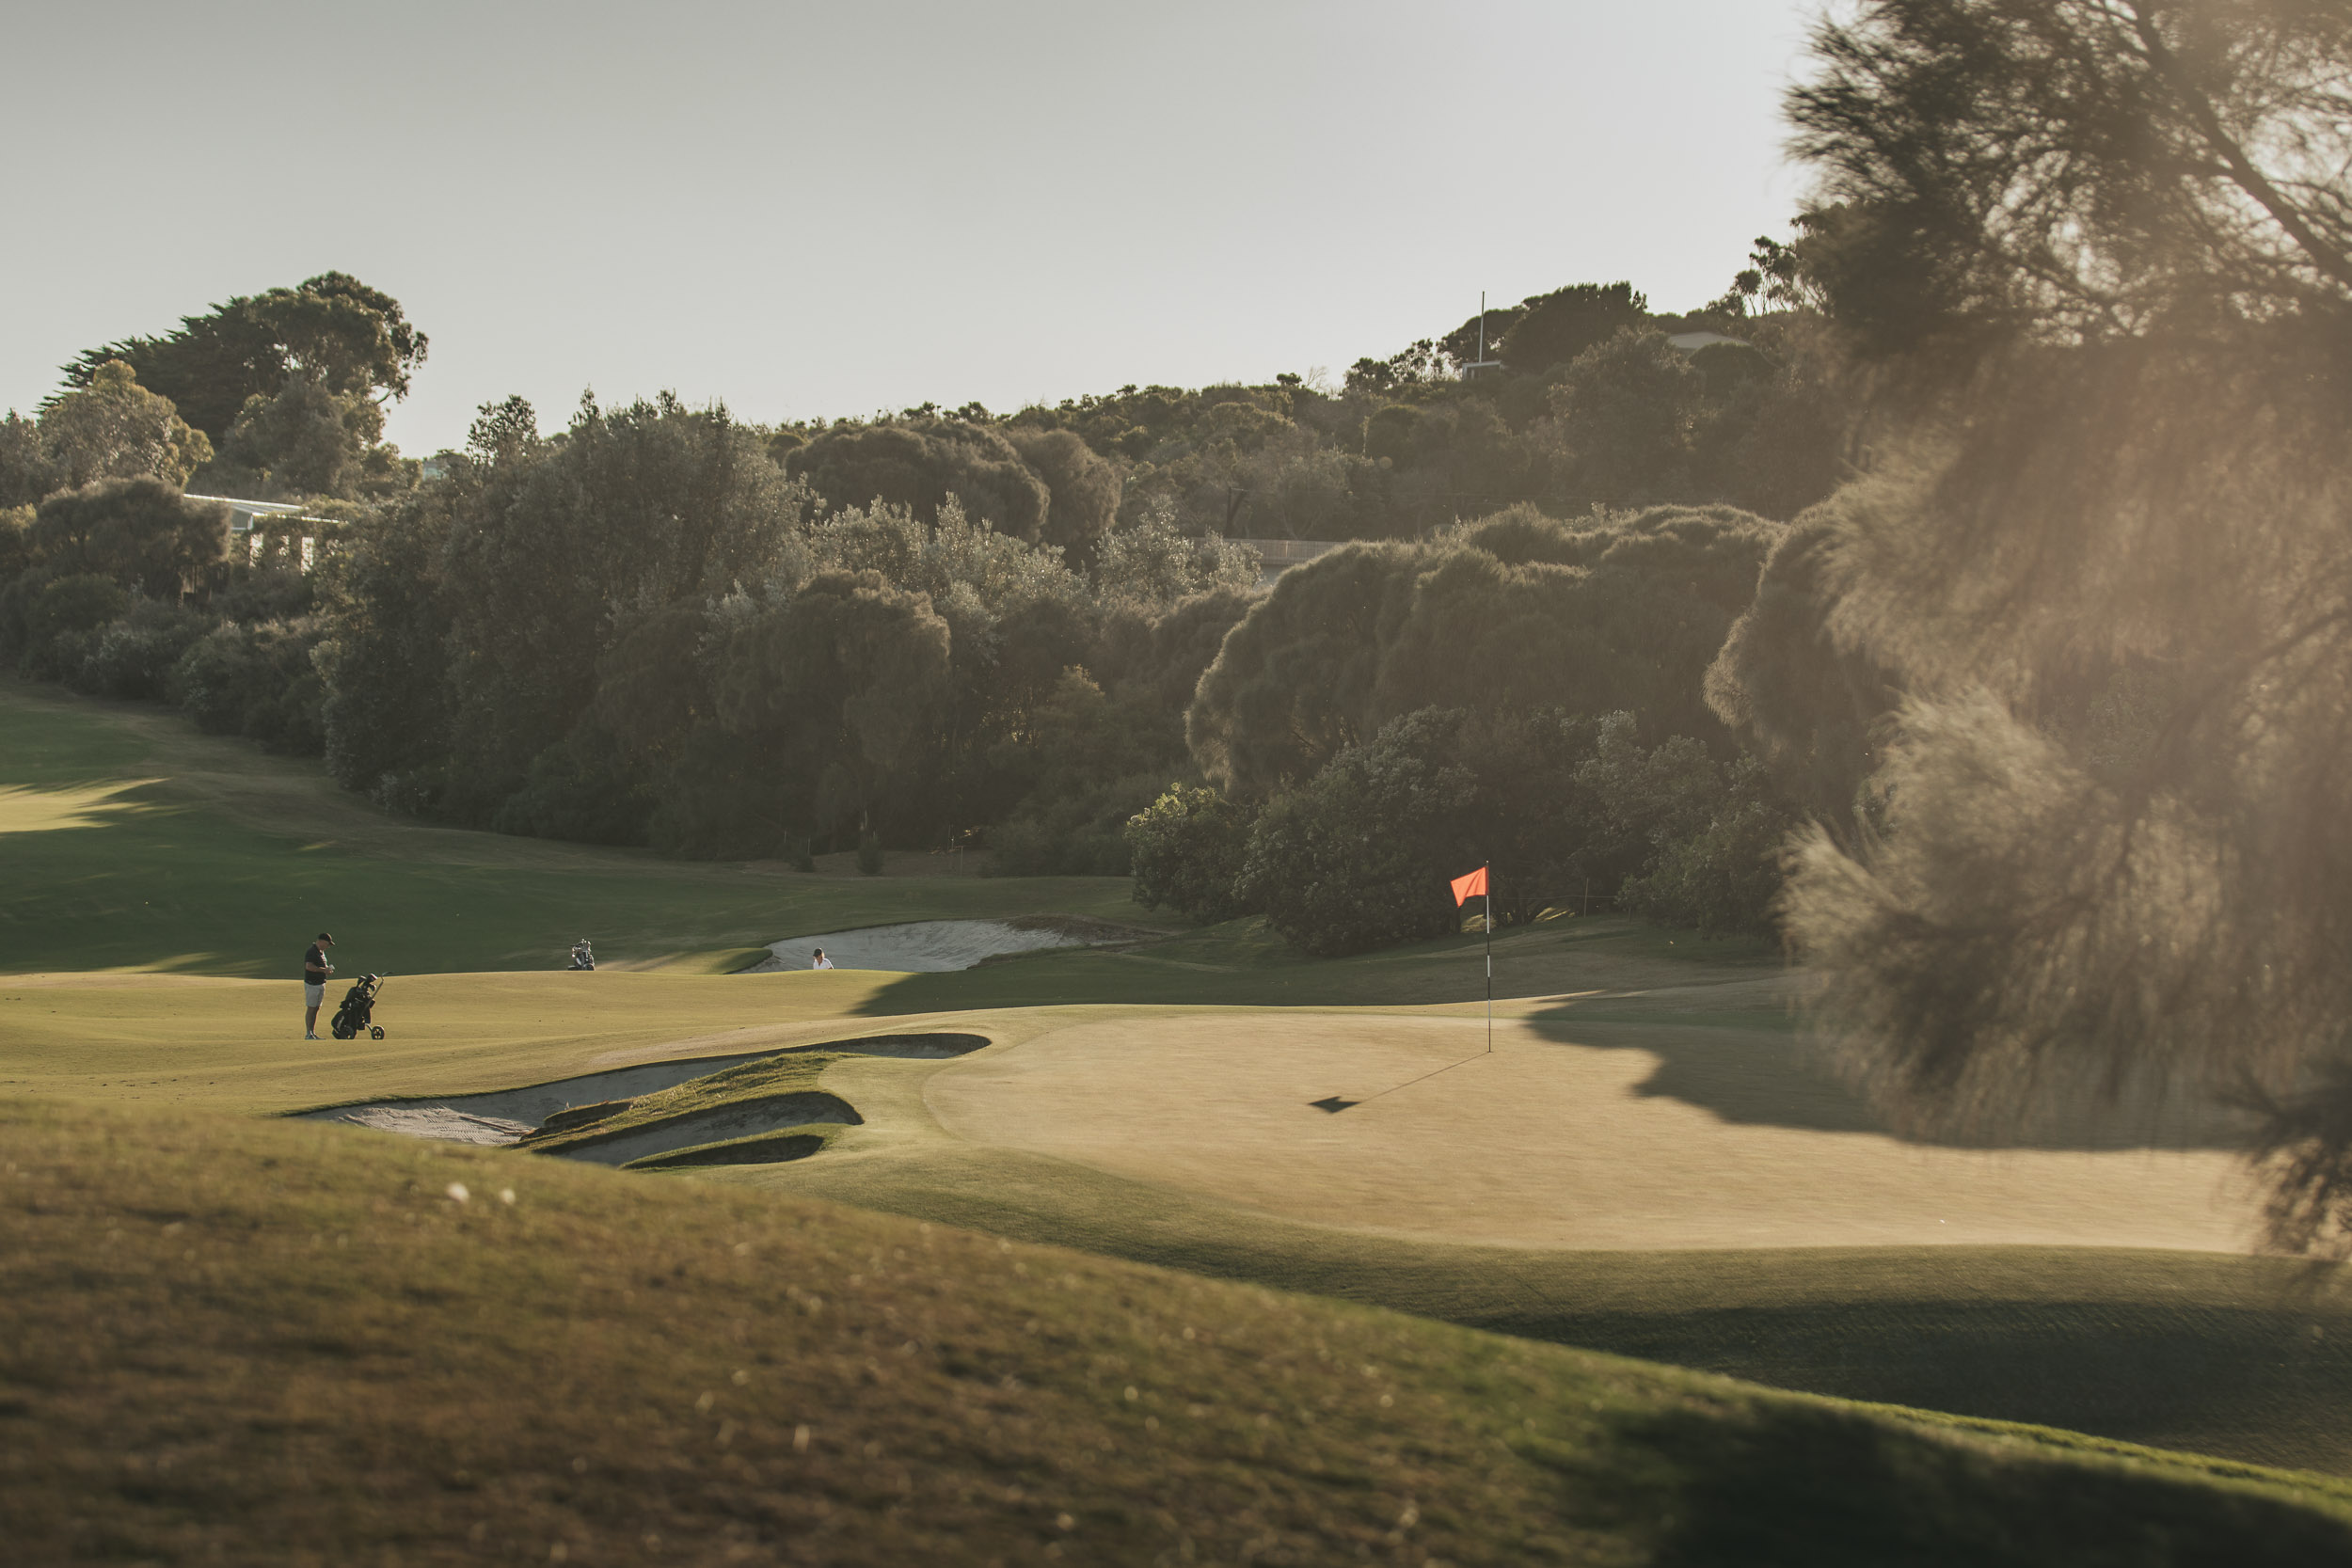
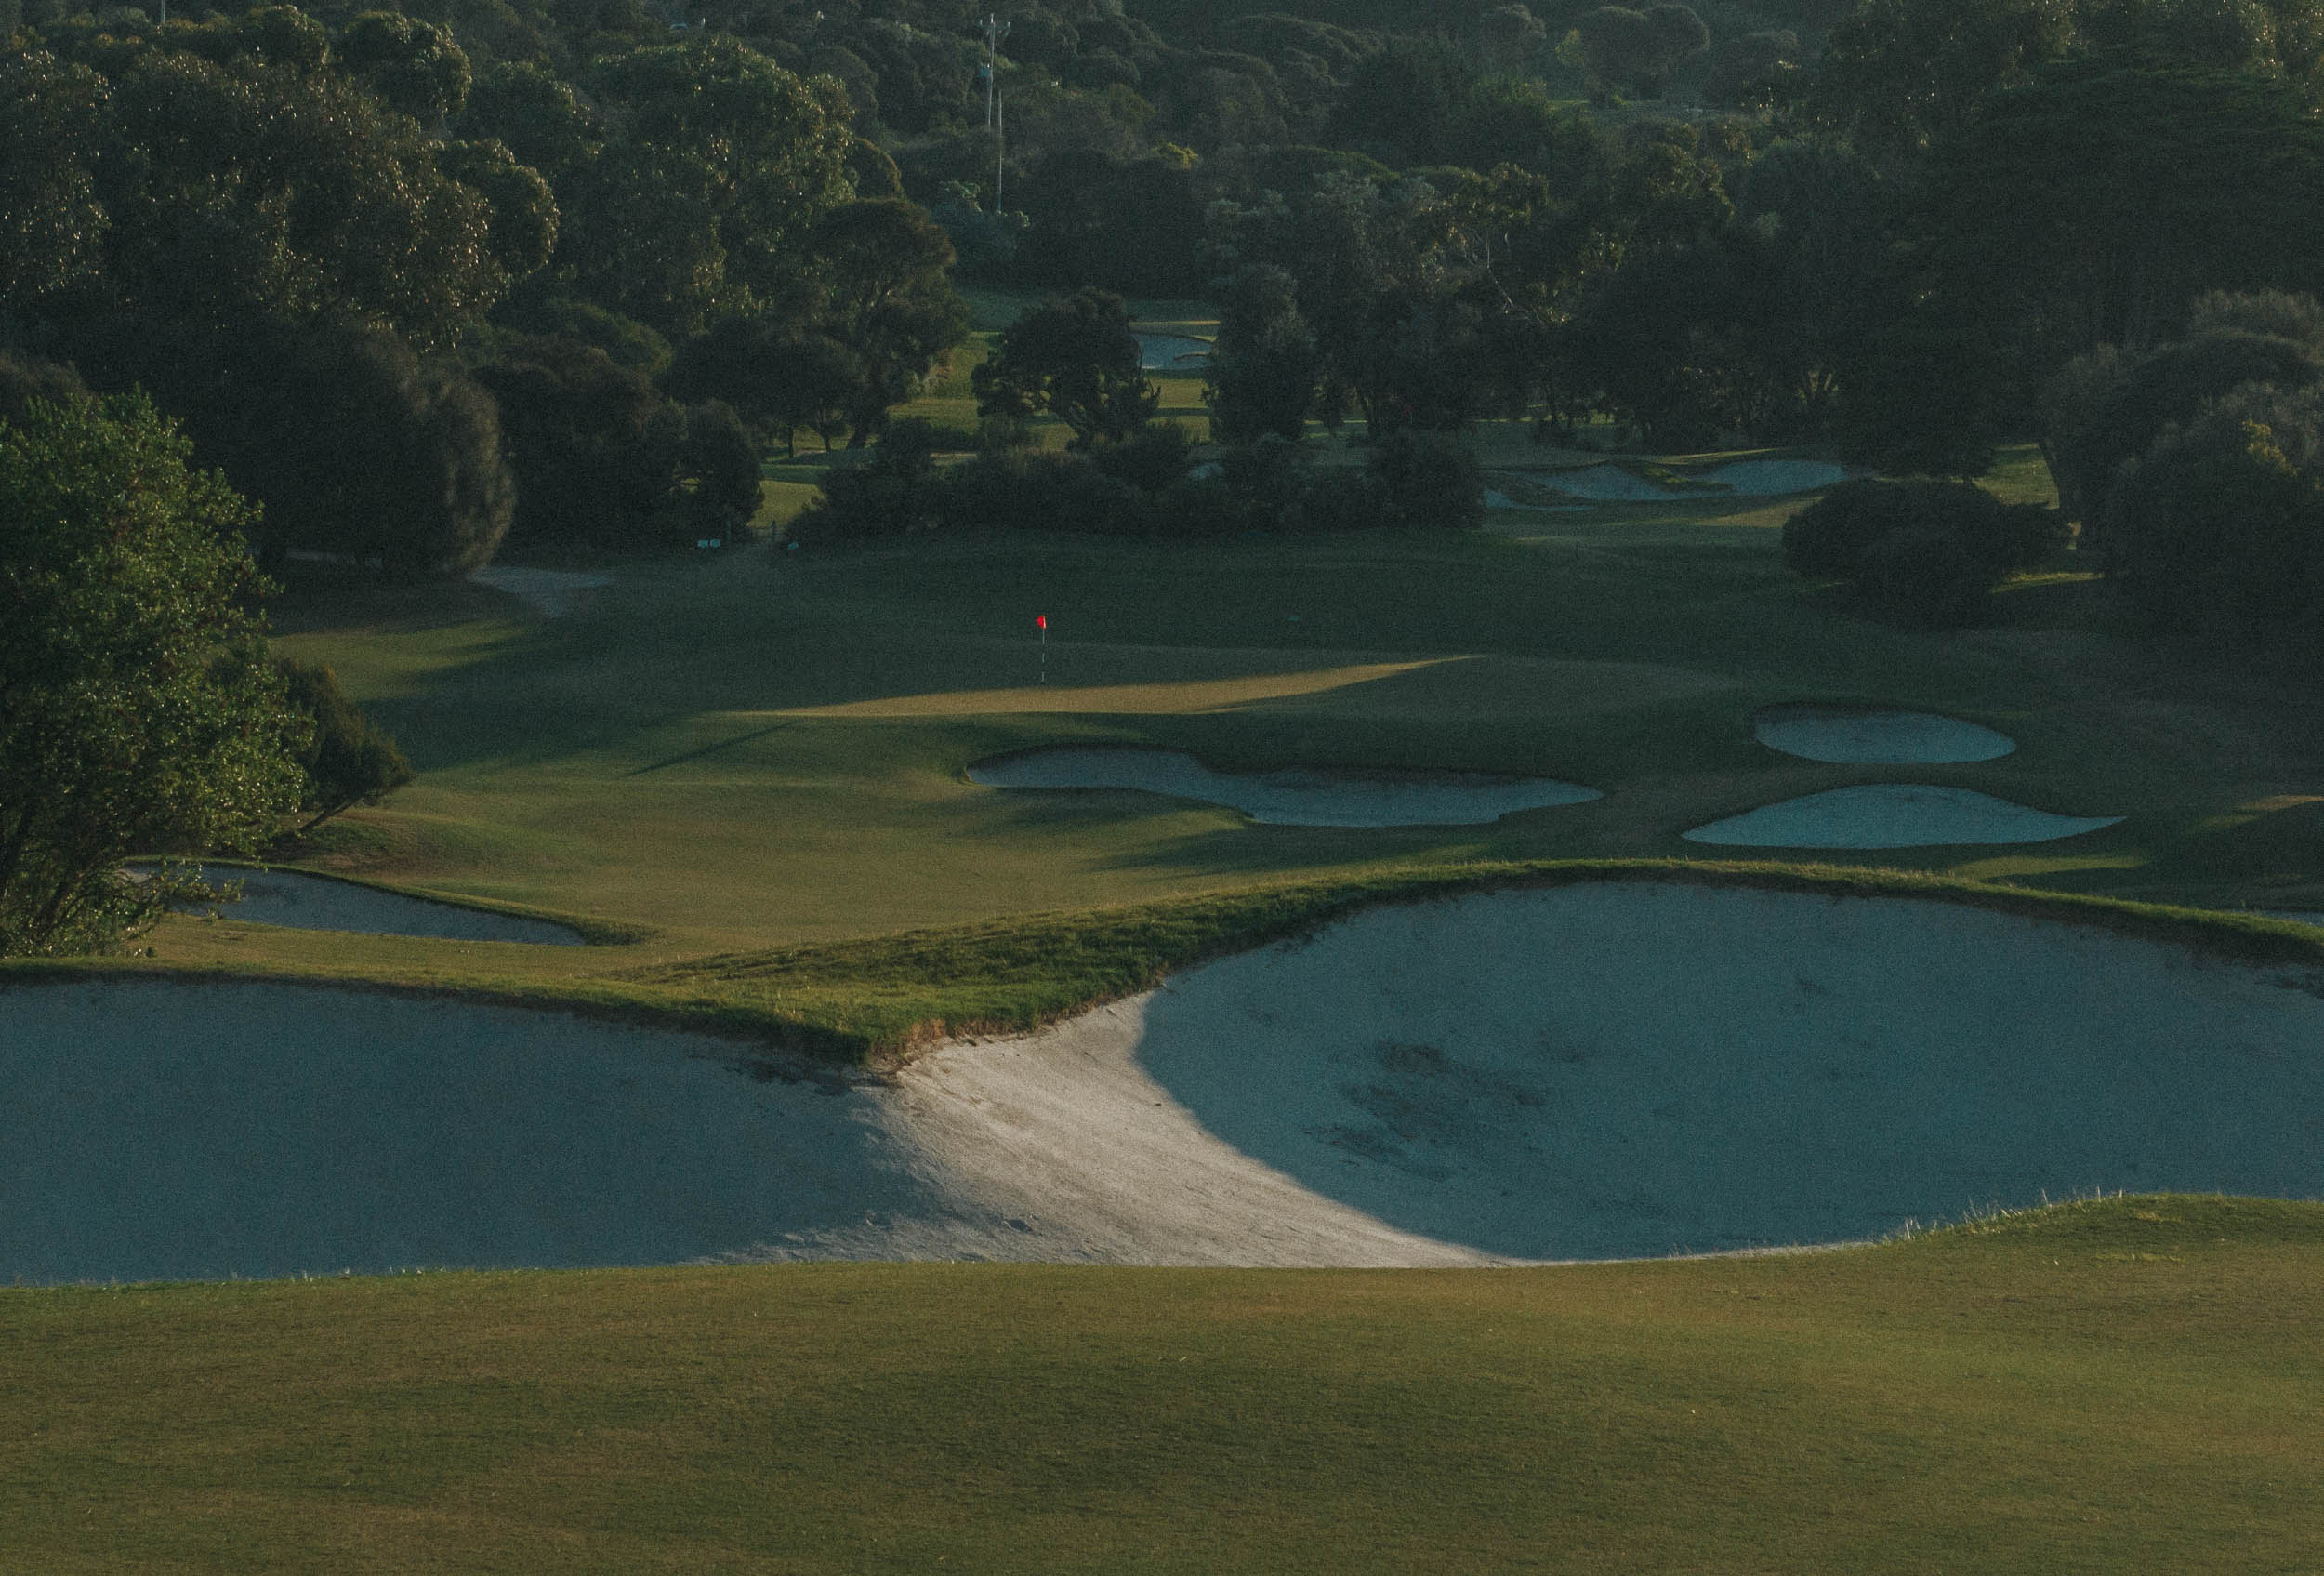
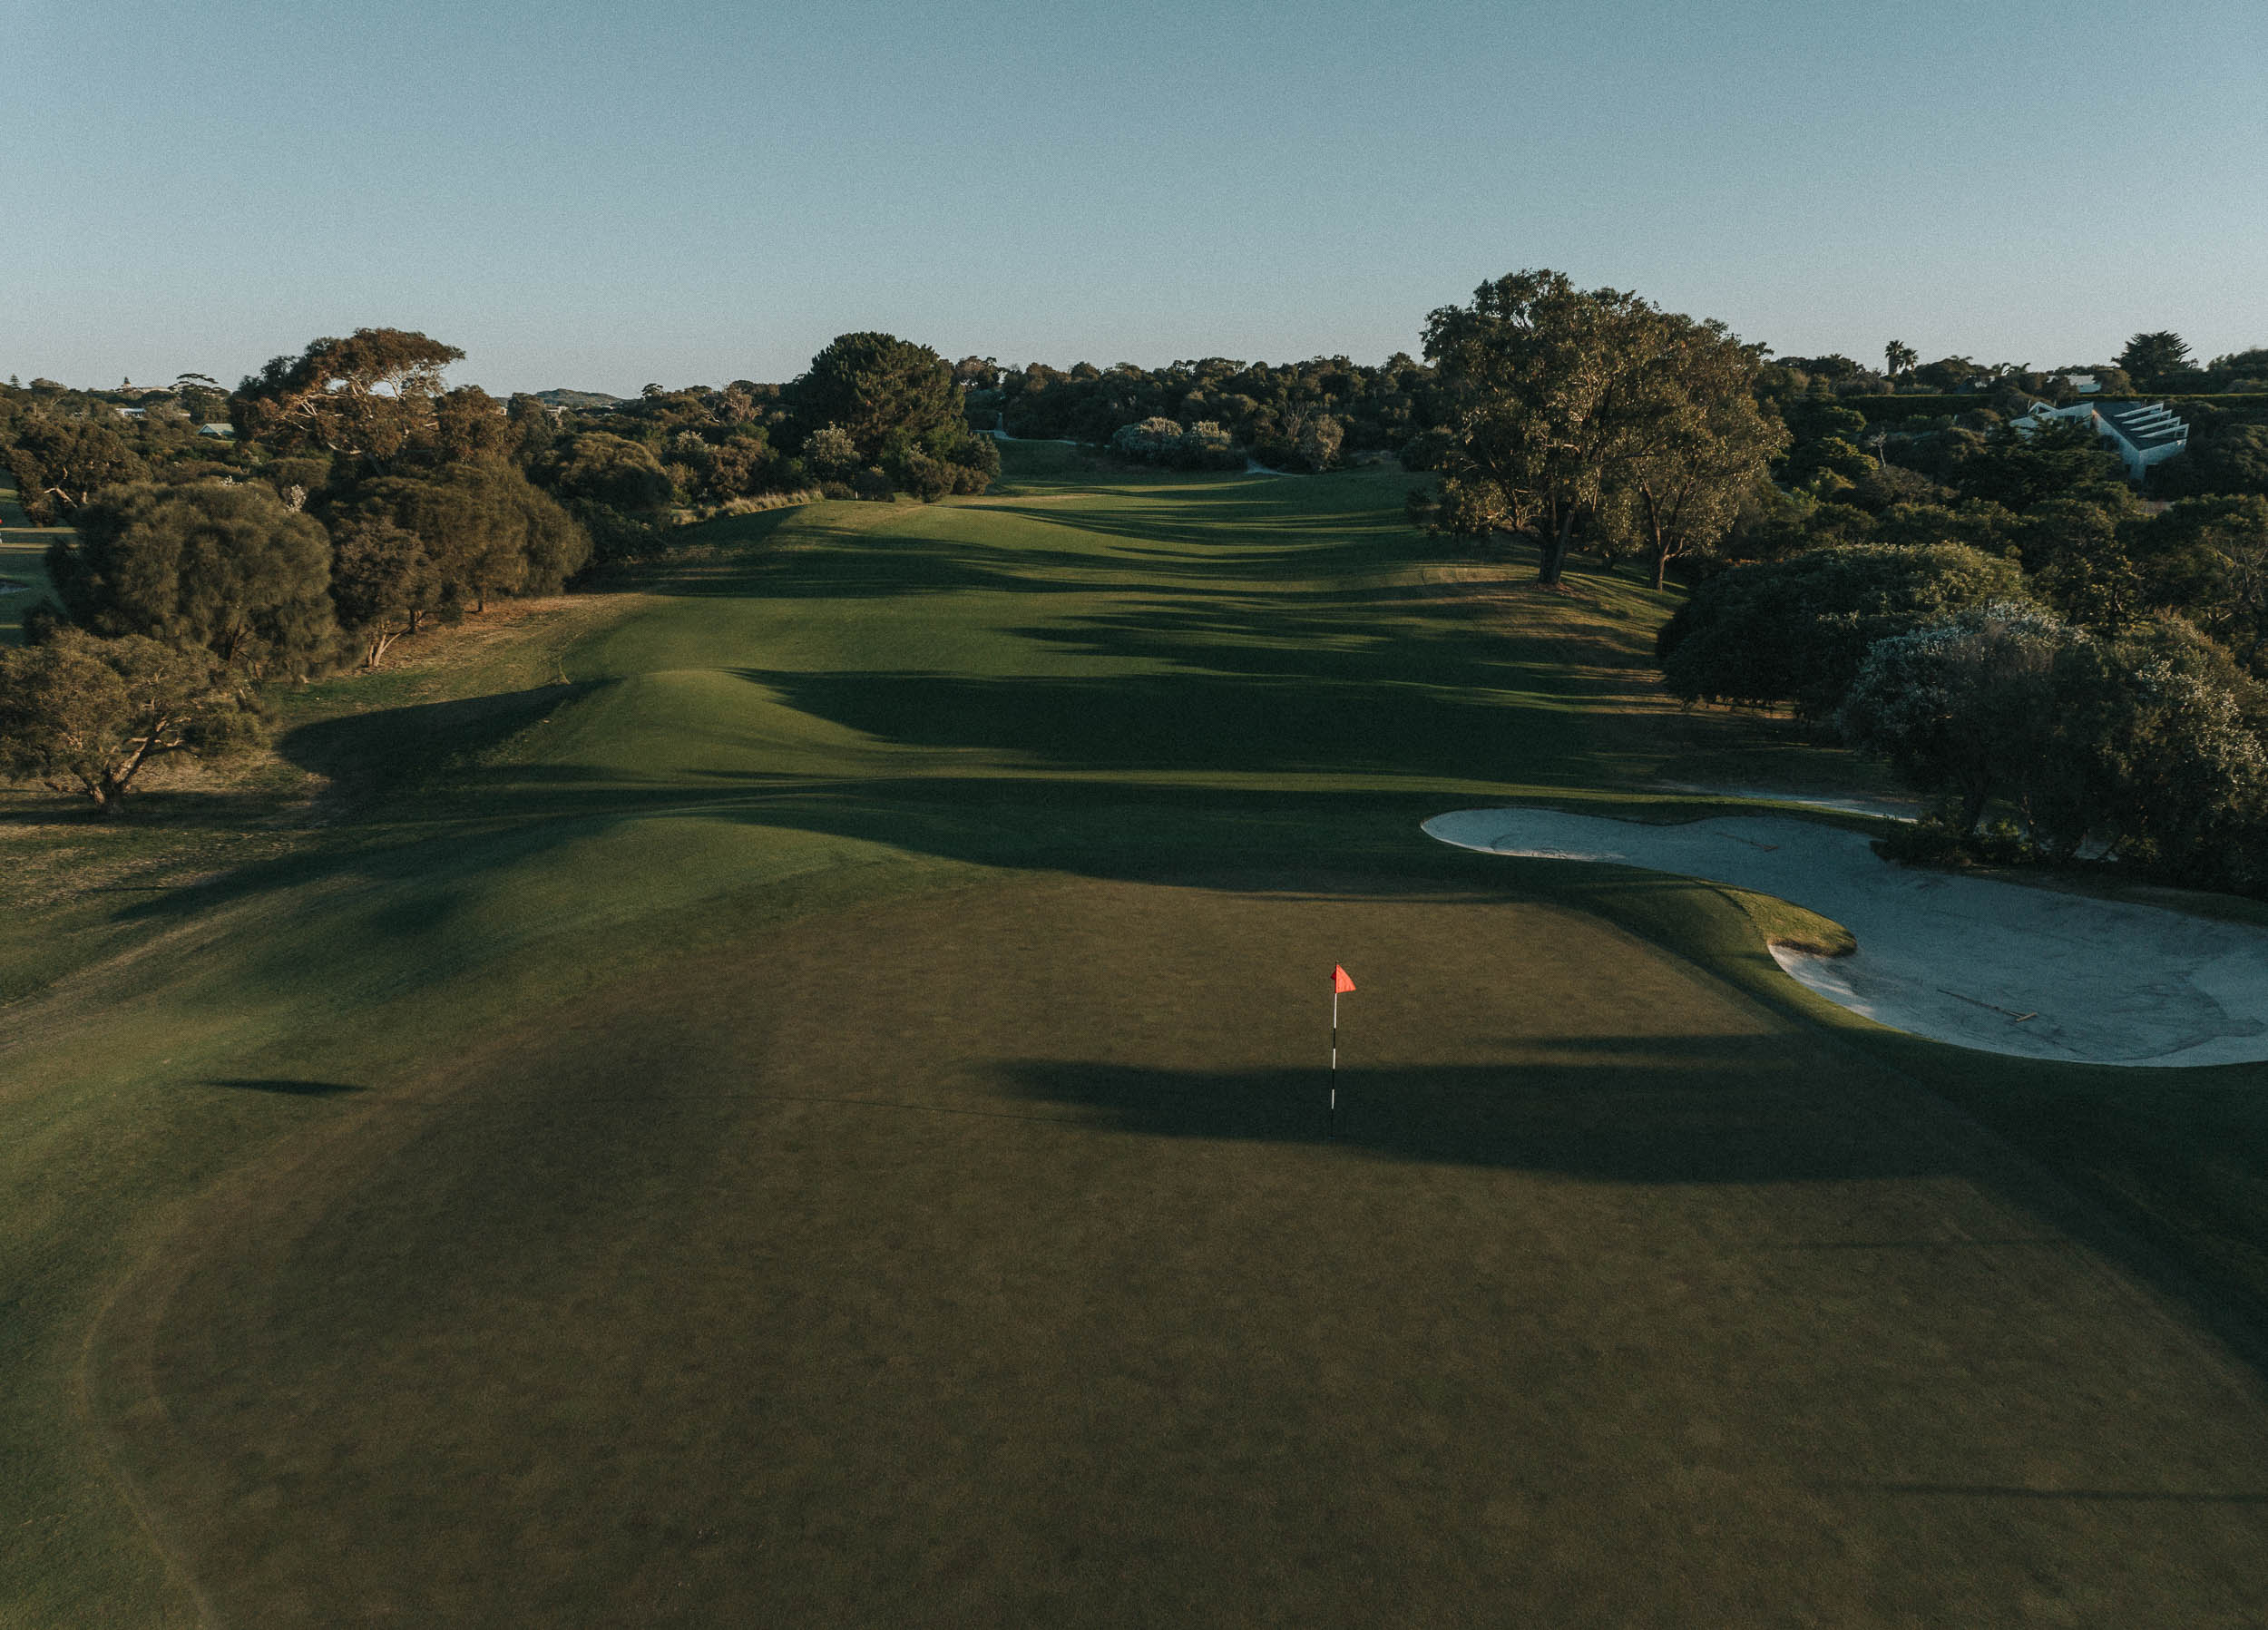
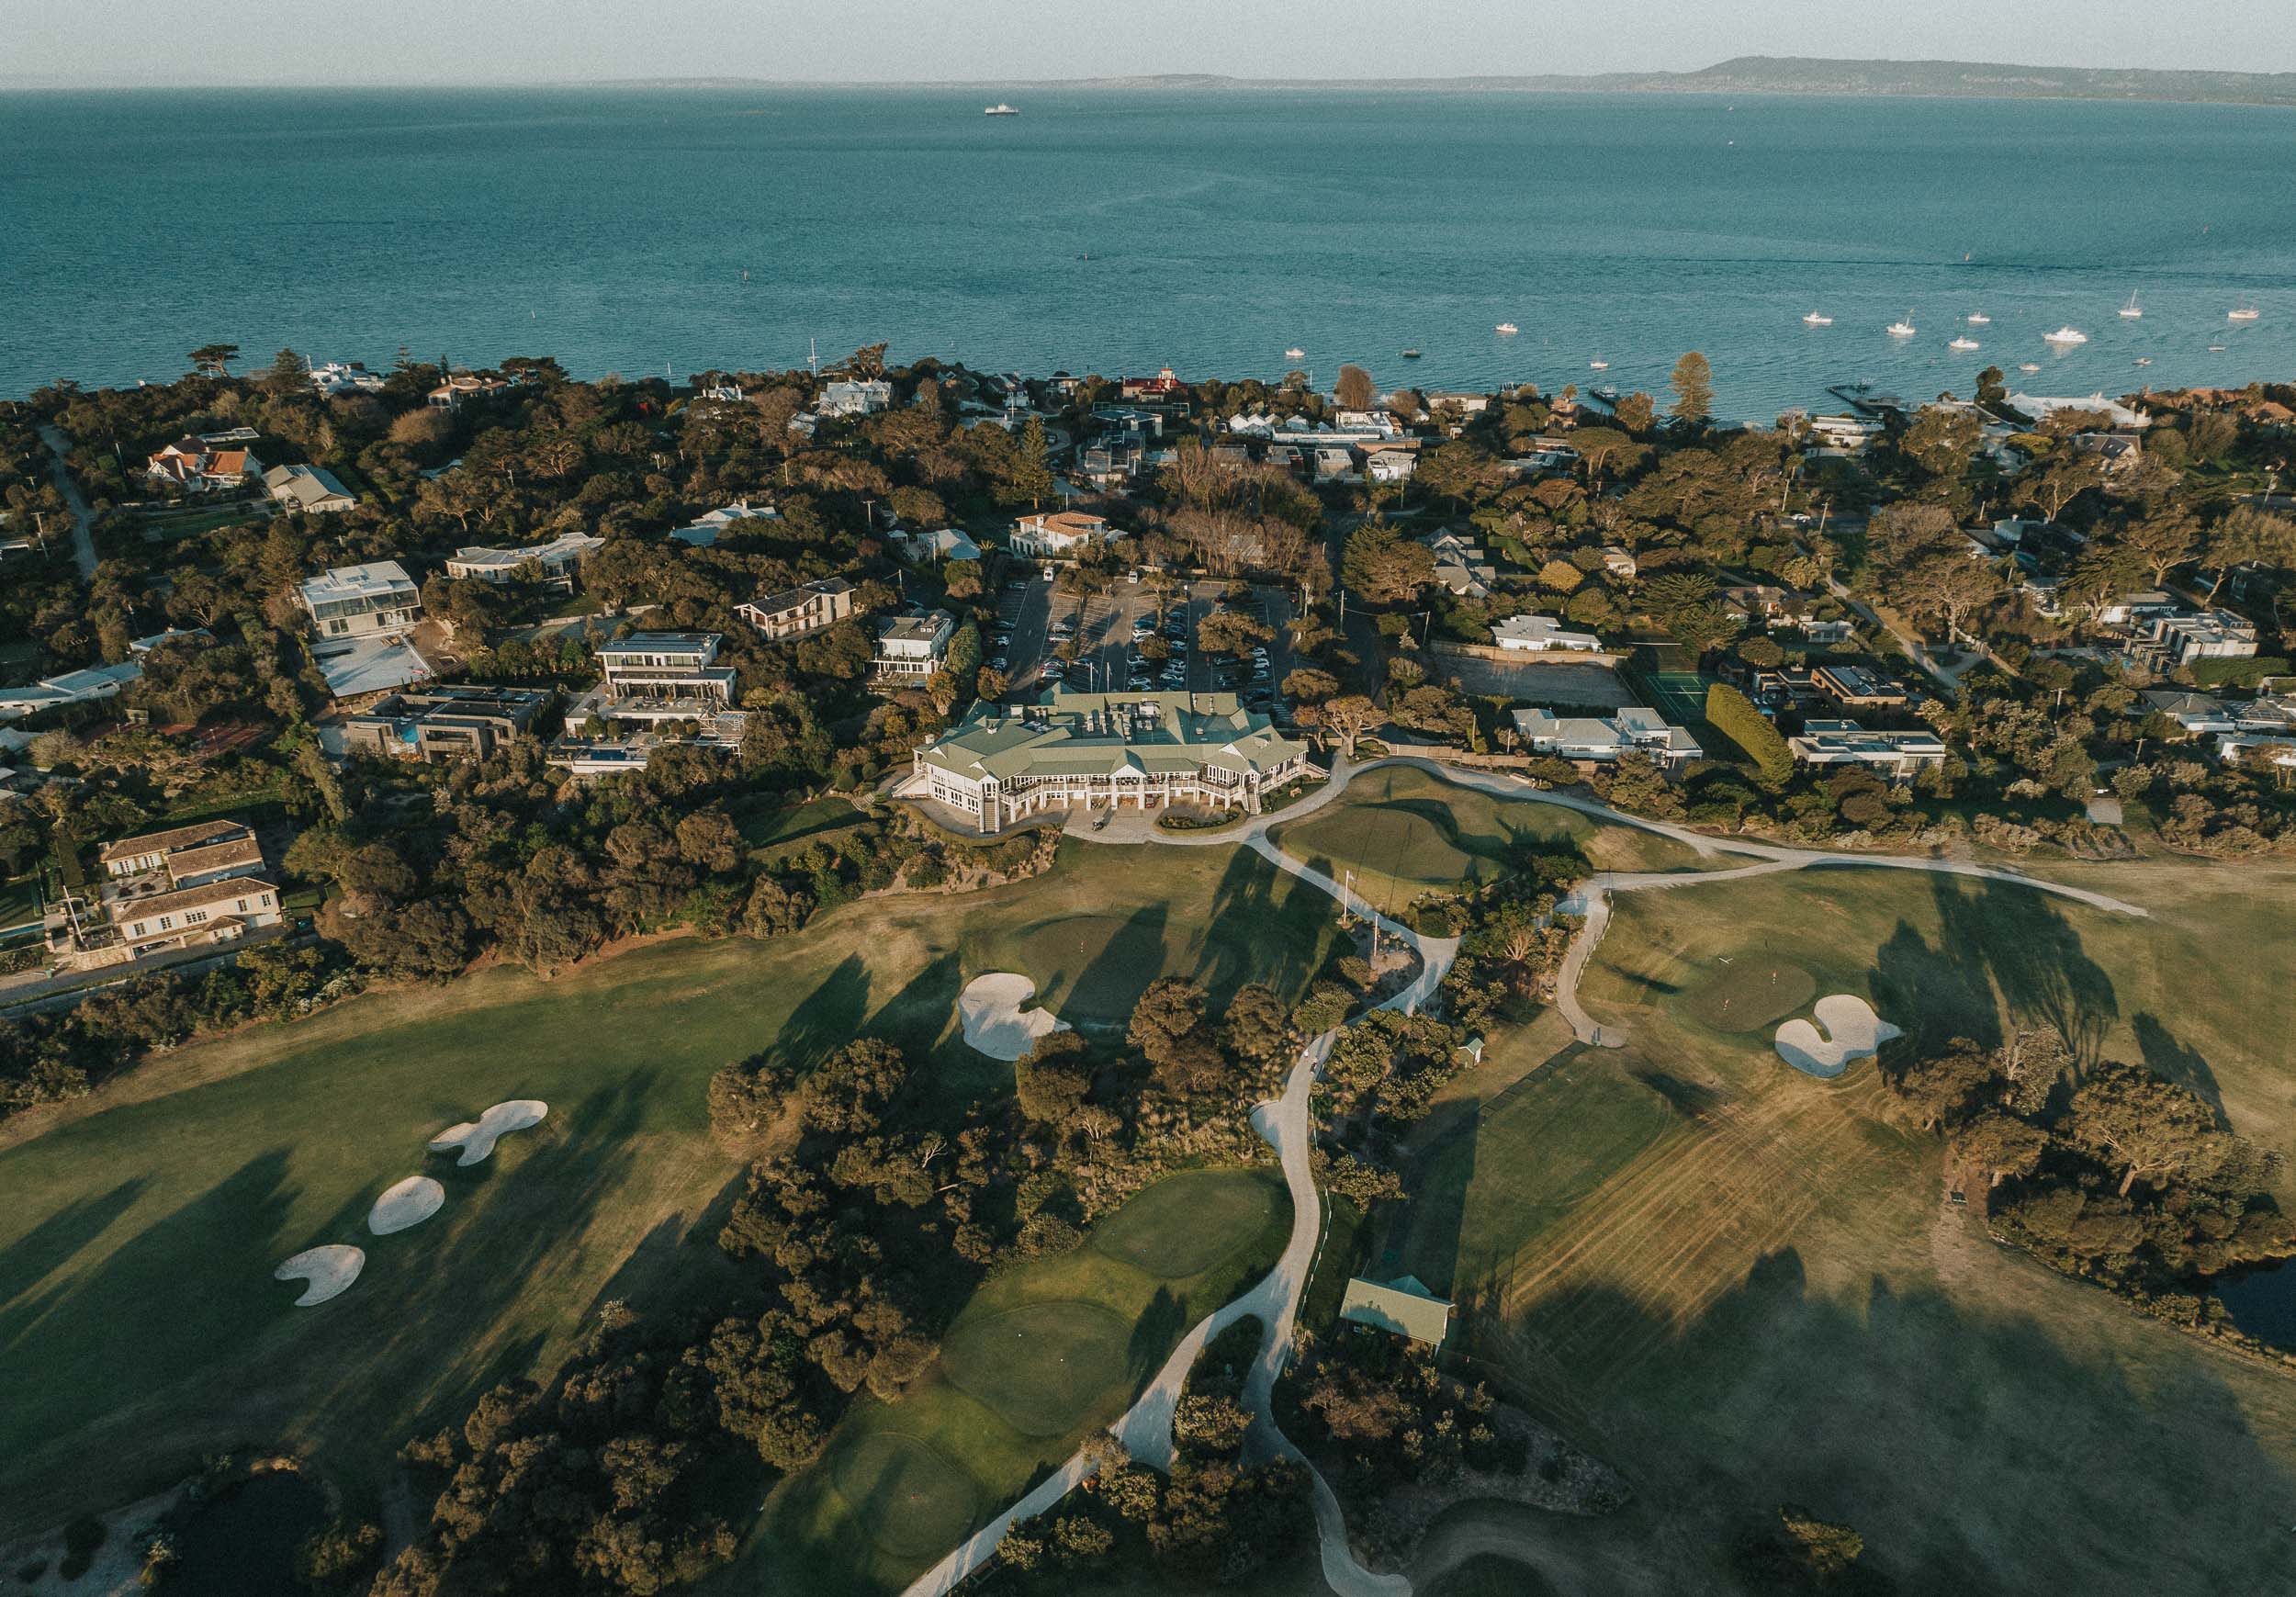
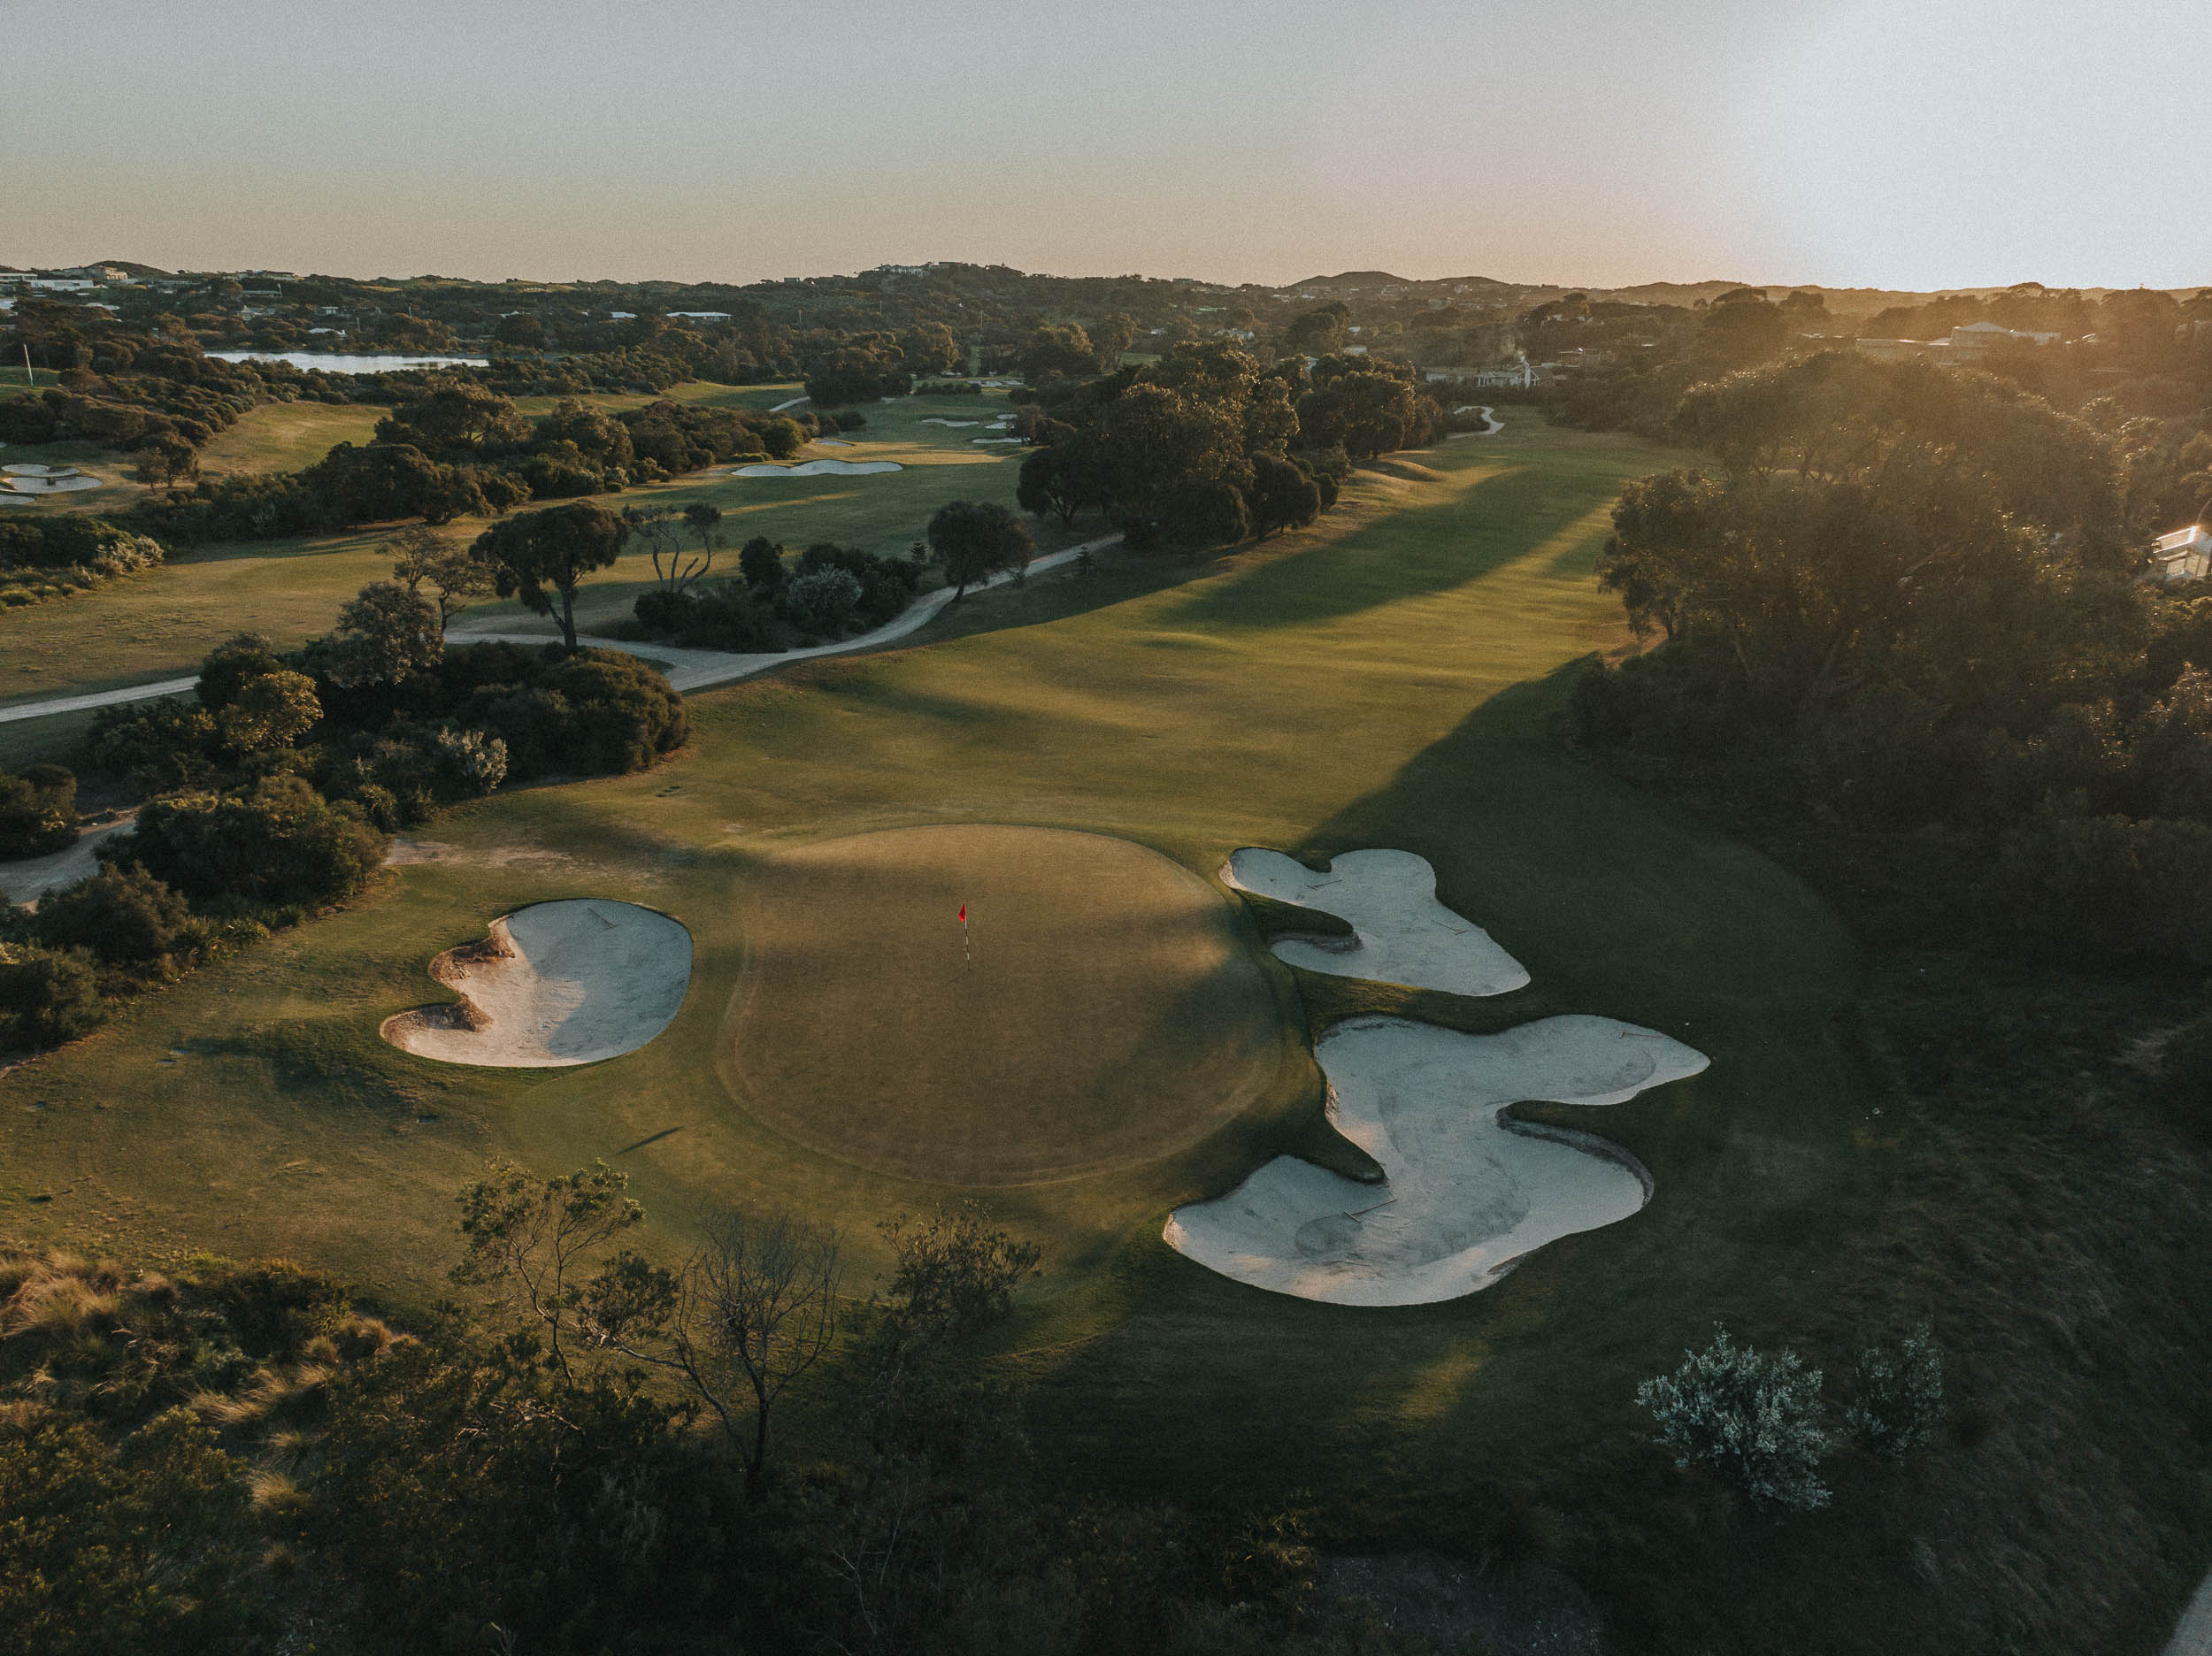
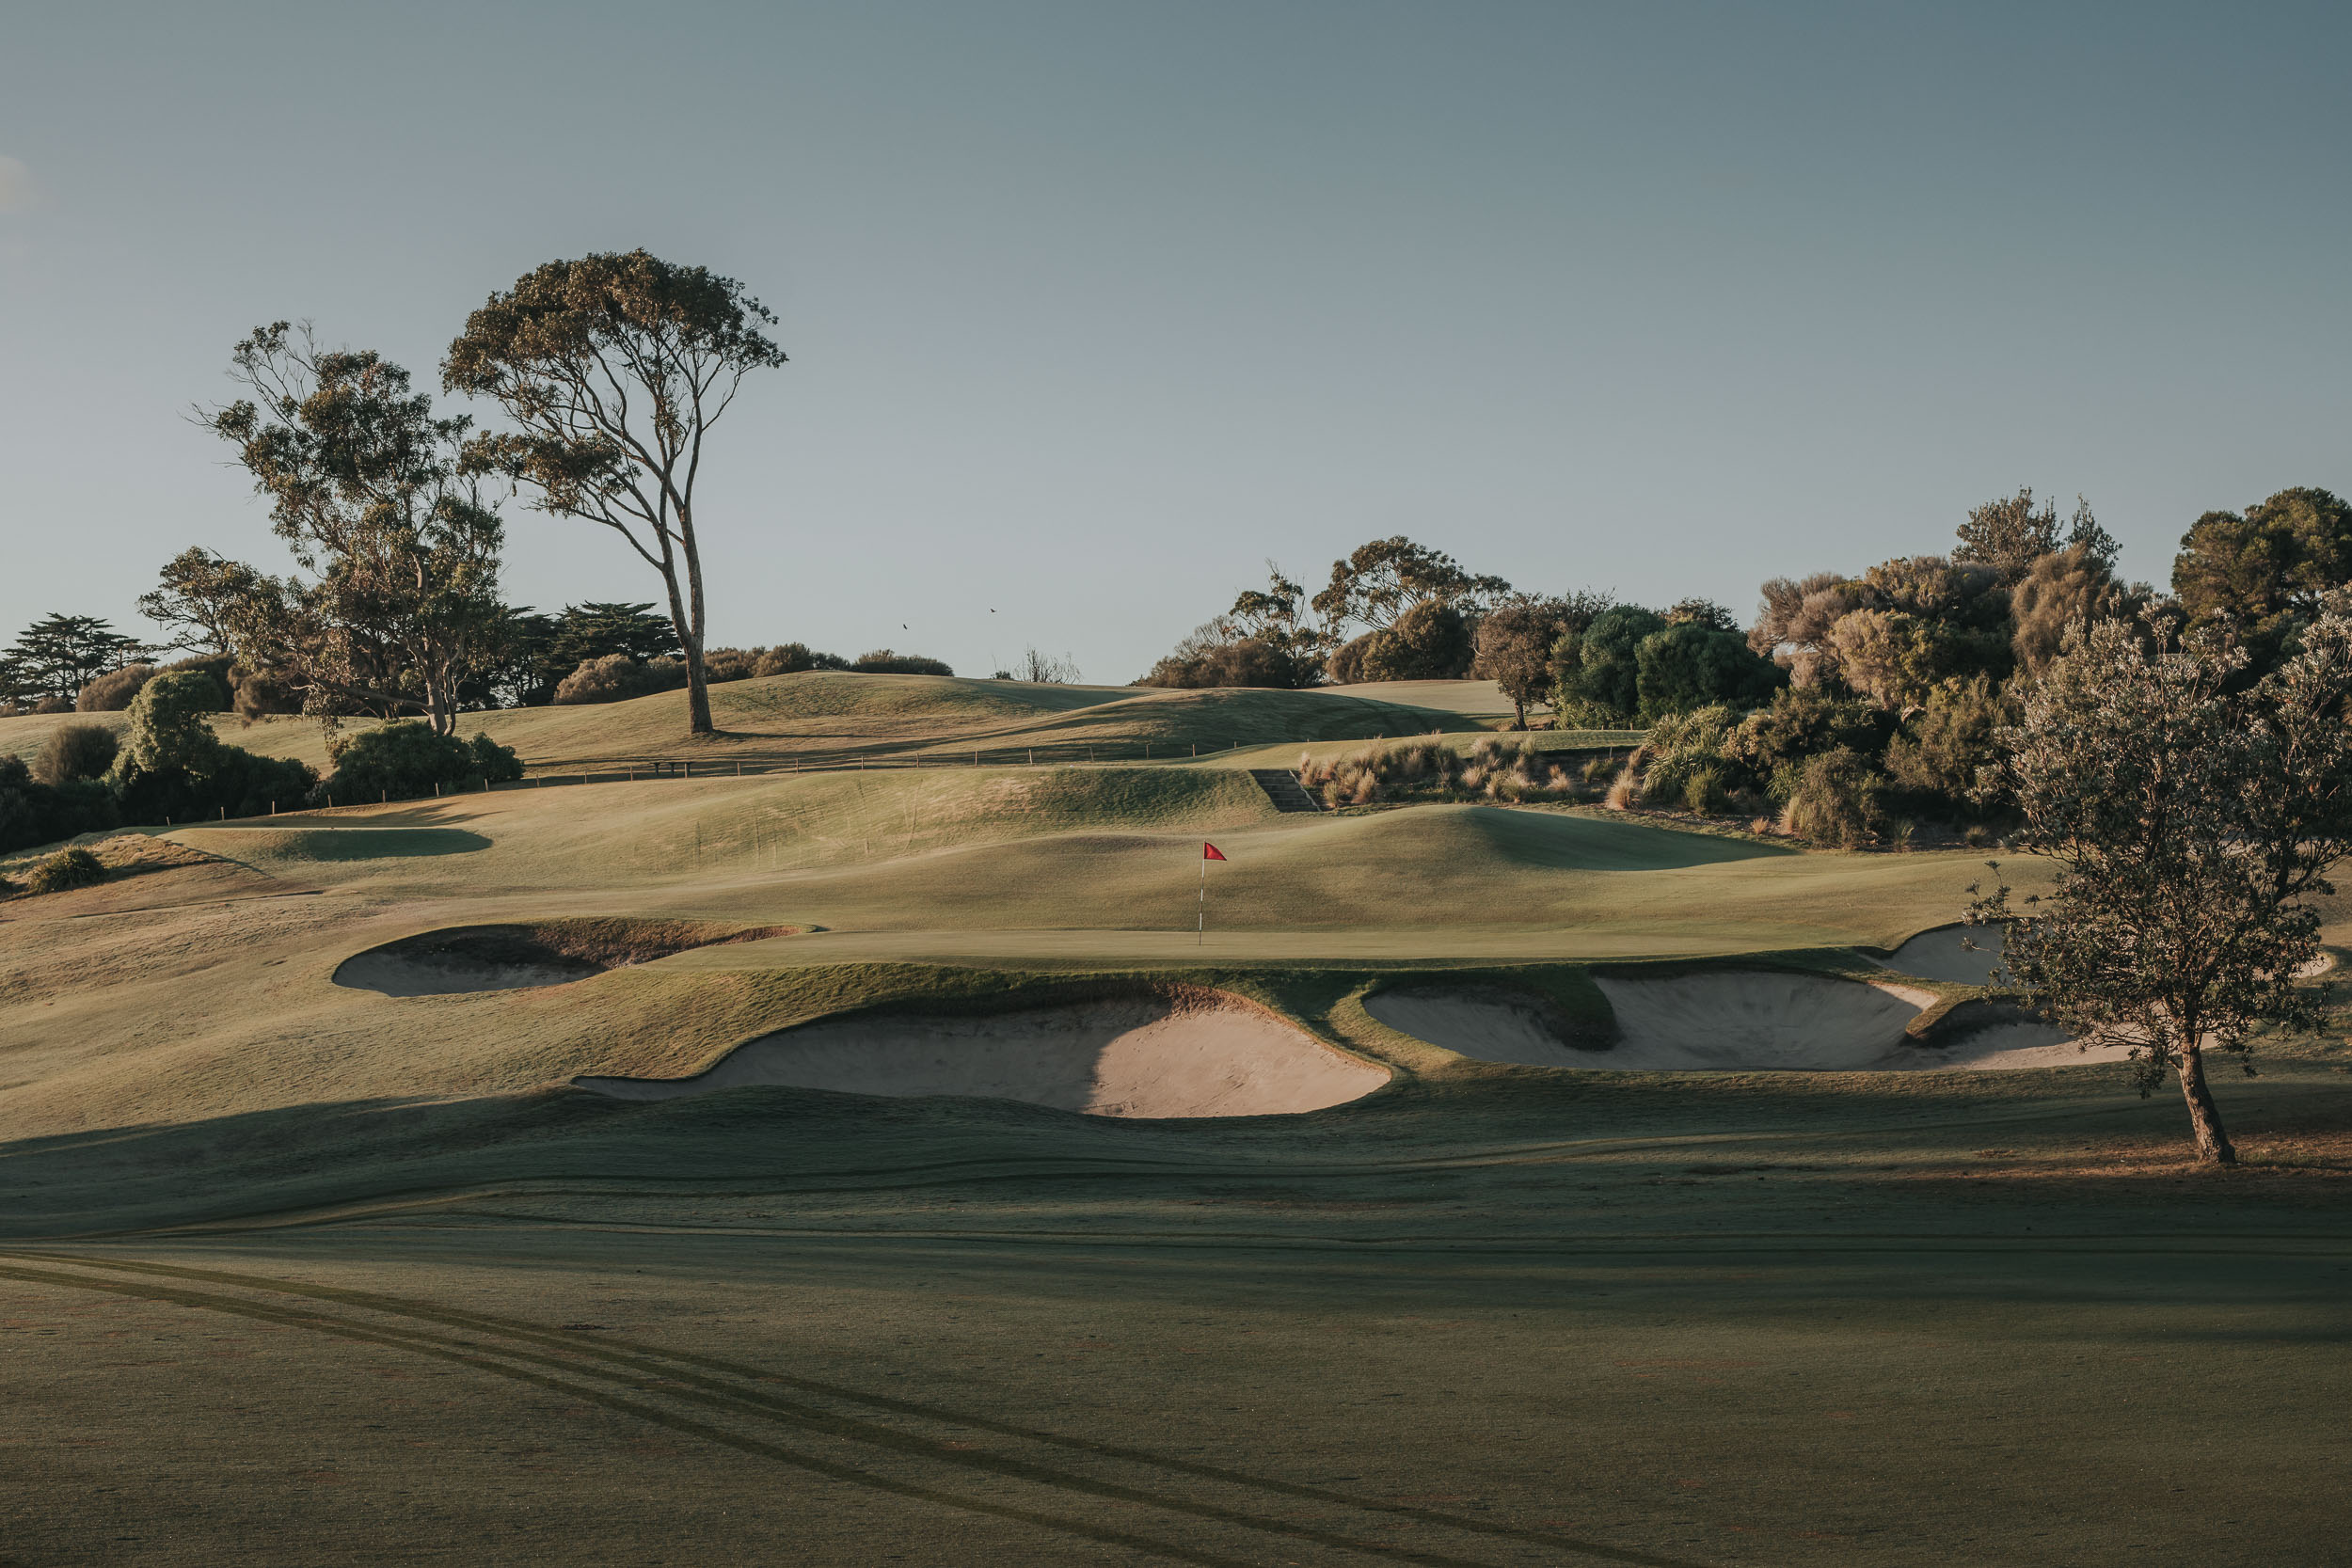
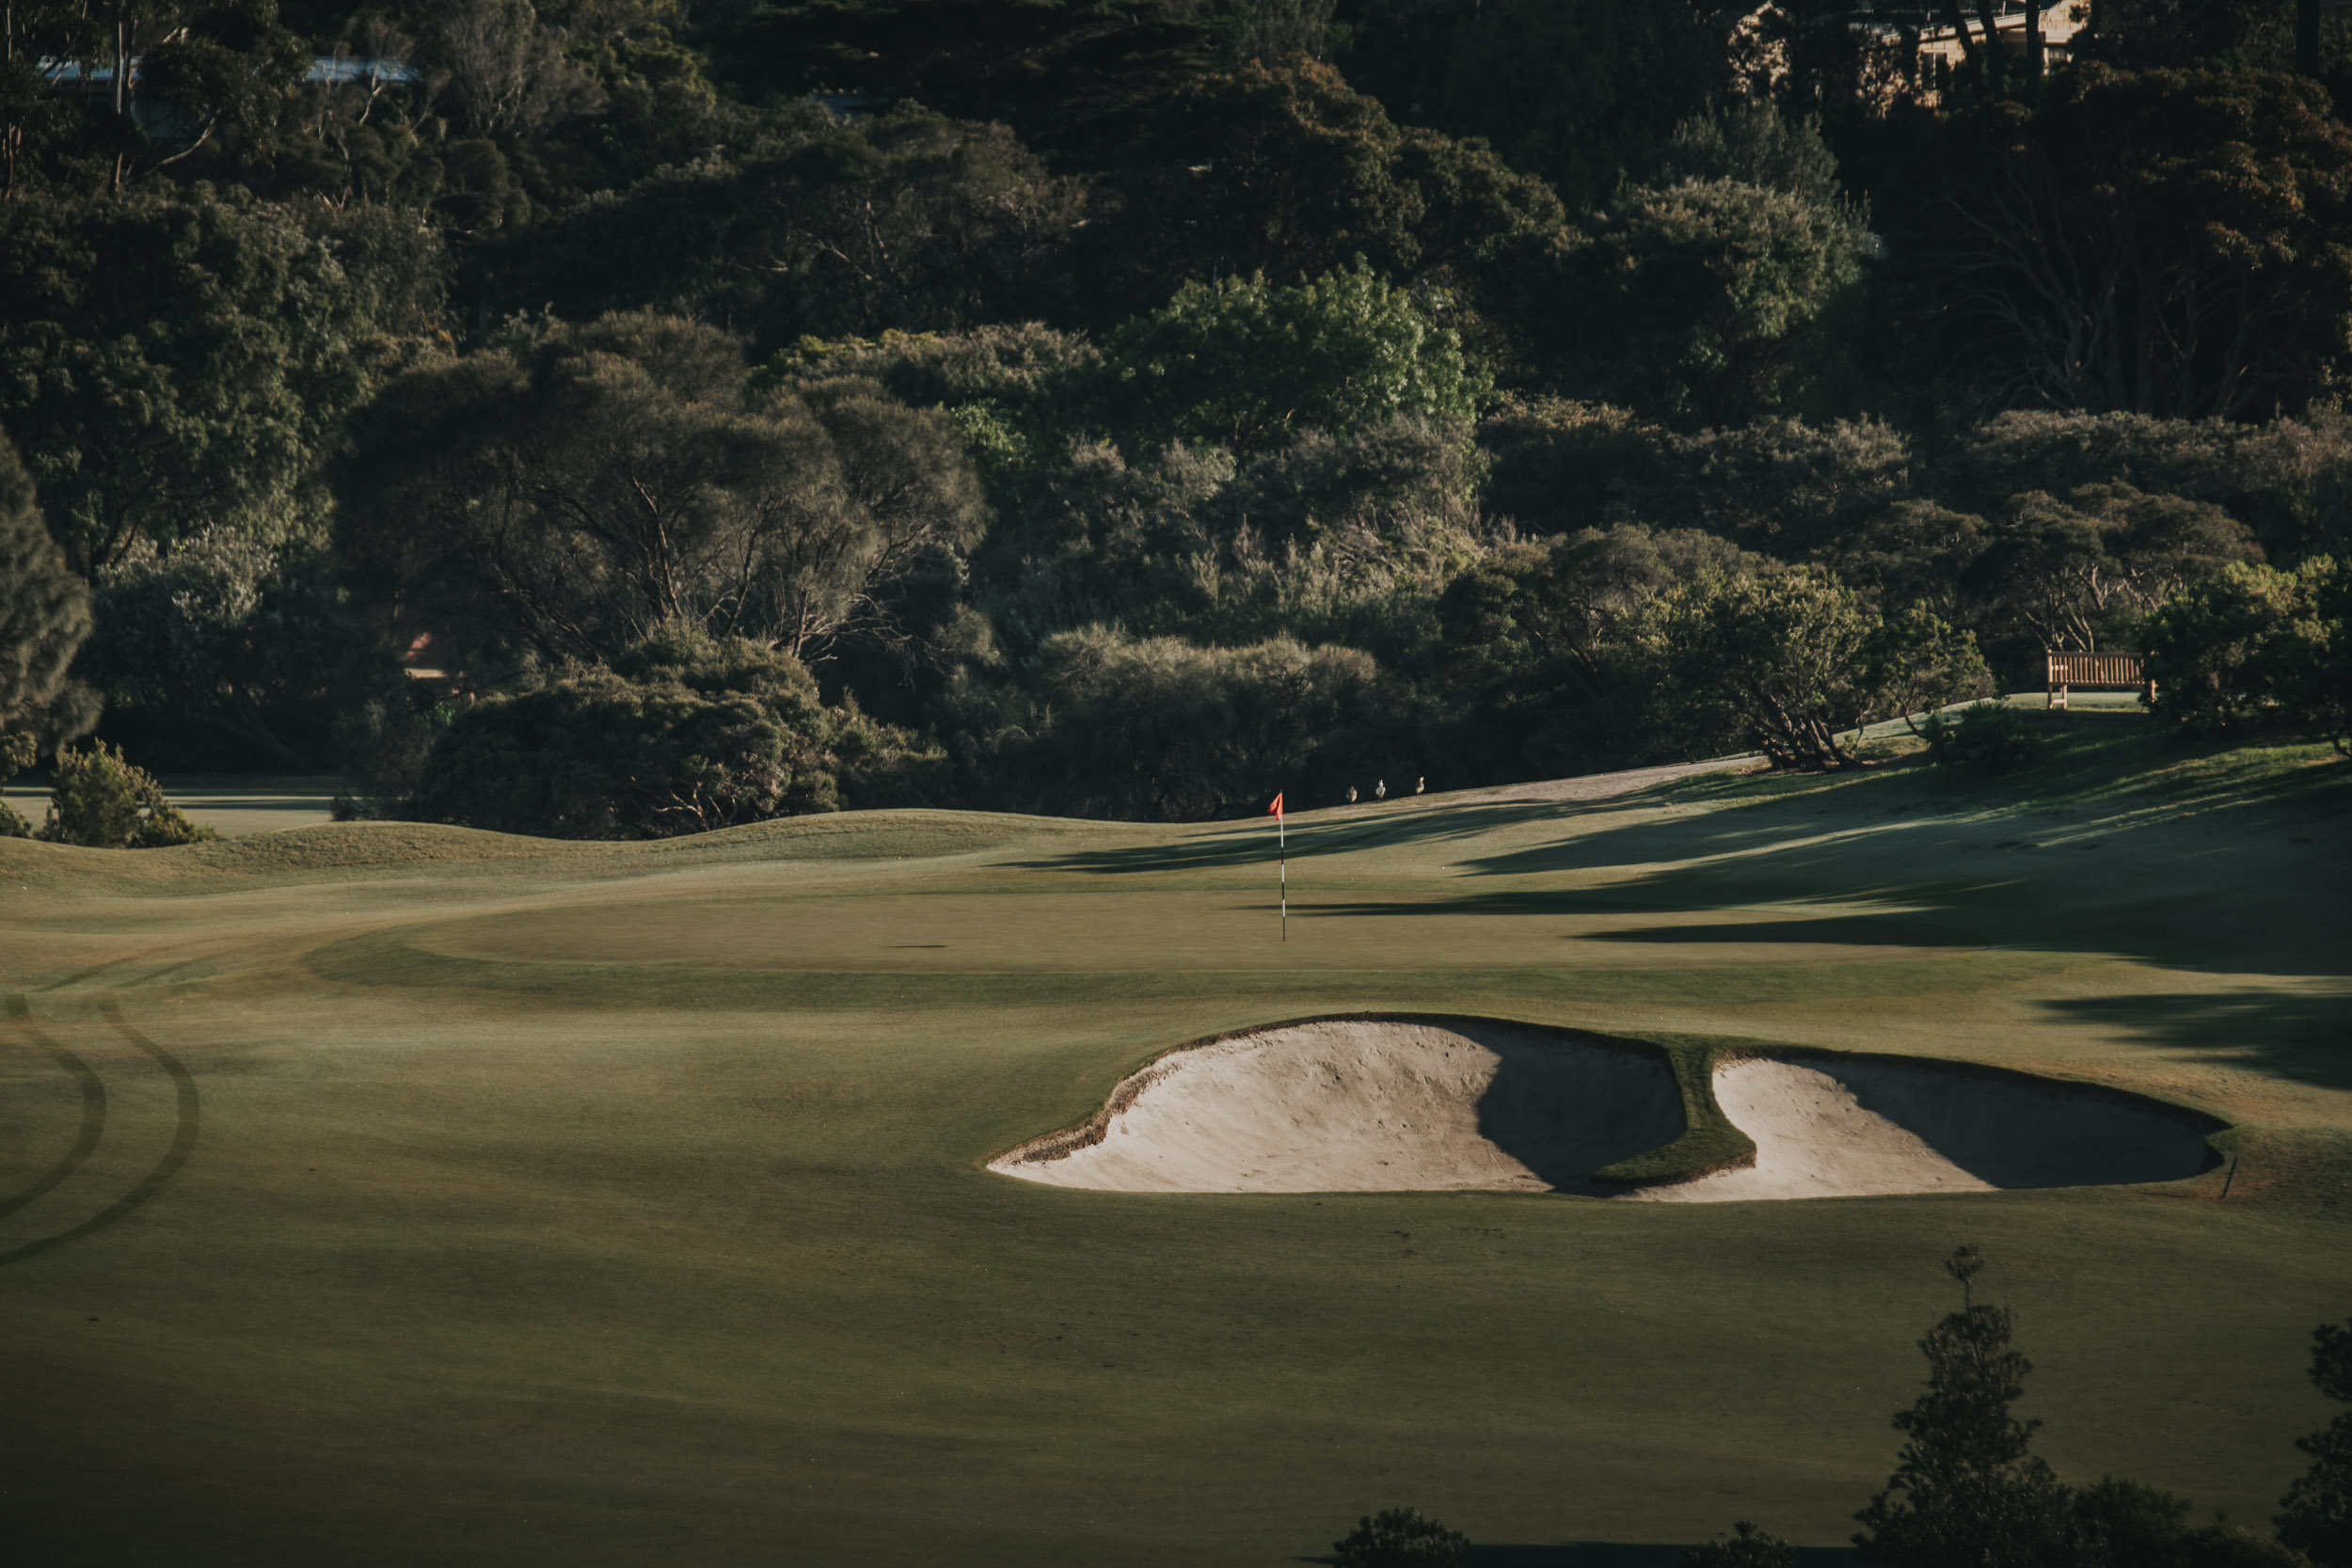
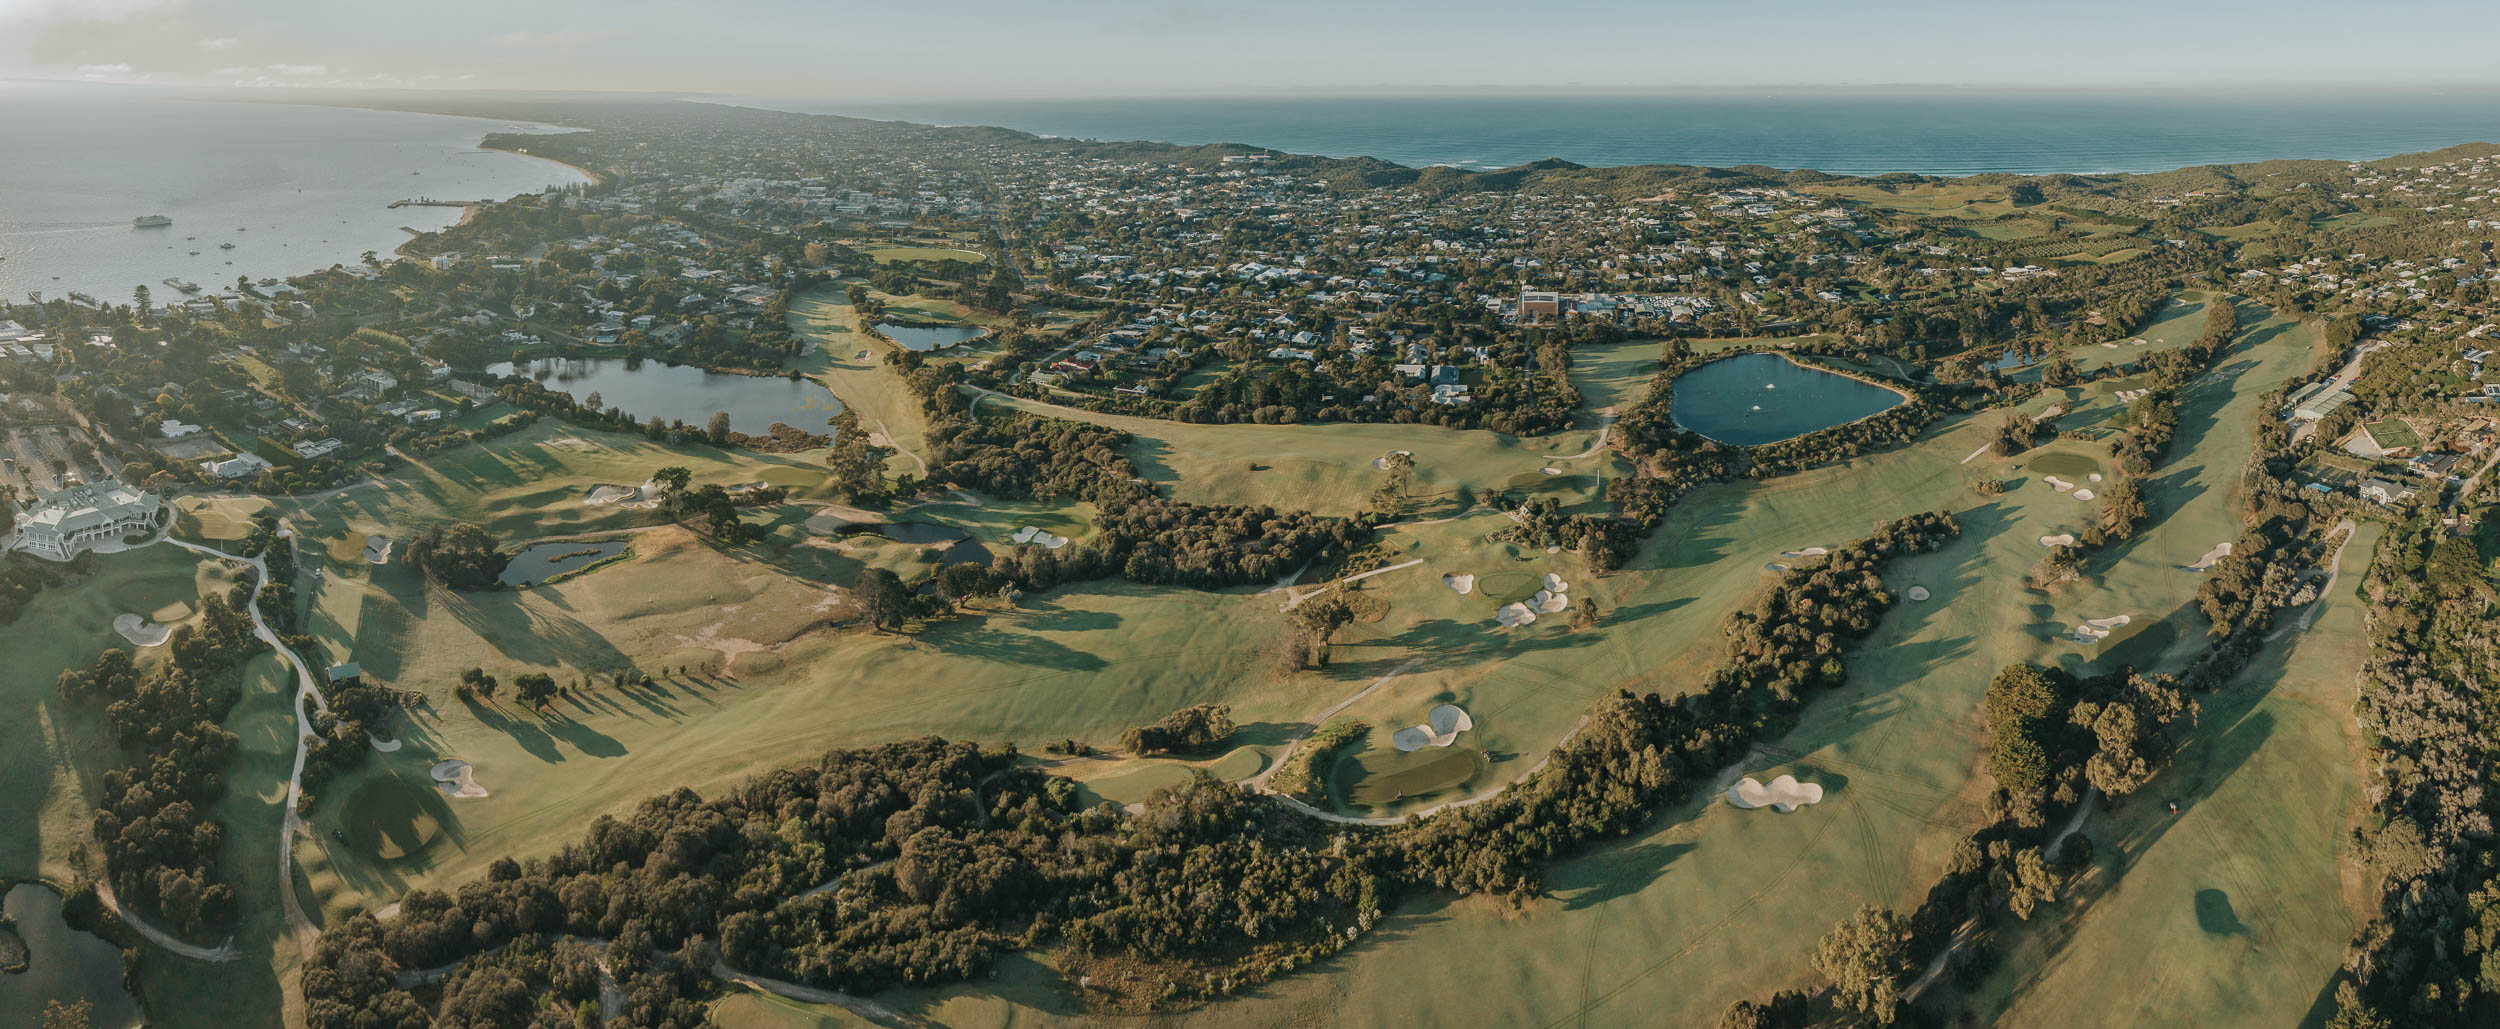
Our Course

About the Course

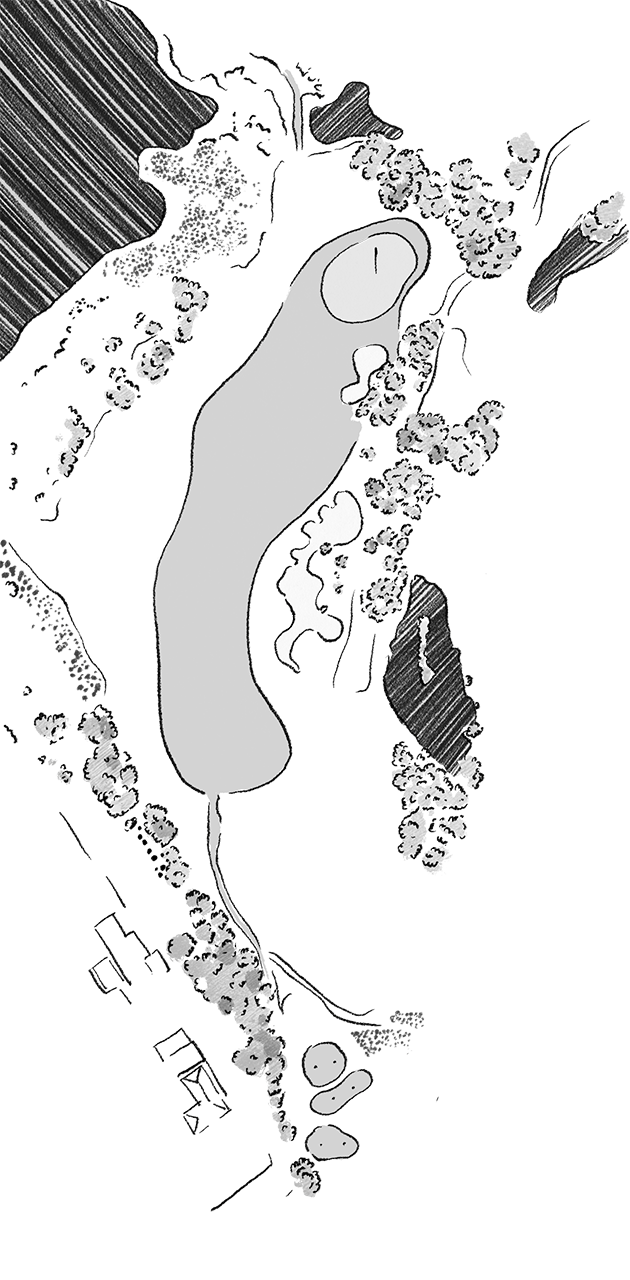
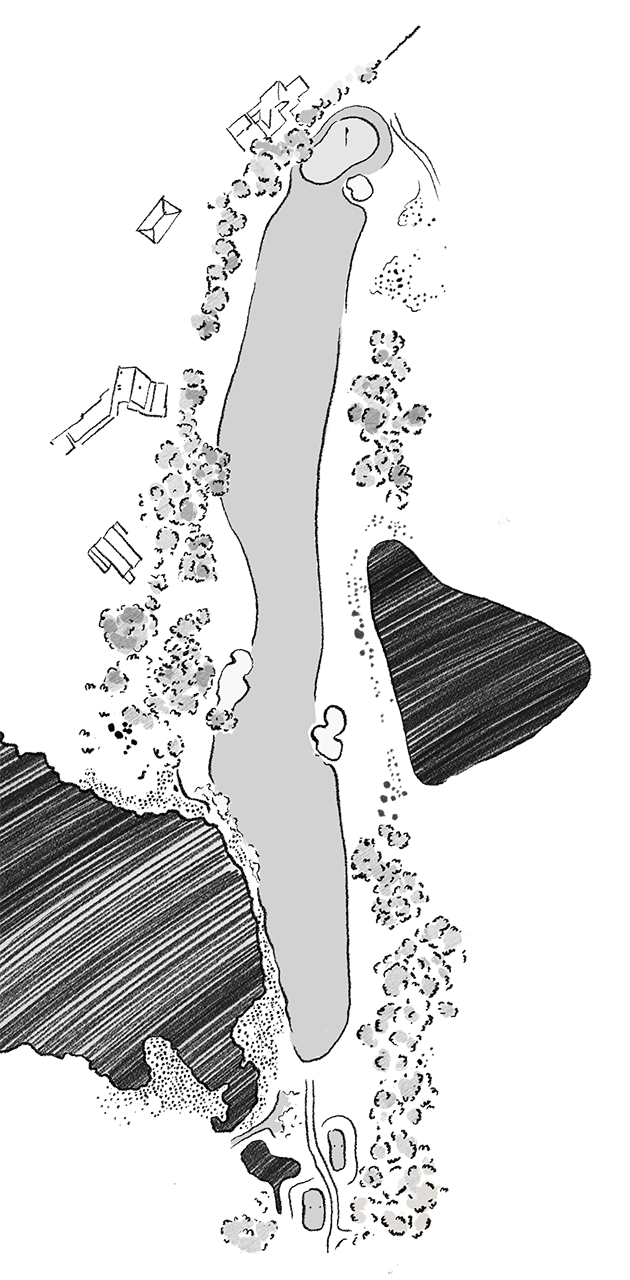
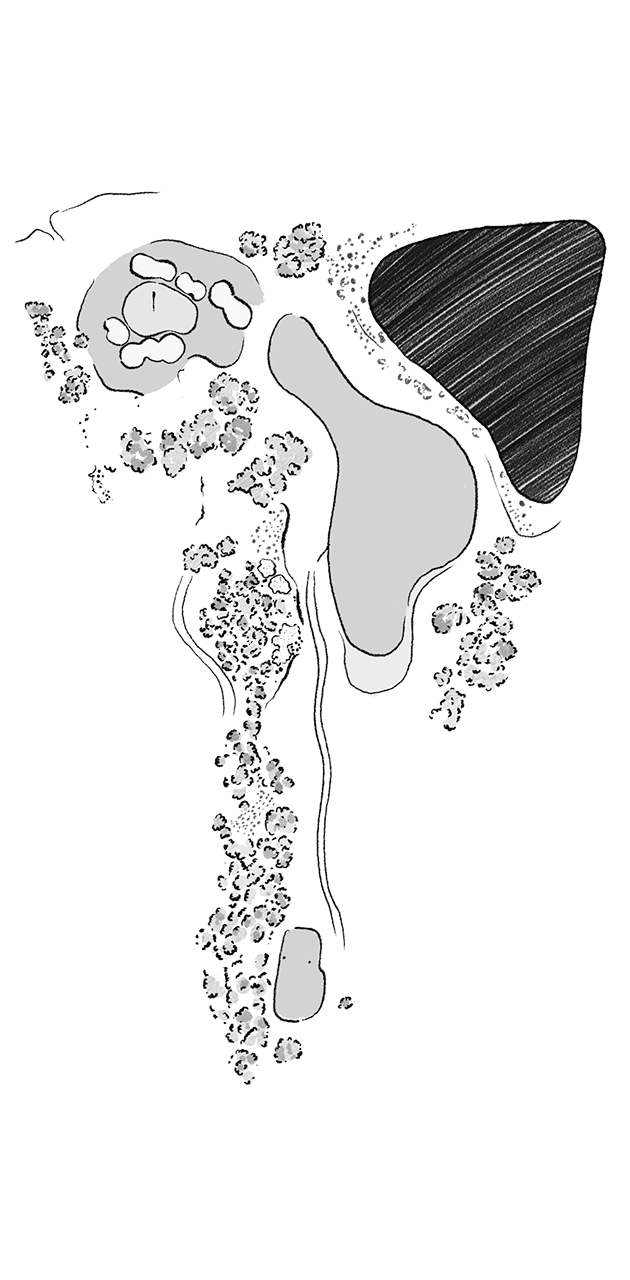
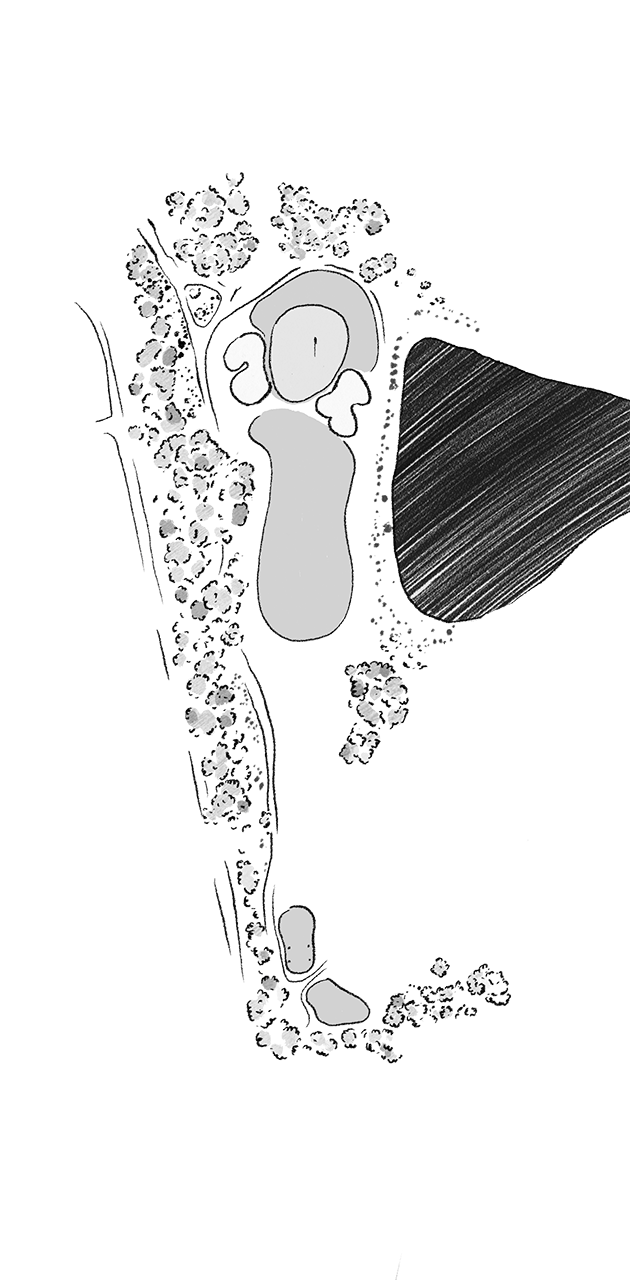
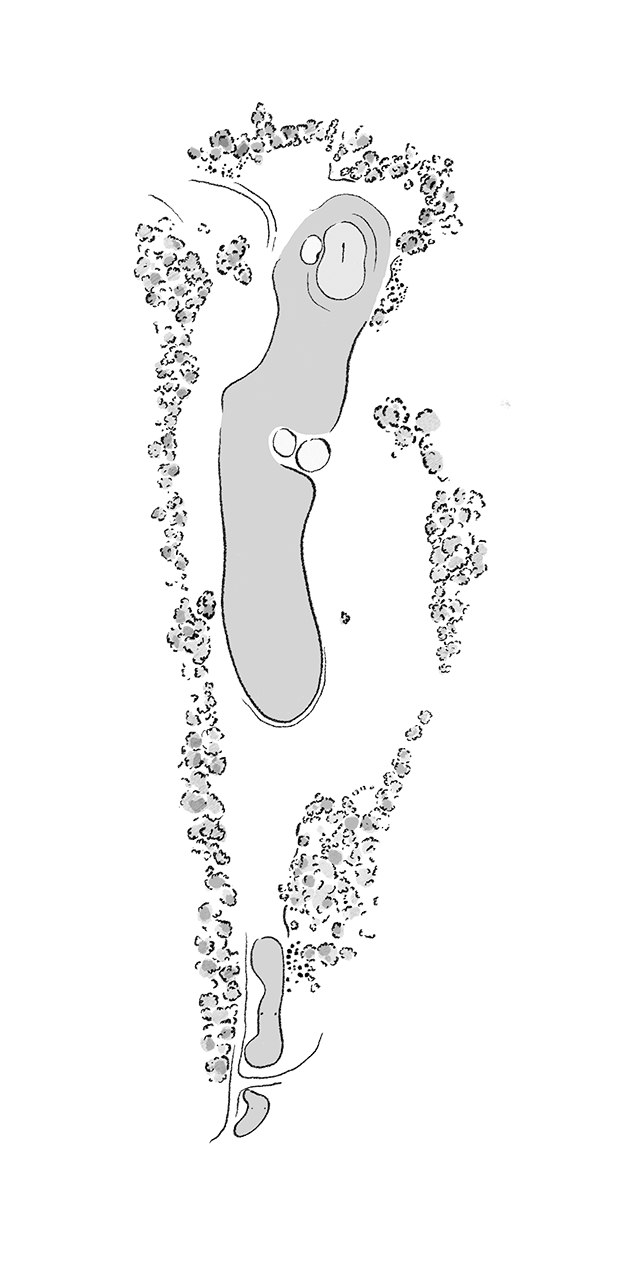
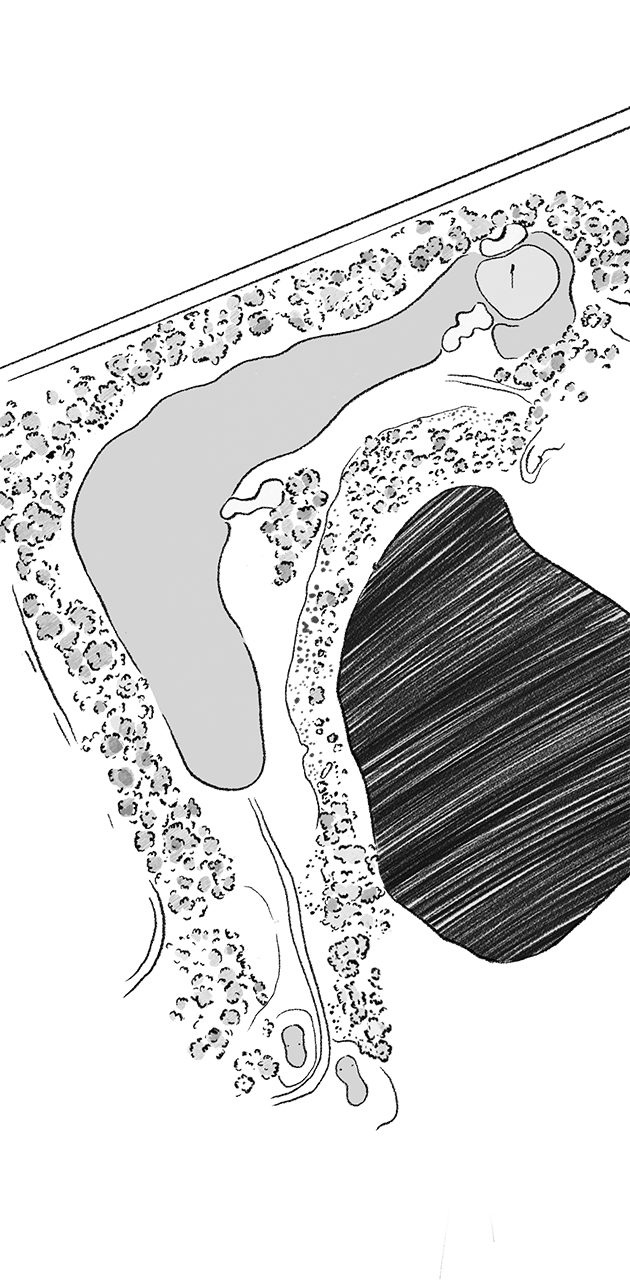
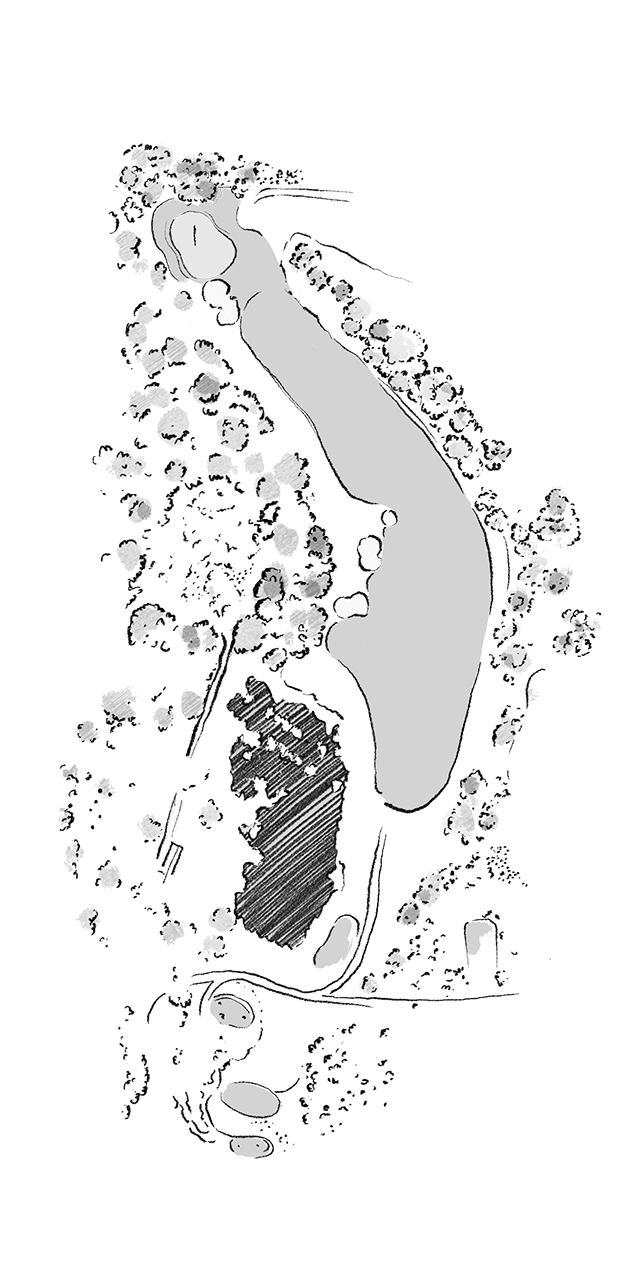
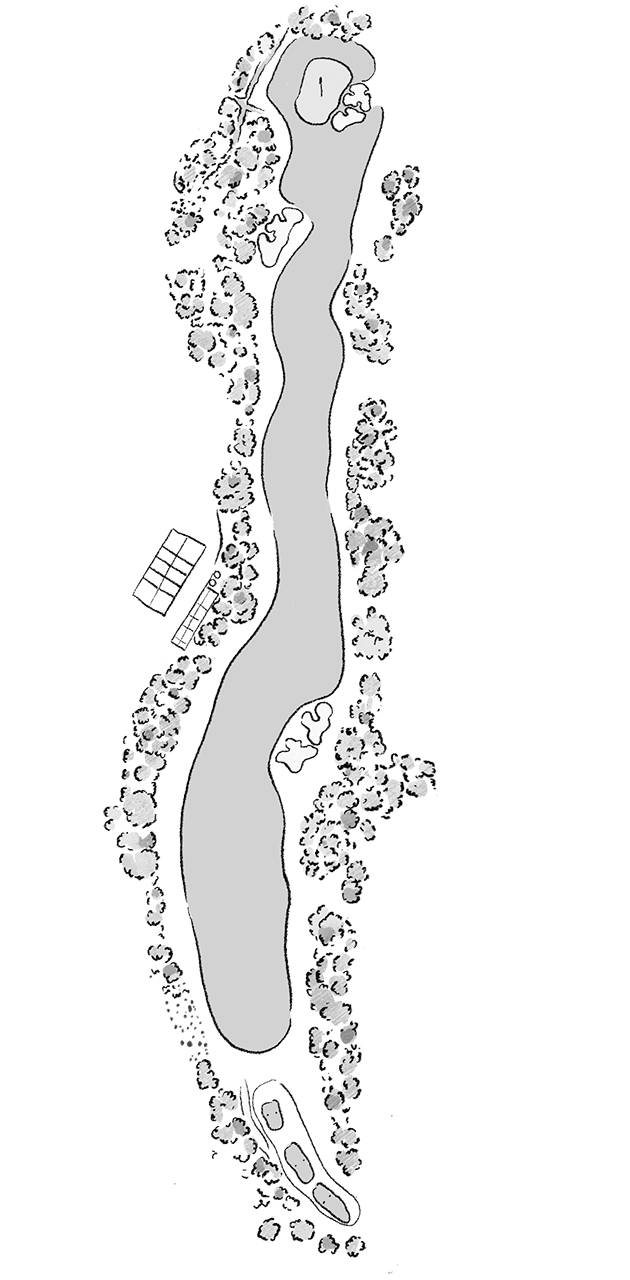
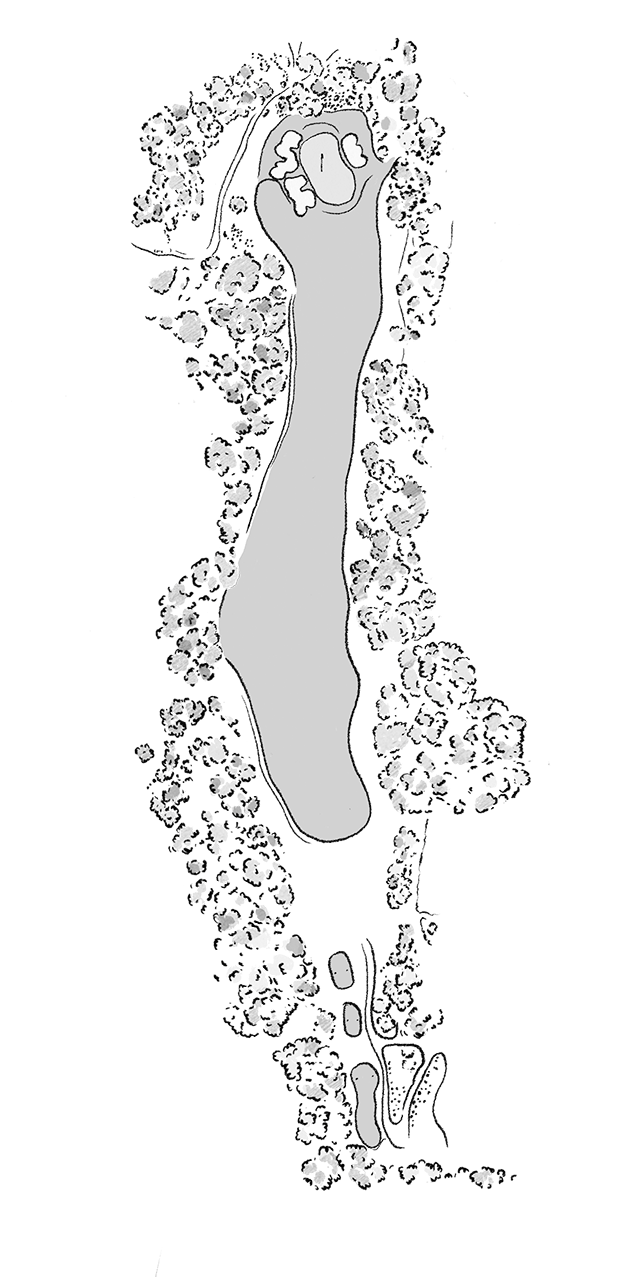
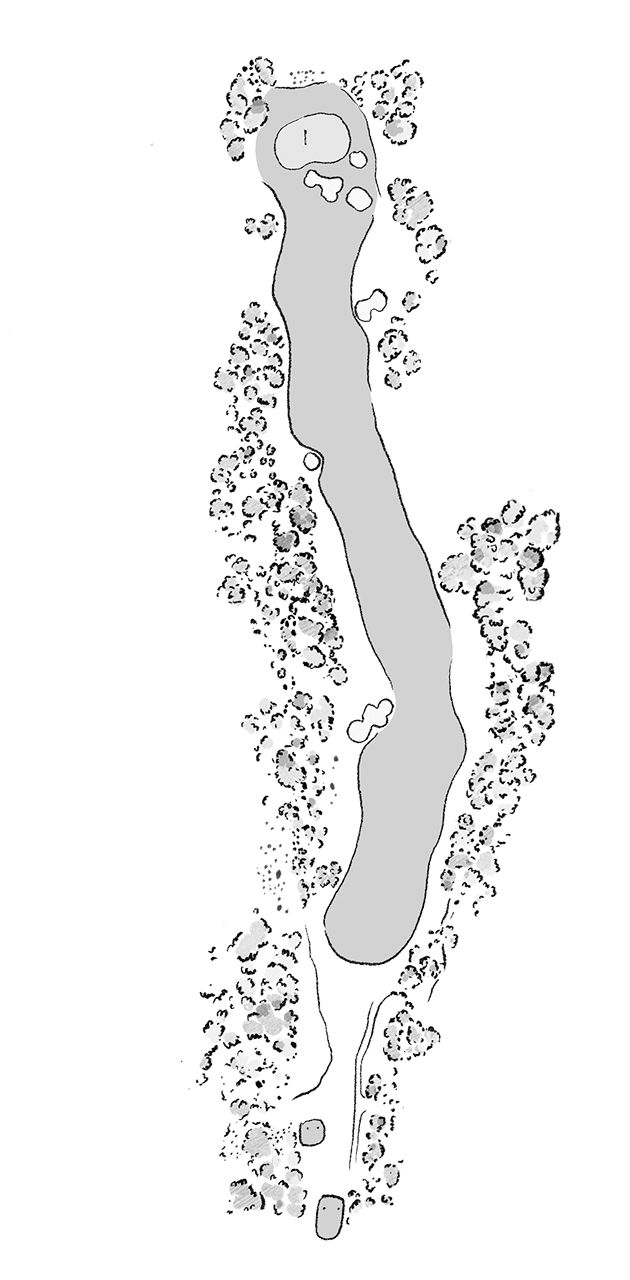
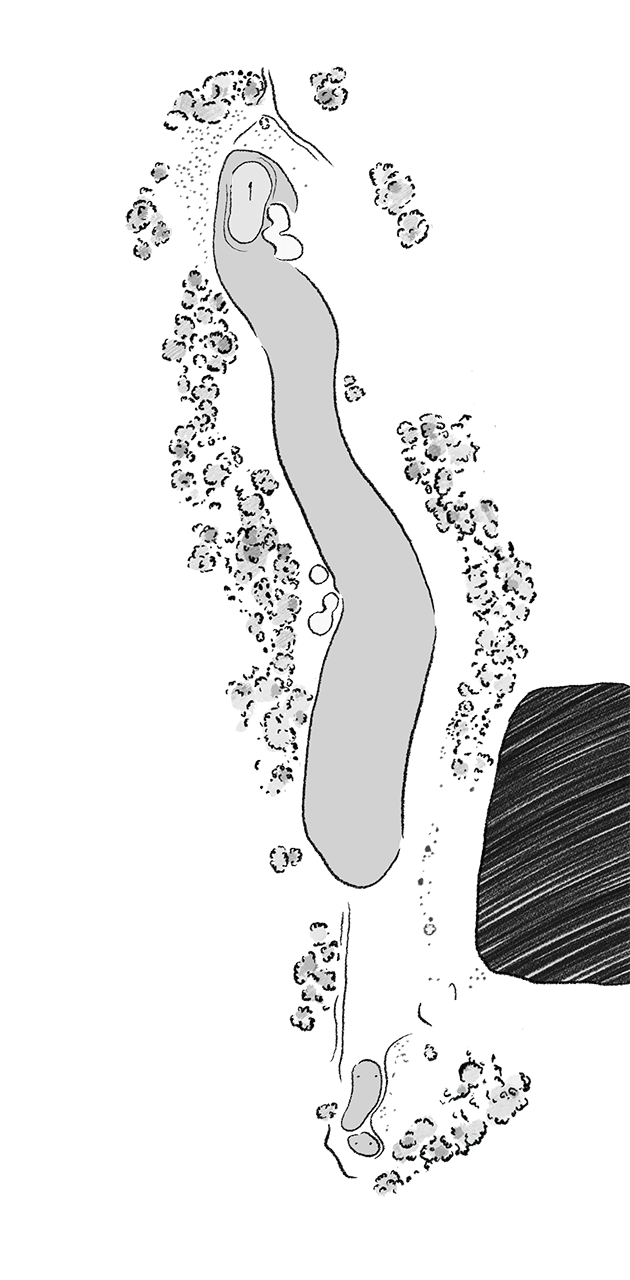
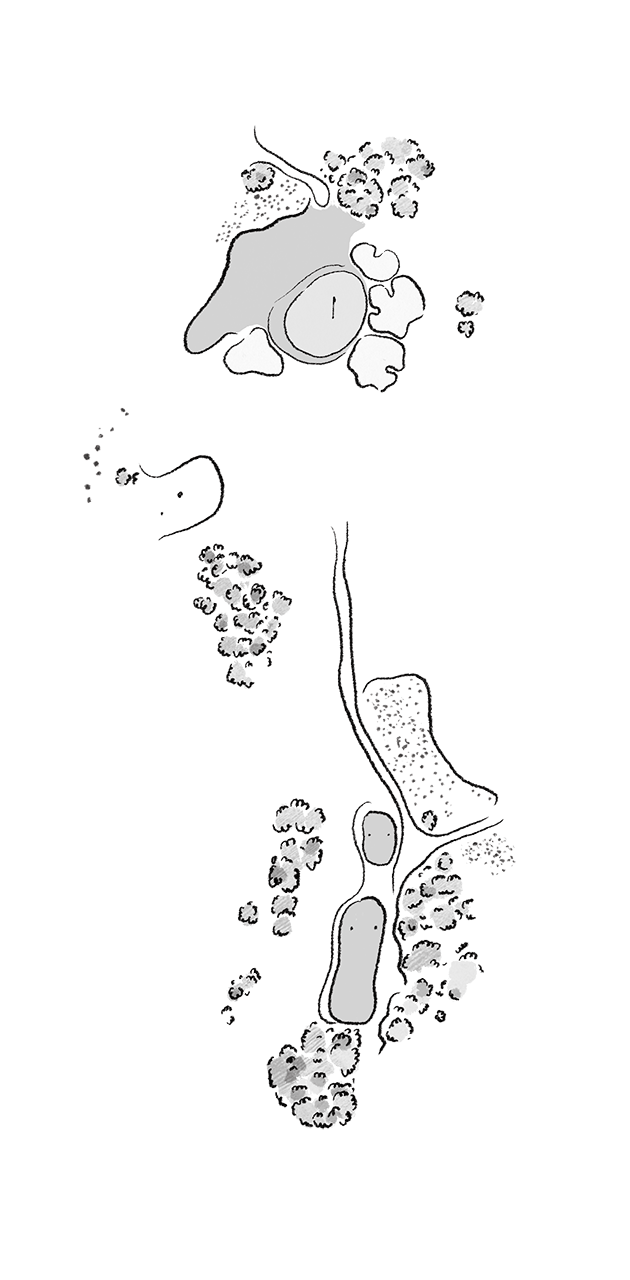
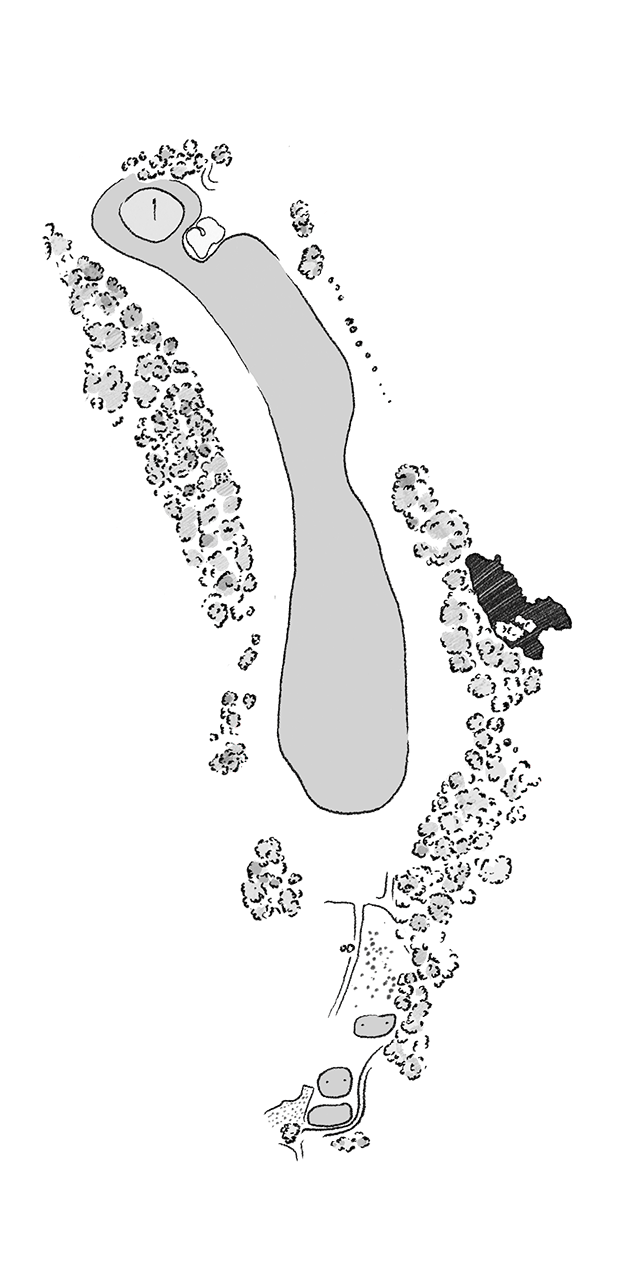
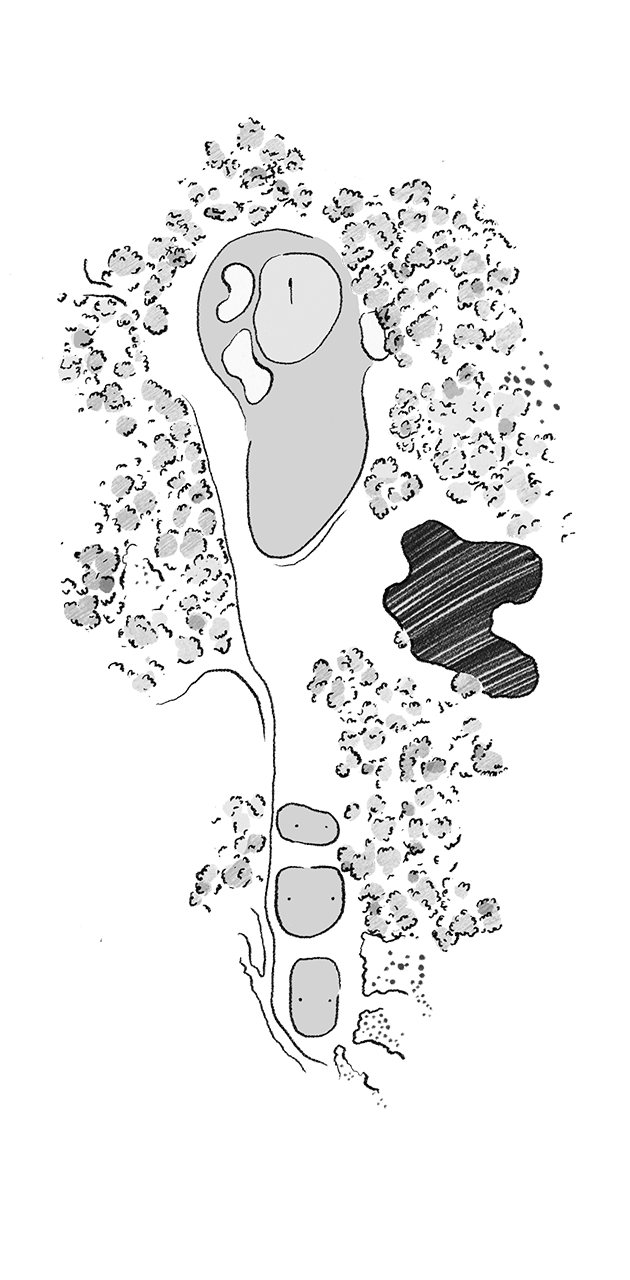
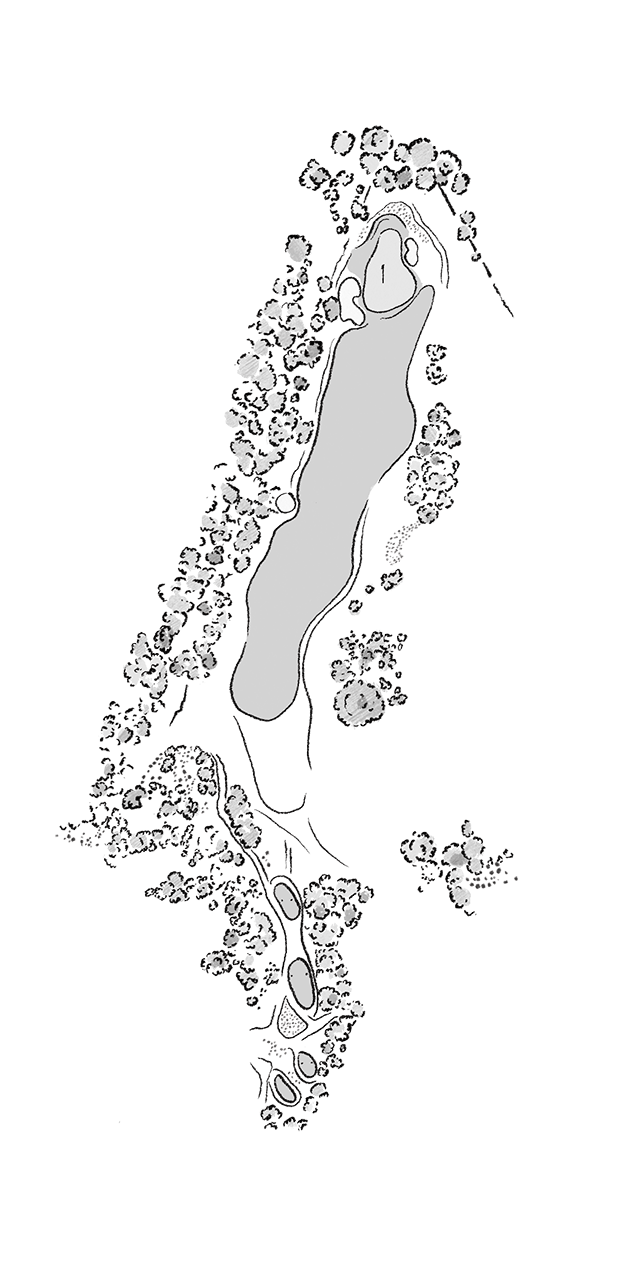
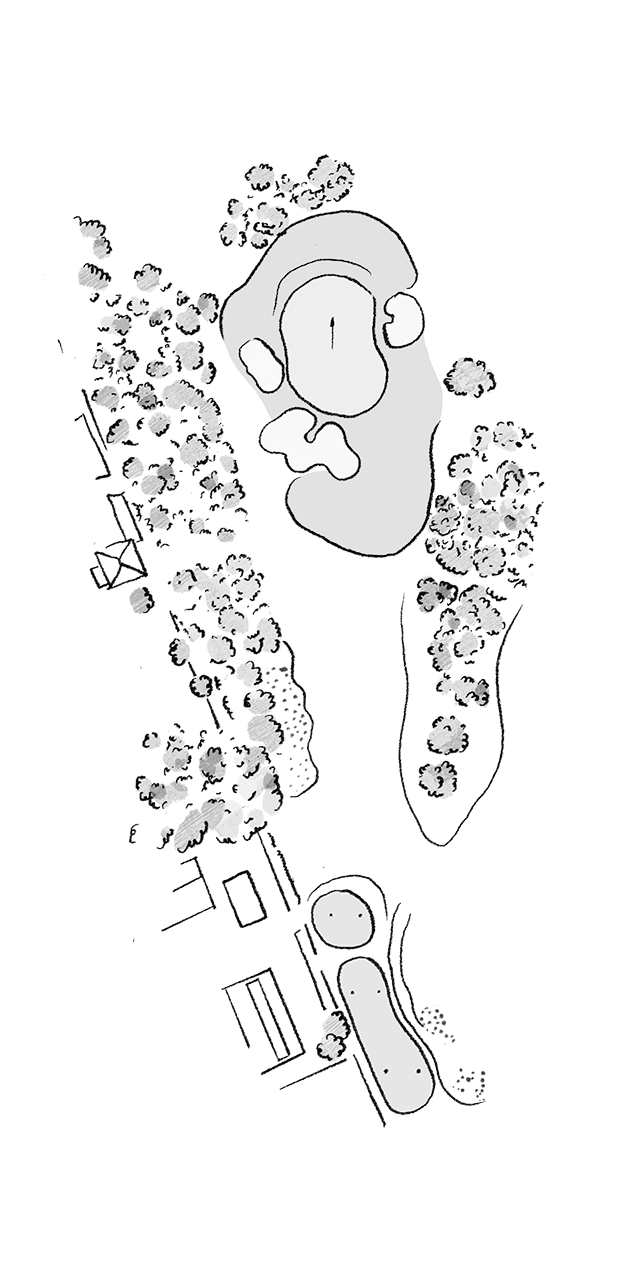
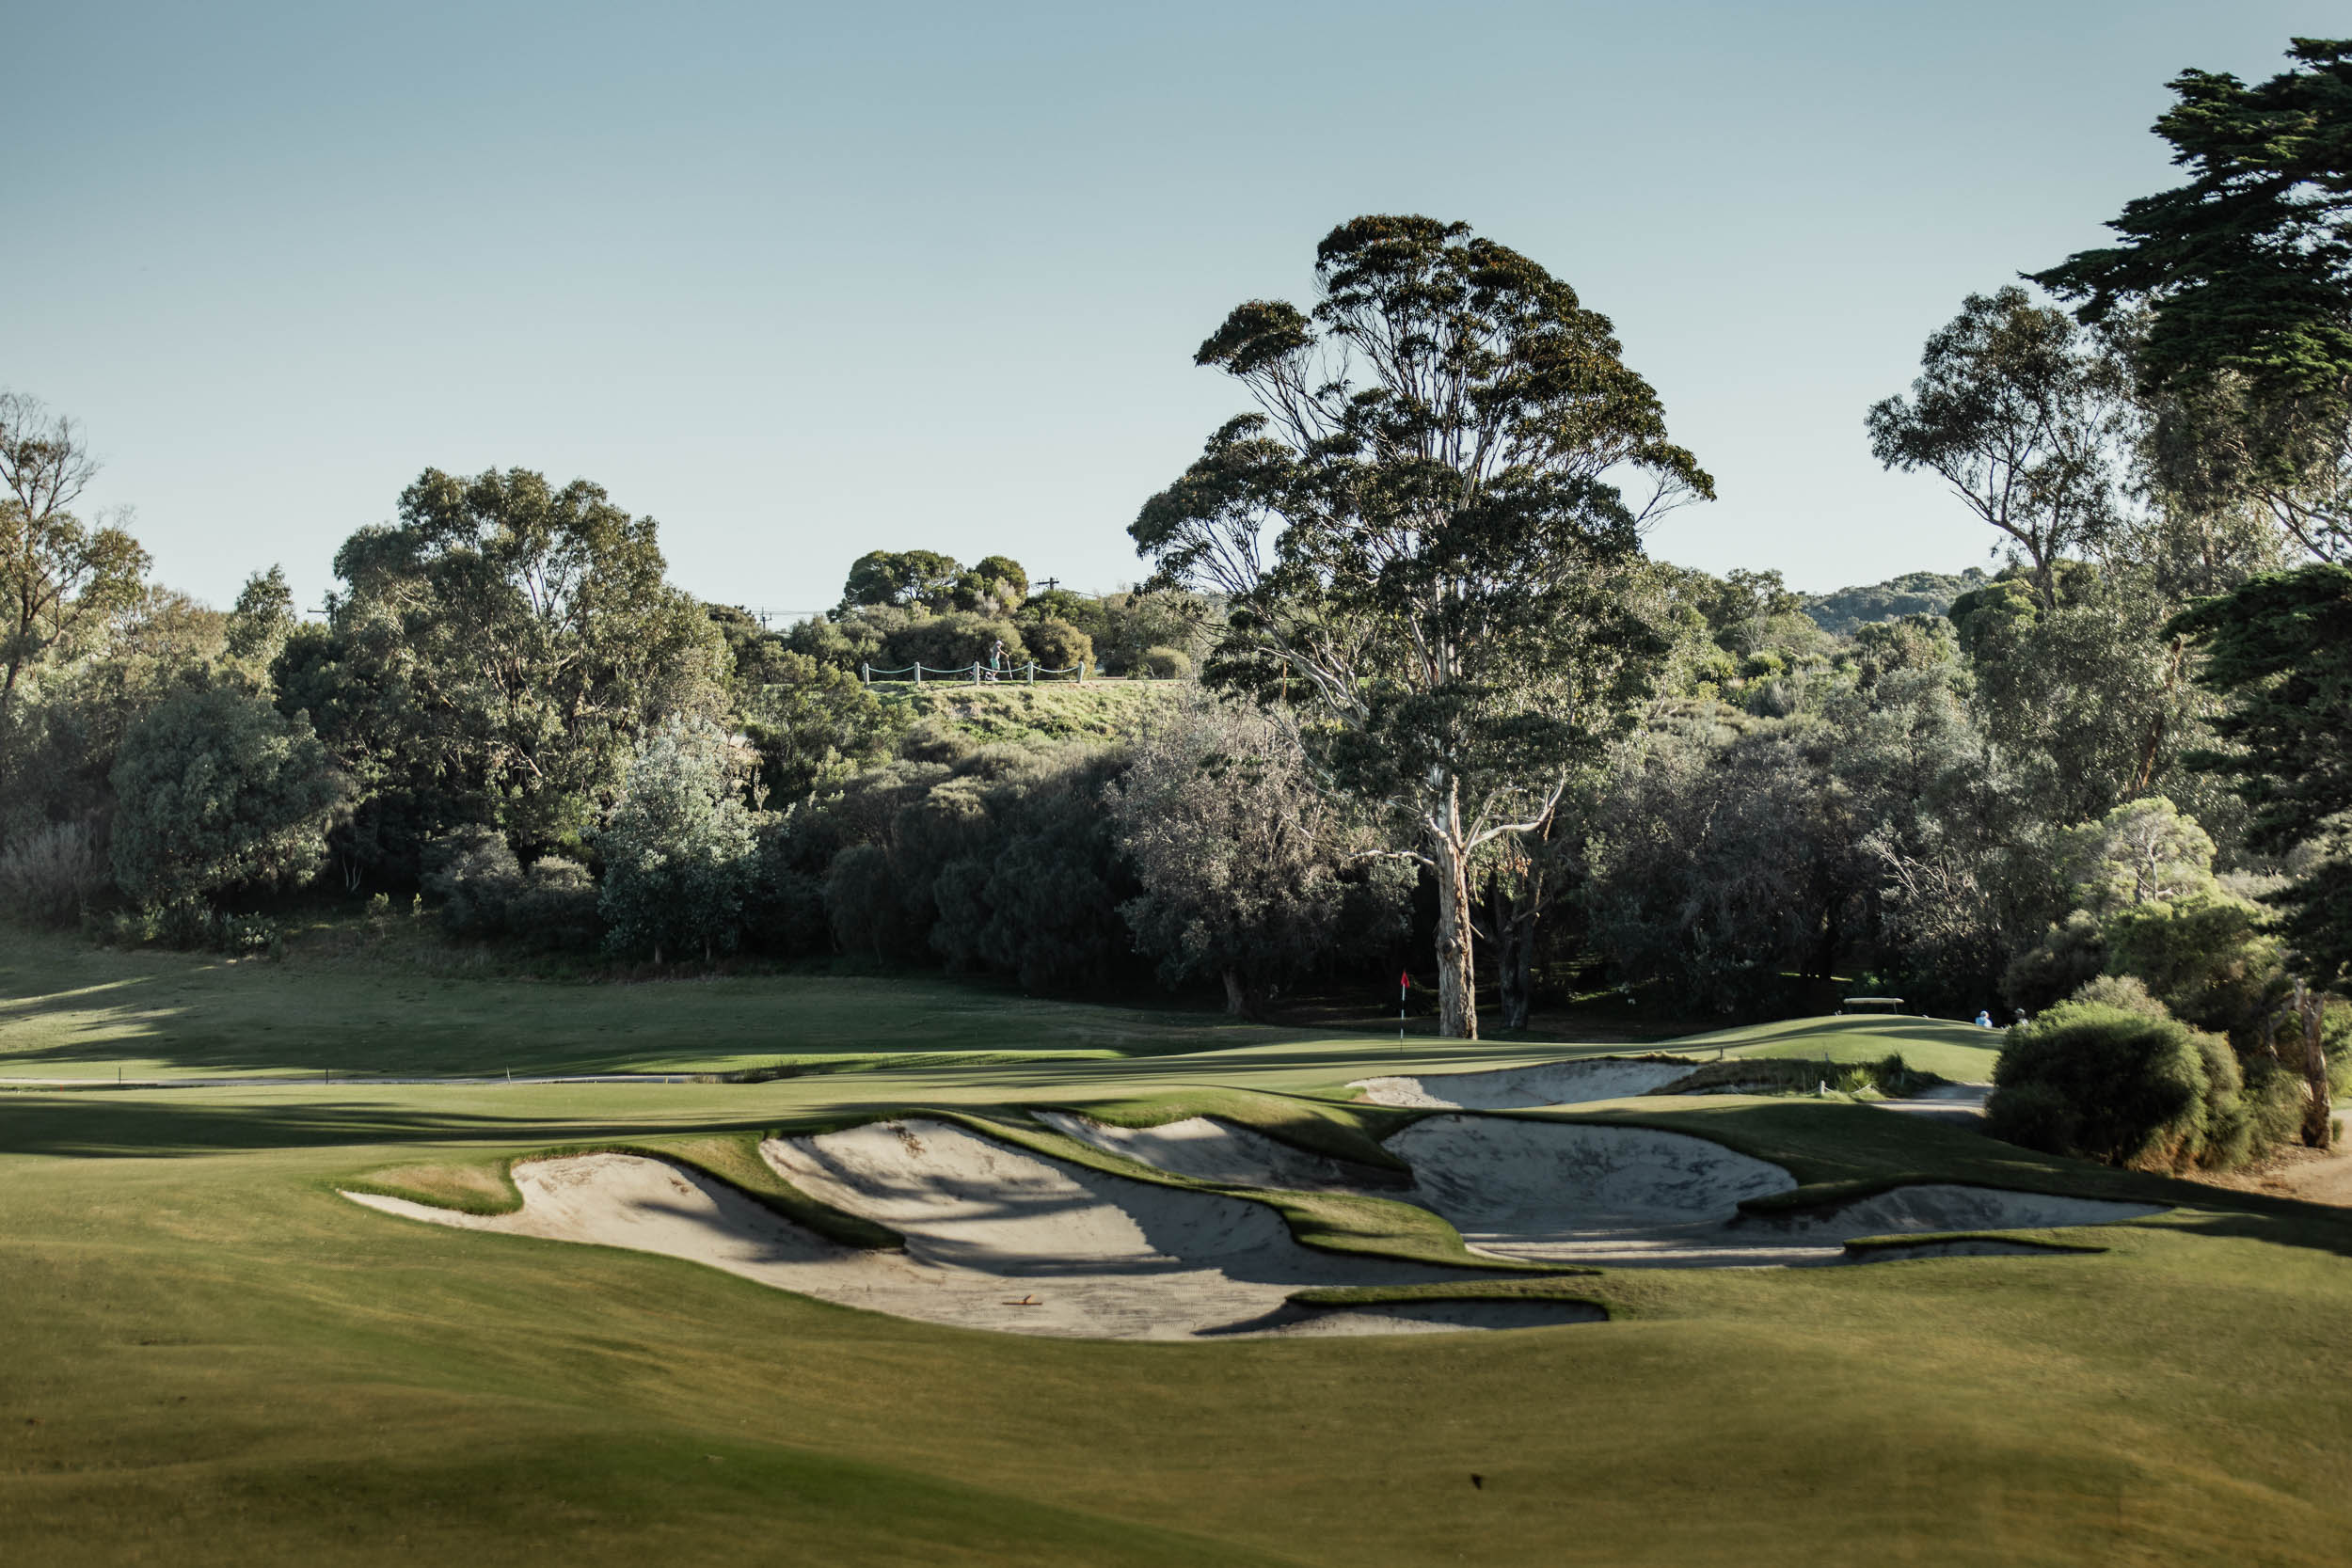
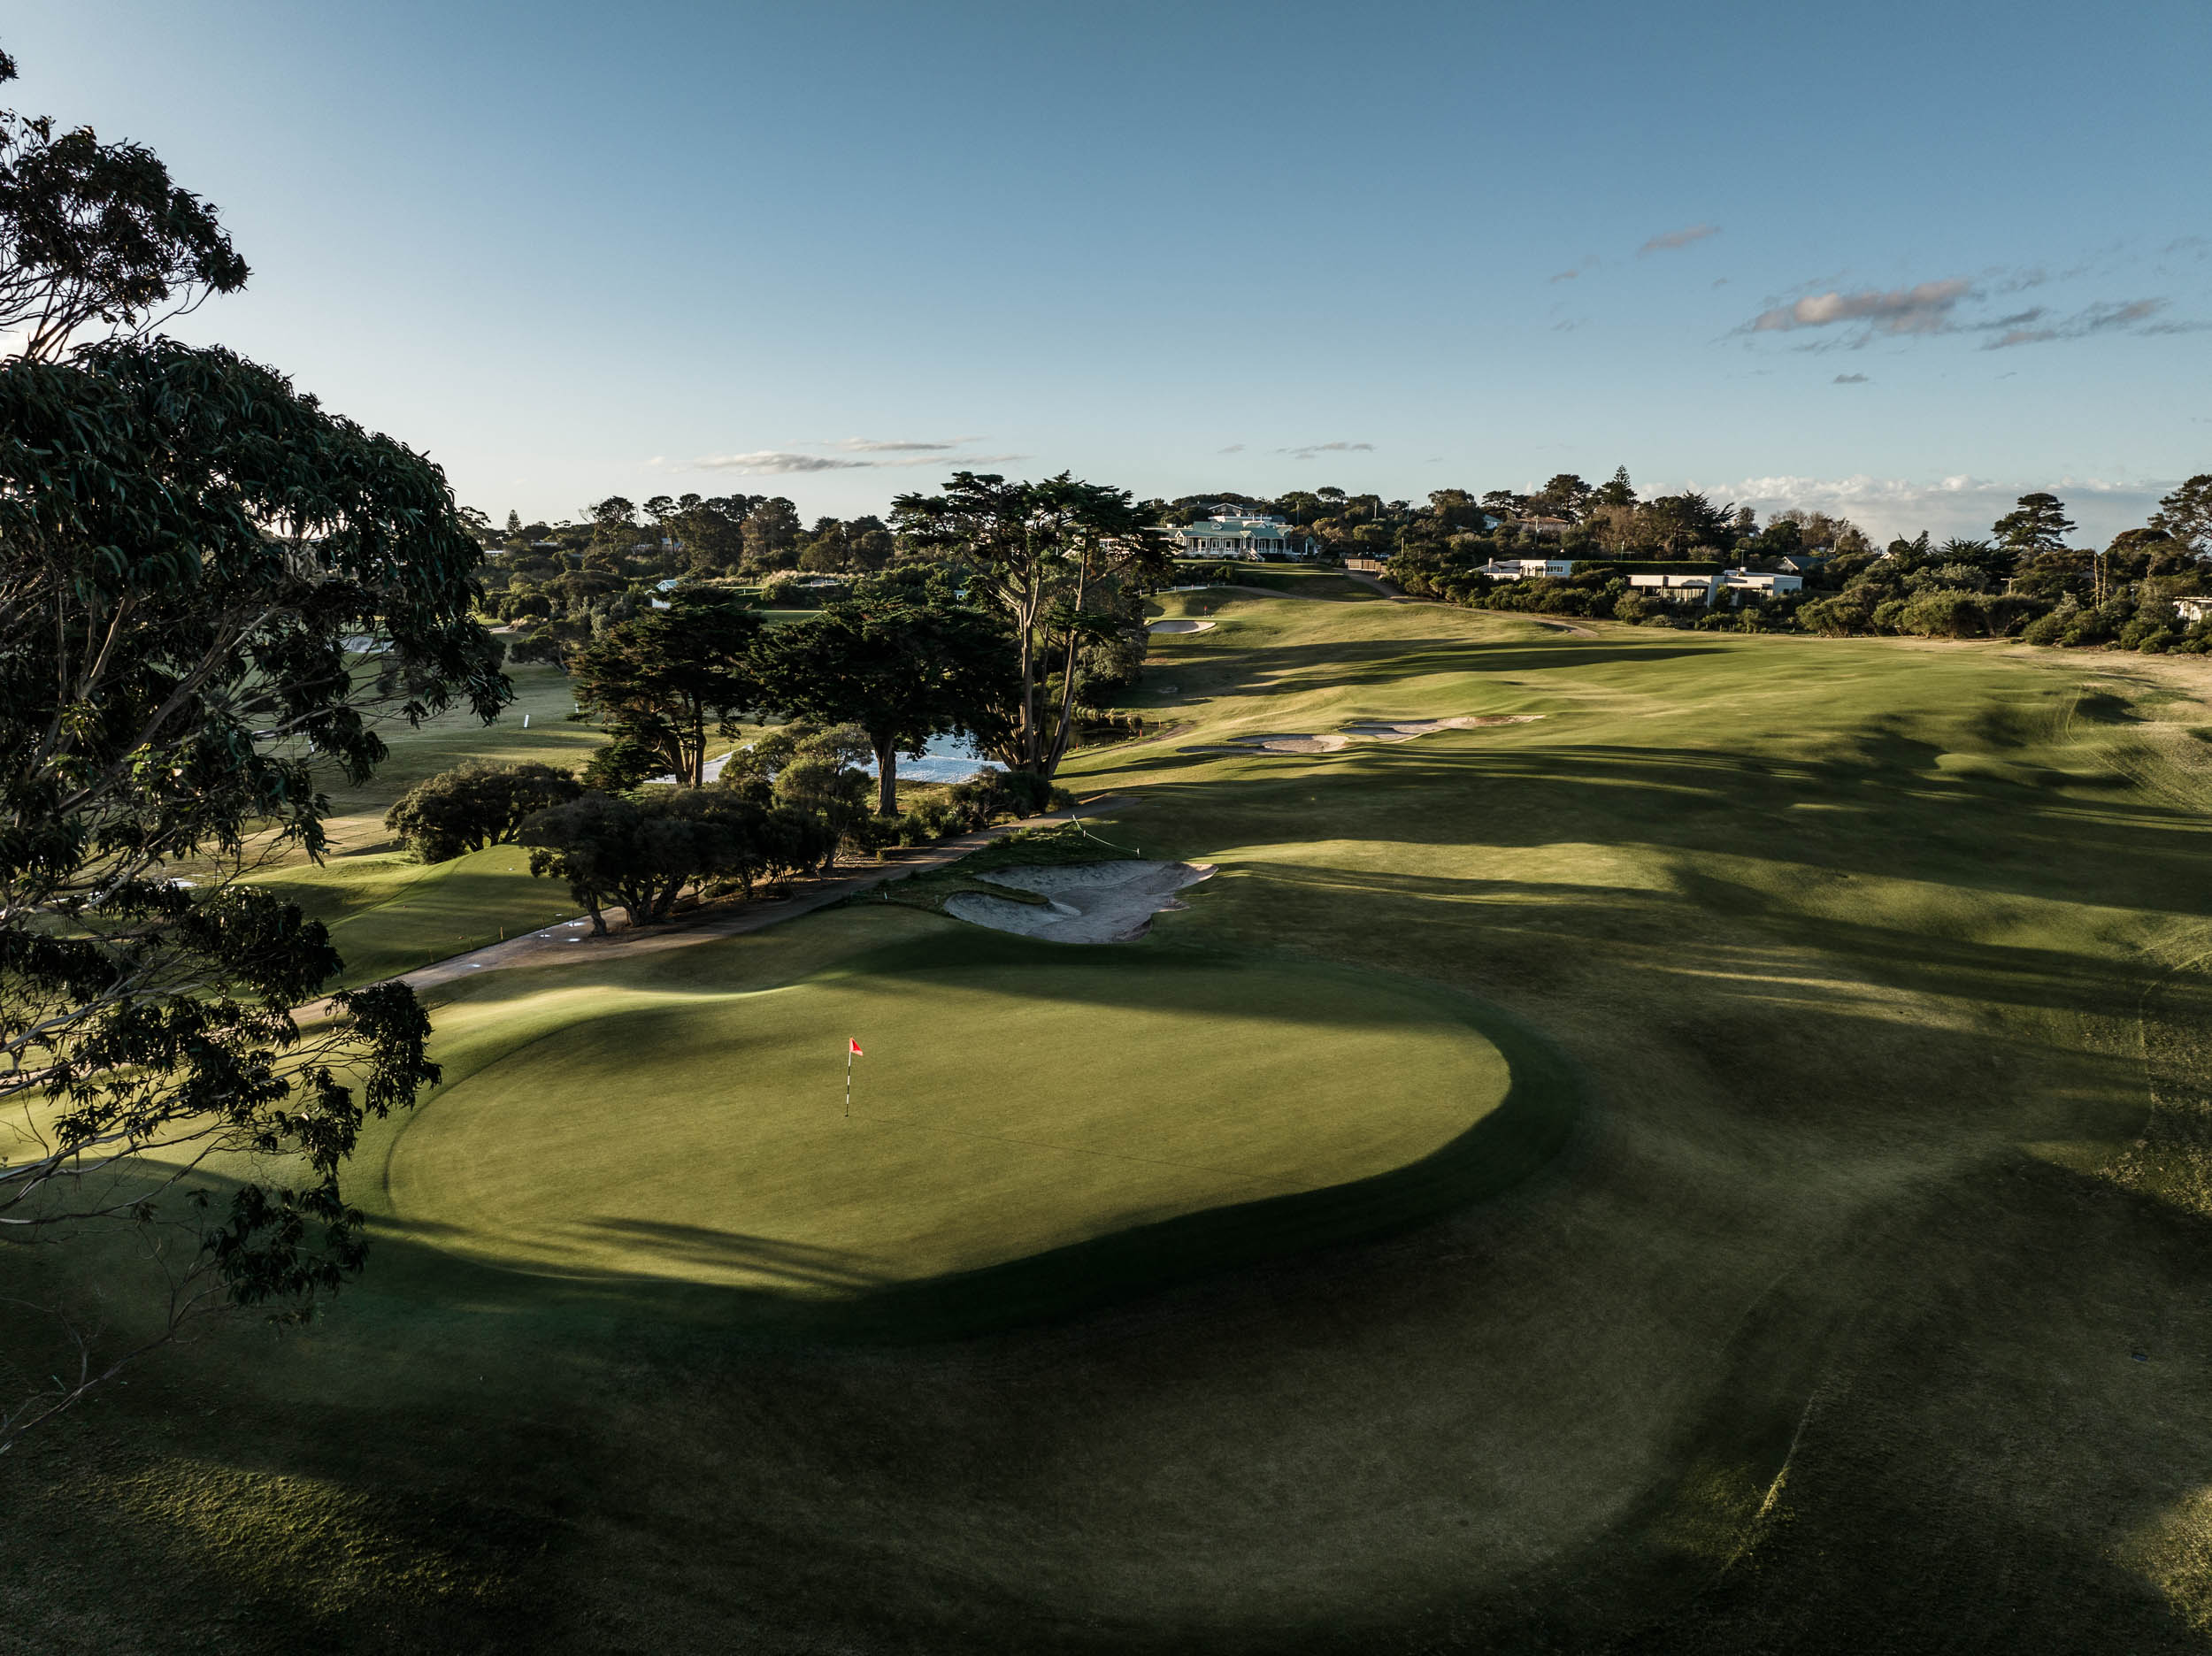
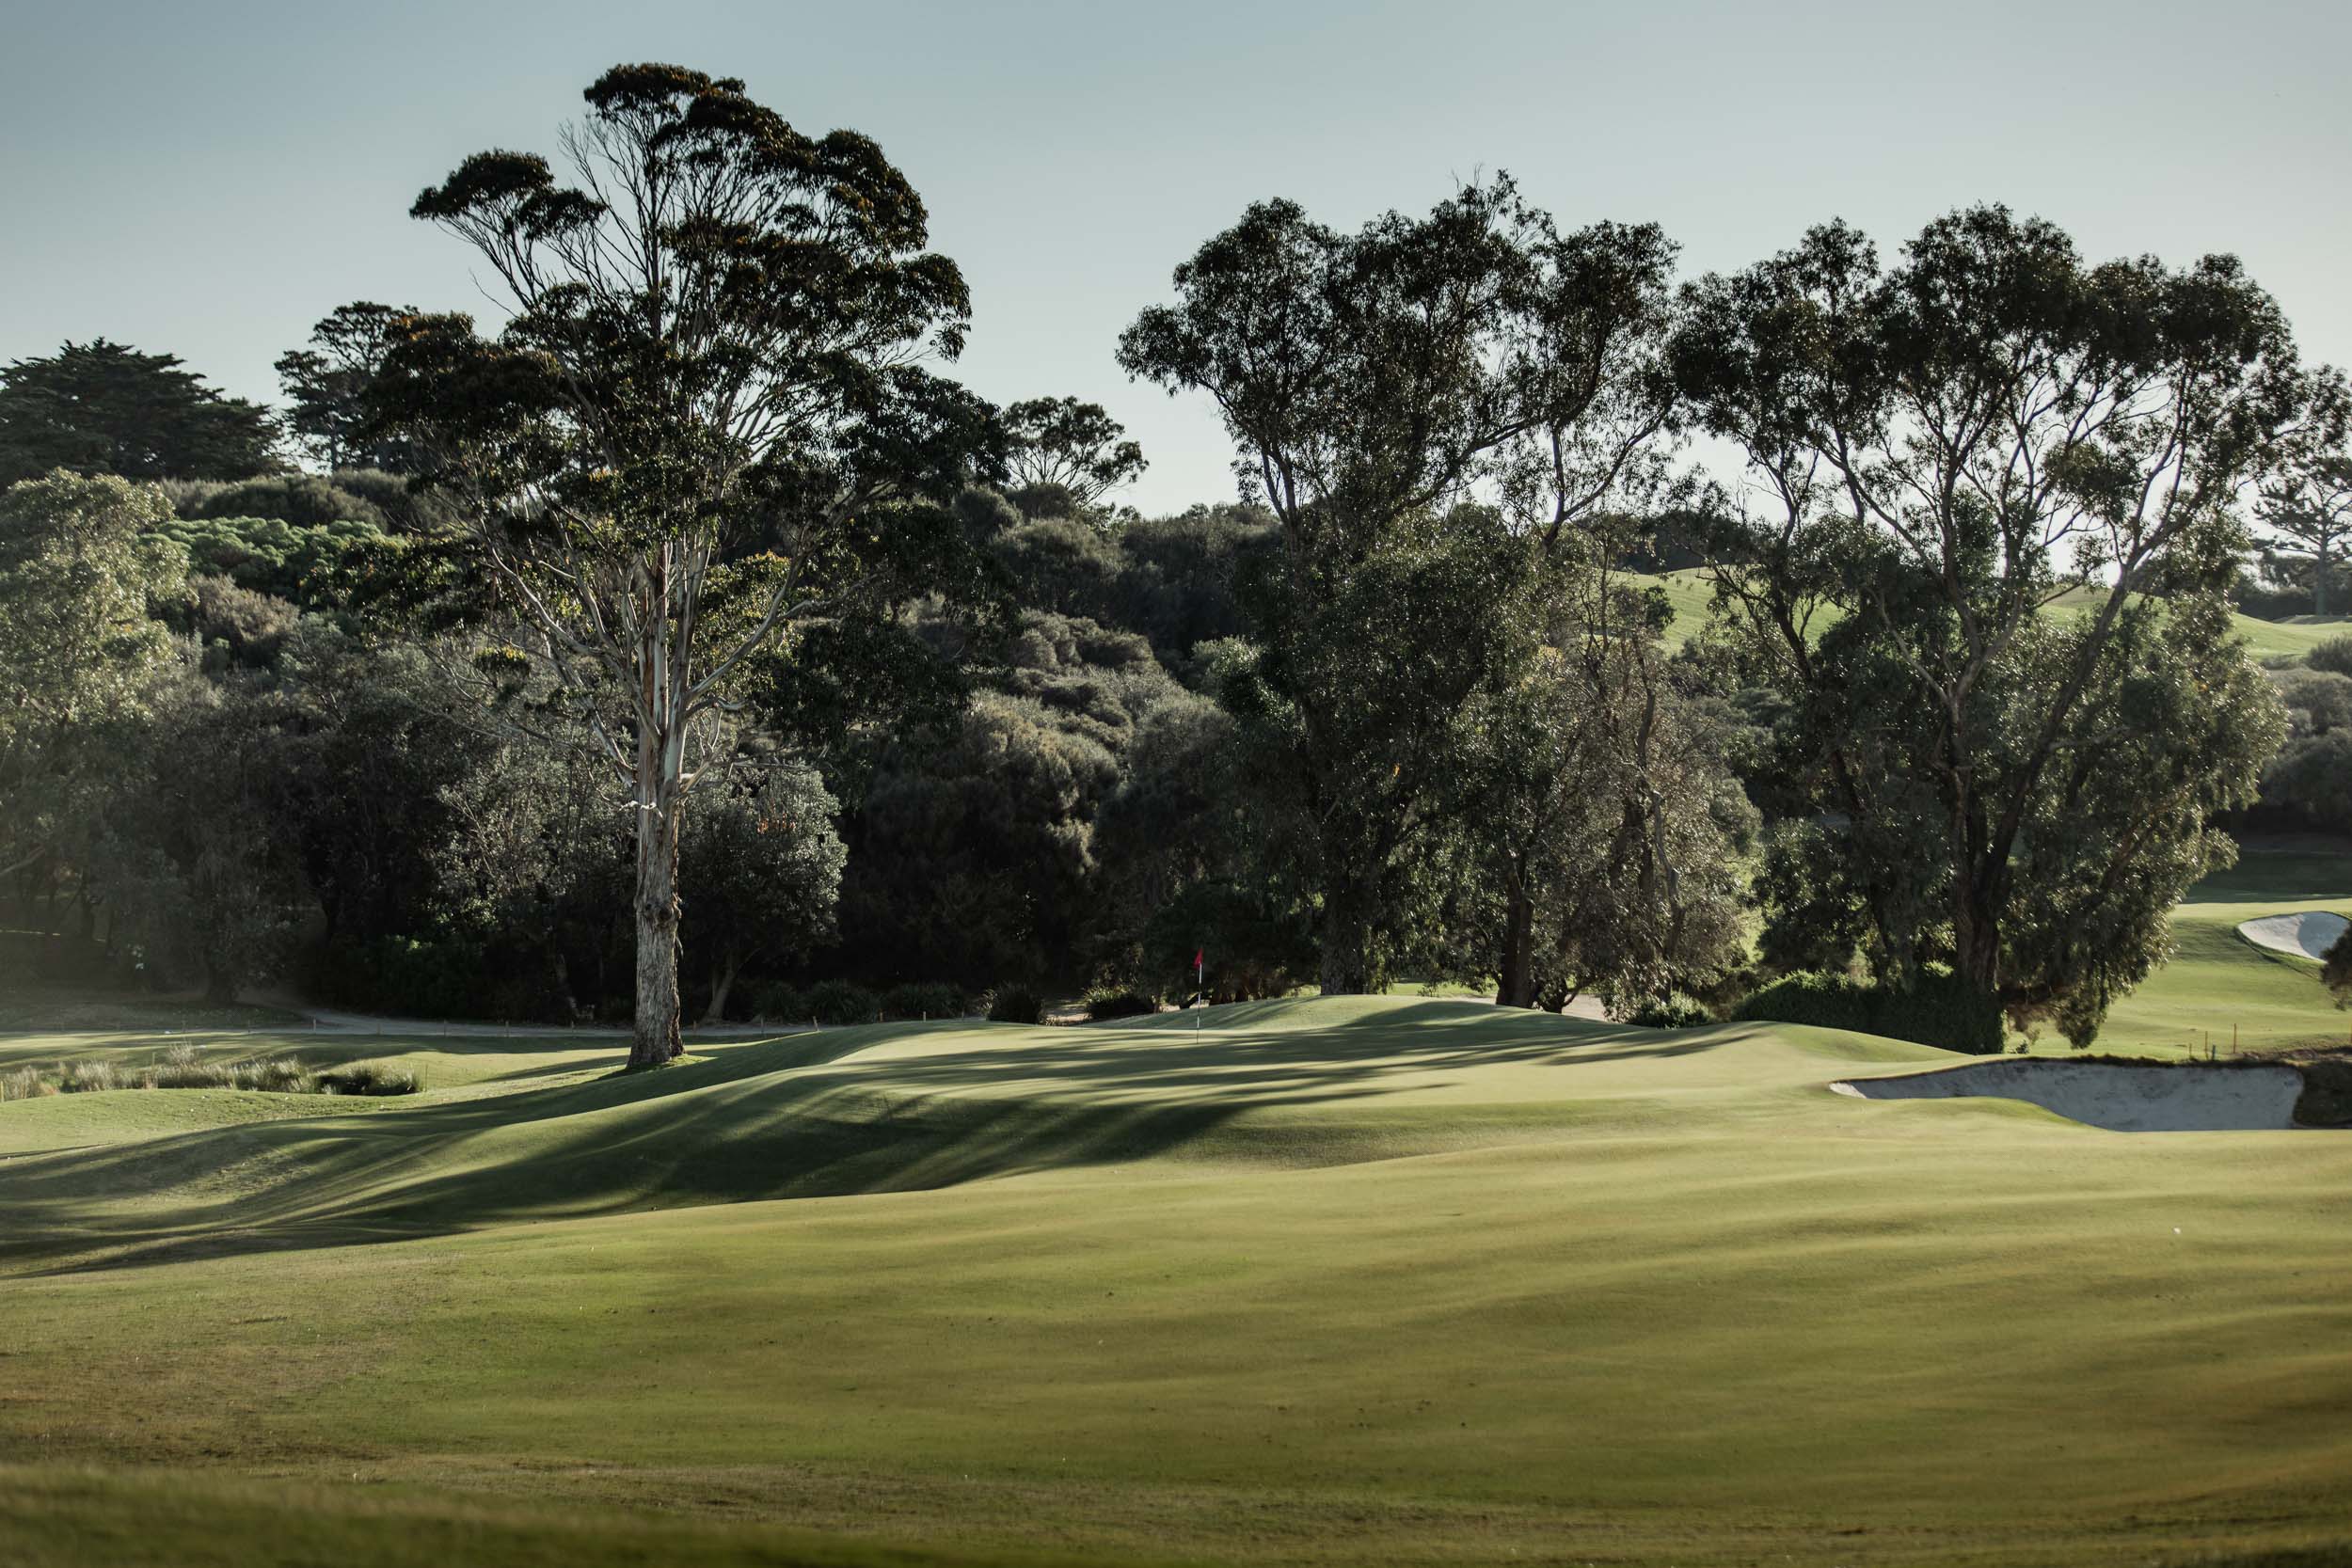
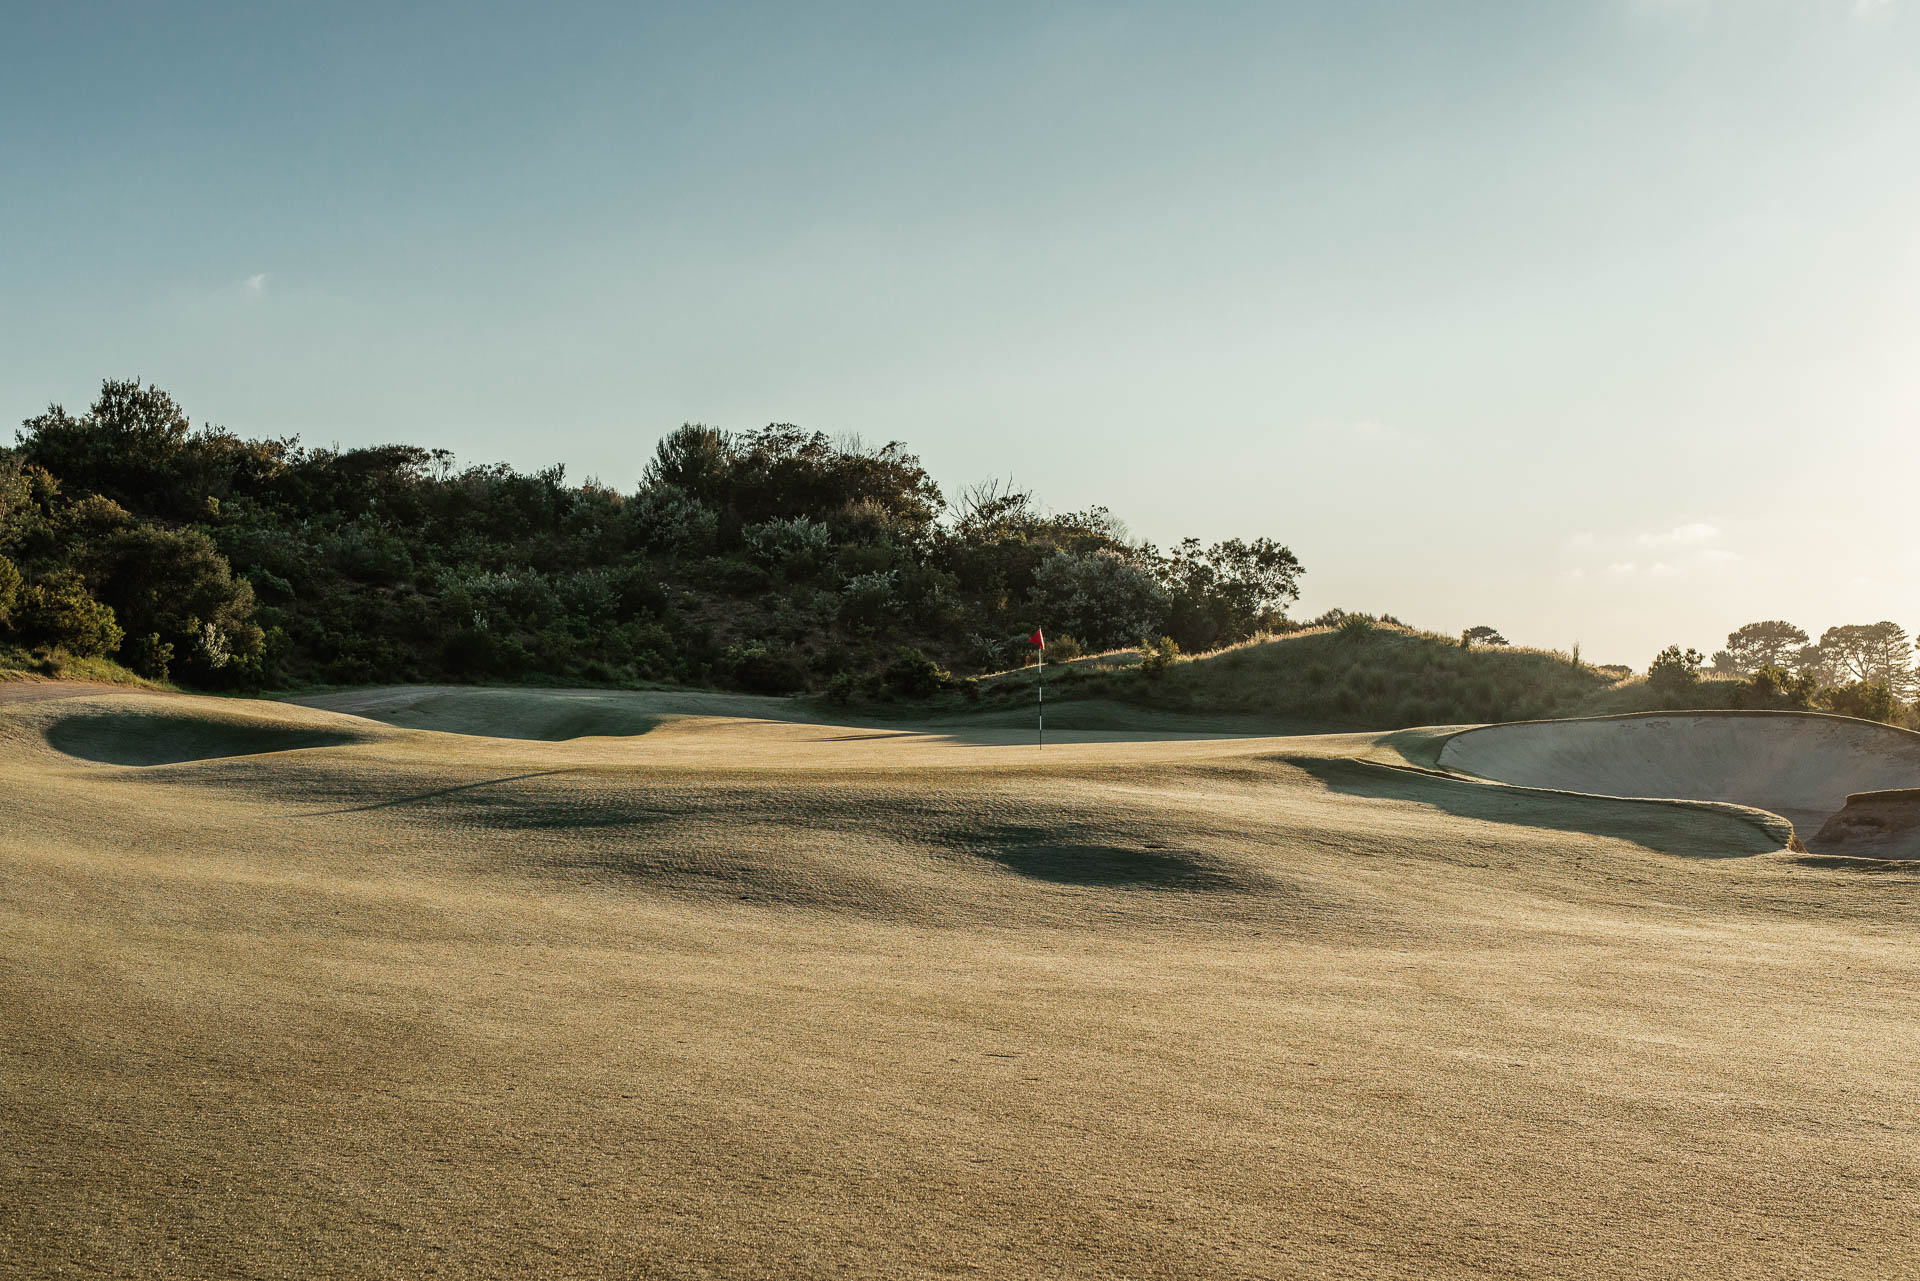
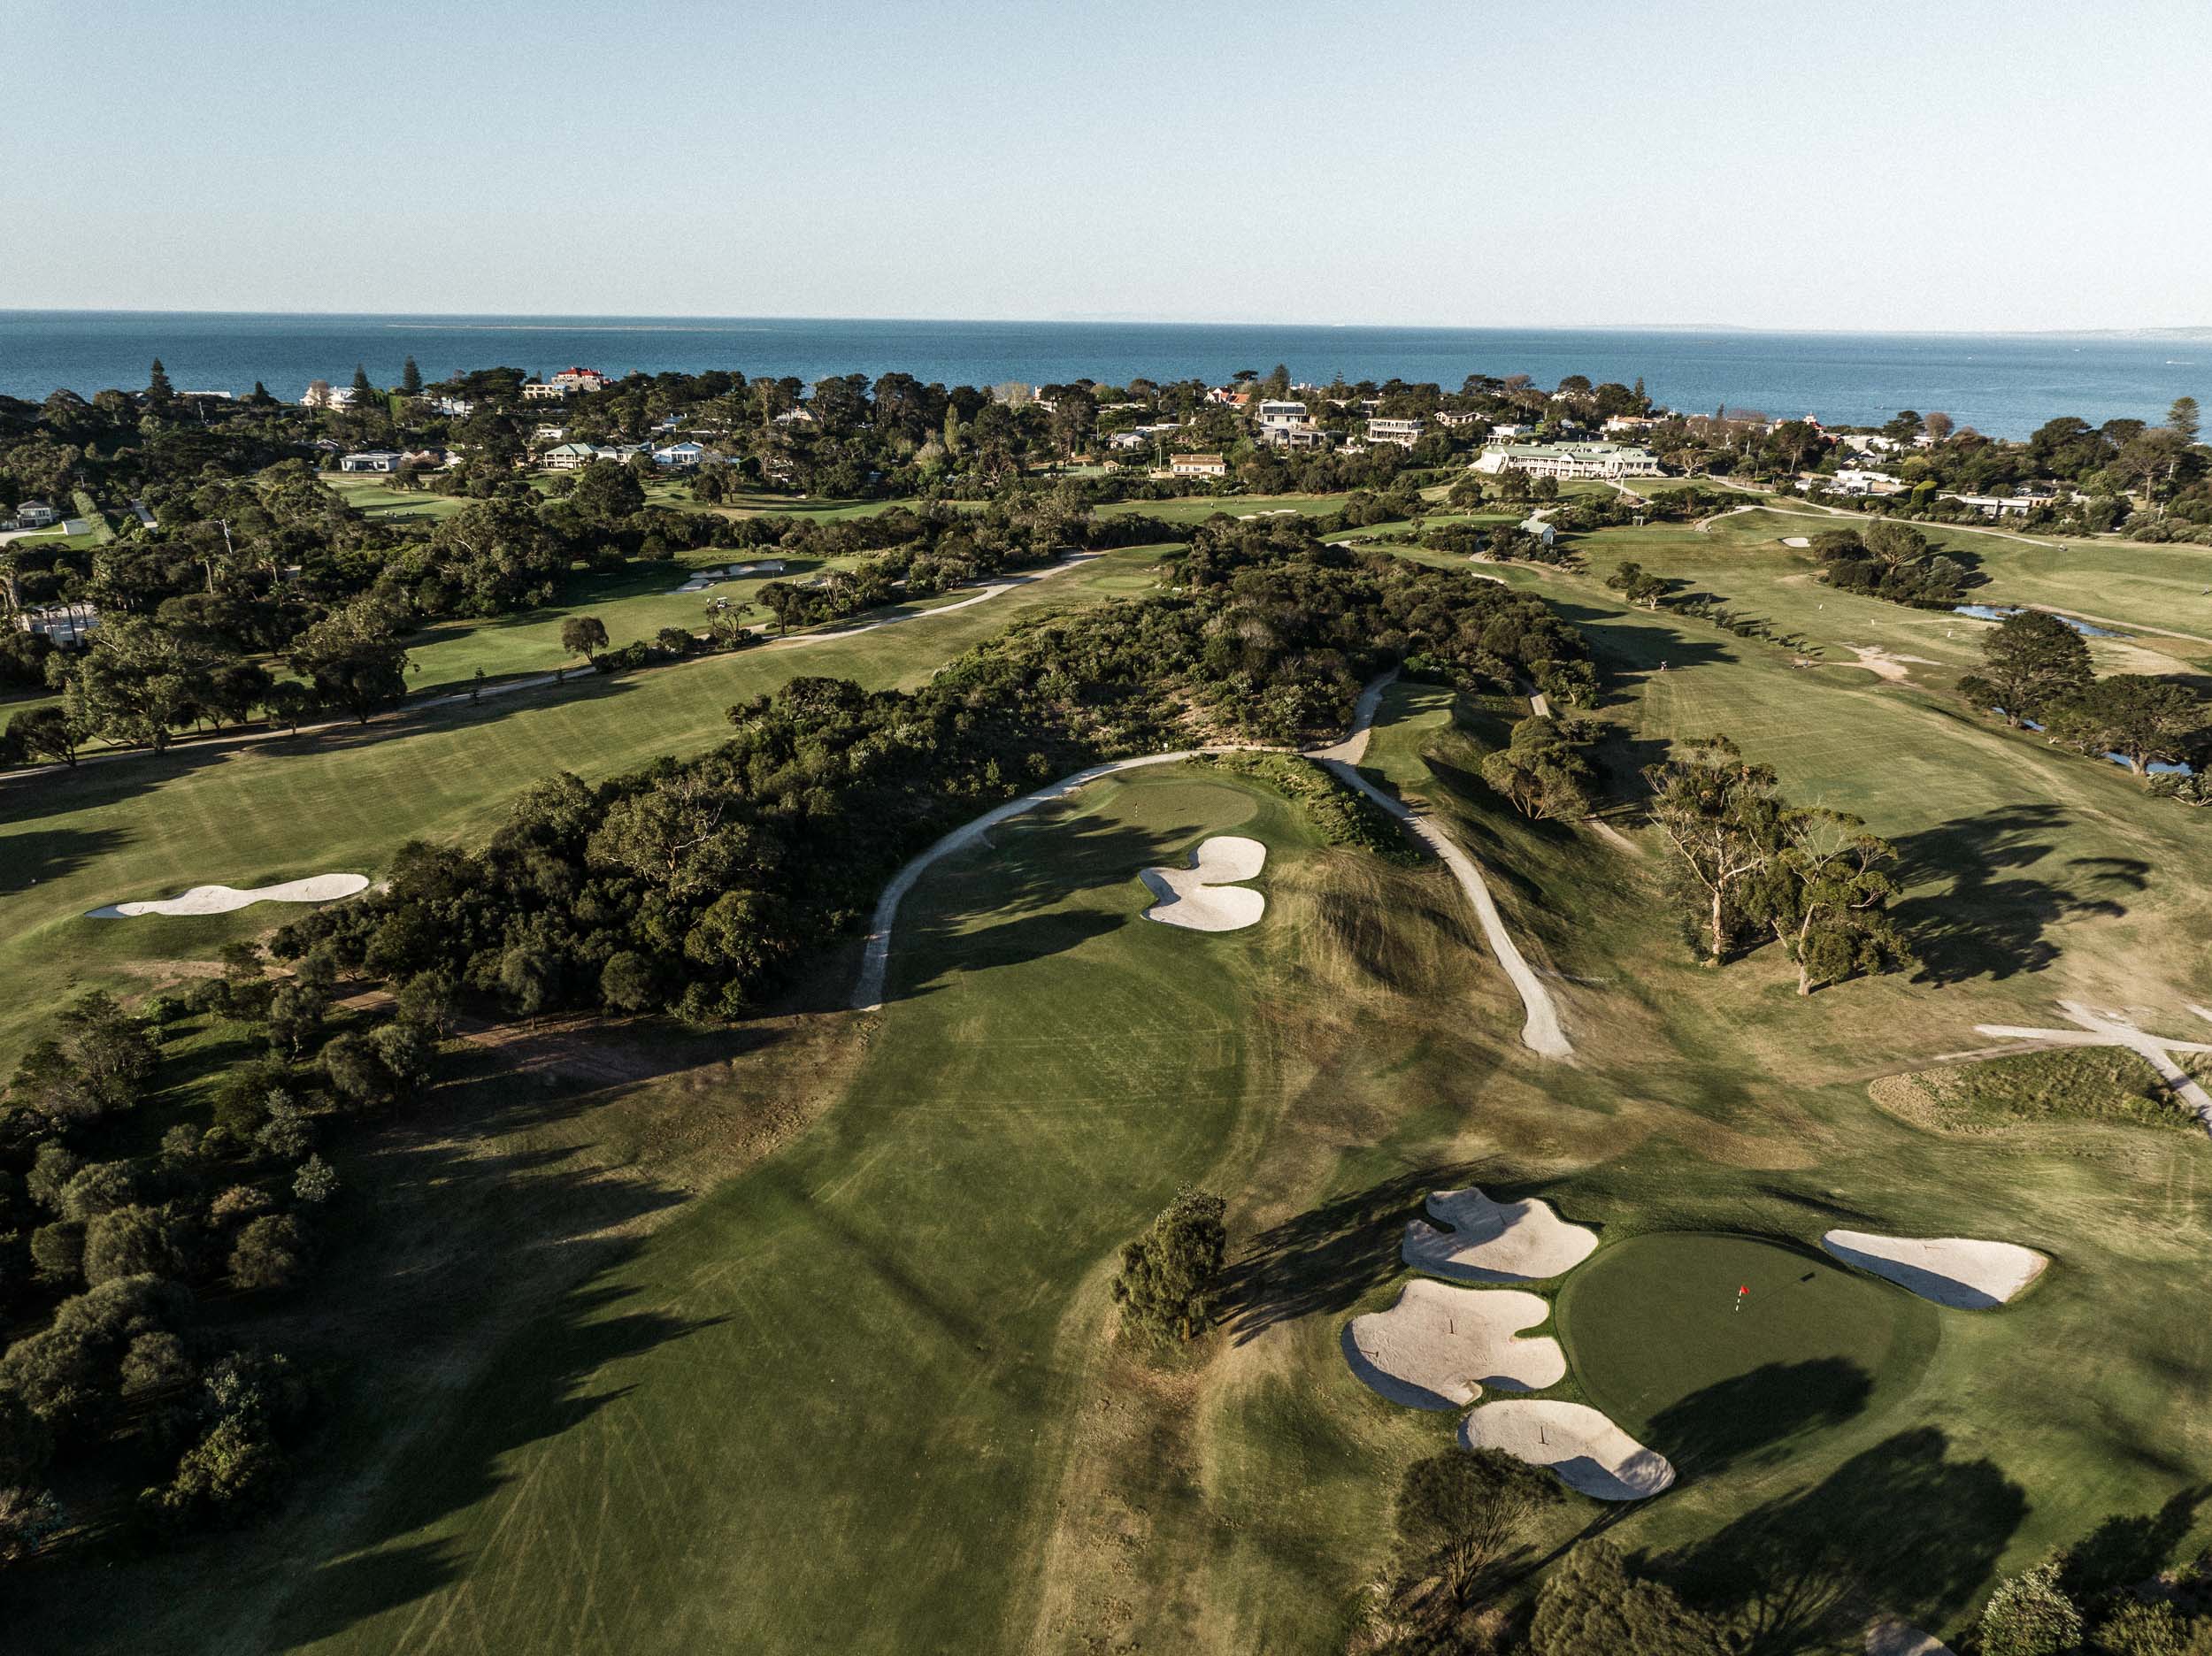
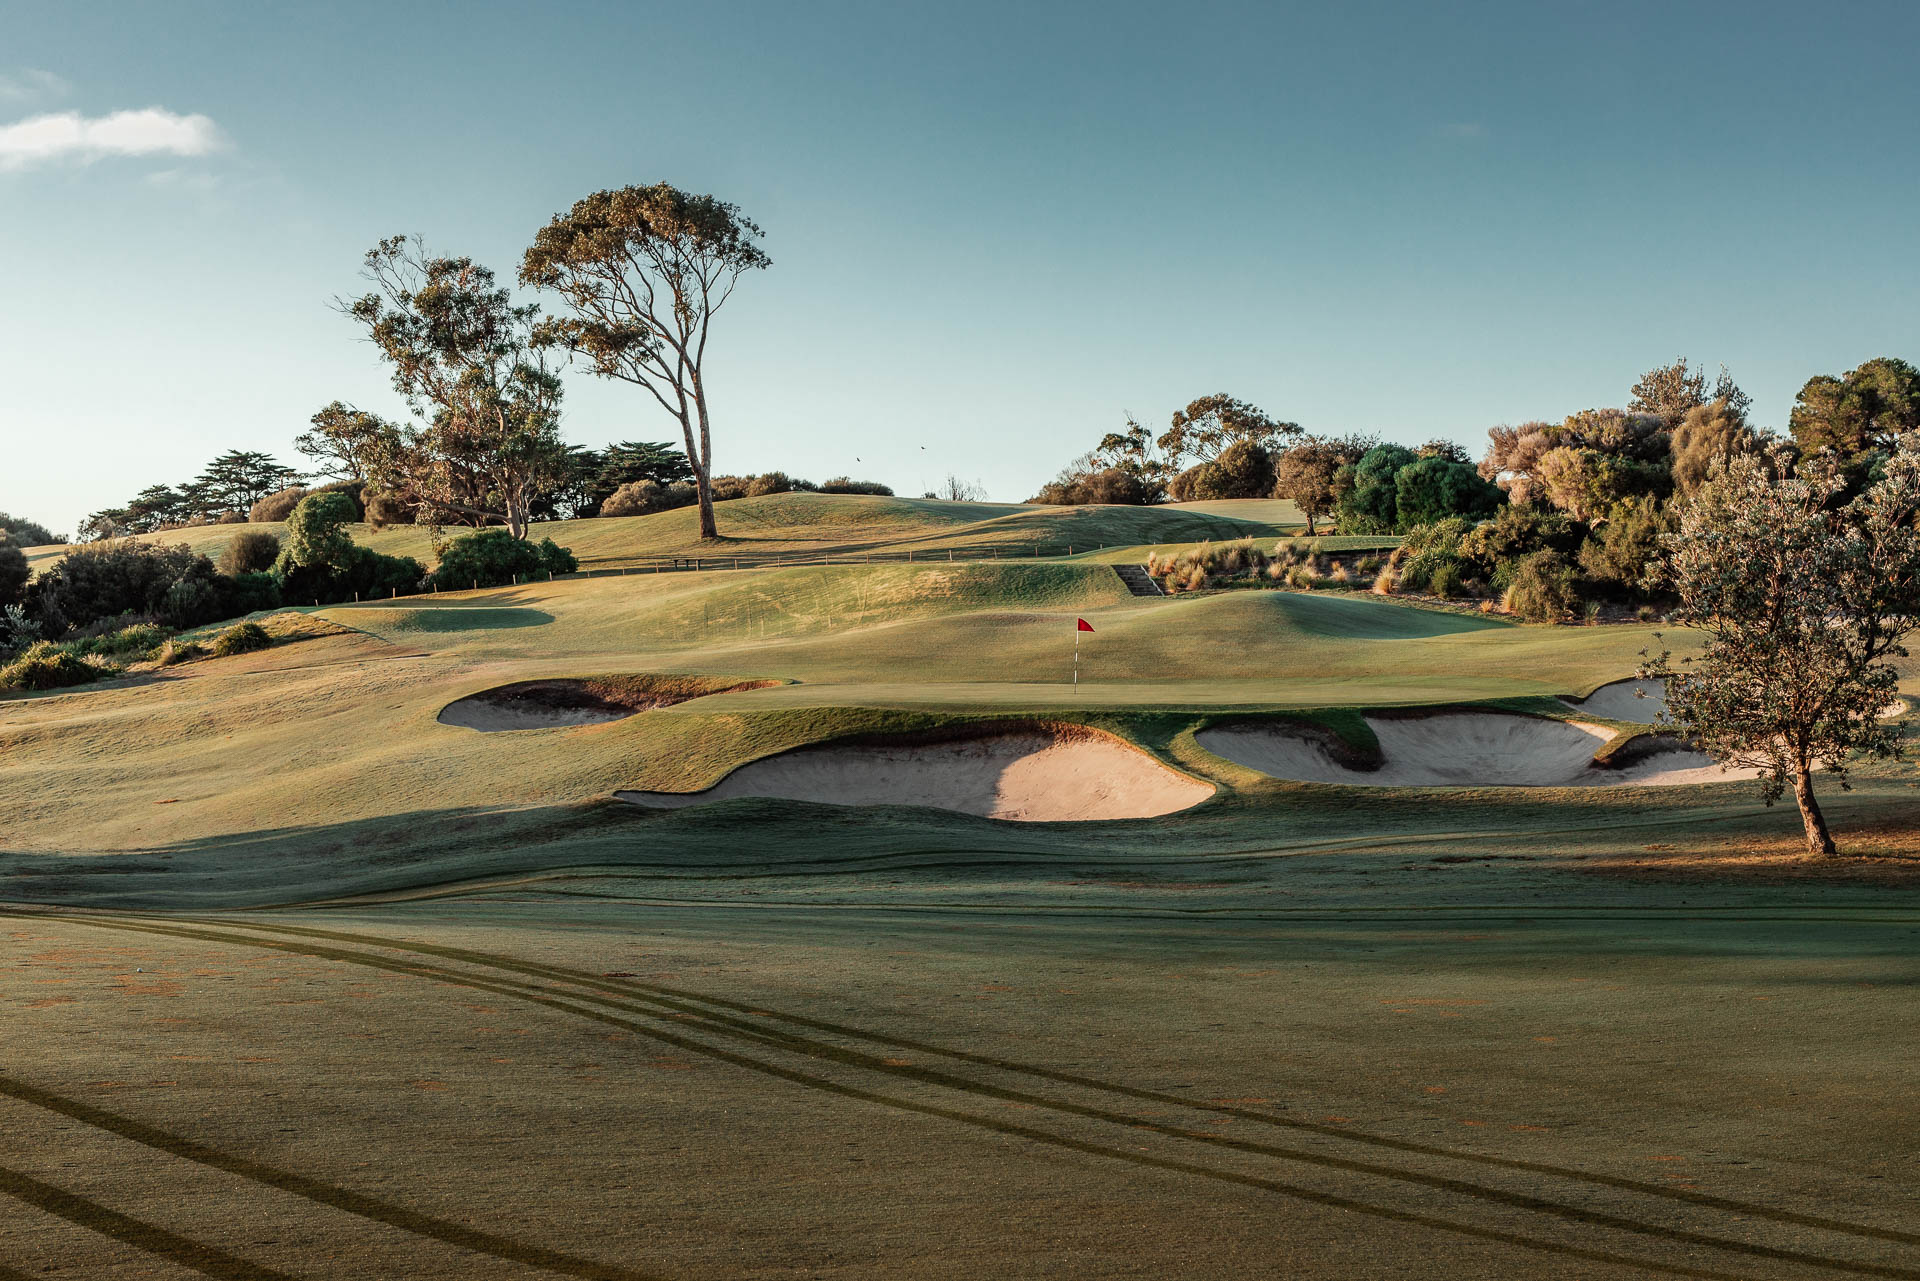
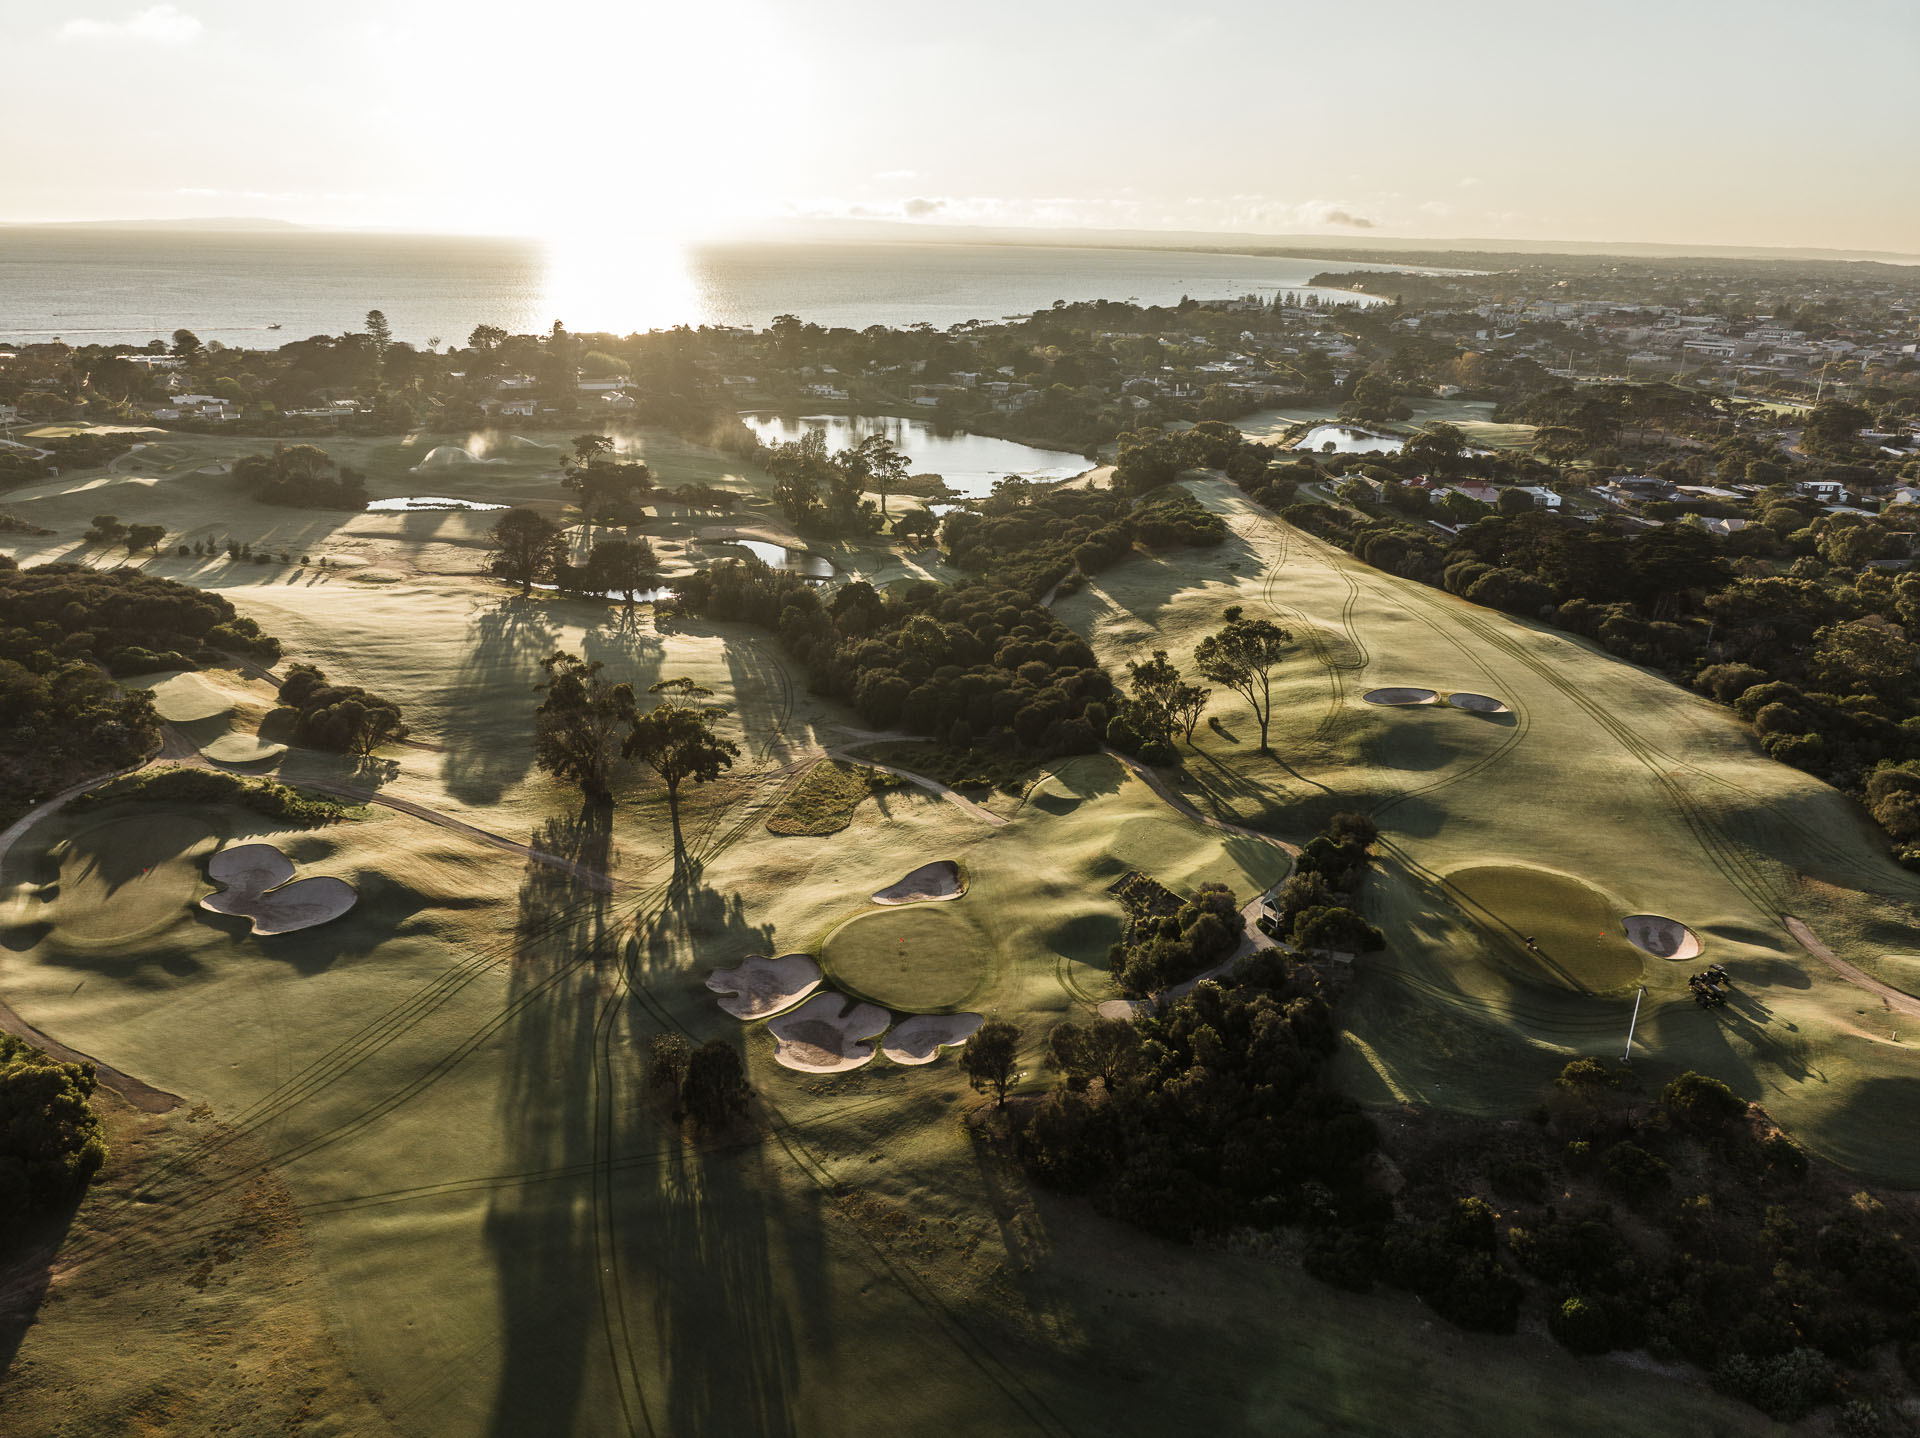
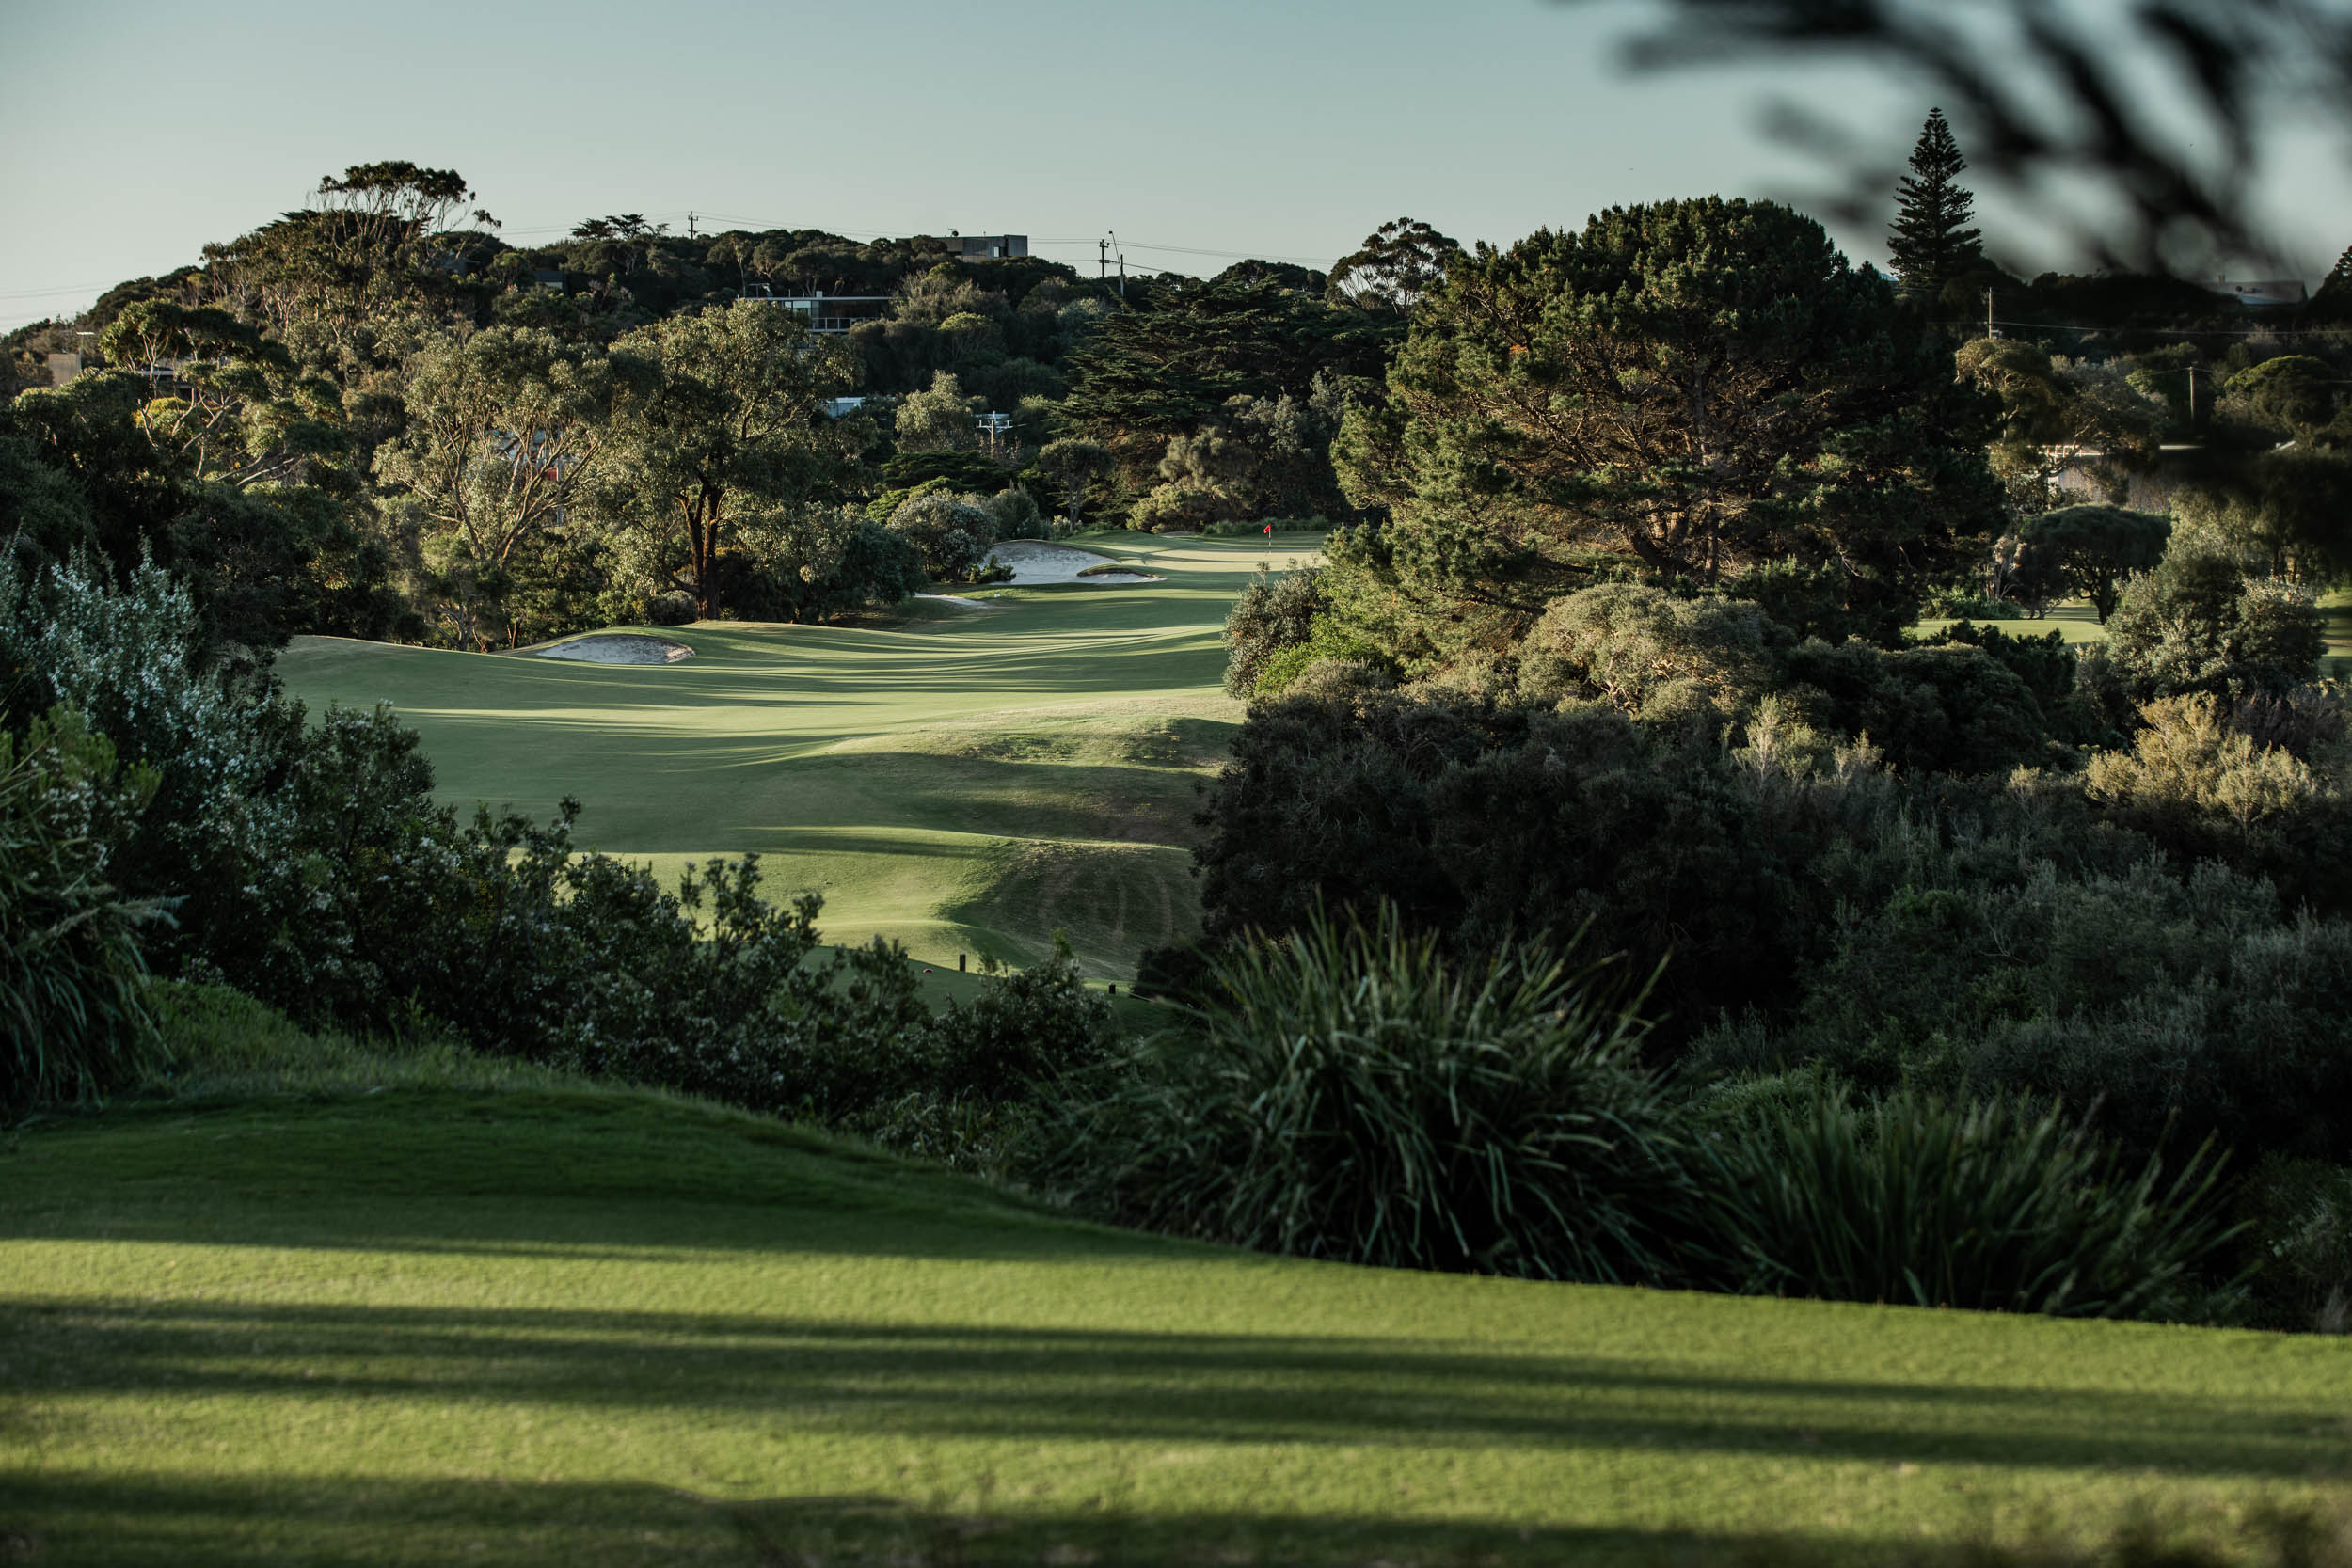
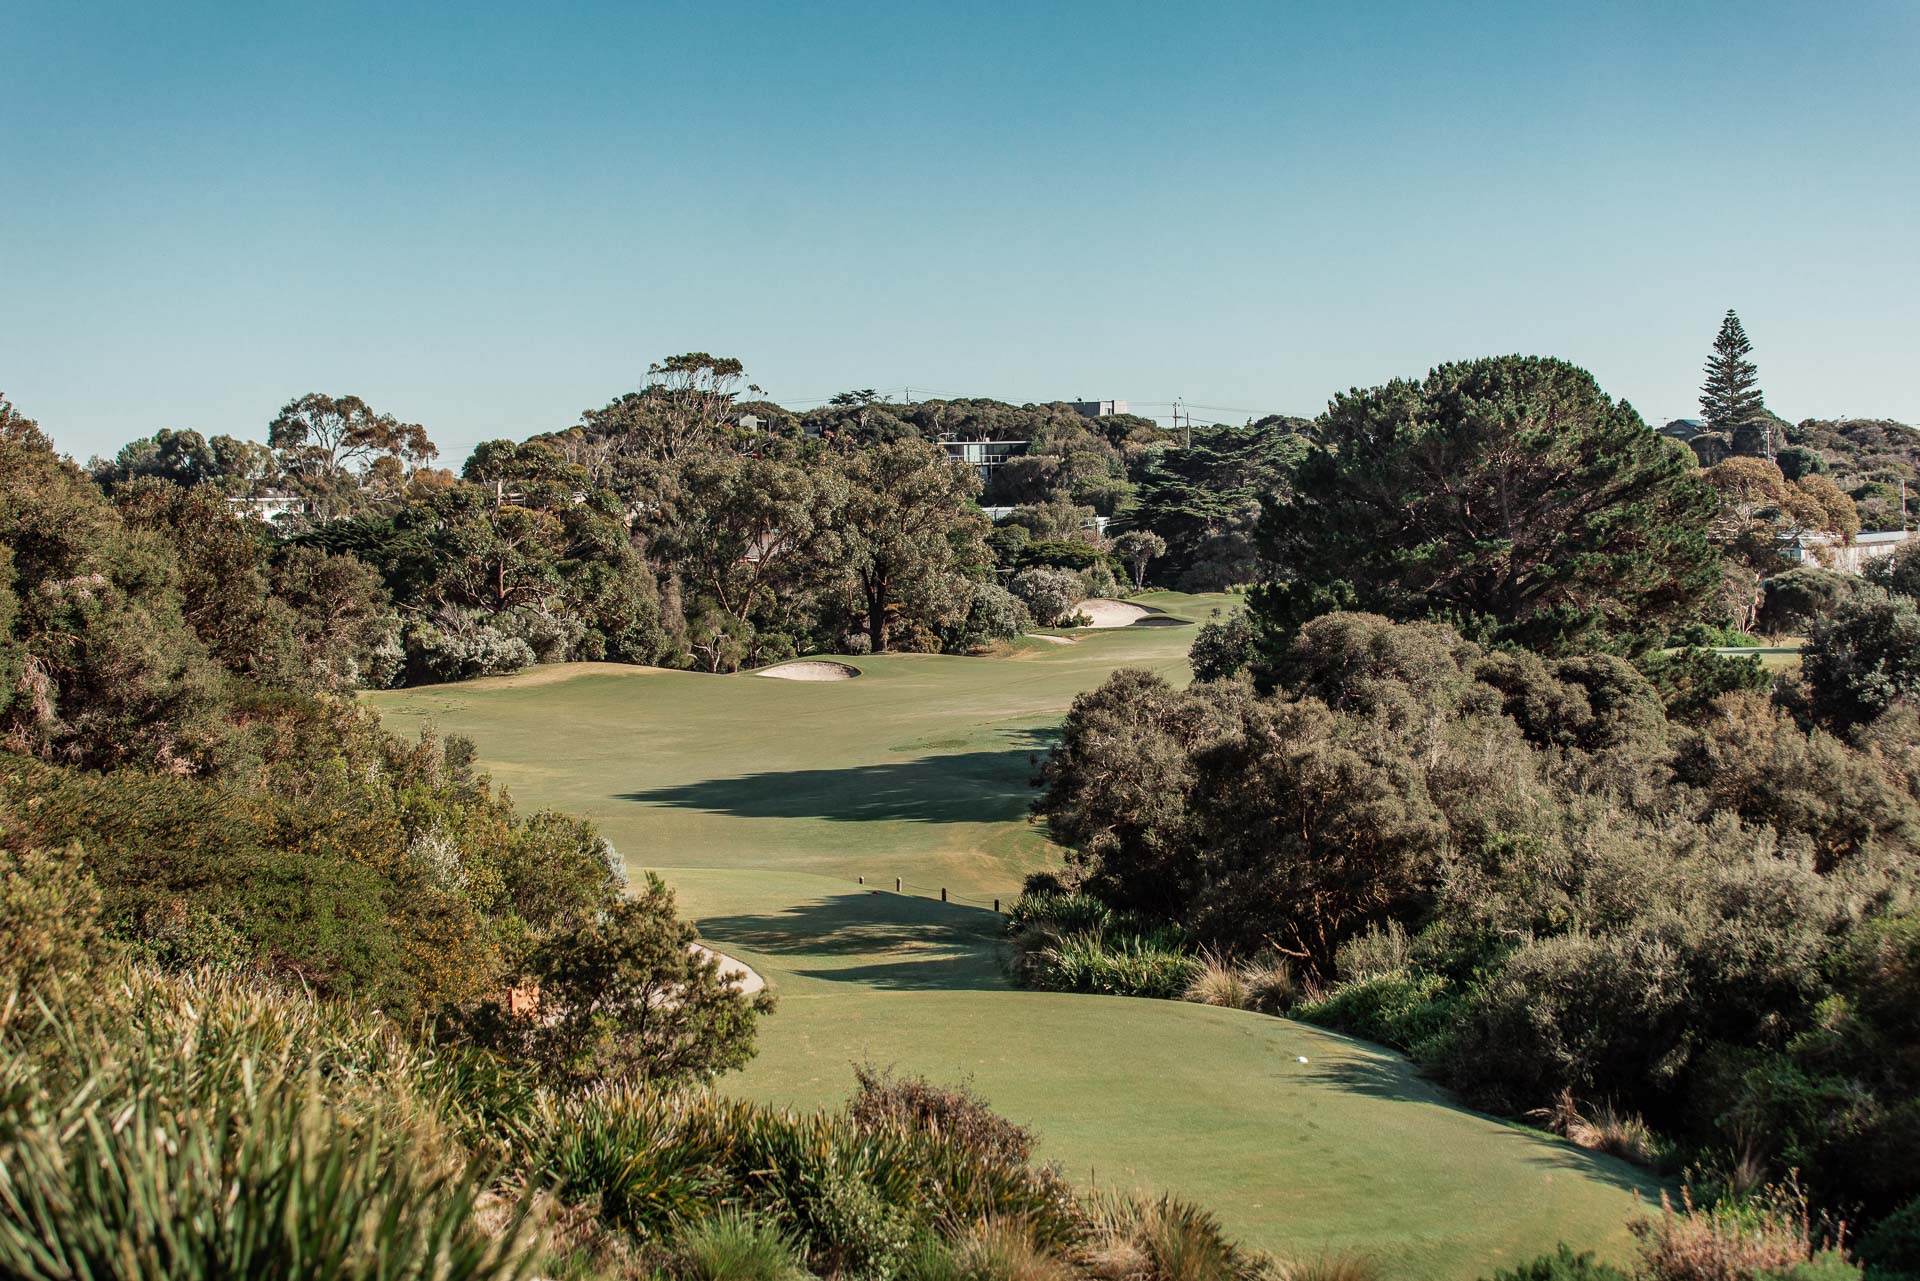
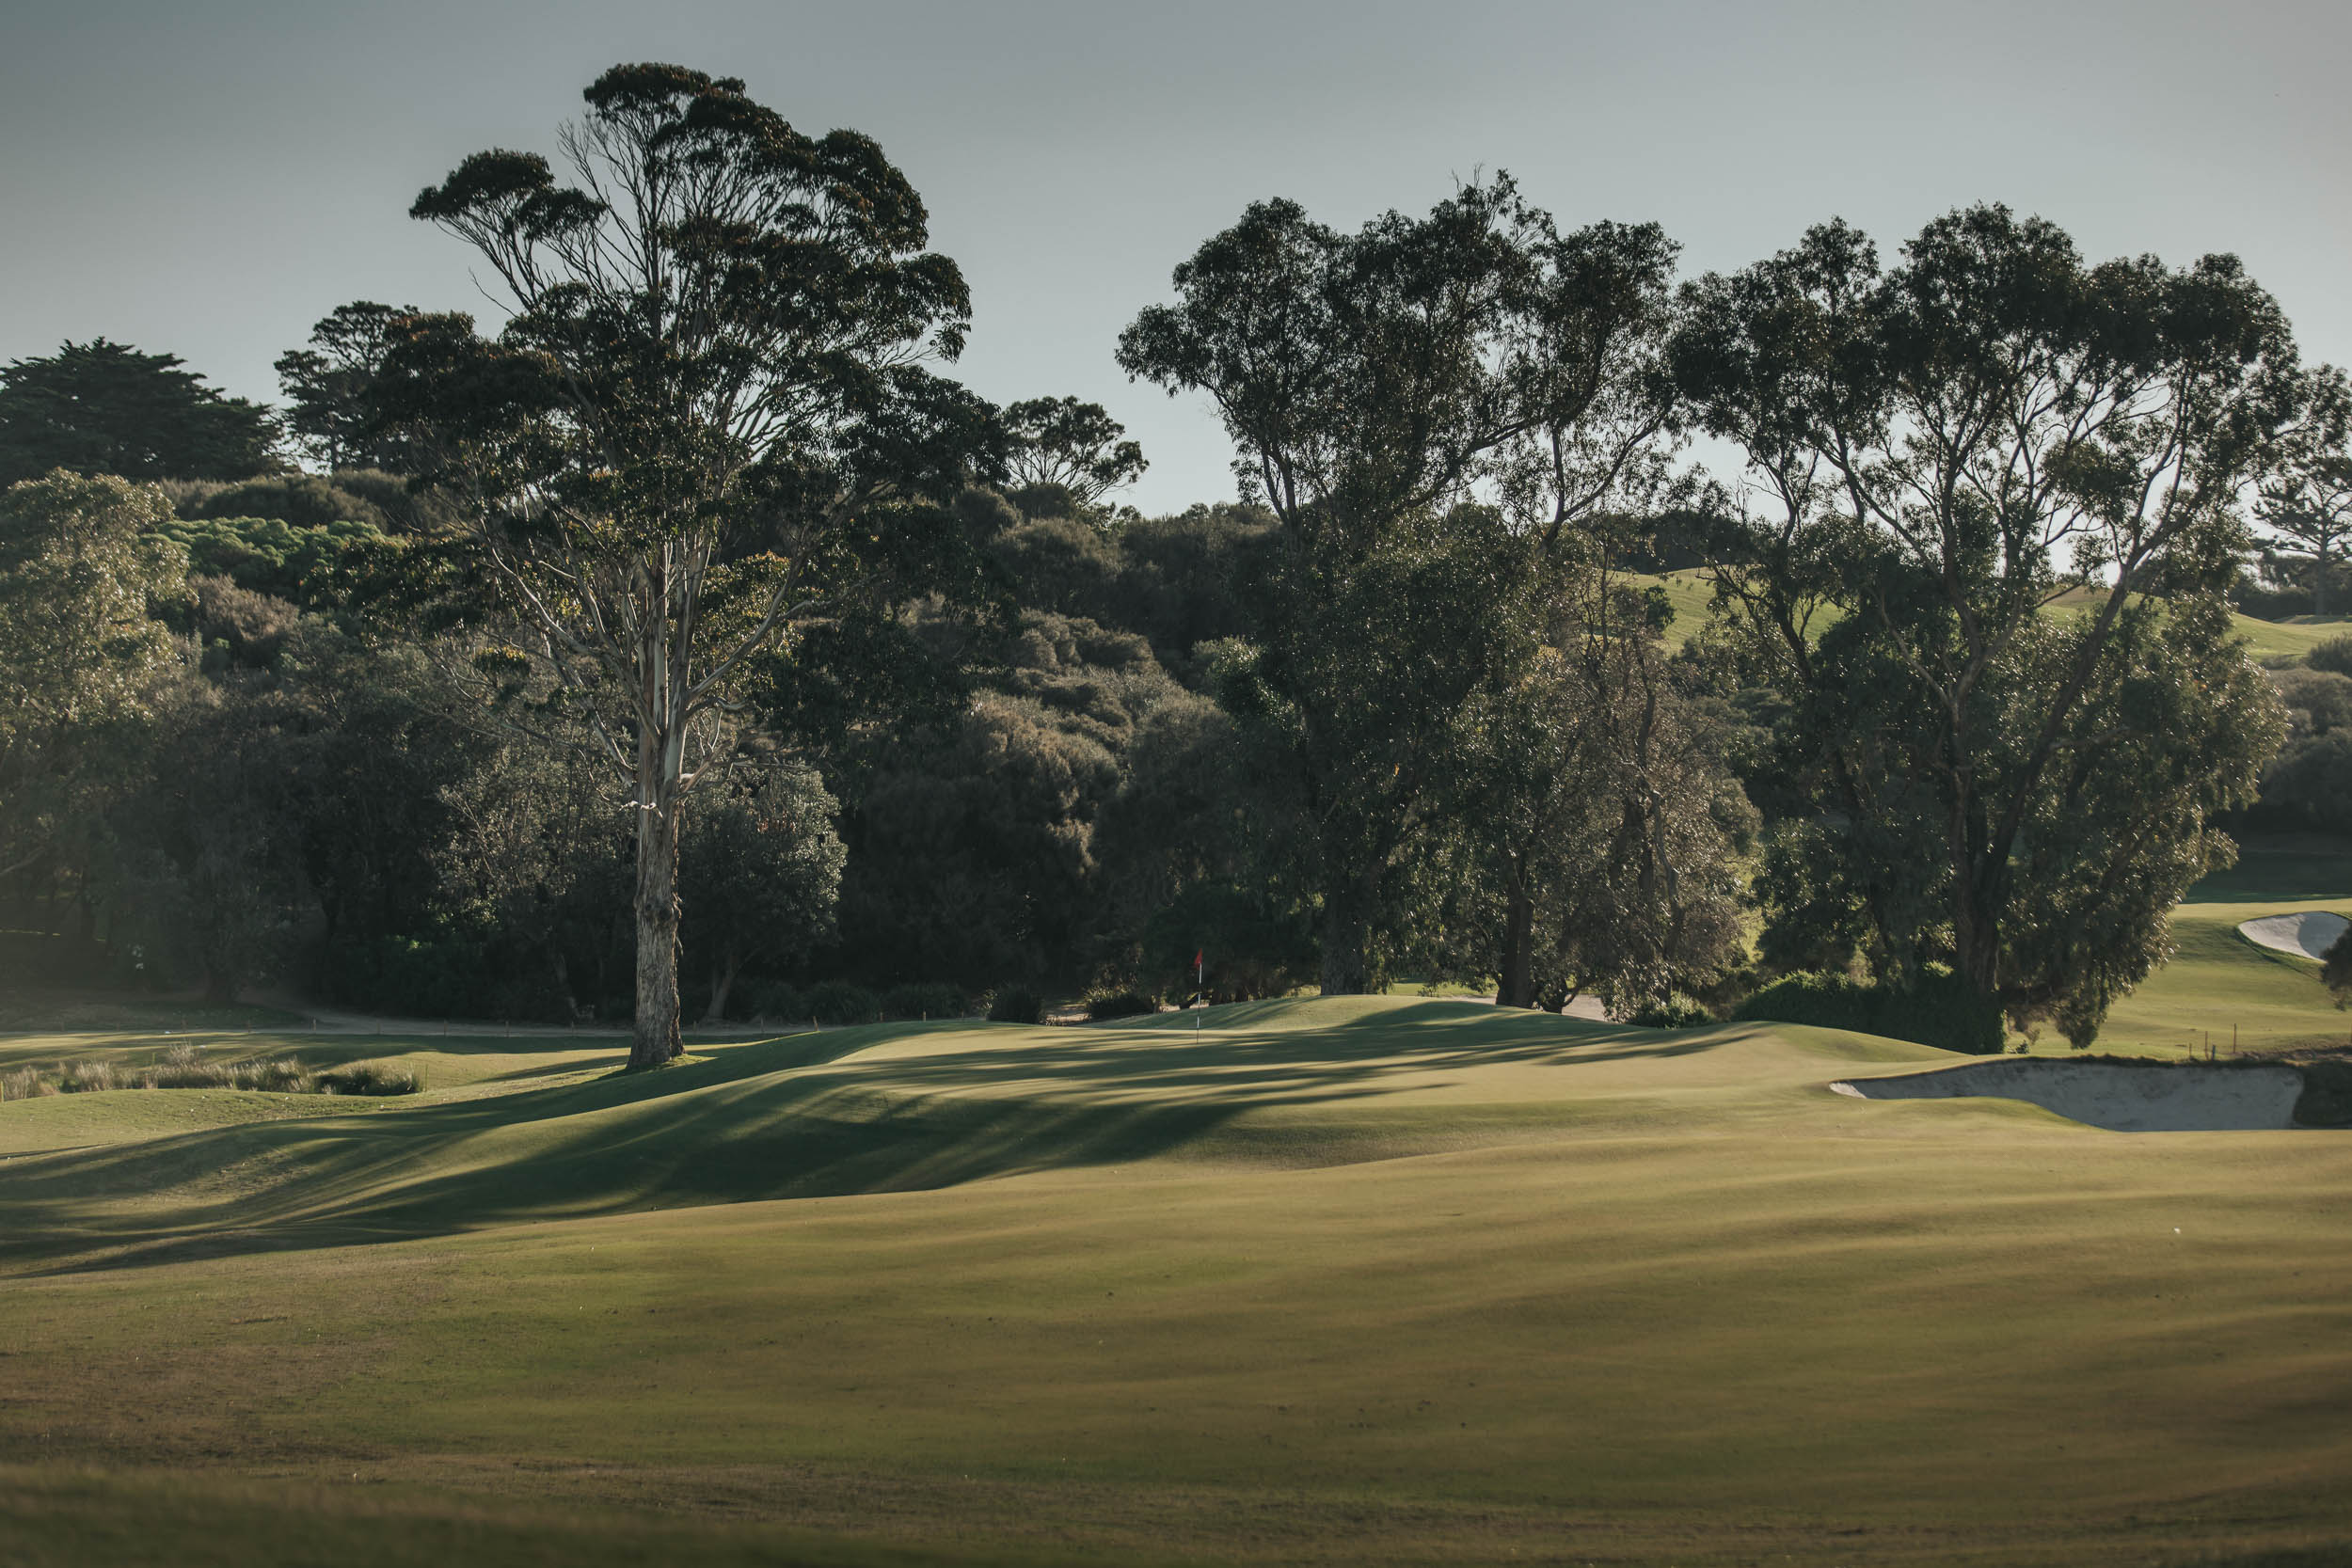
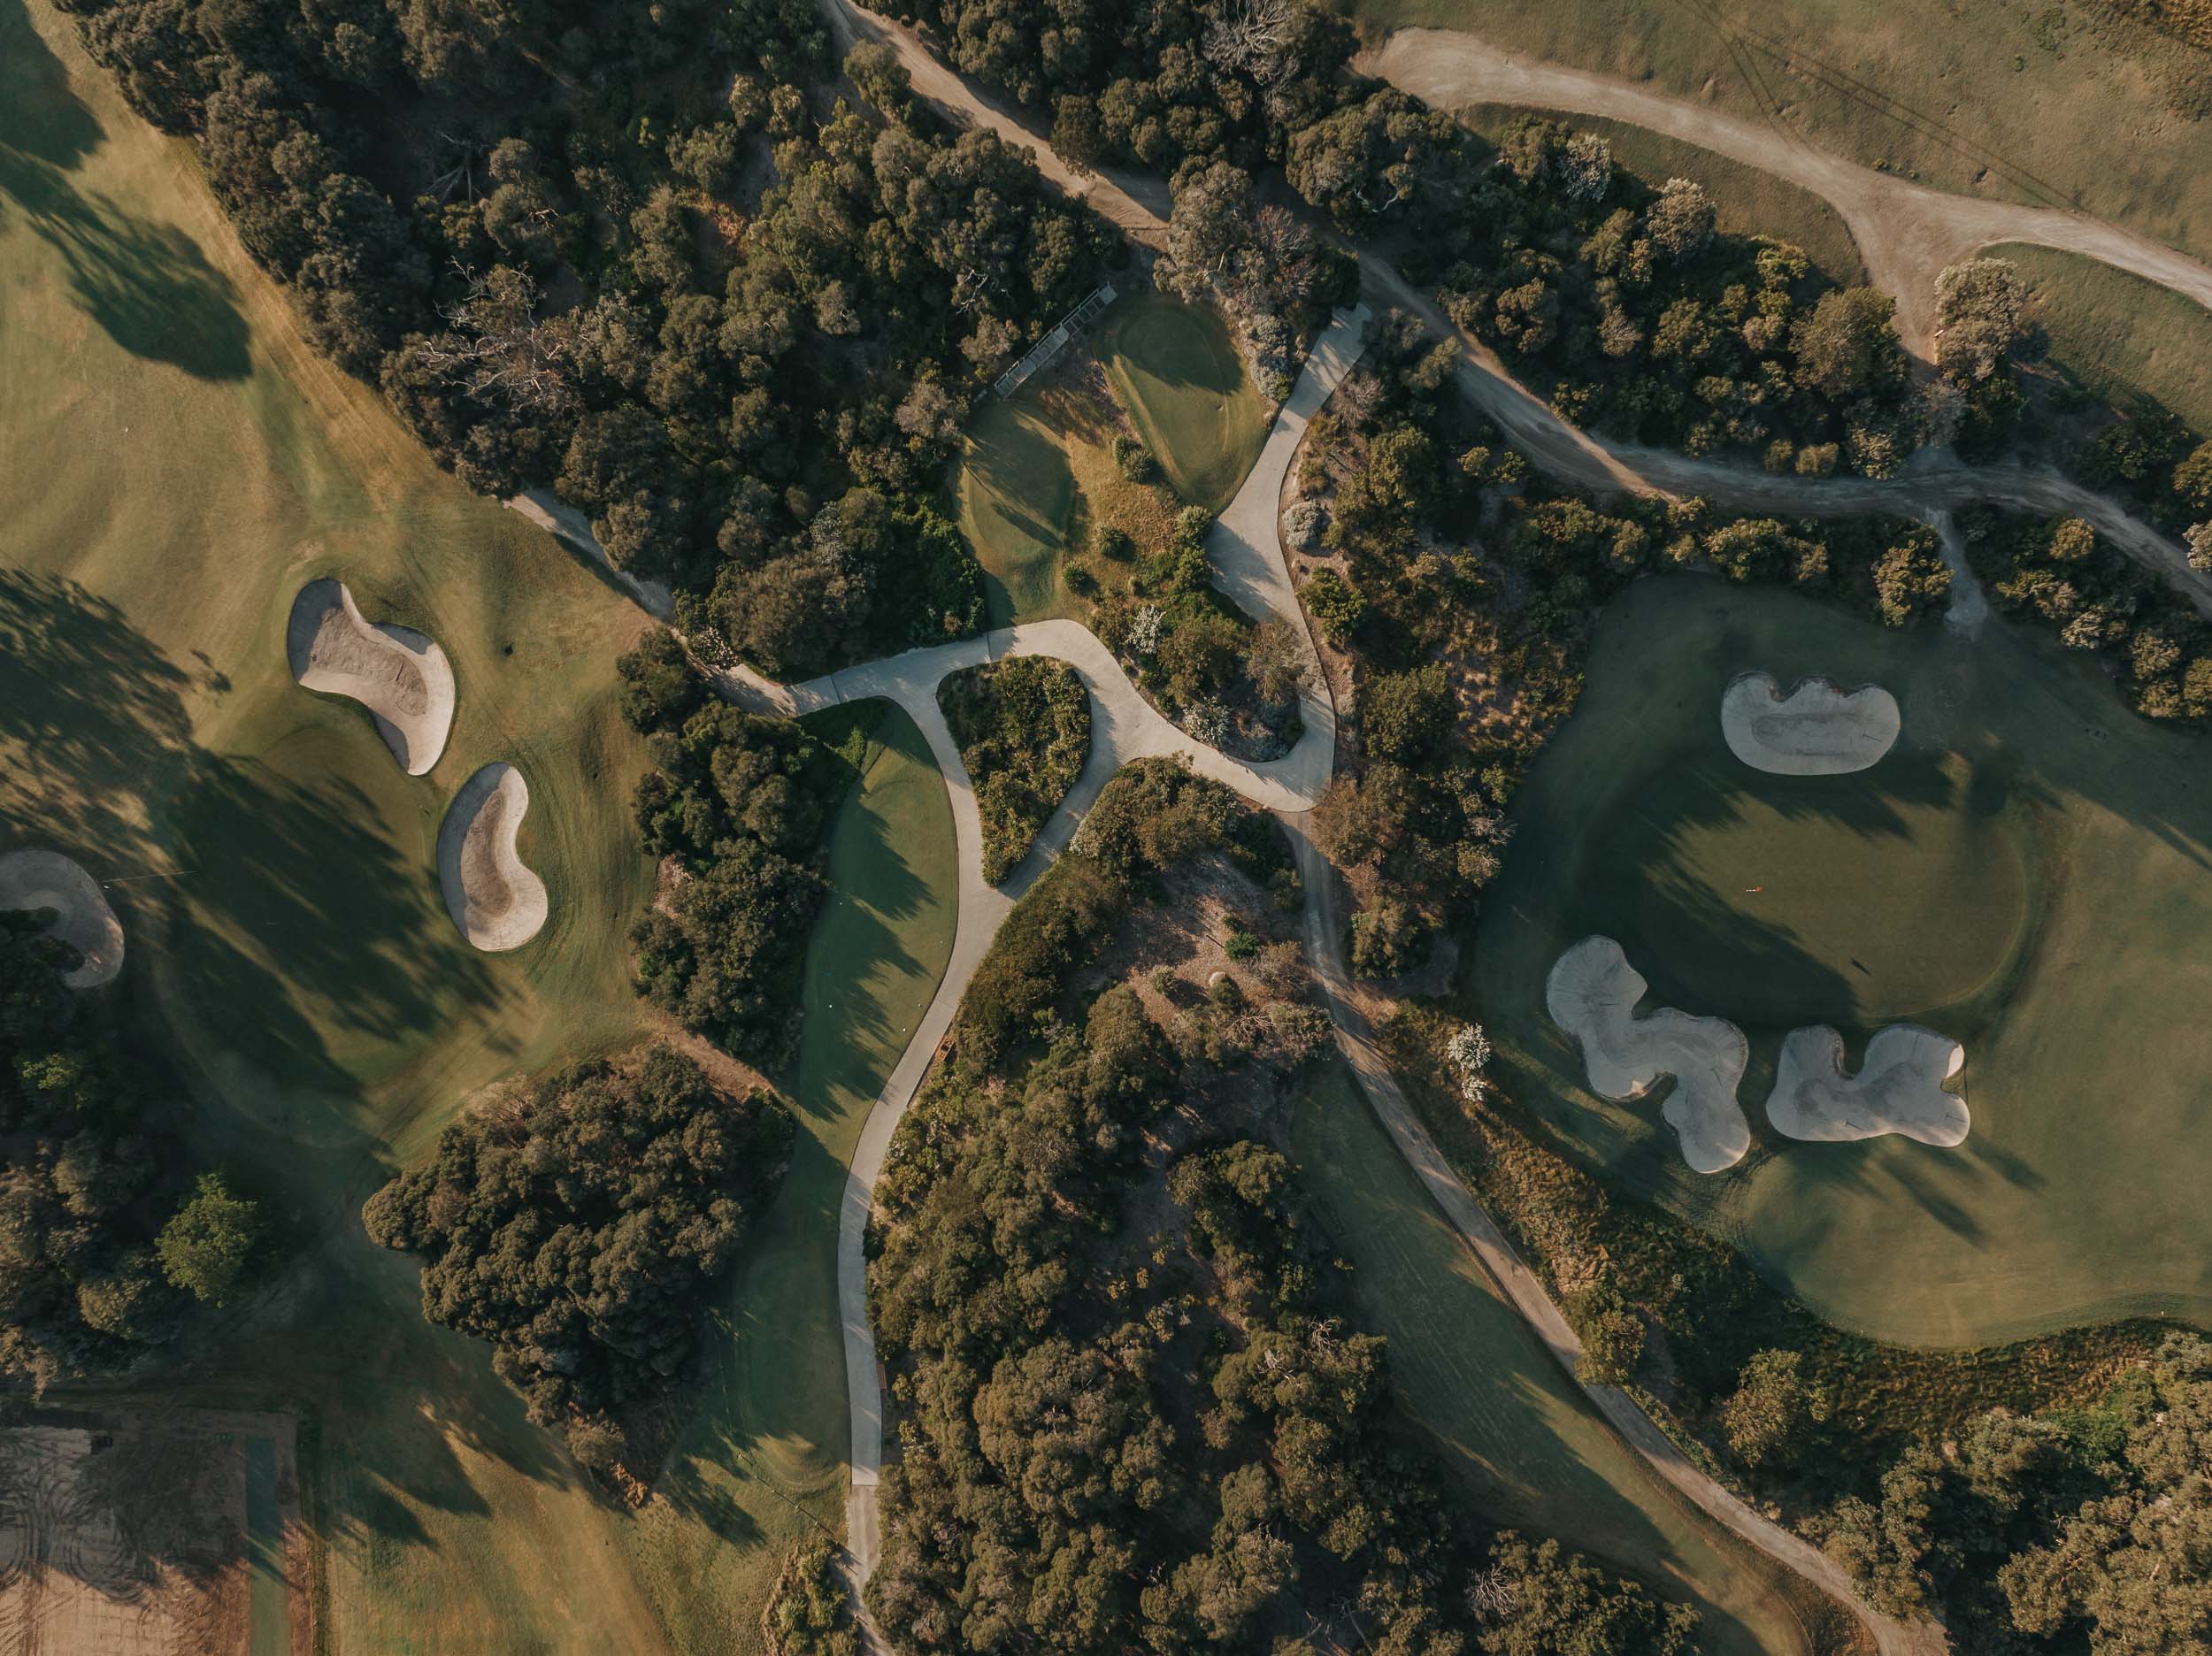
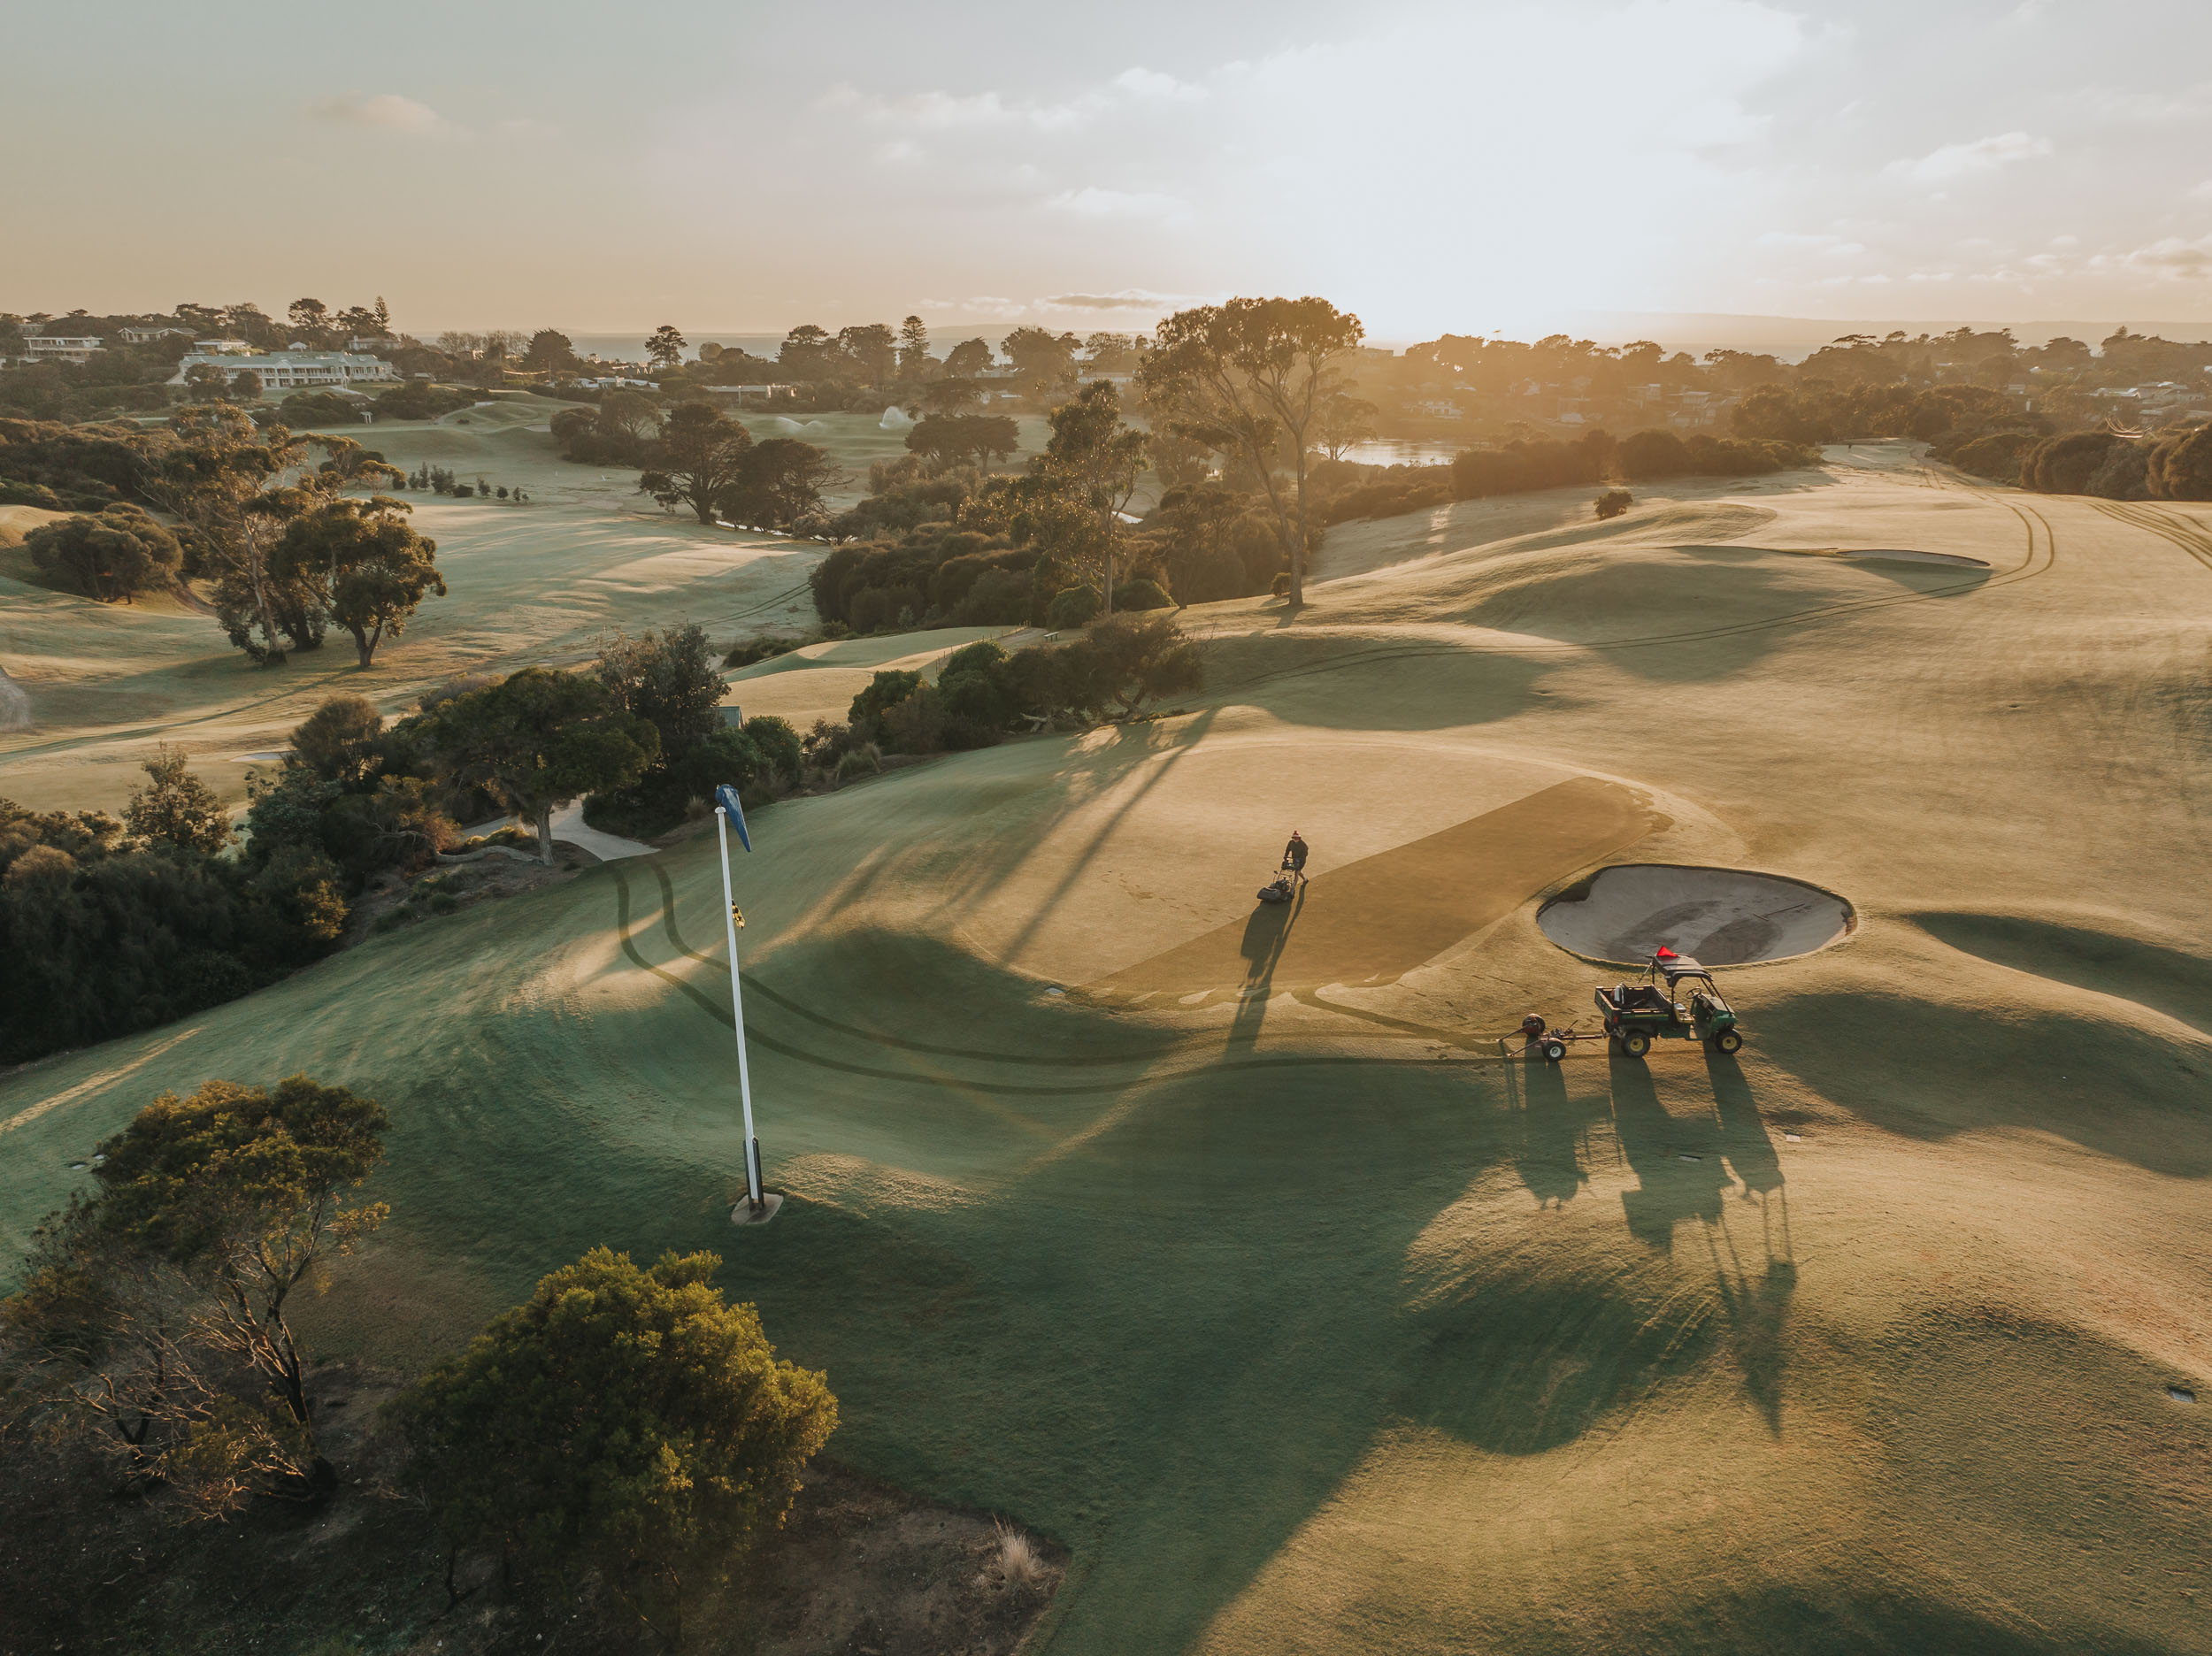
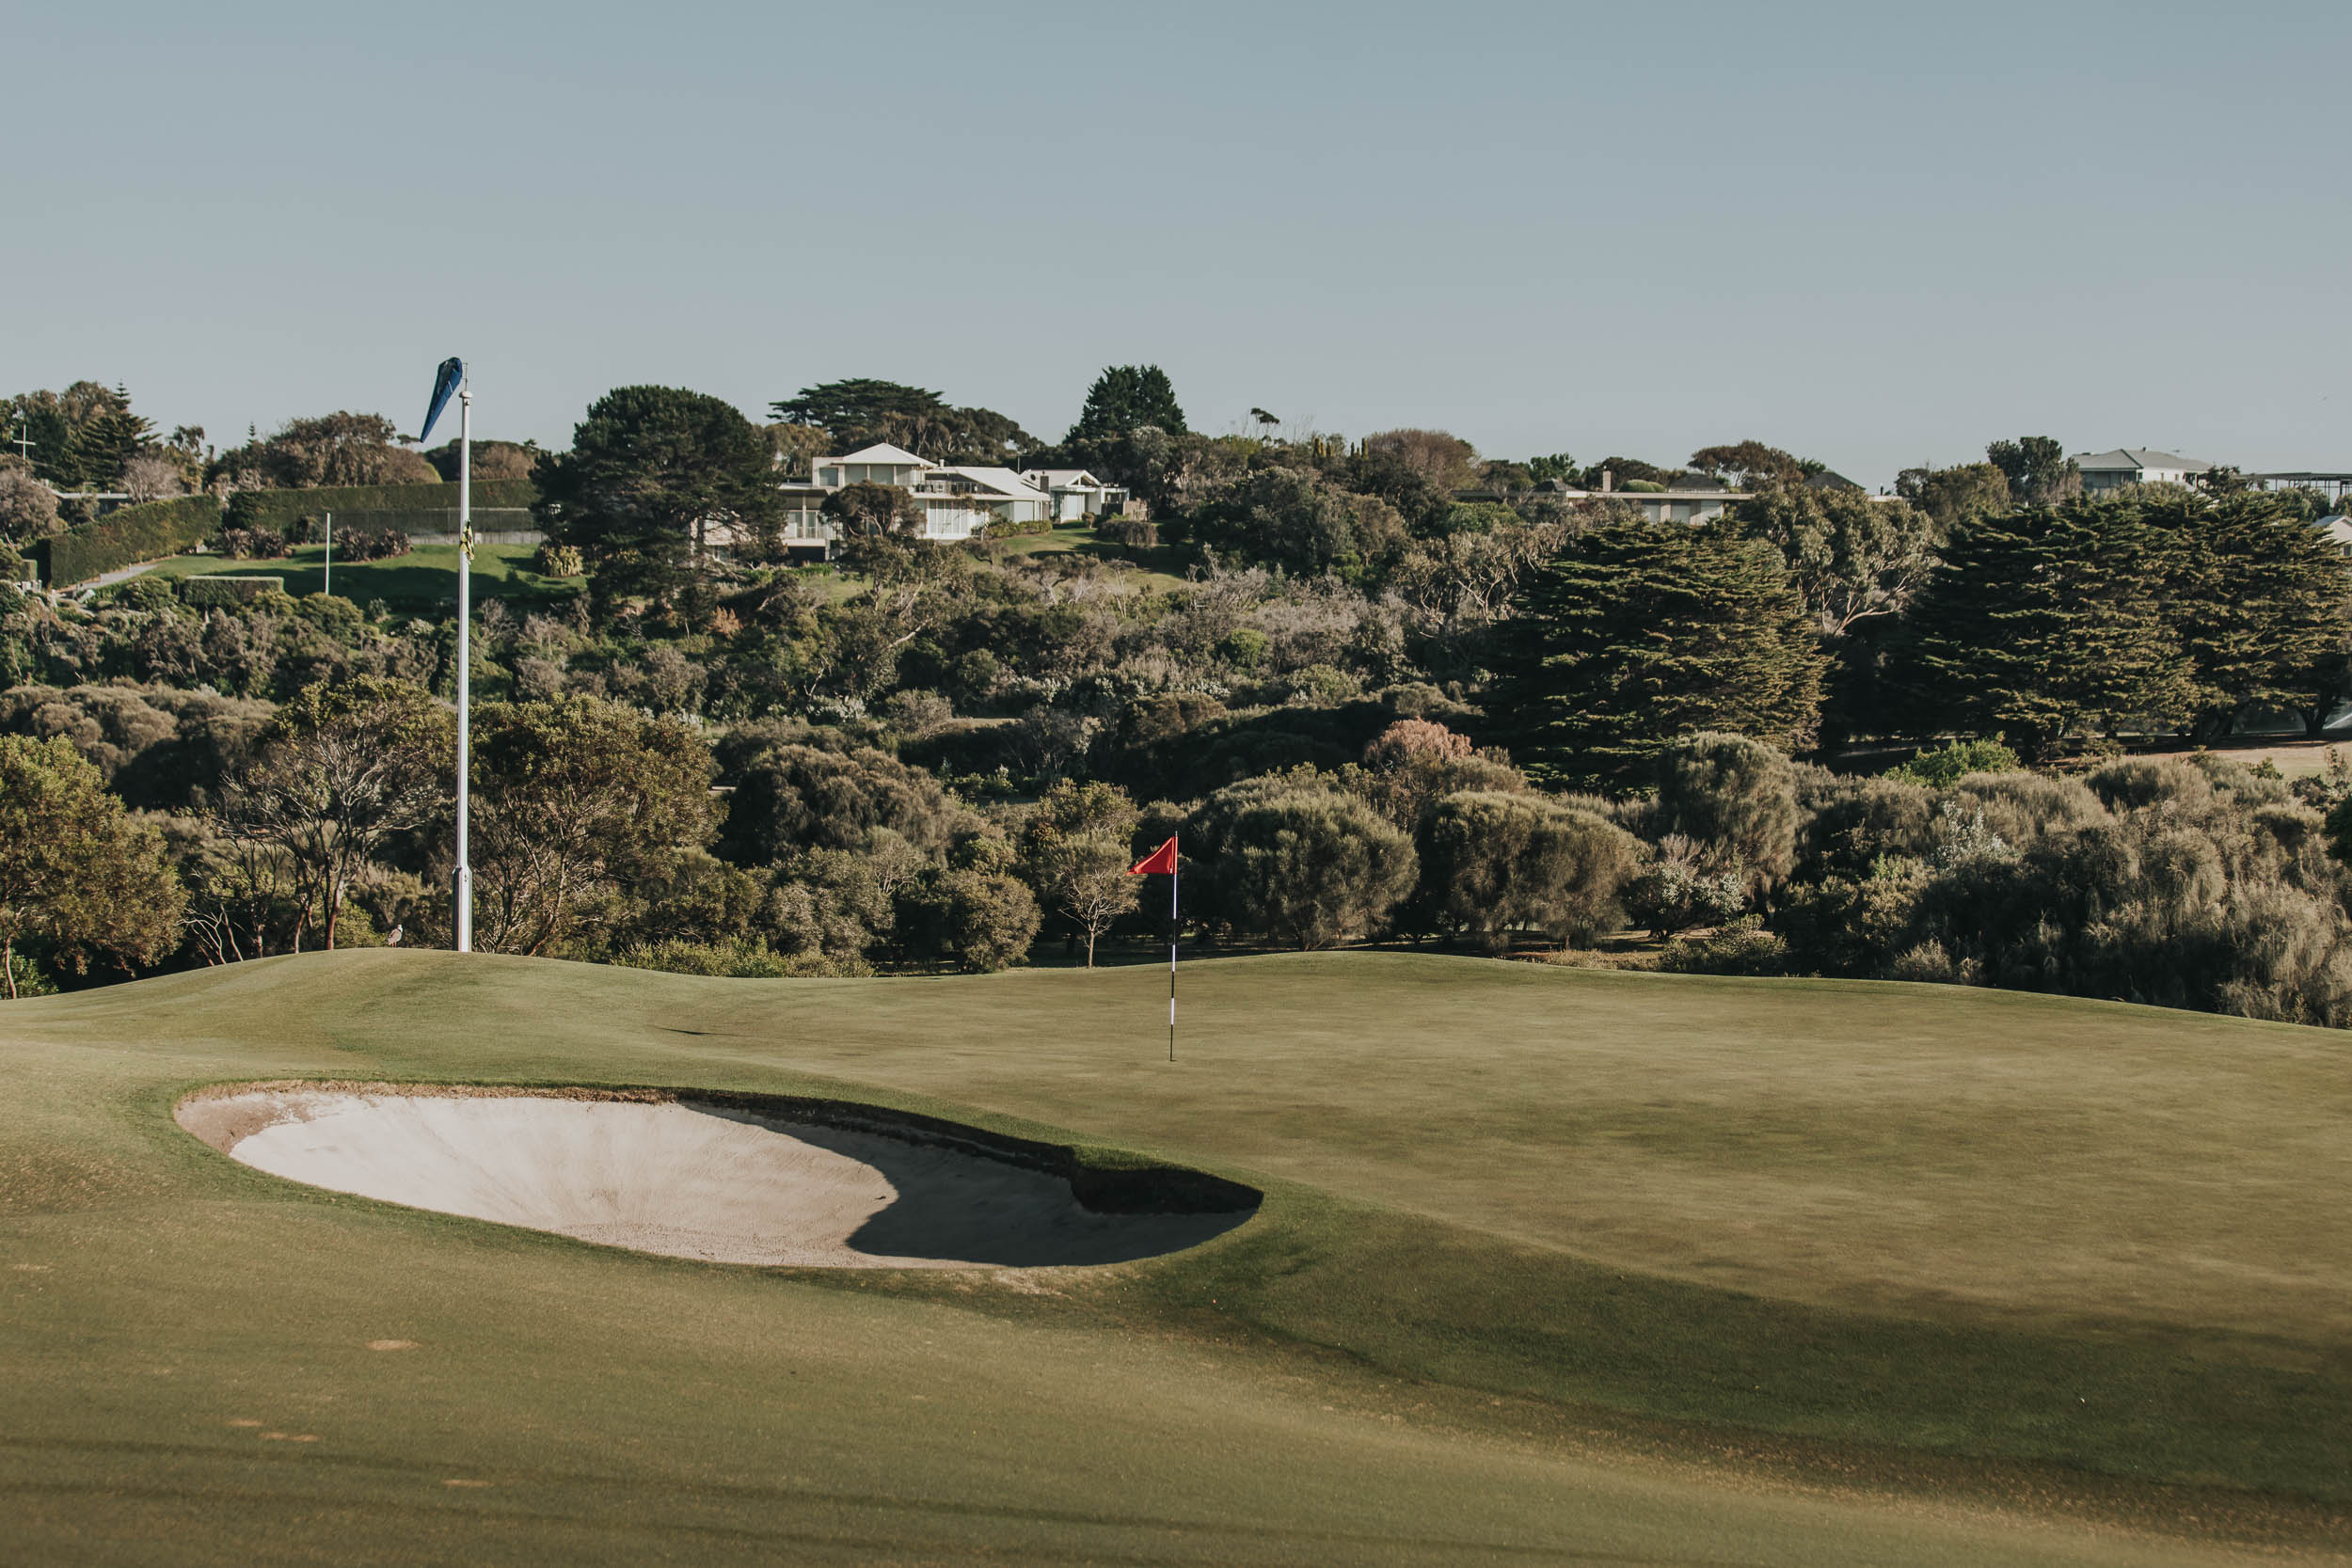
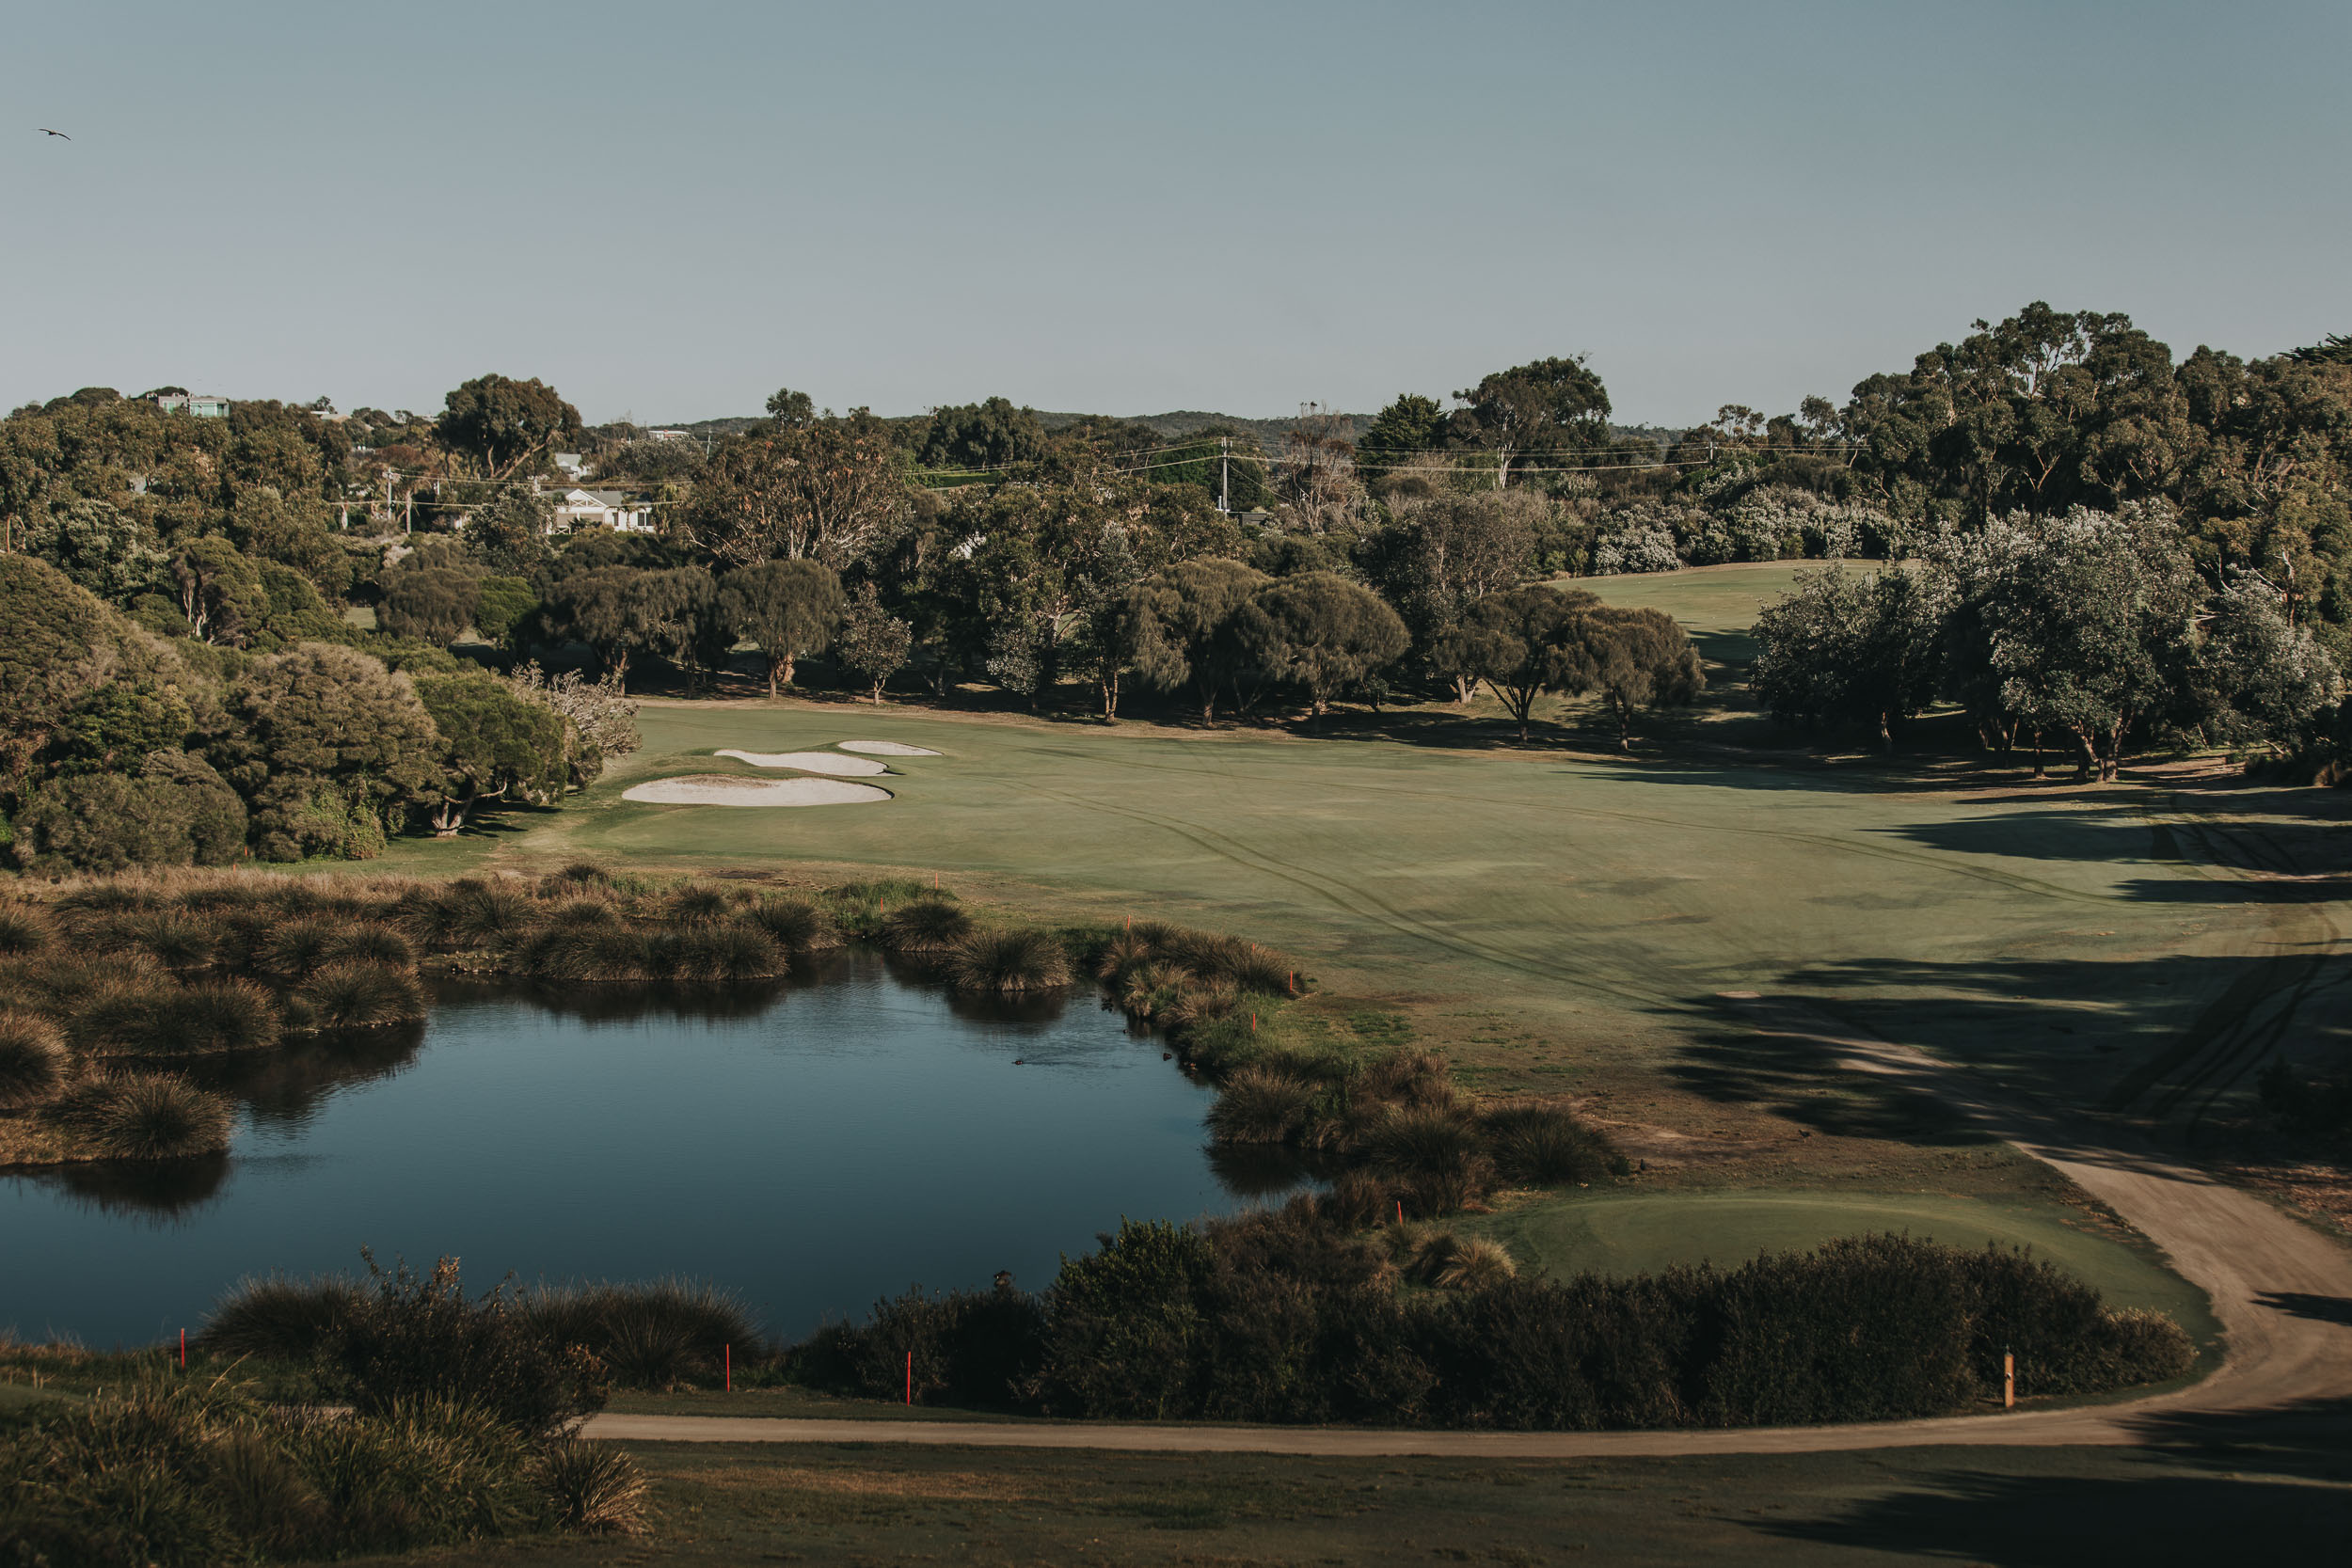
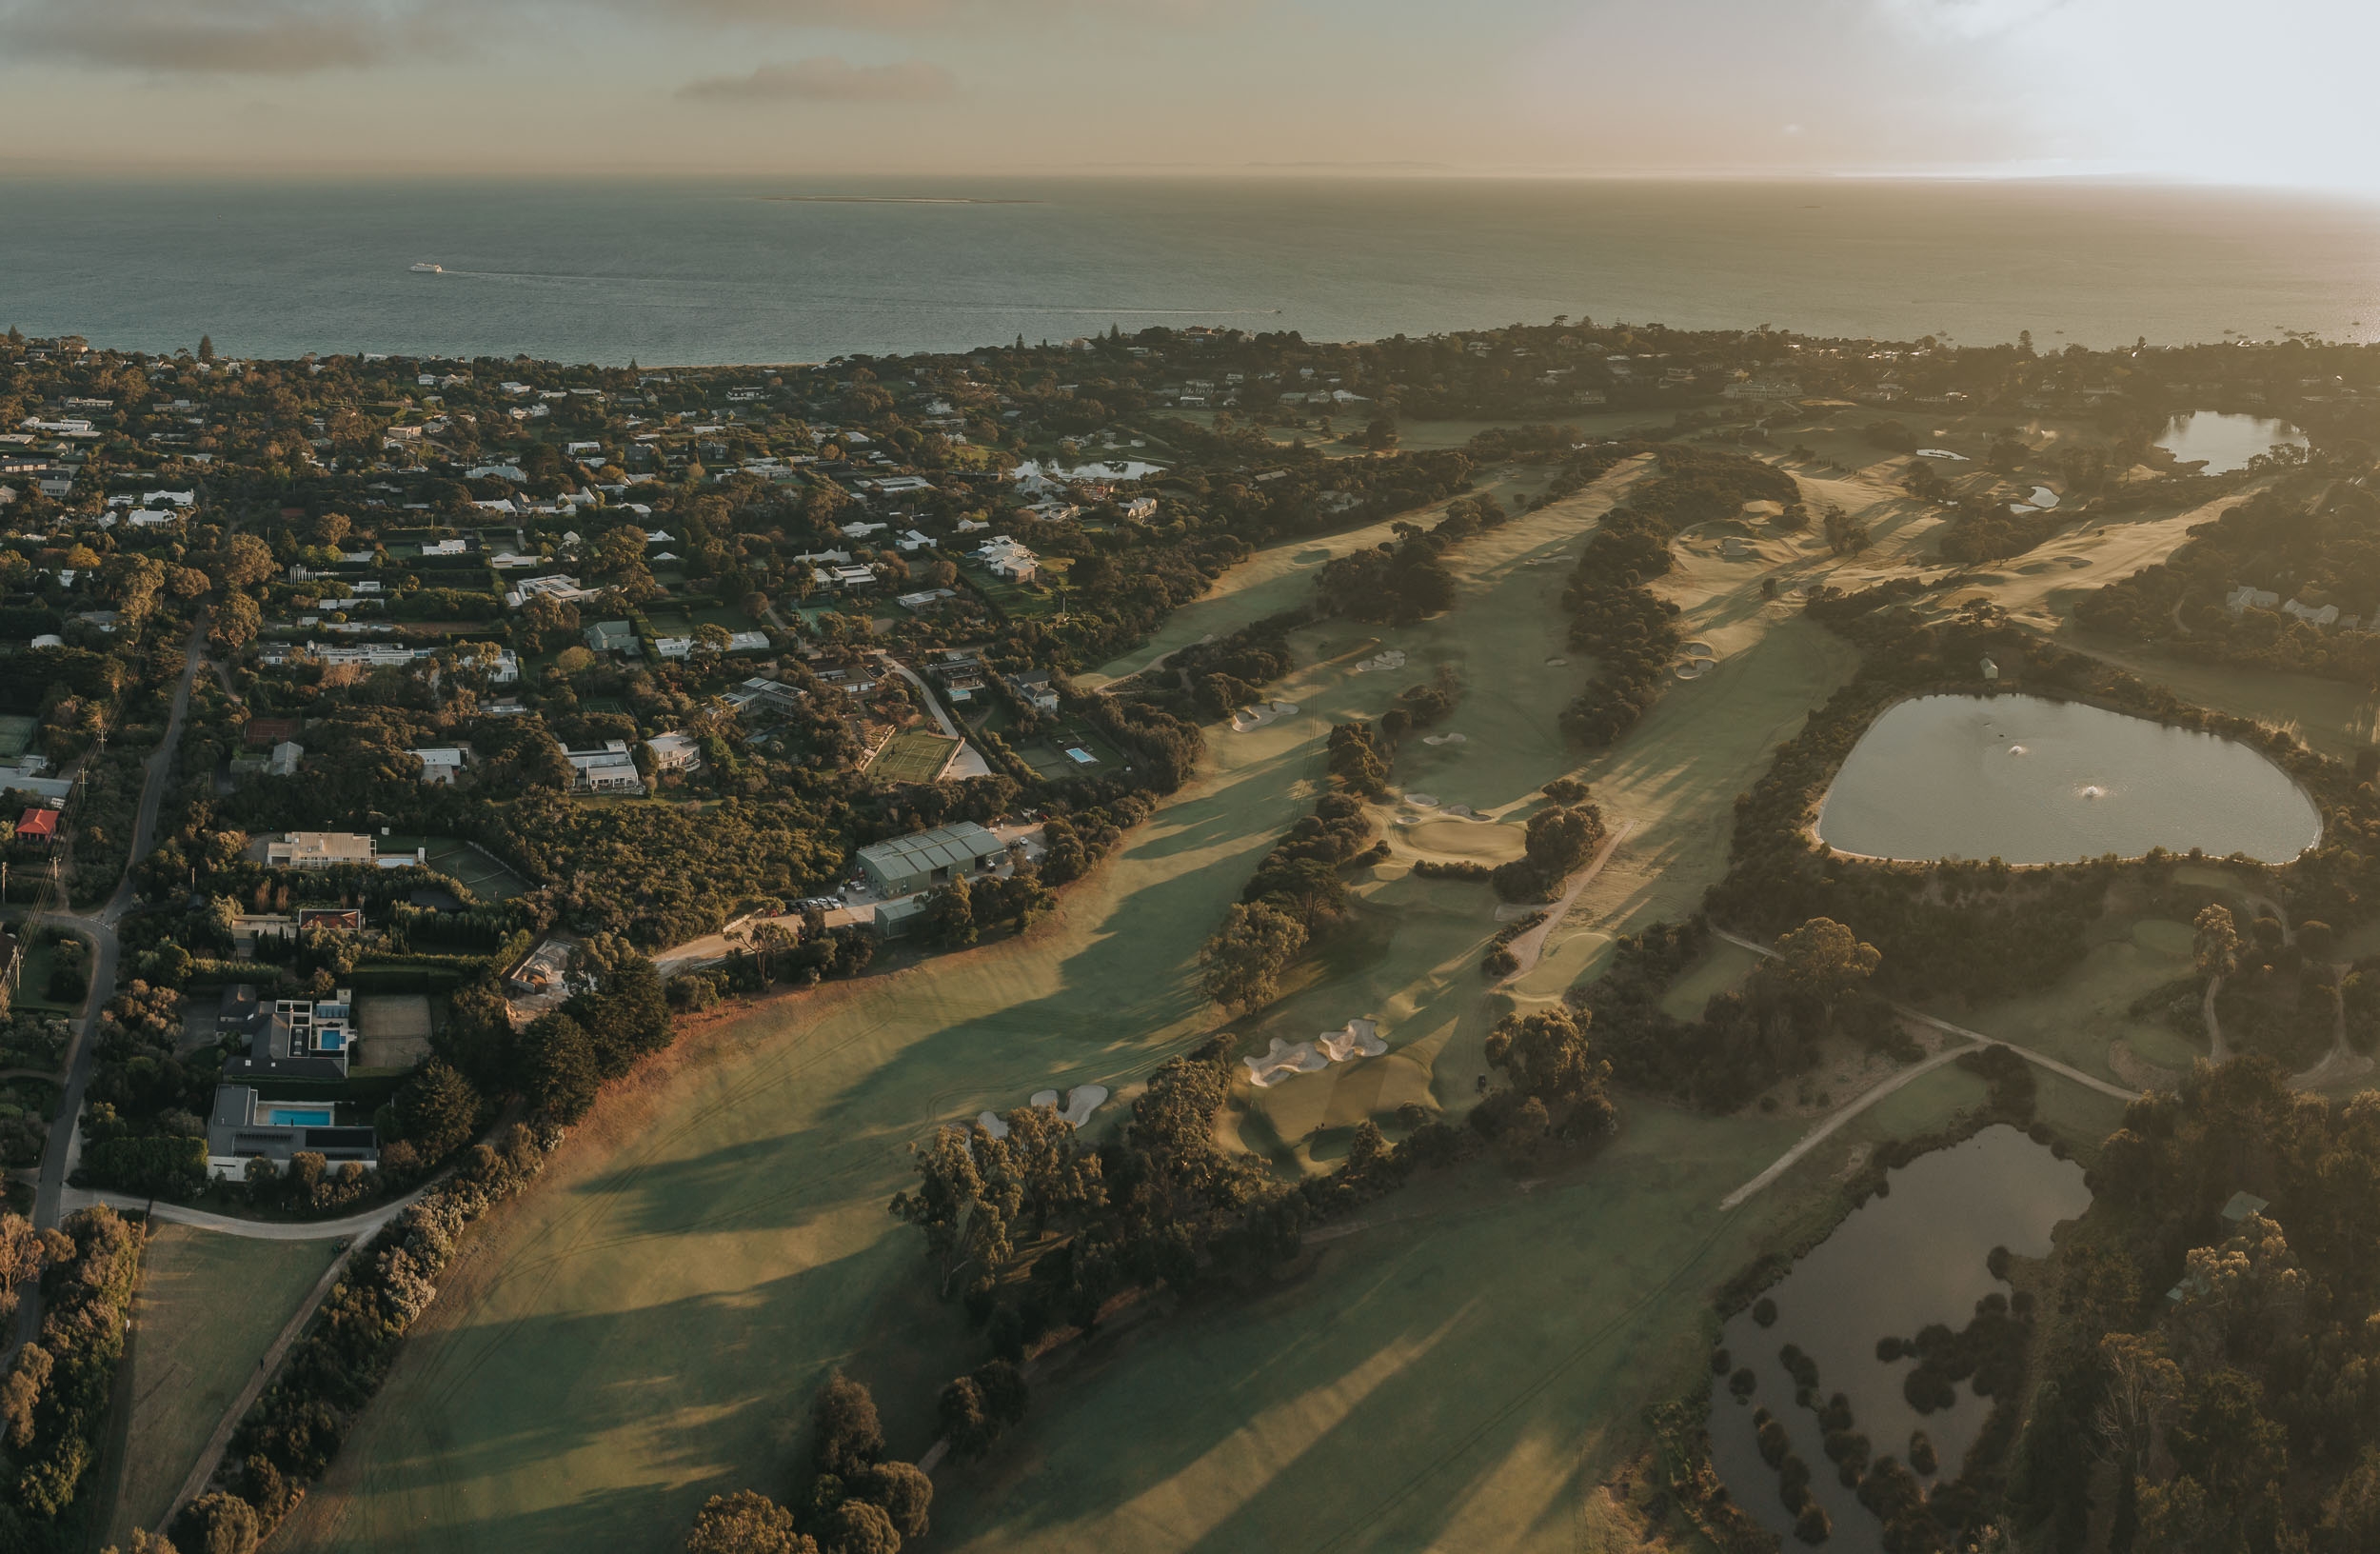
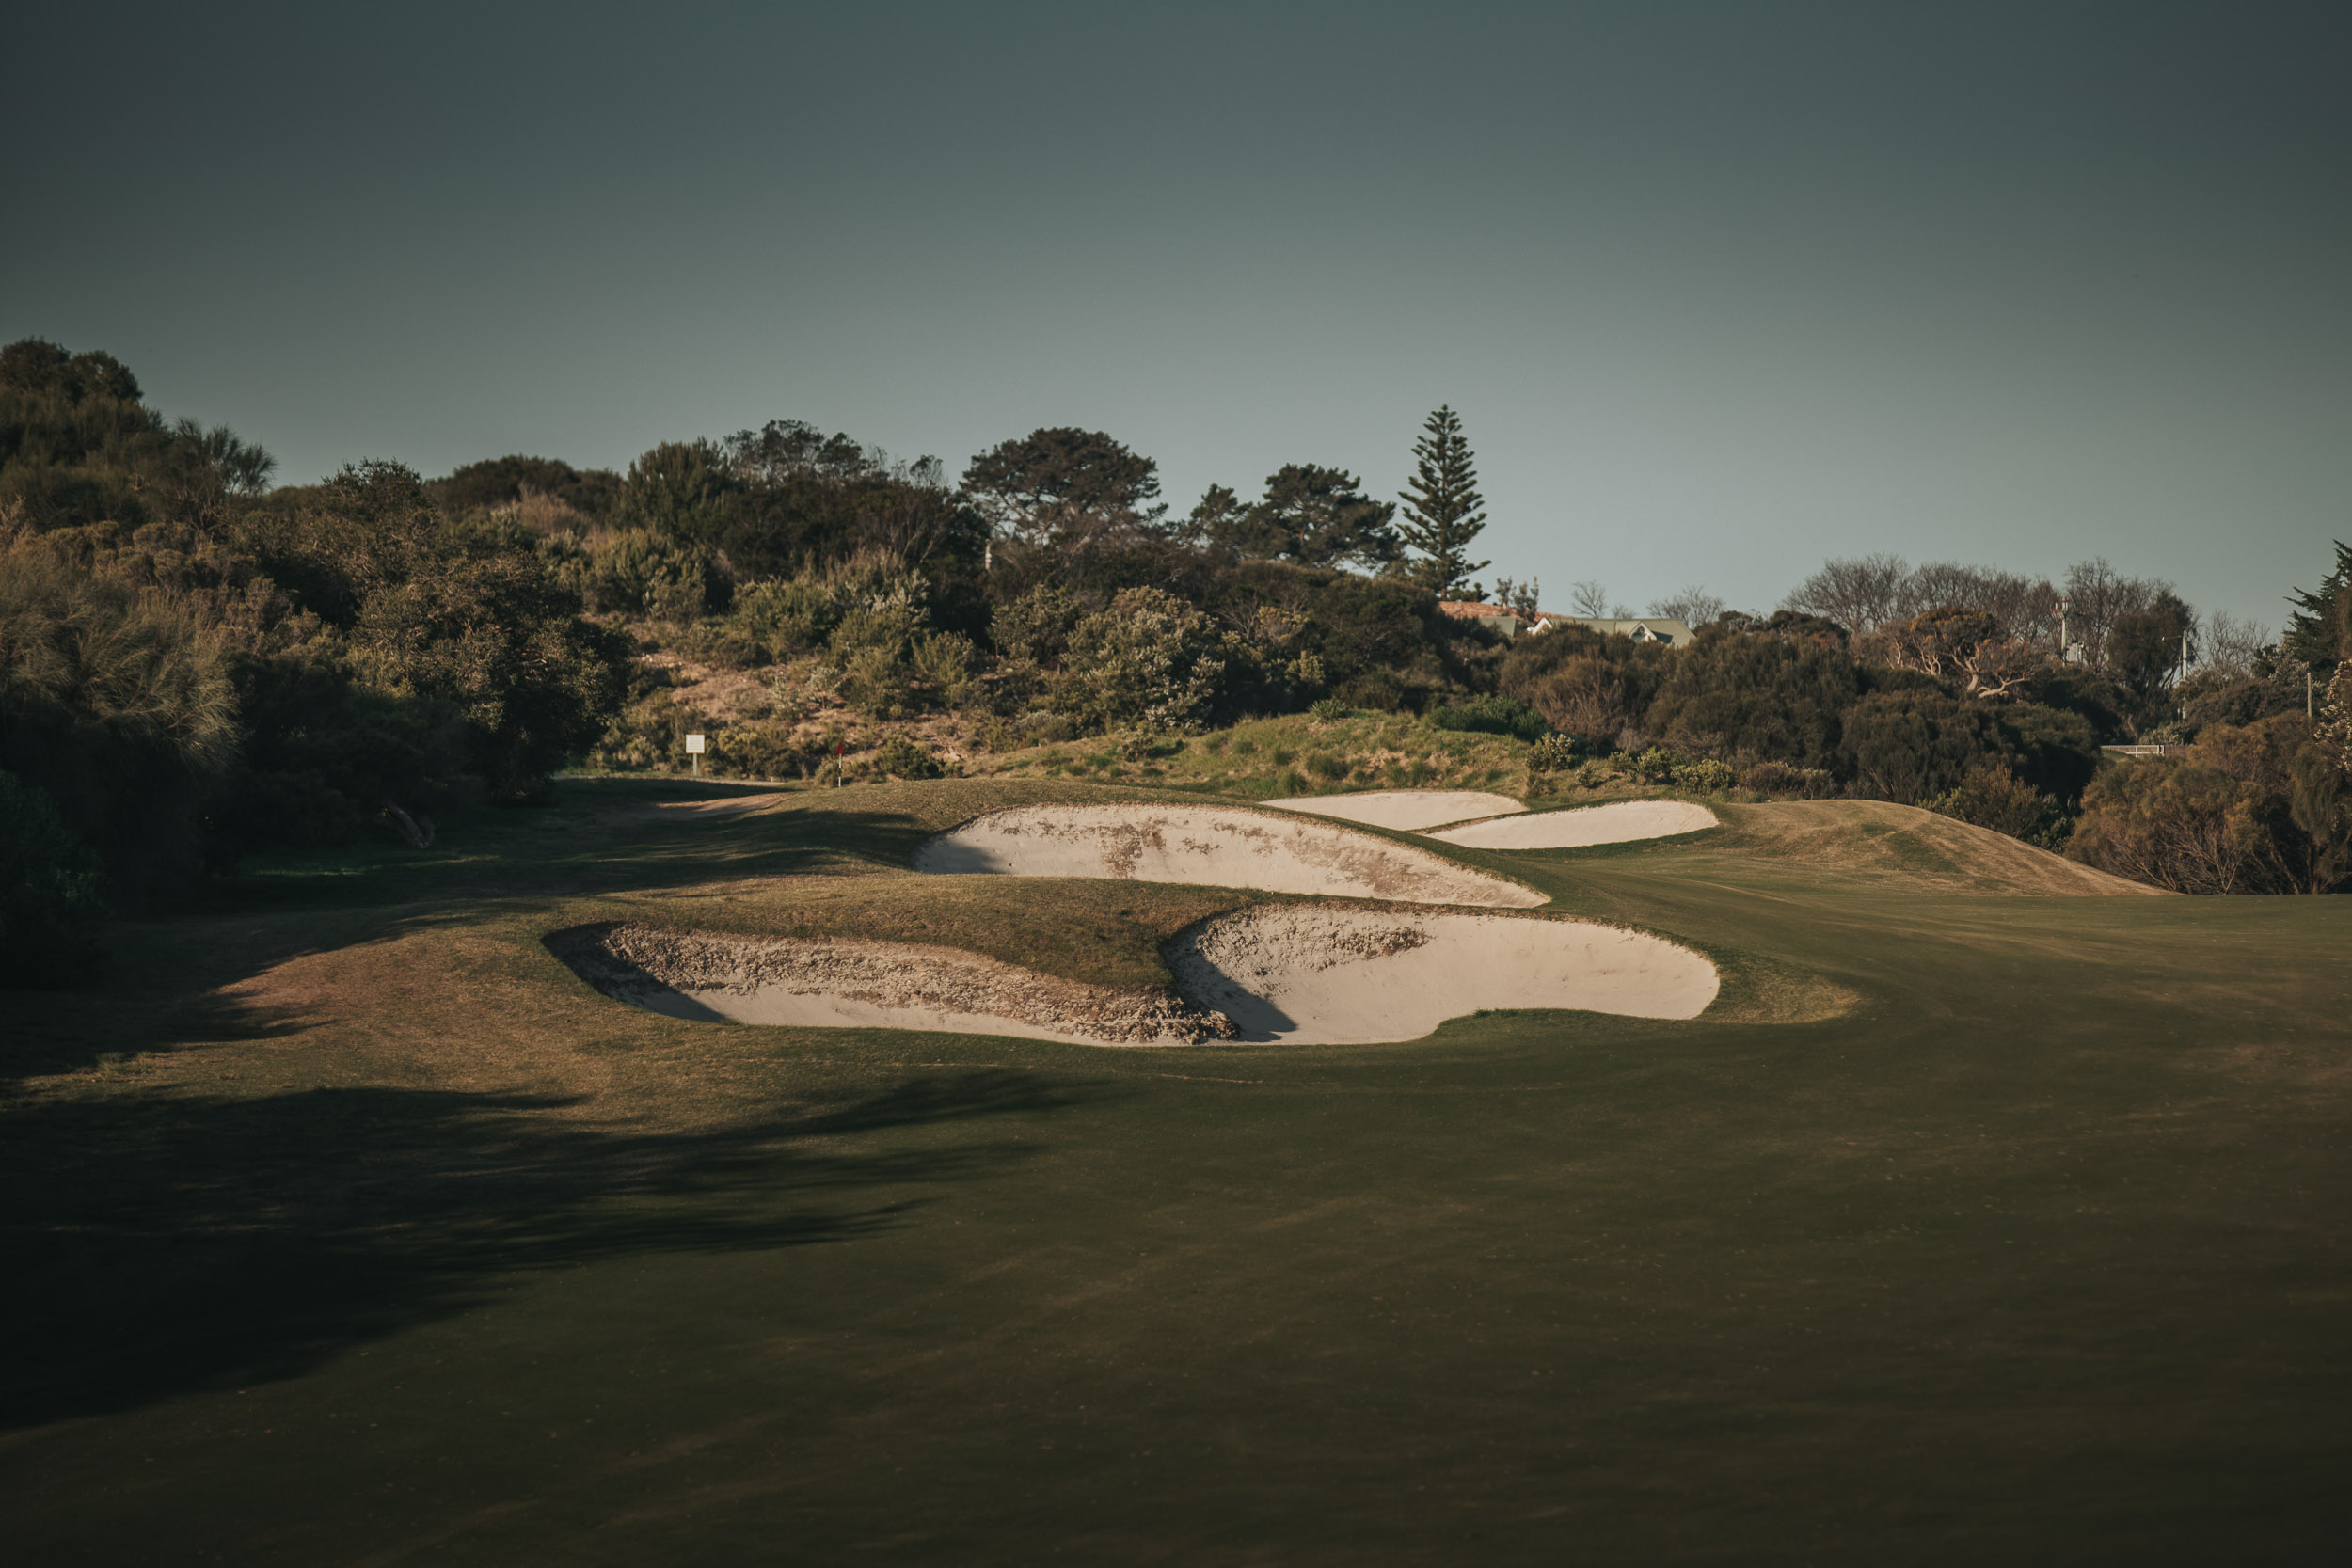
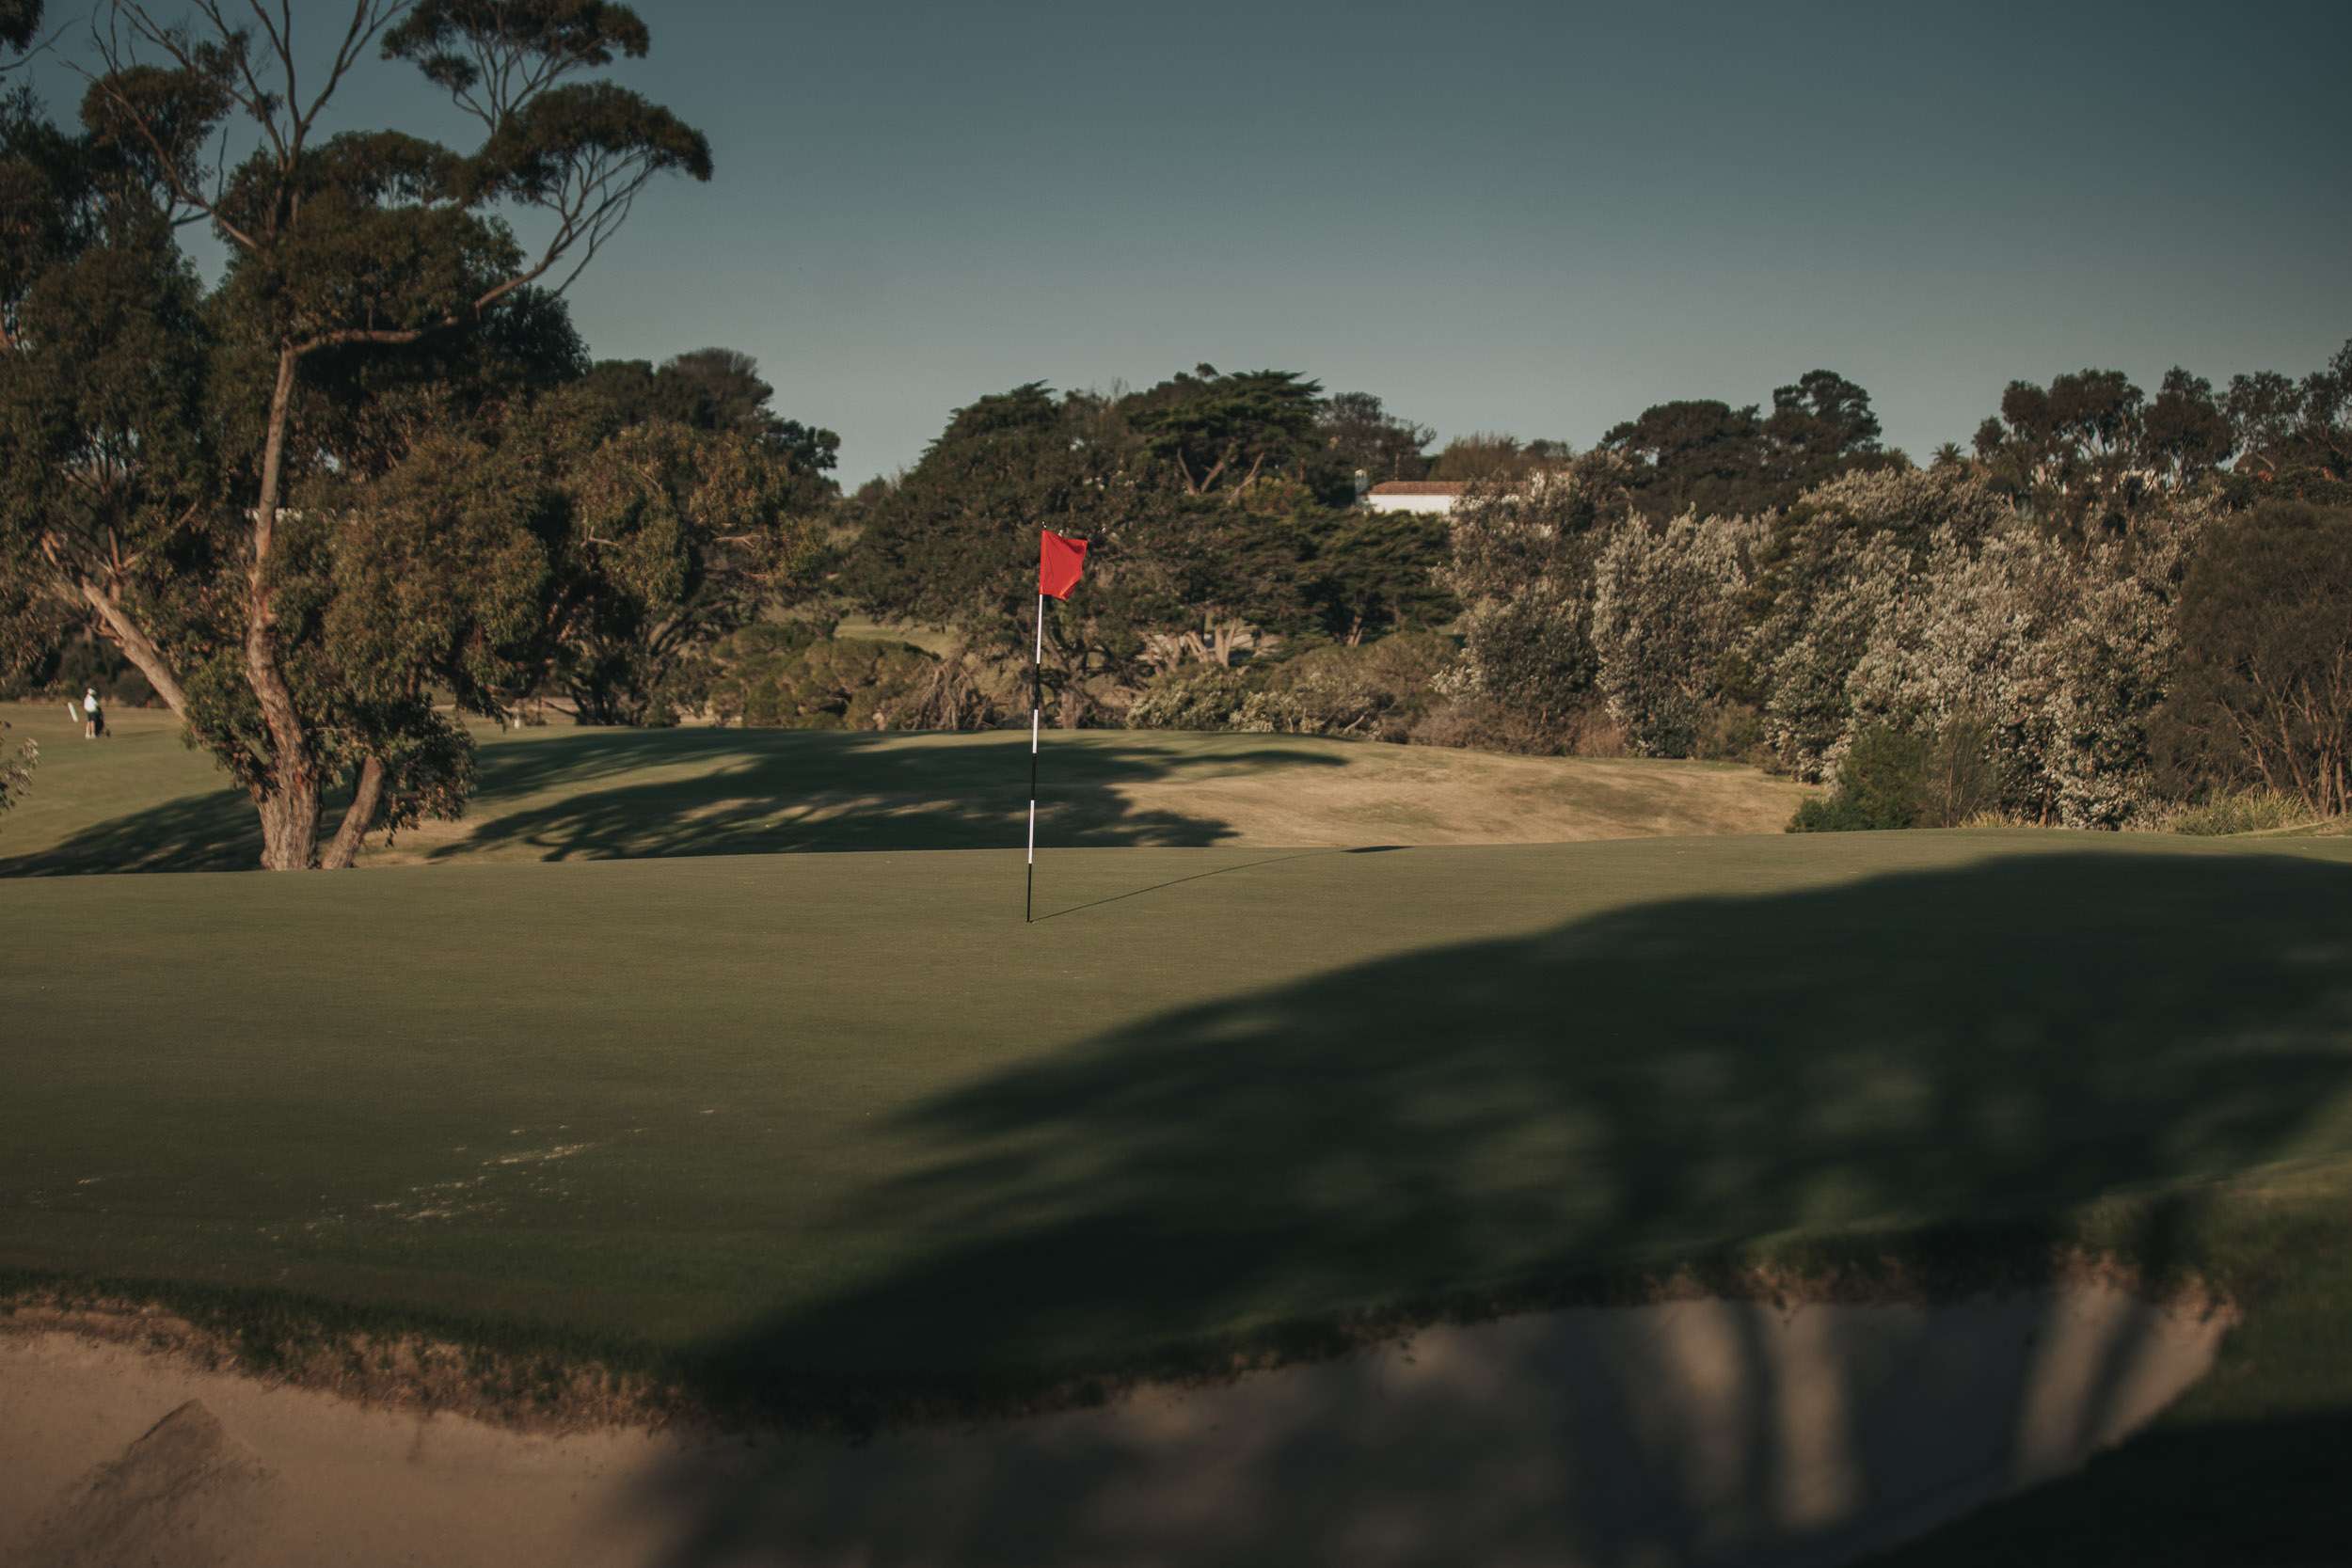
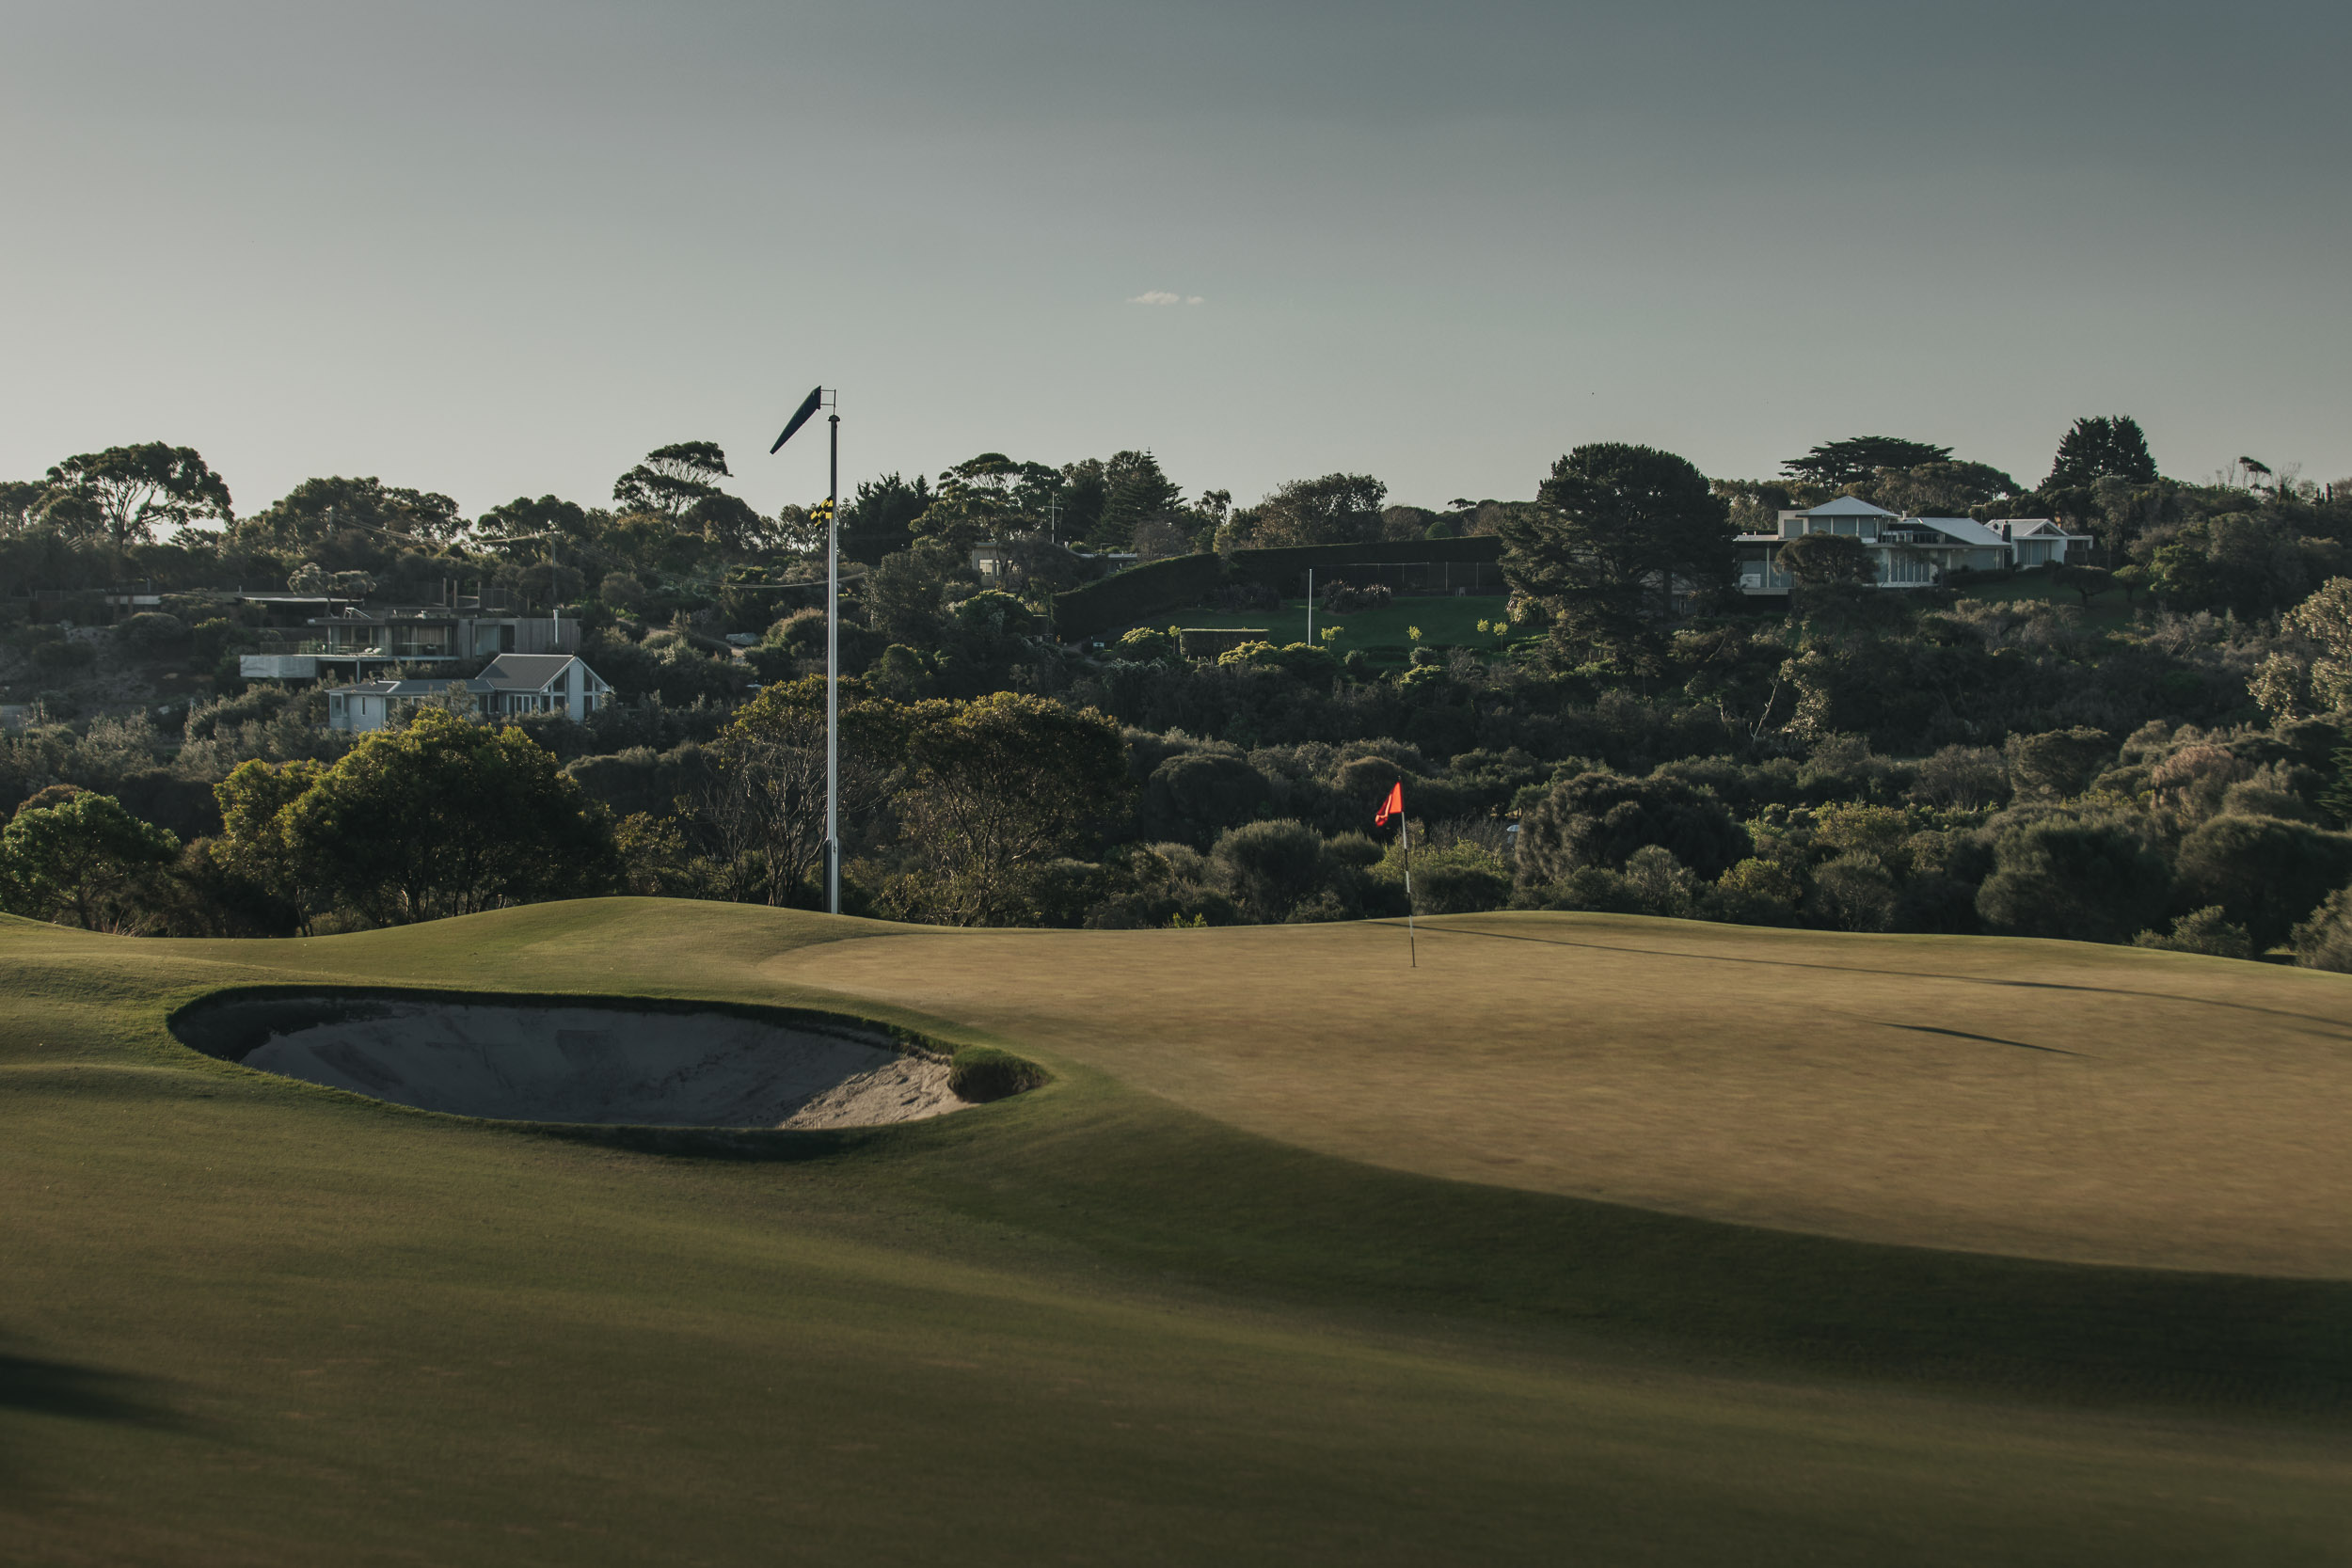
Sculpted through undulating terrain, Sorrento challenges golfers with a variety of generous landing zones, forced carries, sharp doglegs, and superb bent grass greens. Strategic bunkering requires accuracy and precision rather than sheer power, while our superb bent grass putting surfaces roll firm and true.

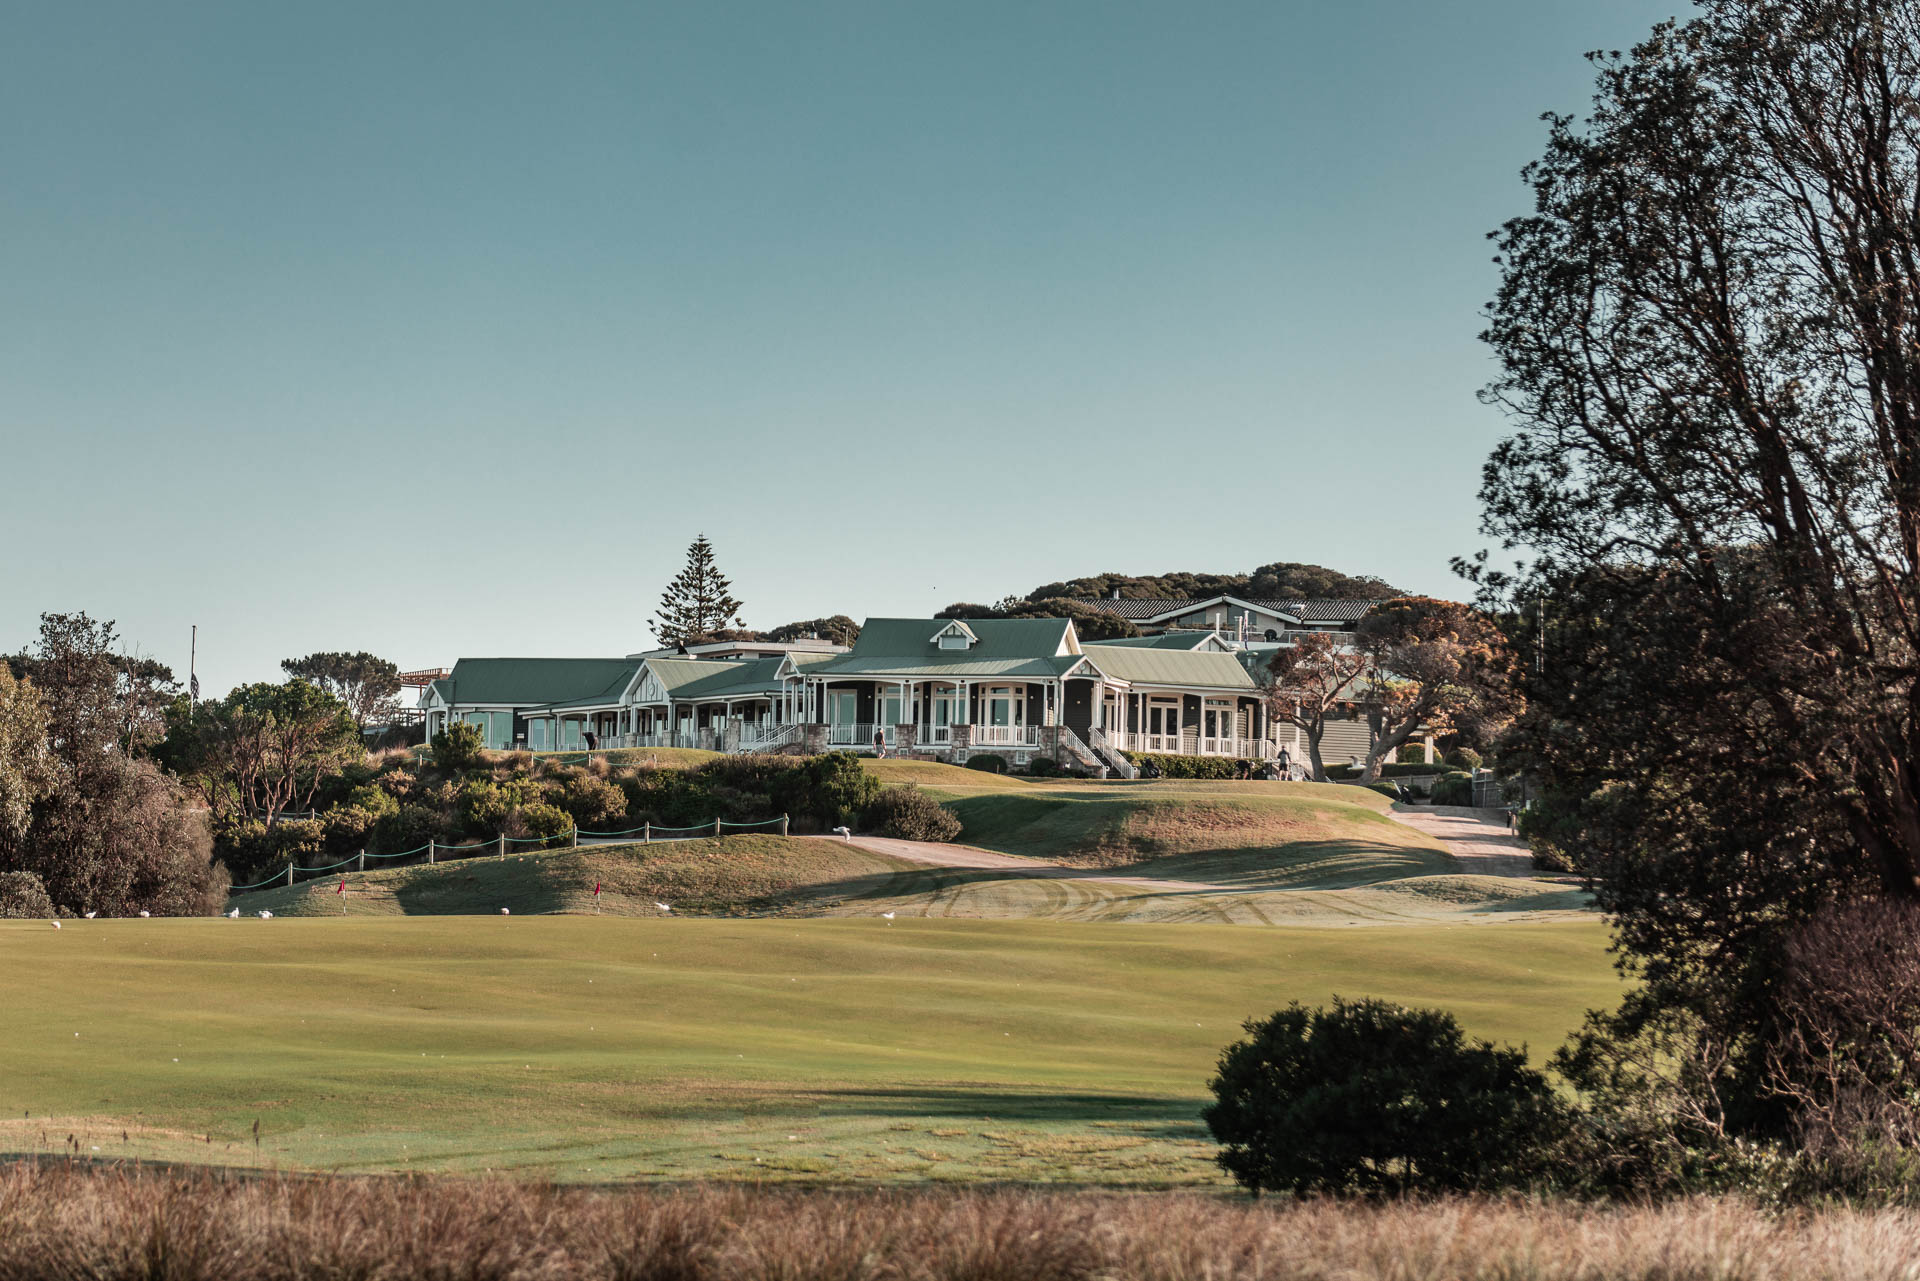
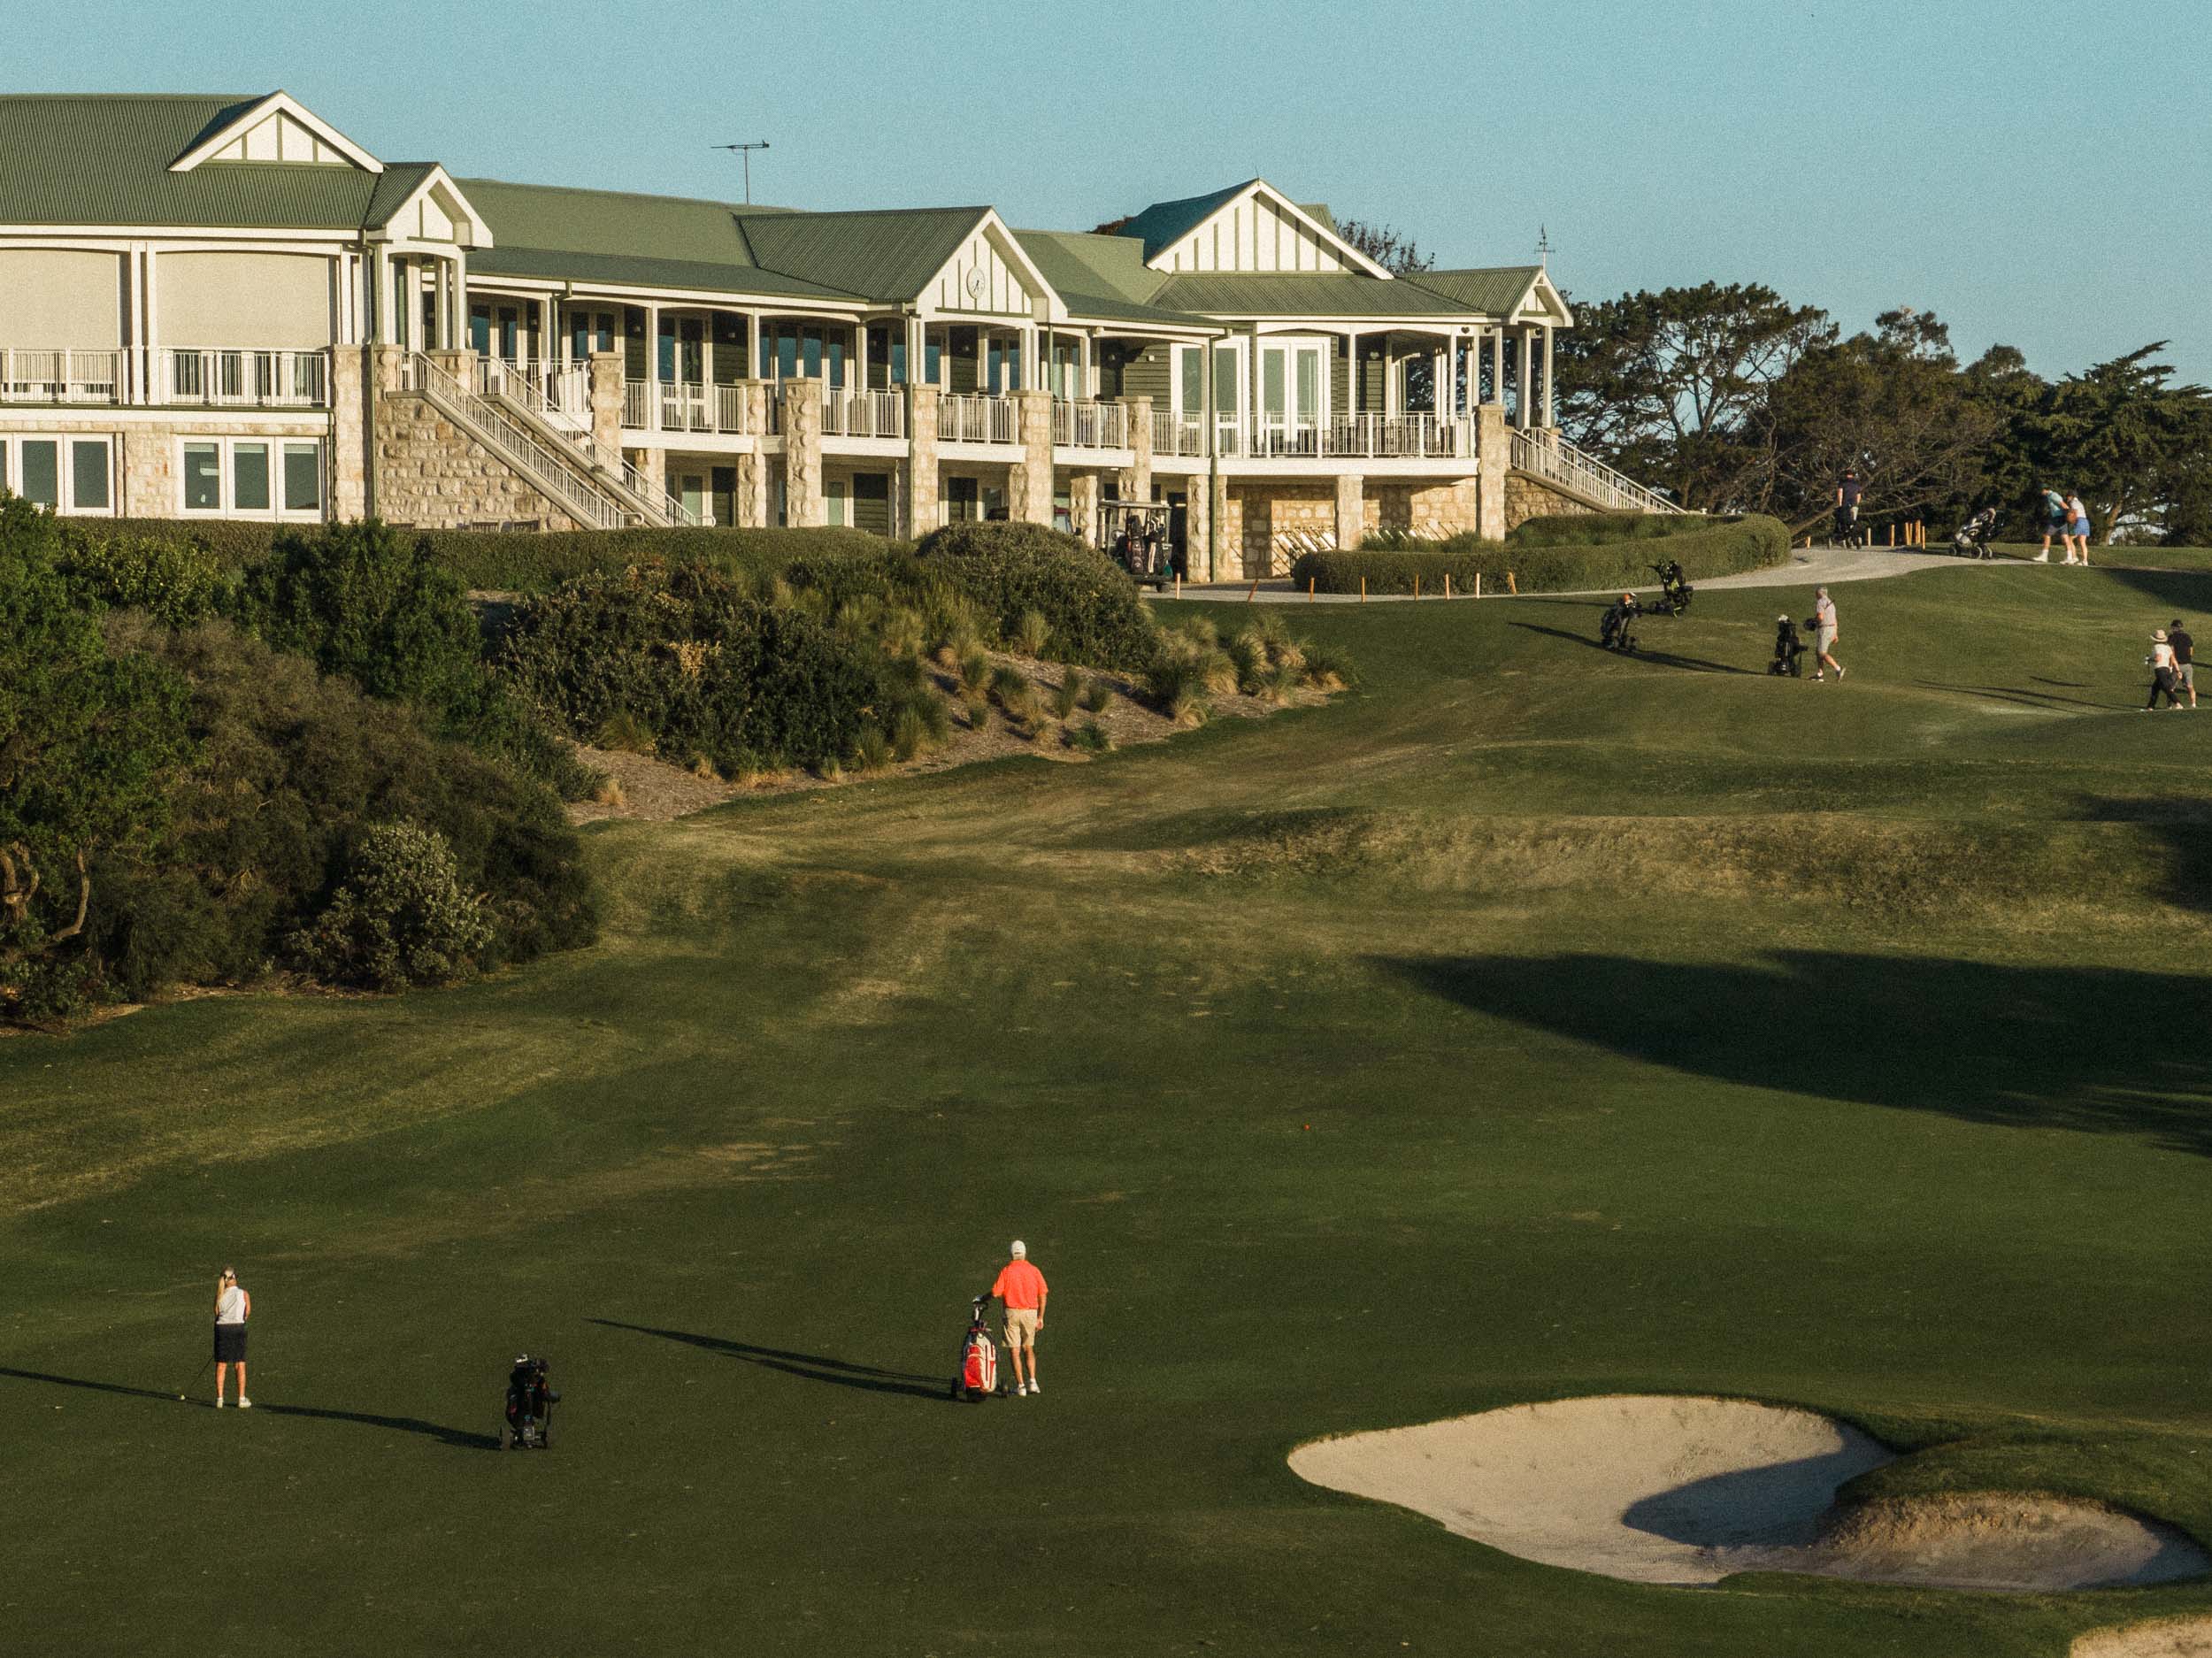
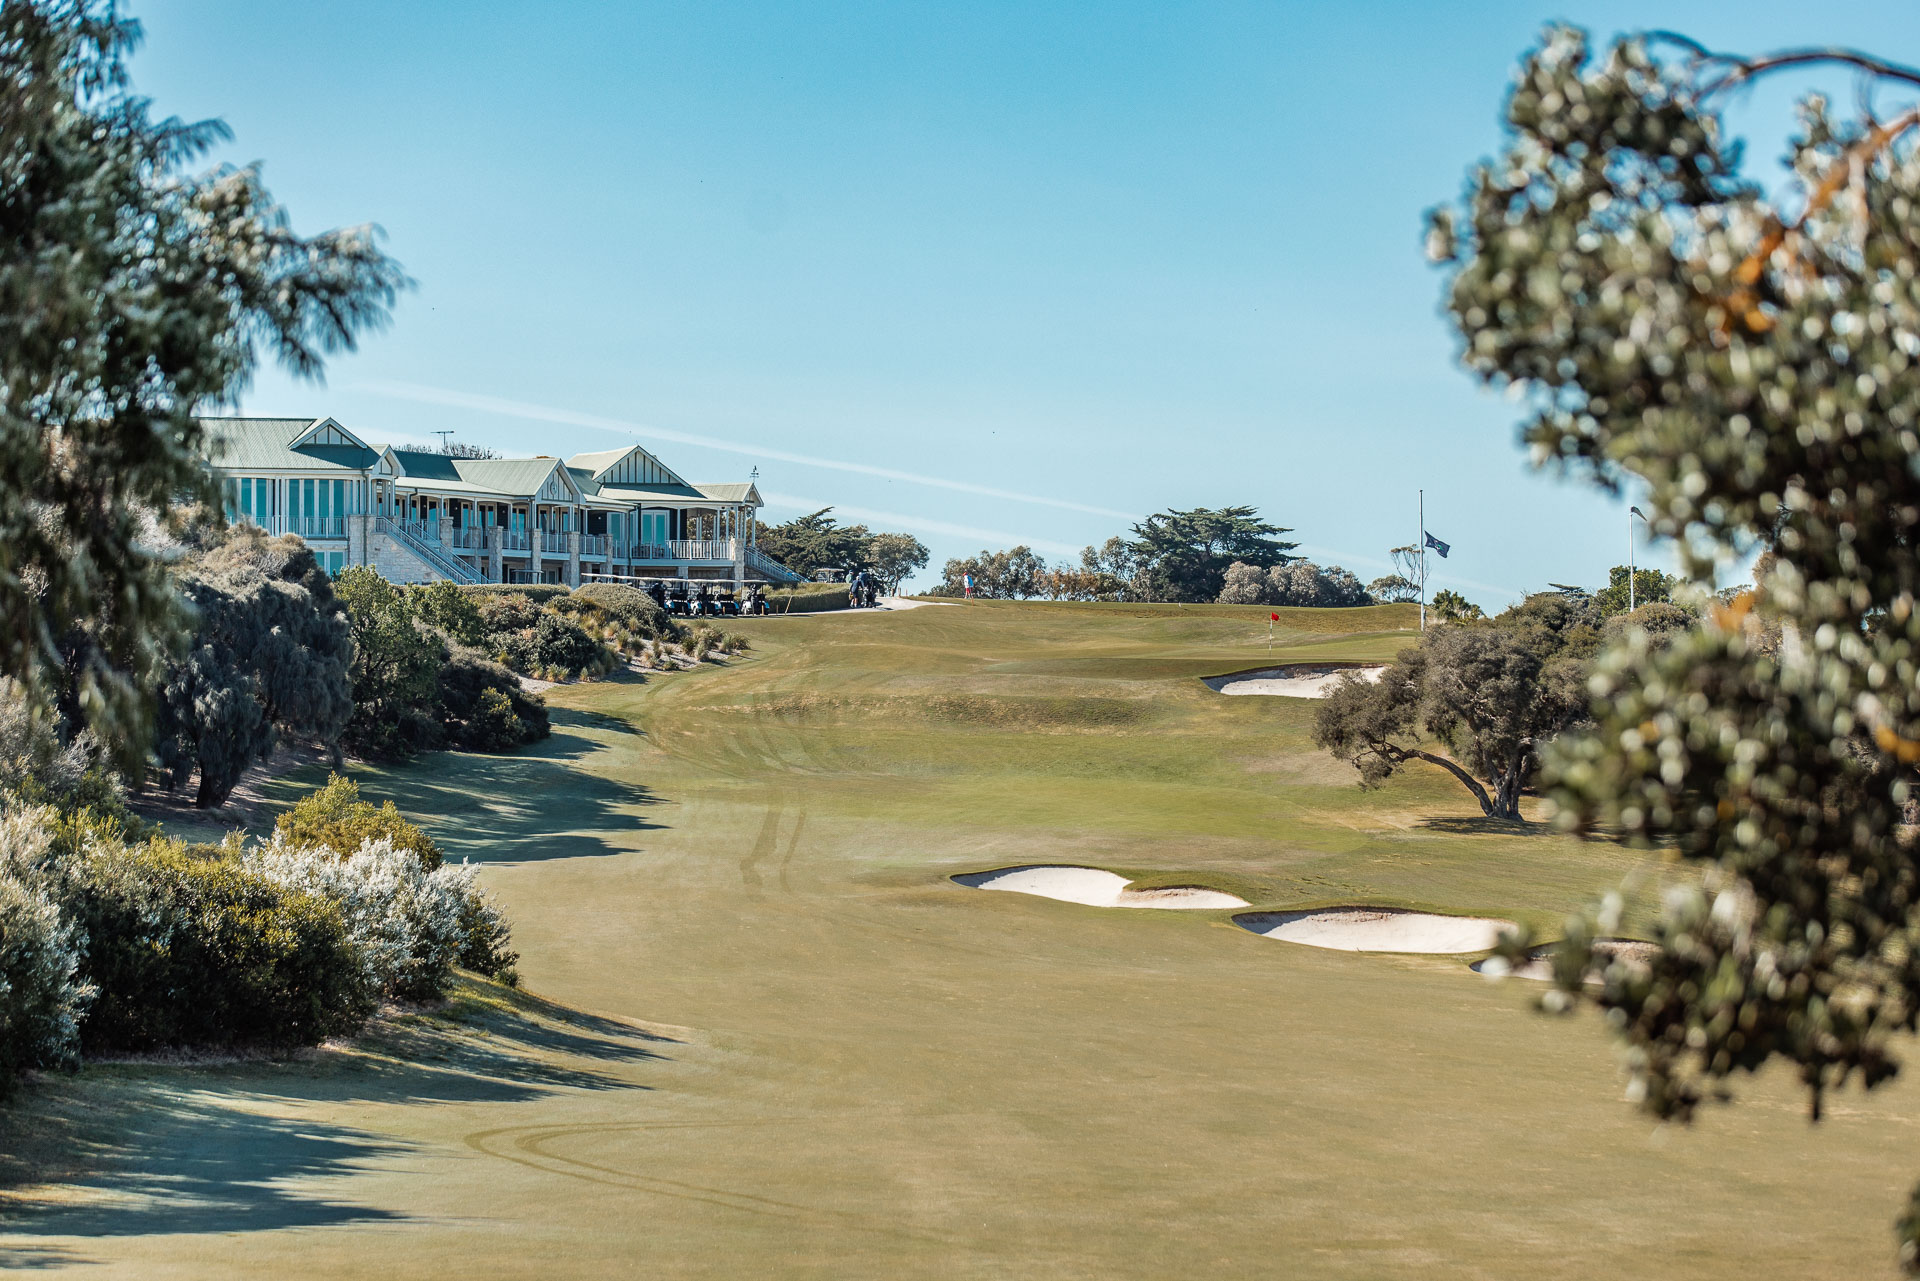
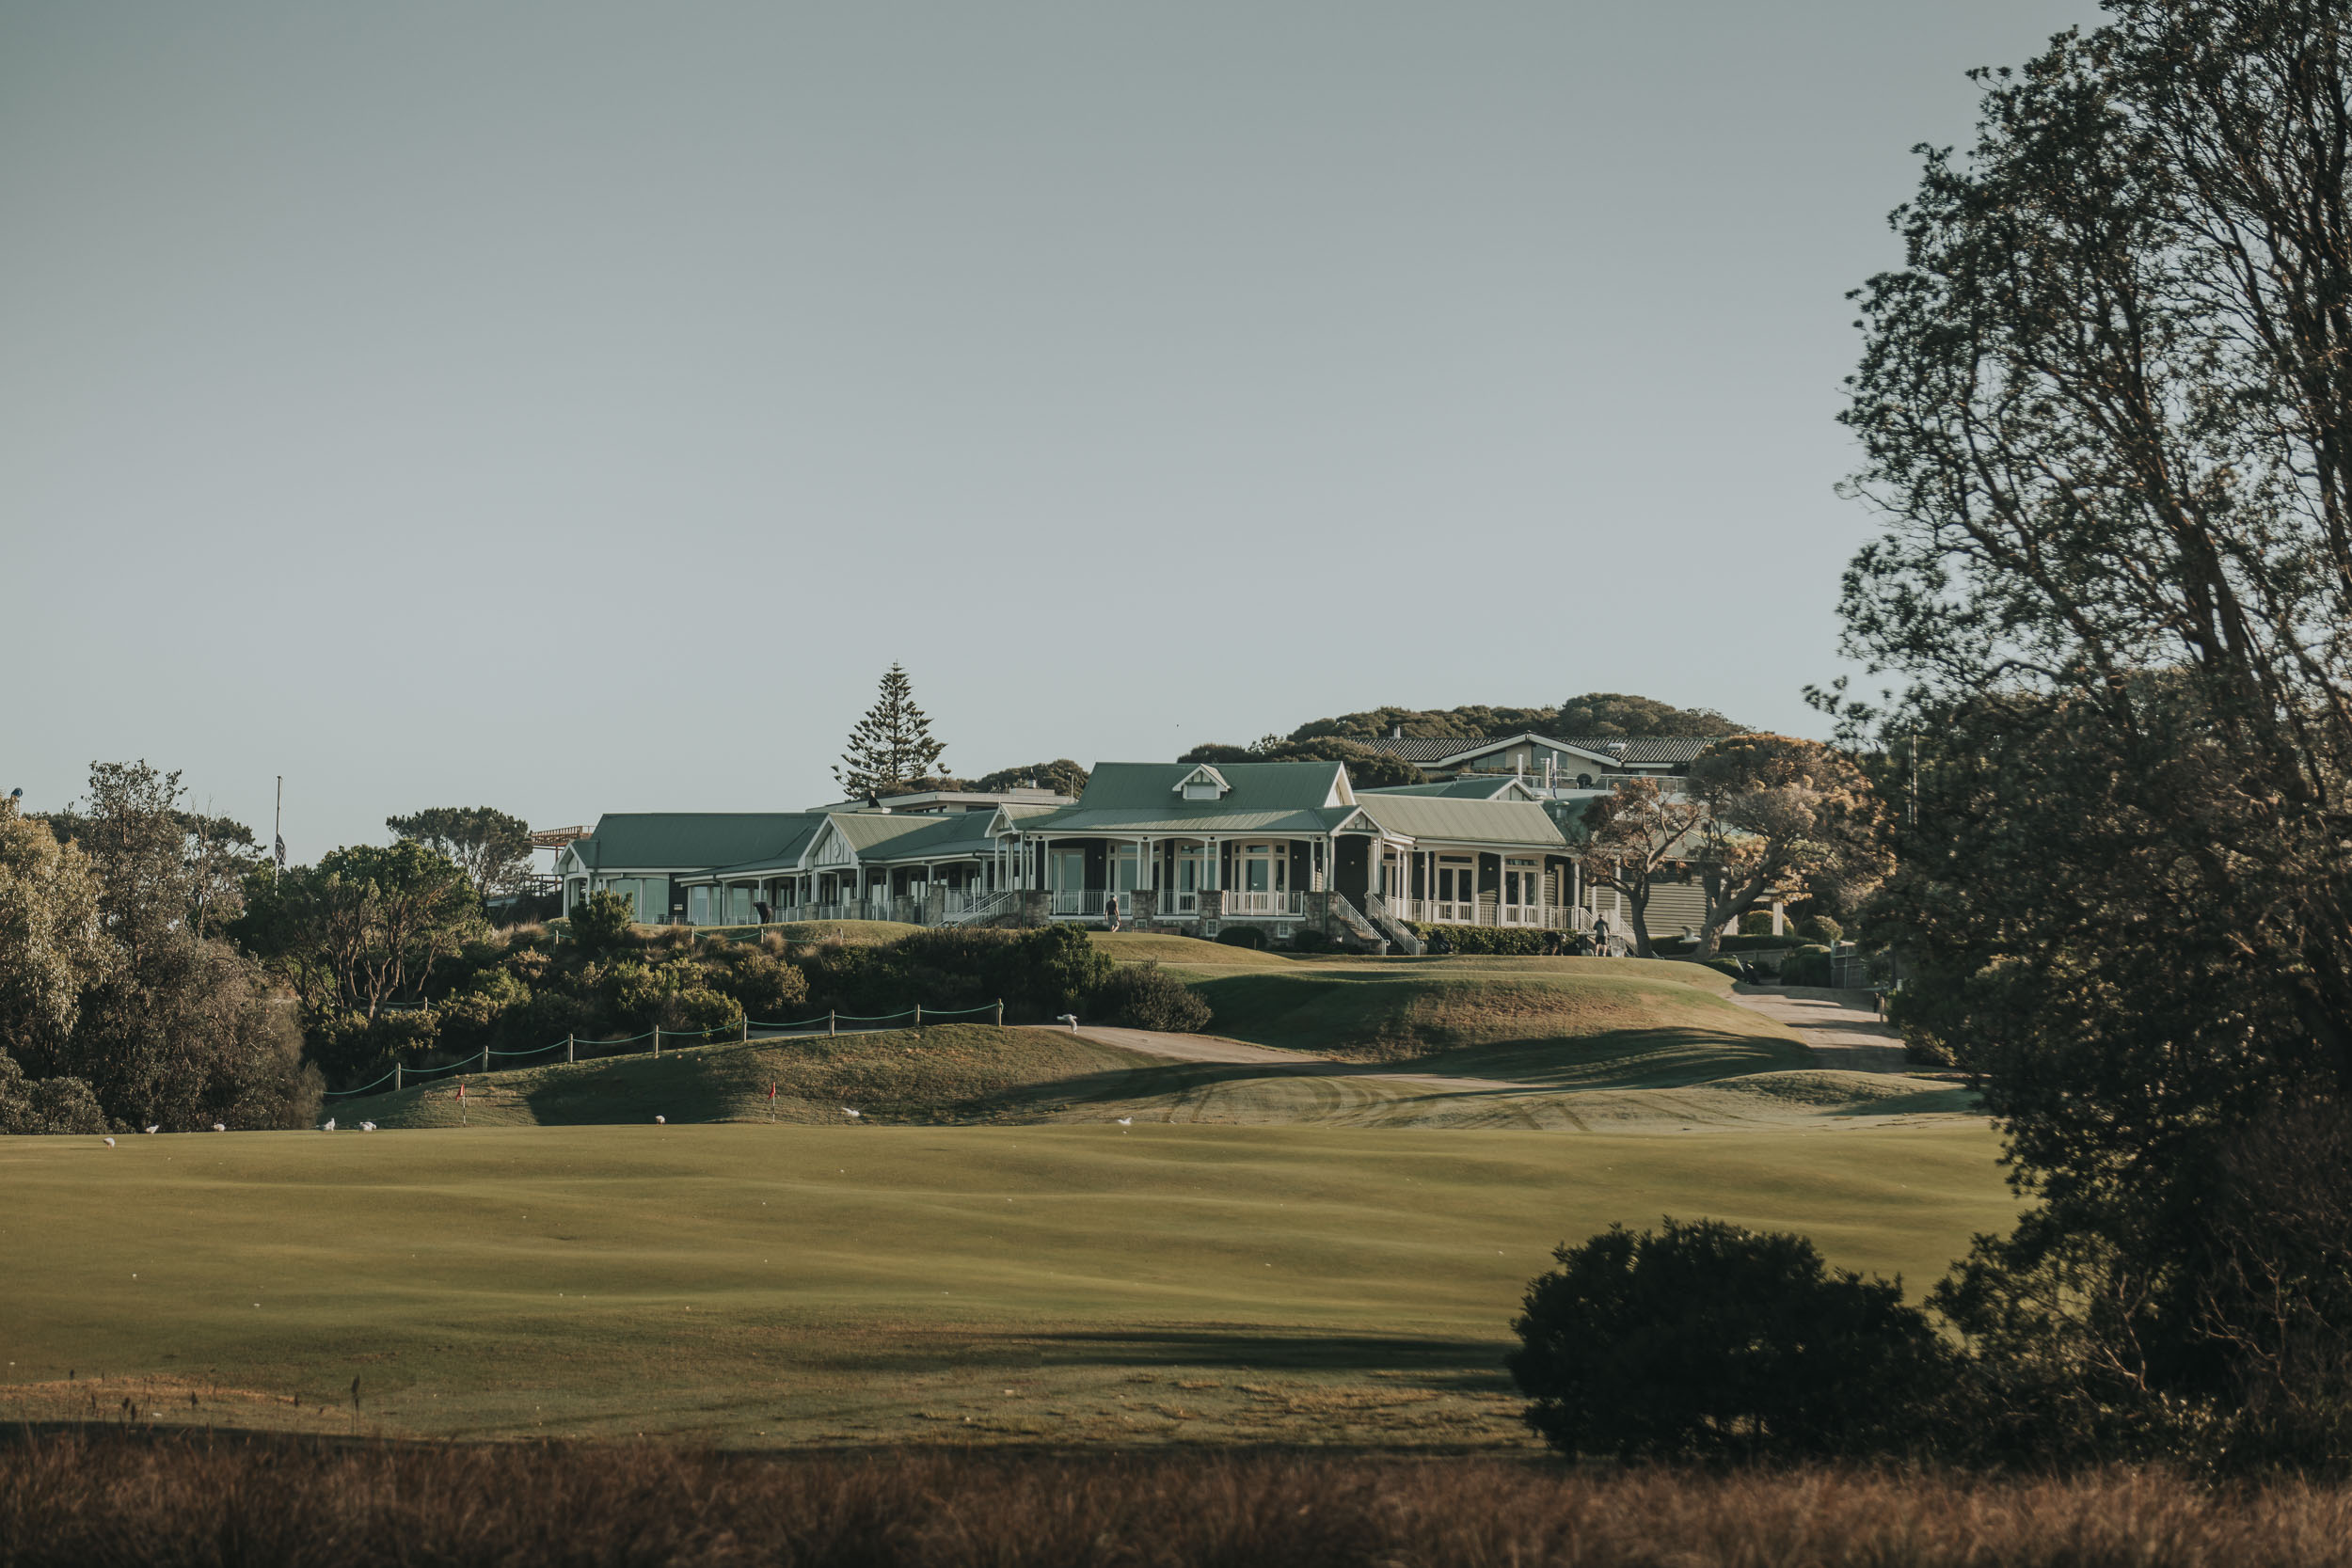
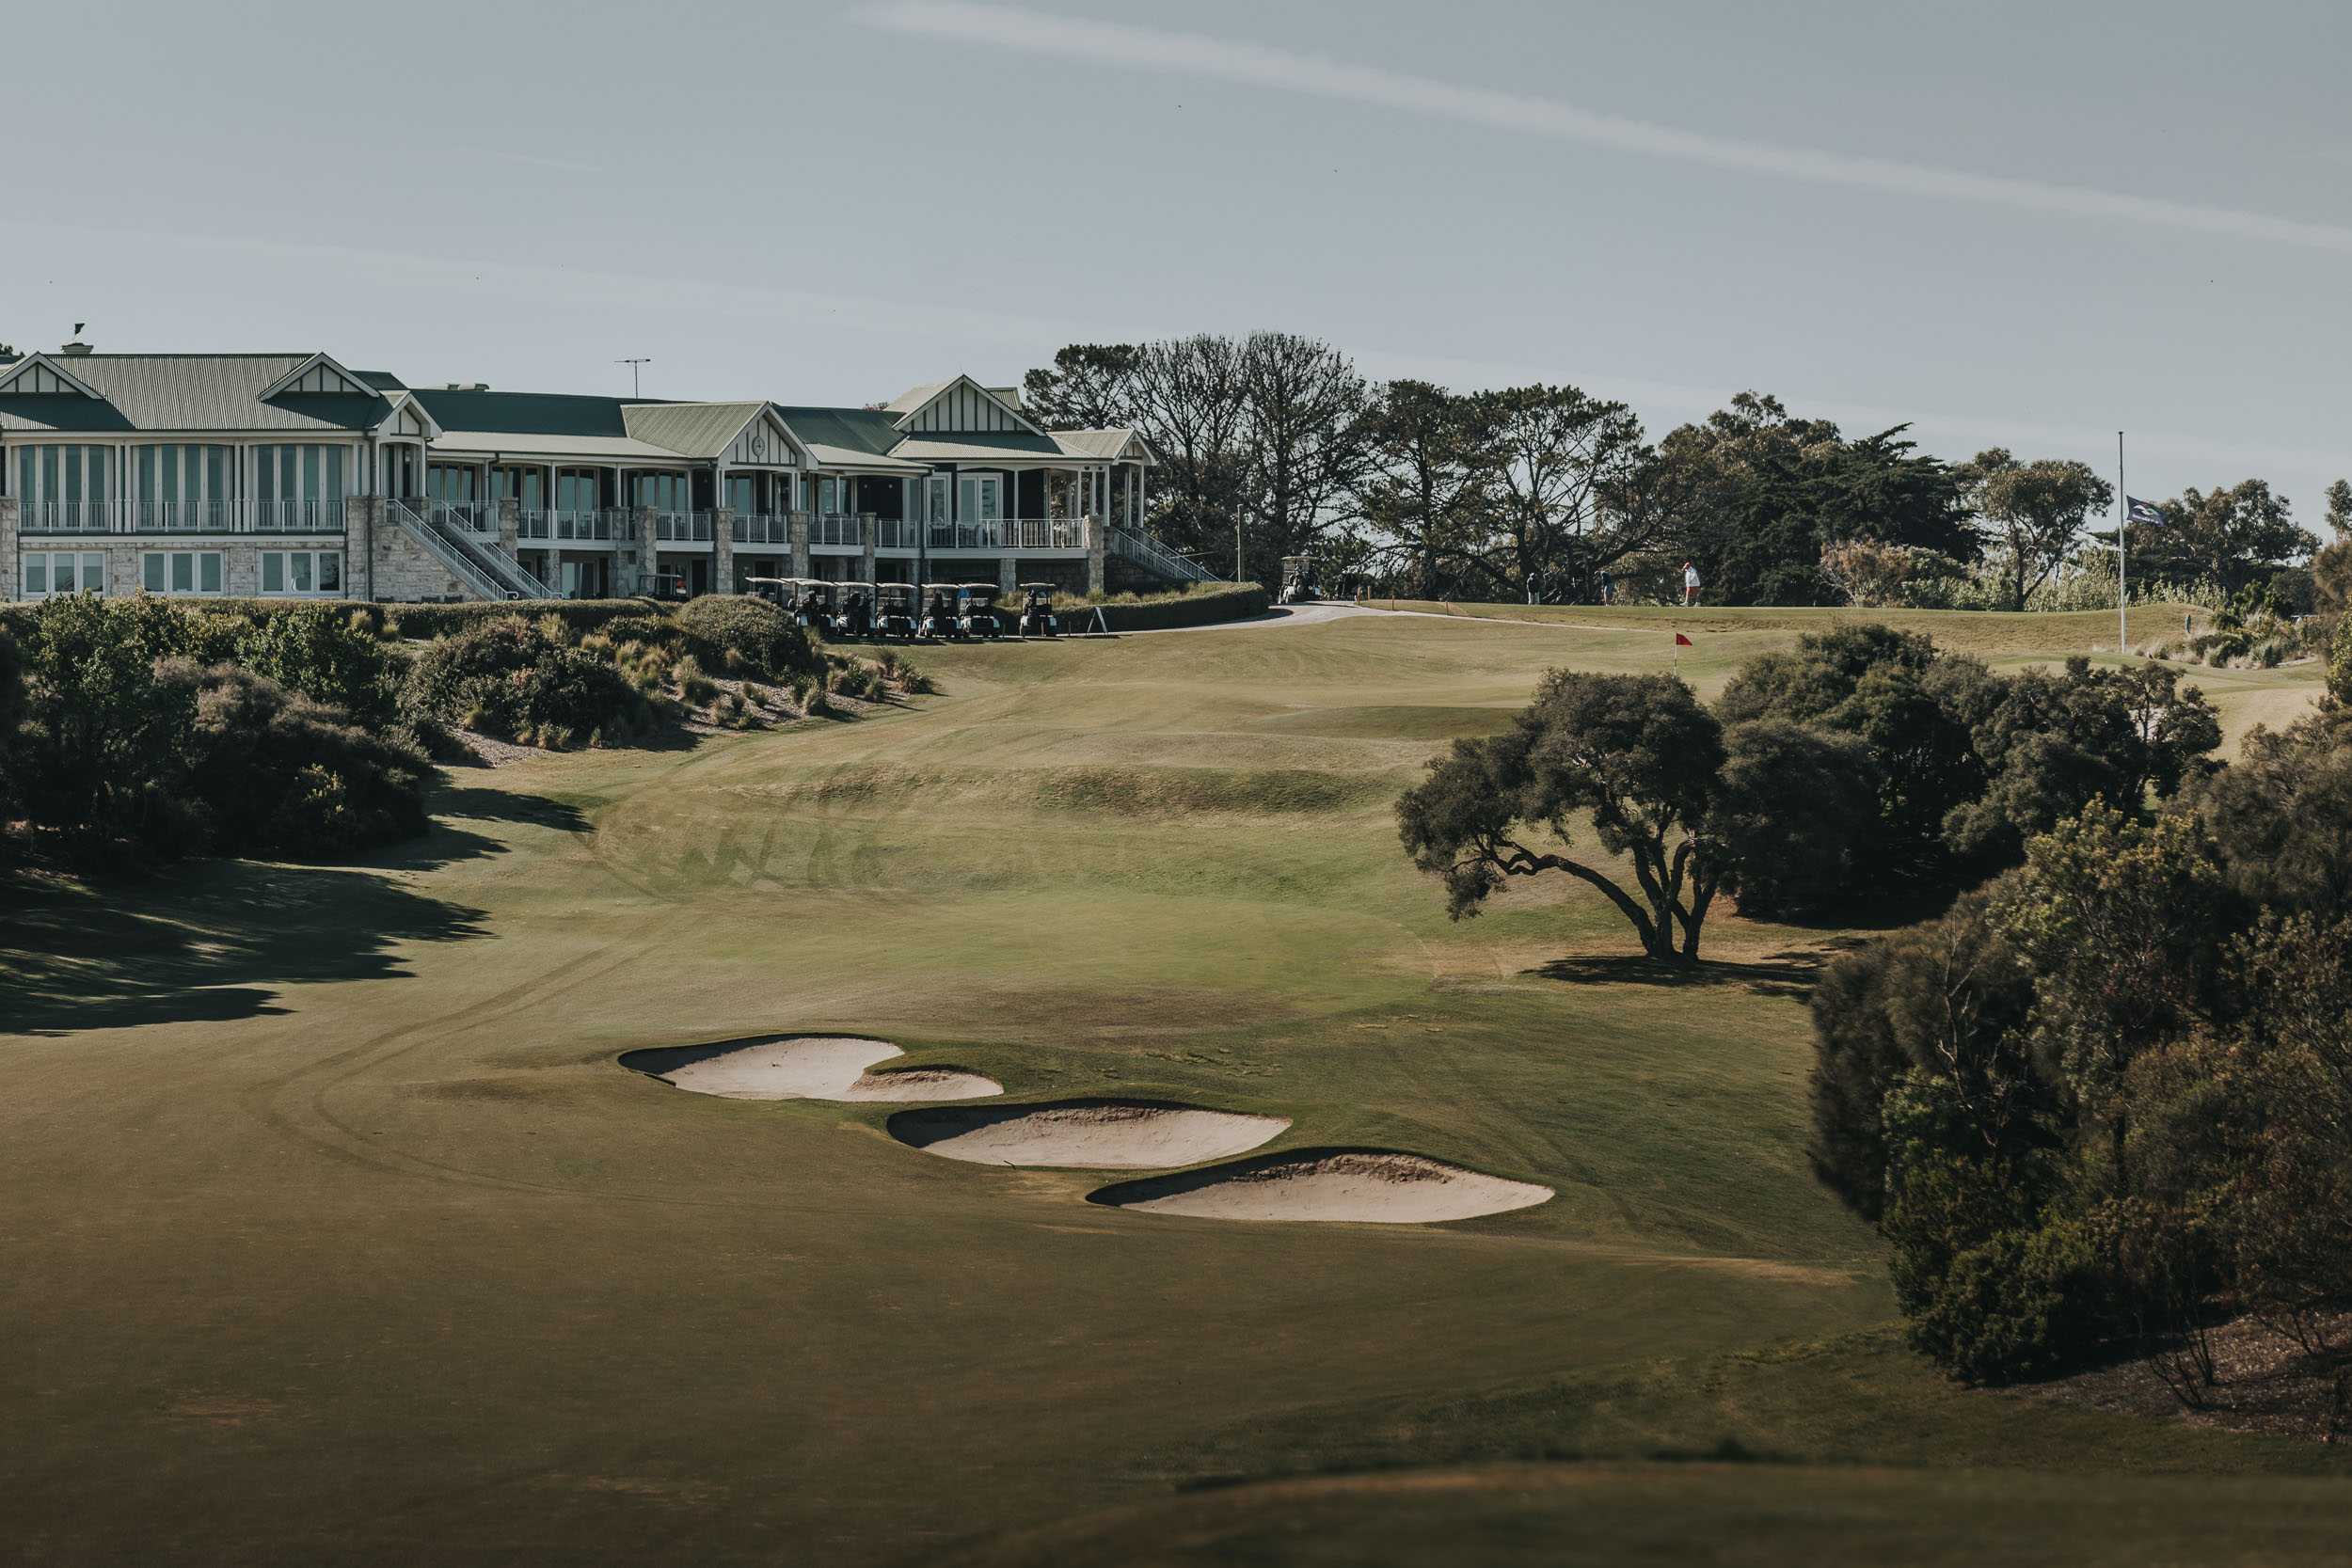
A beautiful walk enhanced by ocean breezes and panoramic bay views and mature trees lining fairways through native bushland, Sorrento entices better players to shape shots with finesse while varied tee boxes welcome all skill levels. The charming and comfortable clubhouse overlooking the 18th green completes the exceptional experience – no wonder Sorrento serves as a refined yet welcoming members’ retreat just 90 minutes from Melbourne.

Course feature video

Course Breakdown

1st Hole

Par-4
Black Tee: 298m
Blue Tee: 282m
Red Tee: 275m
White Tee: 275m

A gentle opening hole to begin the round. Drive across the corner of the fairway bunker to leave a short approach to a green sloping right to left. The green can be reached from the tee but is difficult to hold and water lurks beyond.

2nd Hole

Par-3
Black Tee: 141m
Blue Tee: 135m
Red Tee: 126m
White Tee: 130m

The par 3 holes are a feature at Sorrento and the 2nd hole is one of the best. The green is narrow at the front with deep bunkers on the right hand side and a hollow on the left. A difficult green to hit as the wind is usually against or across. Par is a good score here.

3rd Hole

Par-5
Black Tee: 456m
Blue Tee: 445m
Red Tee: 402m
White Tee: 429m

The drive is straight away between the bunkers to the base of the hill. Longer hitters can carry the hill and set up a chance to reach the green in two. From the bottom of the hill play your second shot towards the furthest house. From ninety metres out the fairway drops leaving an uphill pitch to a two tier green.

4th Hole

Par-4
Black Tee: 274m
Blue Tee: 264m
Red Tee: 261m
White Tee: 256m

A short dogleg left par 4. The tee shot is blind over the crest of the hill. The ideal tee shot is over the centre of the hill with a slight draw. This will leave a downhill short iron shot to a firm green surrounded by bunkers.

5th Hole

Par-4
Black Tee: 192m
Blue Tee: 184m
Red Tee: 175m
White Tee: 178m

This is the longest par 3 at Sorrento but is not the most difficult. A straight shot landing short will run onto the green. The ball will feed in from the left hand side although the finding the bunker on the left will leave a difficult recovery.

6th Hole

Par-4
Black Tee: 328m
Blue Tee: 301m
Red Tee: 275m
White Tee: 286m

A difficult drive as the fairway slopes off on both sides. For longer hitters the choice is to lay up short of the fairway bunkers or attempt to carry them and drive close to the green. From the fairway the approach is semi blind to a two tier green. Short and right leaves the best chance to recover if the green is not found.

7th Hole

Par-4
Black Tee: 378m
Blue Tee: 373m
Red Tee: 356m
White Tee: 368m

A dogleg right par 4 which gives plenty of choice from the tee. The drive can take off part of the corner but the line must be perfect as to not run through the other side. Beware of the hidden bunker on the right corner of the dogleg. The second shot is to a flat firm green guarded by large bunkers in front and to the left, and a swale to the right.

8th Hole

Par-4
Black Tee: 414m
Blue Tee: 394m
Red Tee: 336m
White Tee: 366m

Drive as close to the fairway bunkers as possible to leave the shortest shot into the green. The long second shot will feed in from both sides but putting from past the hole on this green can be treacherous.

9th Hole

Par-5
Black Tee: 529m
Blue Tee: 516m
Red Tee: 480m
White Tee: 499m

Drive to the left hand side as the fairway slopes to the right. After a lay up the third shot should be played to the safe left side. The large and deep bunker on the right should be avoided.

10th Hole

Par-4
Black Tee: 382m
Blue Tee: 365m
Red Tee: 318m
White Tee: 339m

The drive can be played over the depression from an abandoned bunker in the middle of the fairway. There is more room on the left of the fairway than can be seen from the tee. The approach is tricky as the mound at the front of the green will repel a ball that is short and the green is usually very firm. A low running shot is a good option here.

11th Hole

Par-5
Black Tee: 489m
Blue Tee: 482m
Red Tee: 448m
White Tee: 479m

A great par five that can be easily reached in two one day and then a good three shot hole the next. A draw from the tee around the bunker can take advantage of the down slope and will leave a short approach. The green is wide but shallow with bunkers protecting most of the front. The approach to the green will be played from a down slope making it more difficult to hold the green. Under no circumstances can you miss the green long and left.

12th Hole

Par-4
Black Tee: 415m
Blue Tee: 403m
Red Tee: 400m
White Tee: 390m

The 12th is a long sweeping dogleg left. A draw down the right hand side of the fairway will take advantage of the contours. The second shot should be played to the safer left hand side of the green. A difficult bunker on the right makes saving par almost impossible.

13th Hole

Par-3
Black Tee: 168m
Blue Tee: 155m
Red Tee: 130m
White Tee: 145m

Arguably, the toughest hole on the course. Club selection is critical and the ever-present wind makes that a challenge. Aim for the path behind the green and take one more club than you might imagine.

14th Hole

Par-4
Black Tee: 385m
Blue Tee: 373m
Red Tee: 352m
White Tee: 366m

Play your drive to the top of the hill. This will leave a level approach coming straight up the green. The green slopes sharply from back right to front left. Chipping from the left is much easier than playing from the sand on the right.

15th Hole

Par-3
Black Tee: 179m
Blue Tee: 166m
Red Tee: 129m
White Tee: 149m

This is a fun hole to play, as the contours on the left will funnel the ball towards the hole. Avoid the bunkers on the left hand side as staying on the green from here can be difficult.

16th Hole

Par-4
Black Tee: 330m
Blue Tee: 320m
Red Tee: 261m
White Tee: 295m

A long iron or fairway wood from the tee will leave you short of the fairway bunker. A wedge approach is all that is required to a narrow mounded green. Try to land your second on the front of the green.

17th Hole

Par-3
Black Tee: 146m
Blue Tee: 136m
Red Tee: 117m
White Tee: 128m

A short par 3 surrounded by bunkers. There is a narrow opening on the right hand side and the green slopes from right to left.

18th Hole

Par-4
Black Tee: 342m
Blue Tee: 334m
Red Tee: 311m
White Tee: 324m

Driver or fairway wood from the tee to the left of the bunkers. The second shot is severely uphill. Long and left will leave the best chance to recover if you miss the green. Check the pin position on this hole before you hit off from the first.

Sorrento Golf Course - Scorecard

Front Nine

Hole 1 2 3 4 5 6 7 8 9 Out
Blue Tees 282 135 445 264 184 301 373 394 516 3039
Red Tees 275 126 402 261 175 275 356 336 480 36
Par 4 3 5 4 3 4 4 4 5 36

Back Nine

Hole 10 11 12 13 14 15 16 17 18 In Total 
Blue Tees 365 482 403 155 373 166 320 136 334 2735 5629
Red Tees 318 448 400 130 352 129 261 117 311 2465 5151
Par 4 5 4 3 4 3 4 3 4 34 70

Hole-By-Hole Flyovers